Half-baked Blueprint: Rail-fence Baby Quilt

Posted in Quilting
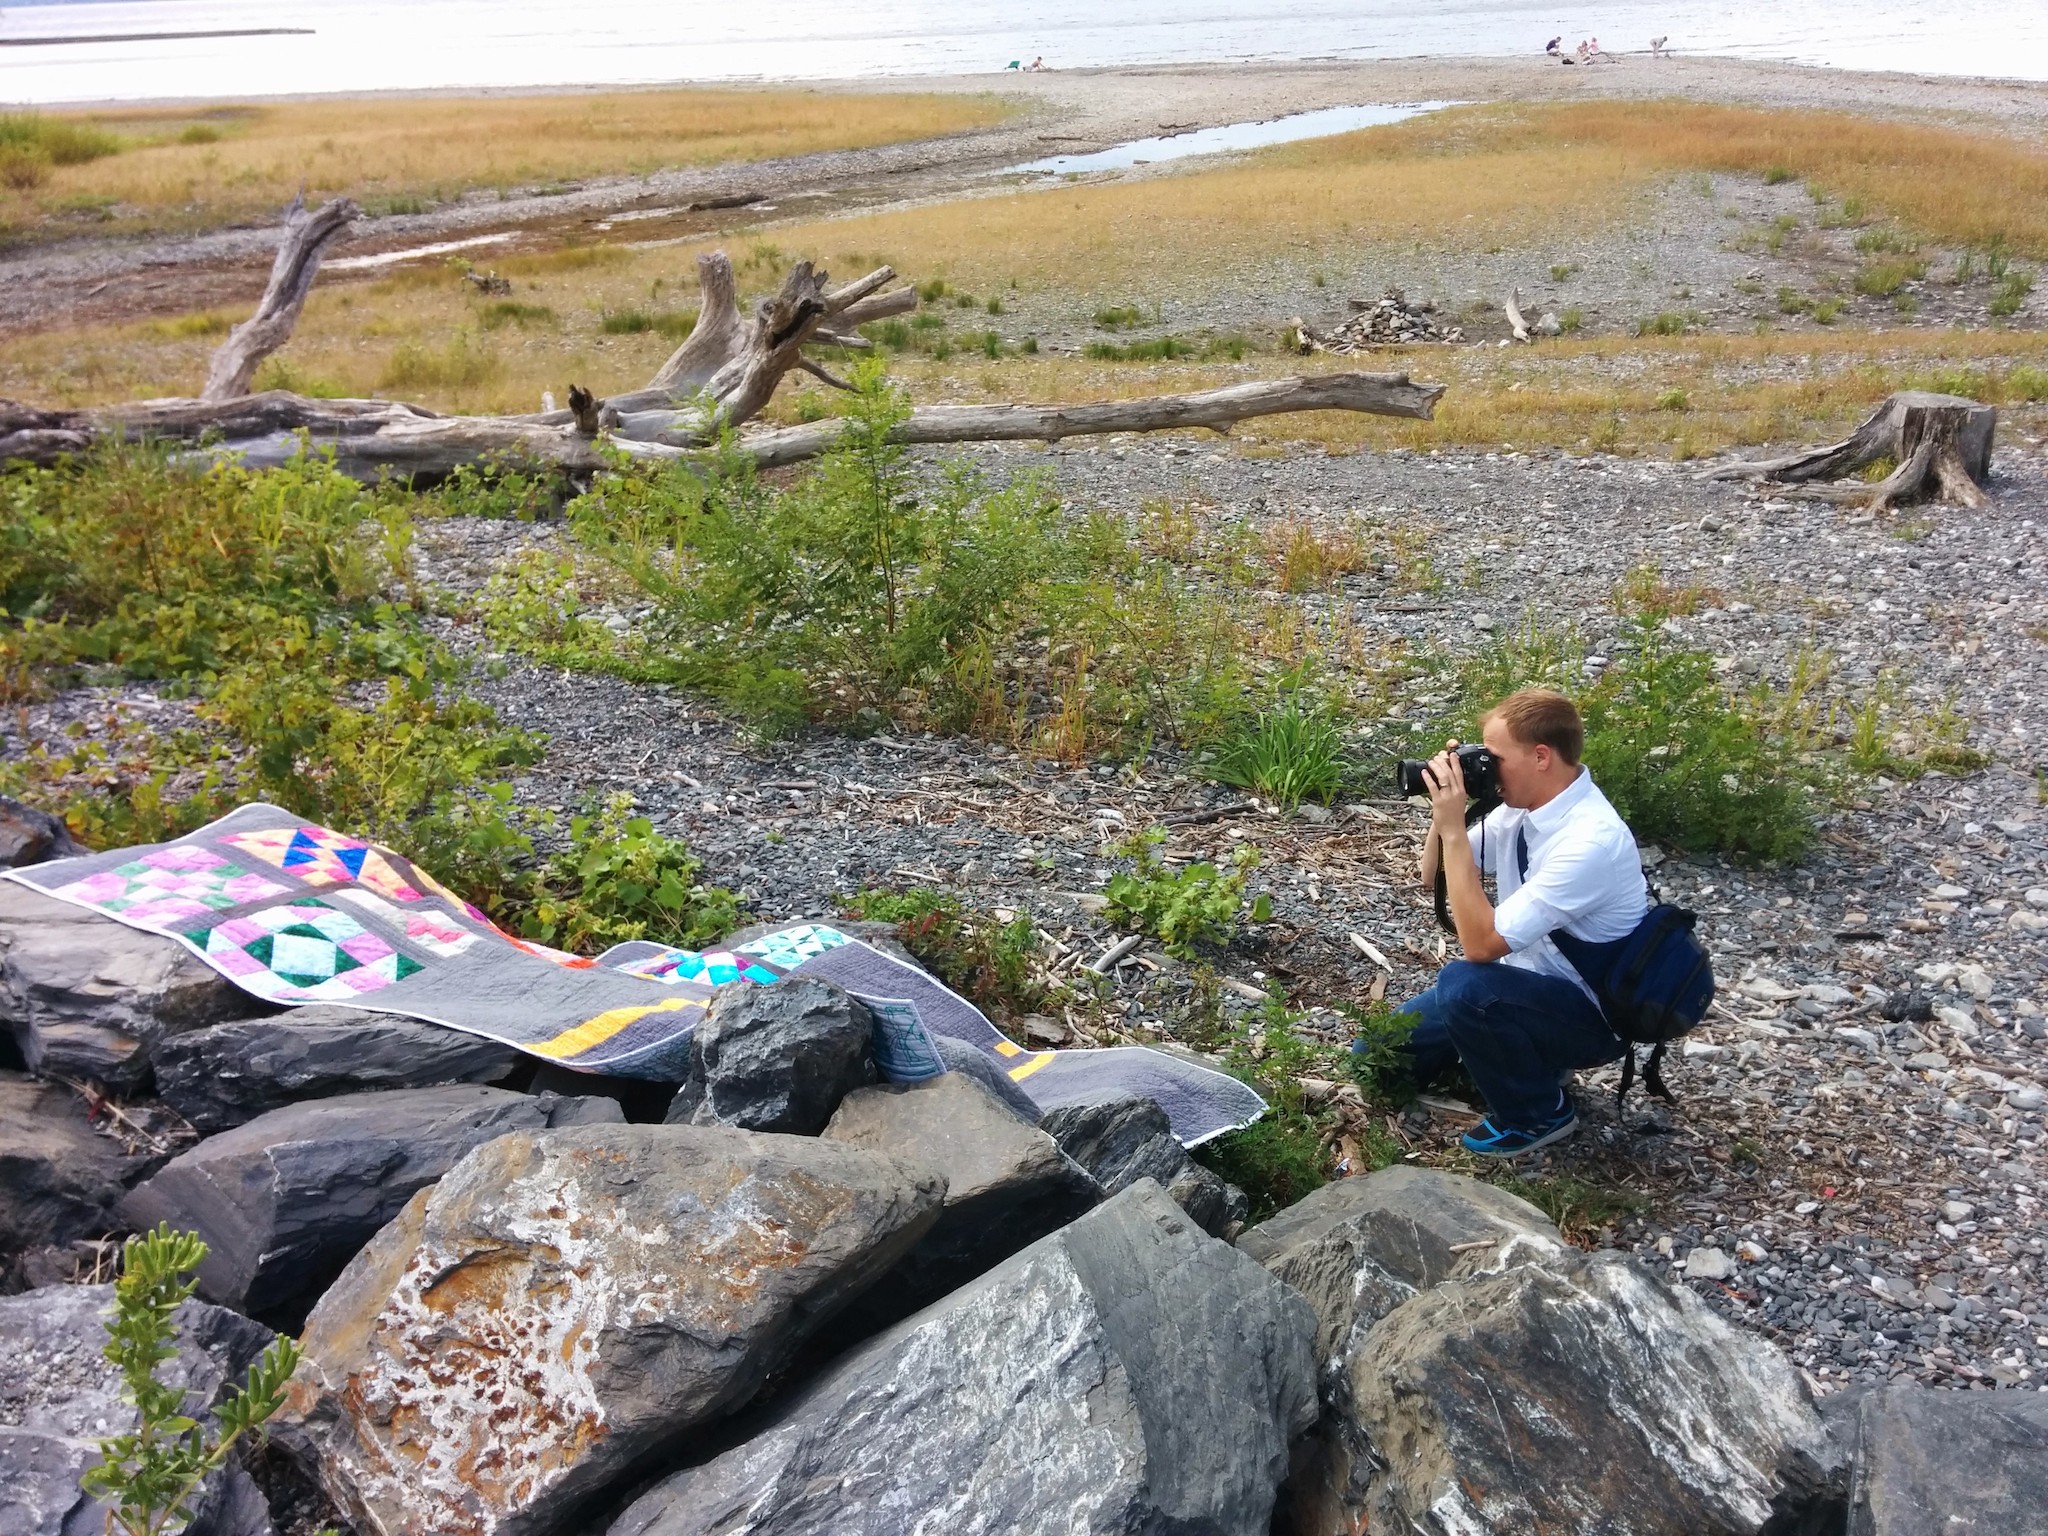
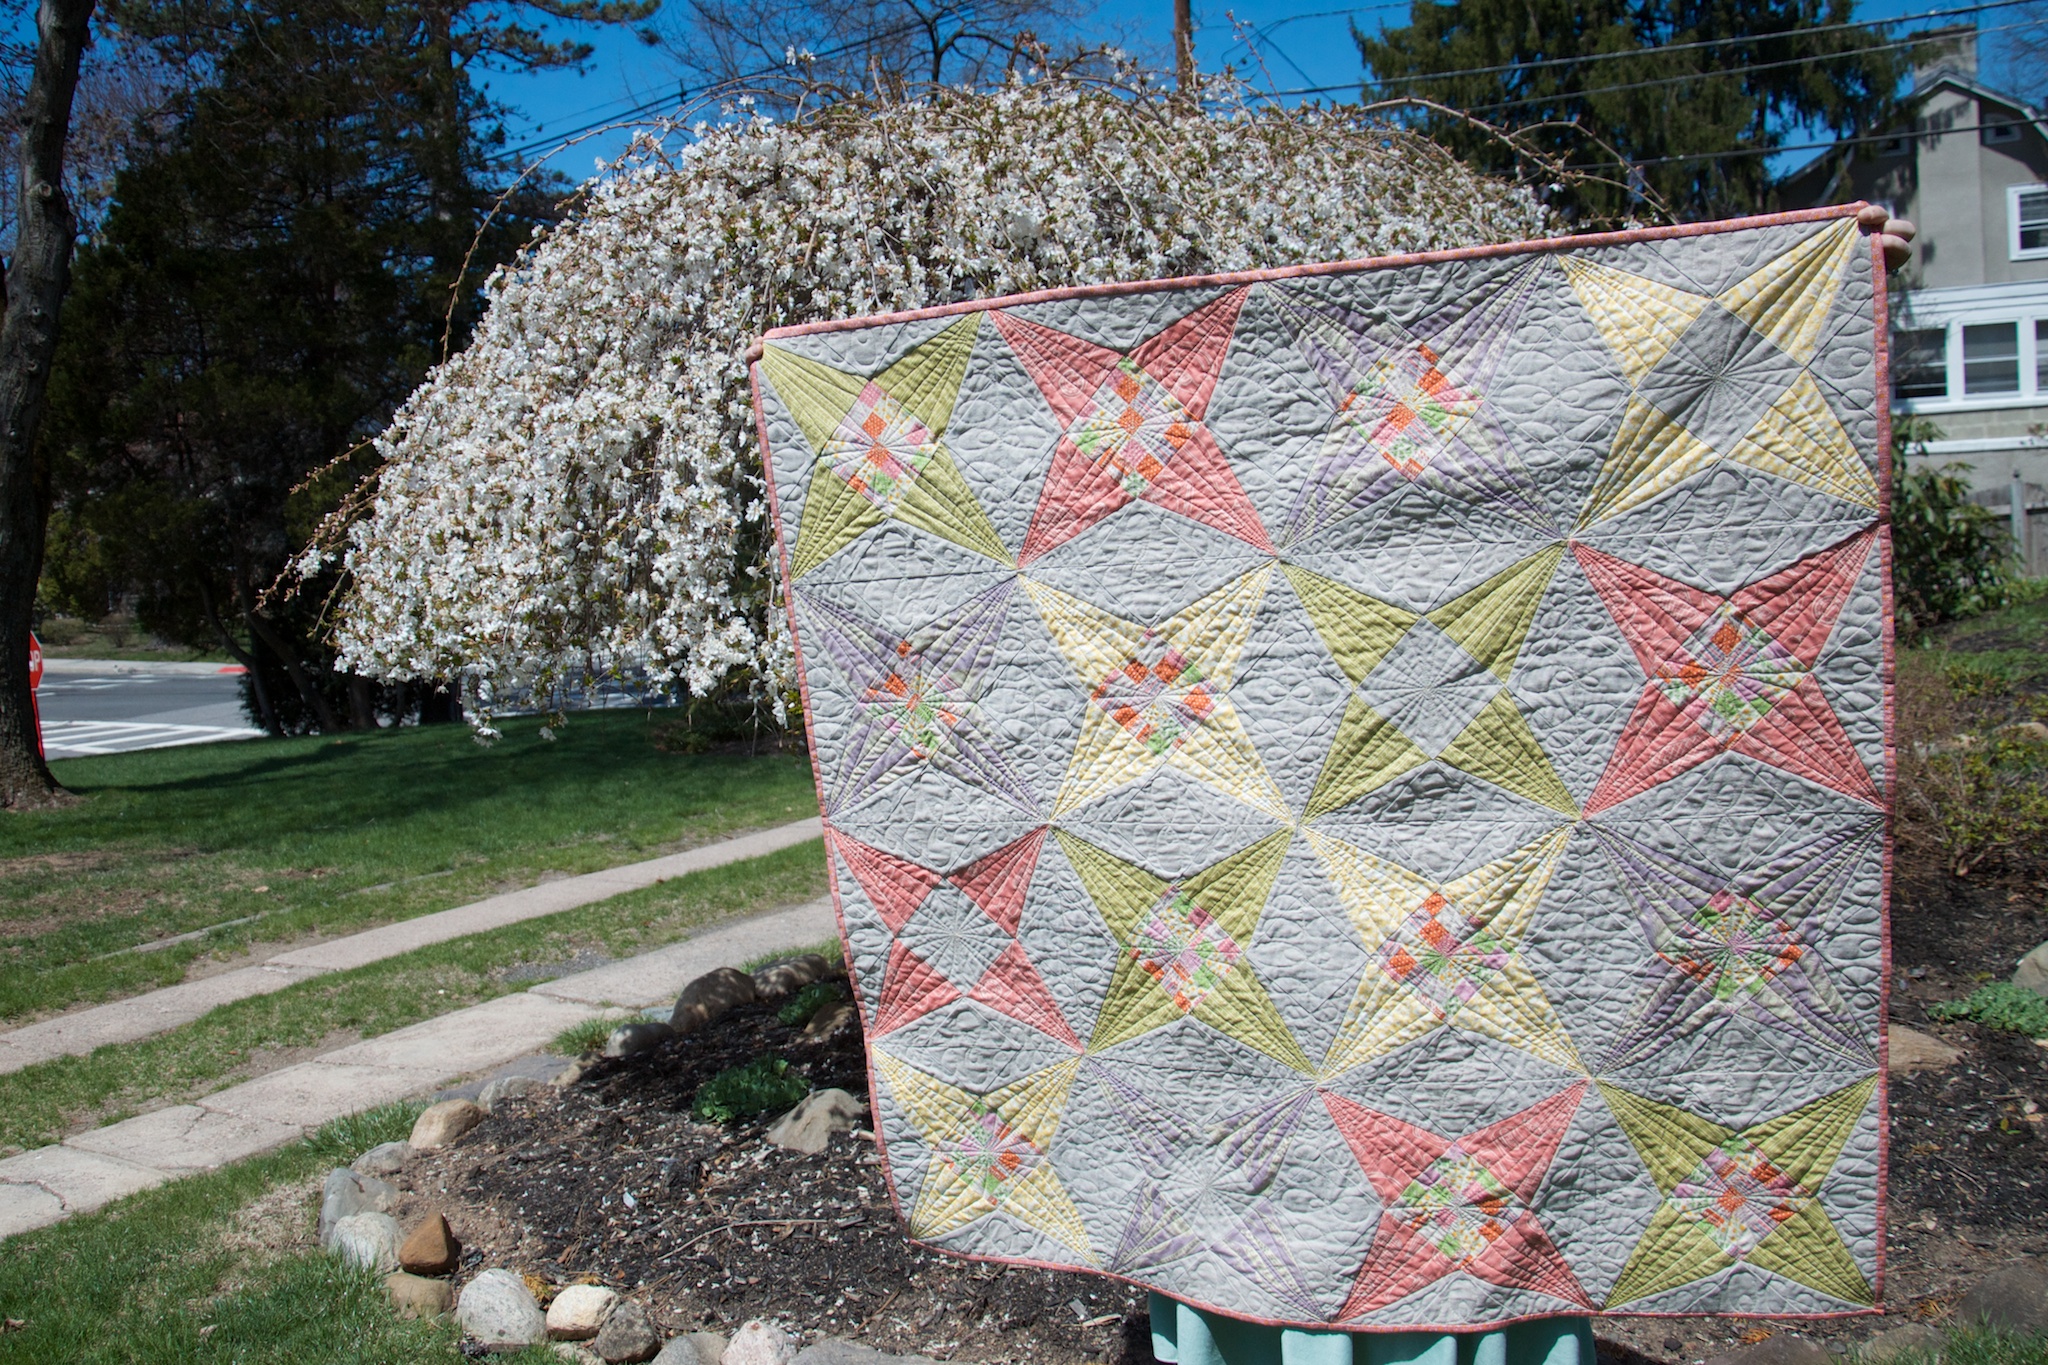
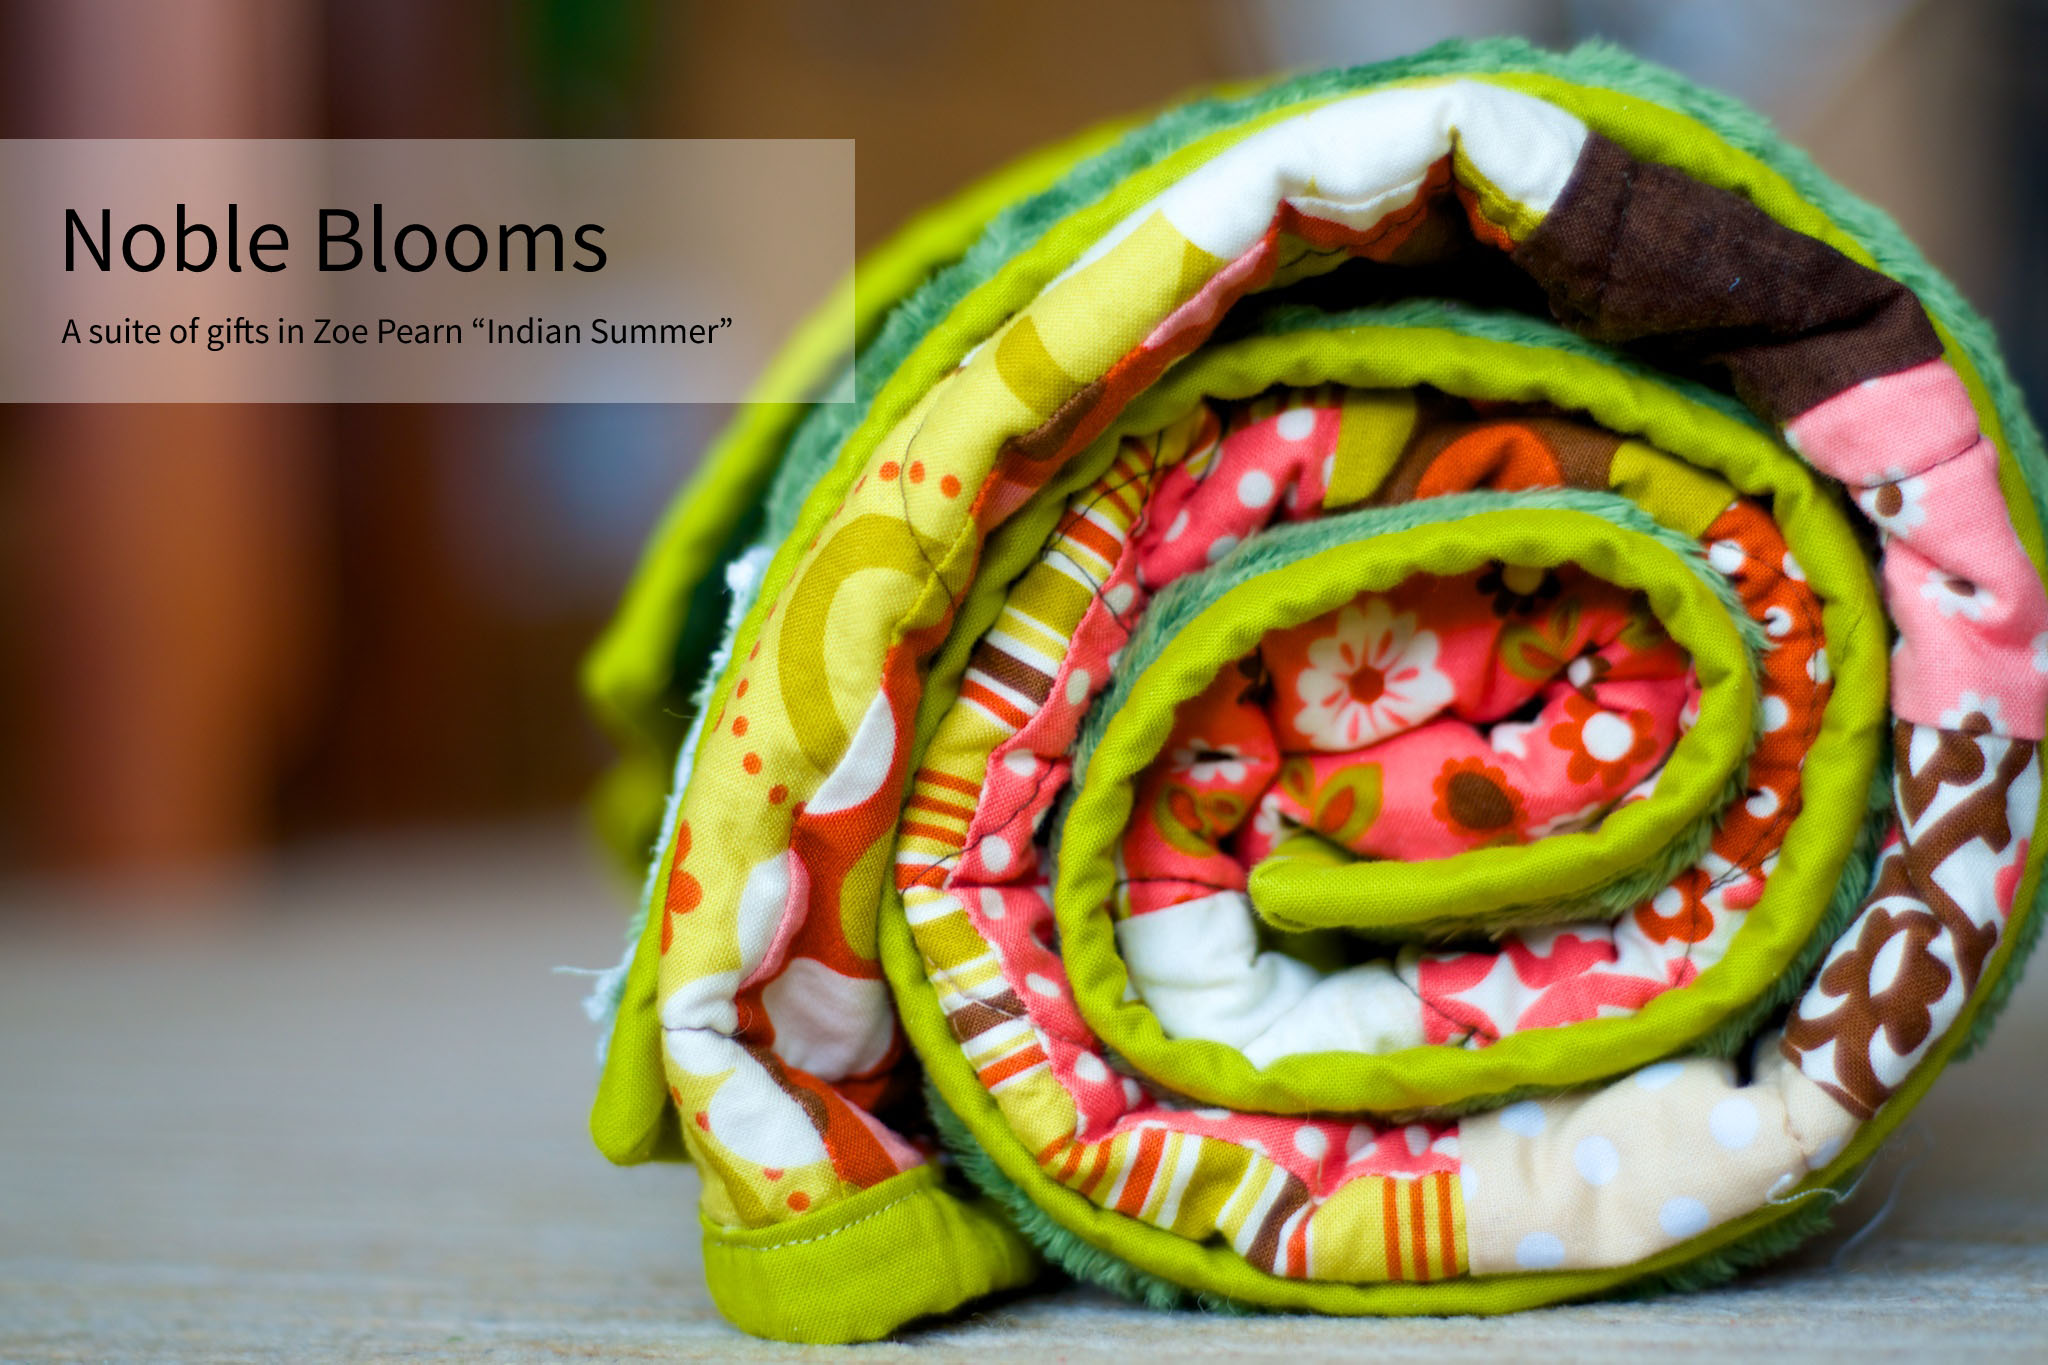
It’s been a long time since I followed a quilt pattern. The last twenty quilts I’ve made have been largely or completely my own designs, or my own take on something I’ve seen. The hardest technical part is doing the math and figuring out if I have the right amount of fabric for what I’ve chosen to do, but simply believing that I don’t need a pattern was a huge initial hurdle. Remembering that hurdle, I’m starting this Half-baked Blueprint series. They’re not patterns; think of them as rough outlines of the inspiration, math, fabric, and techniques I use in some of my quilts—there’s a lot you’ll have to fill in yourself. The rail fence “Noble Blooms” quilt from earlier this year is a good place to start. My hope is that it will inspire other quilters to play with quilt top designing rather than always reaching for published patterns.

The Blueprint
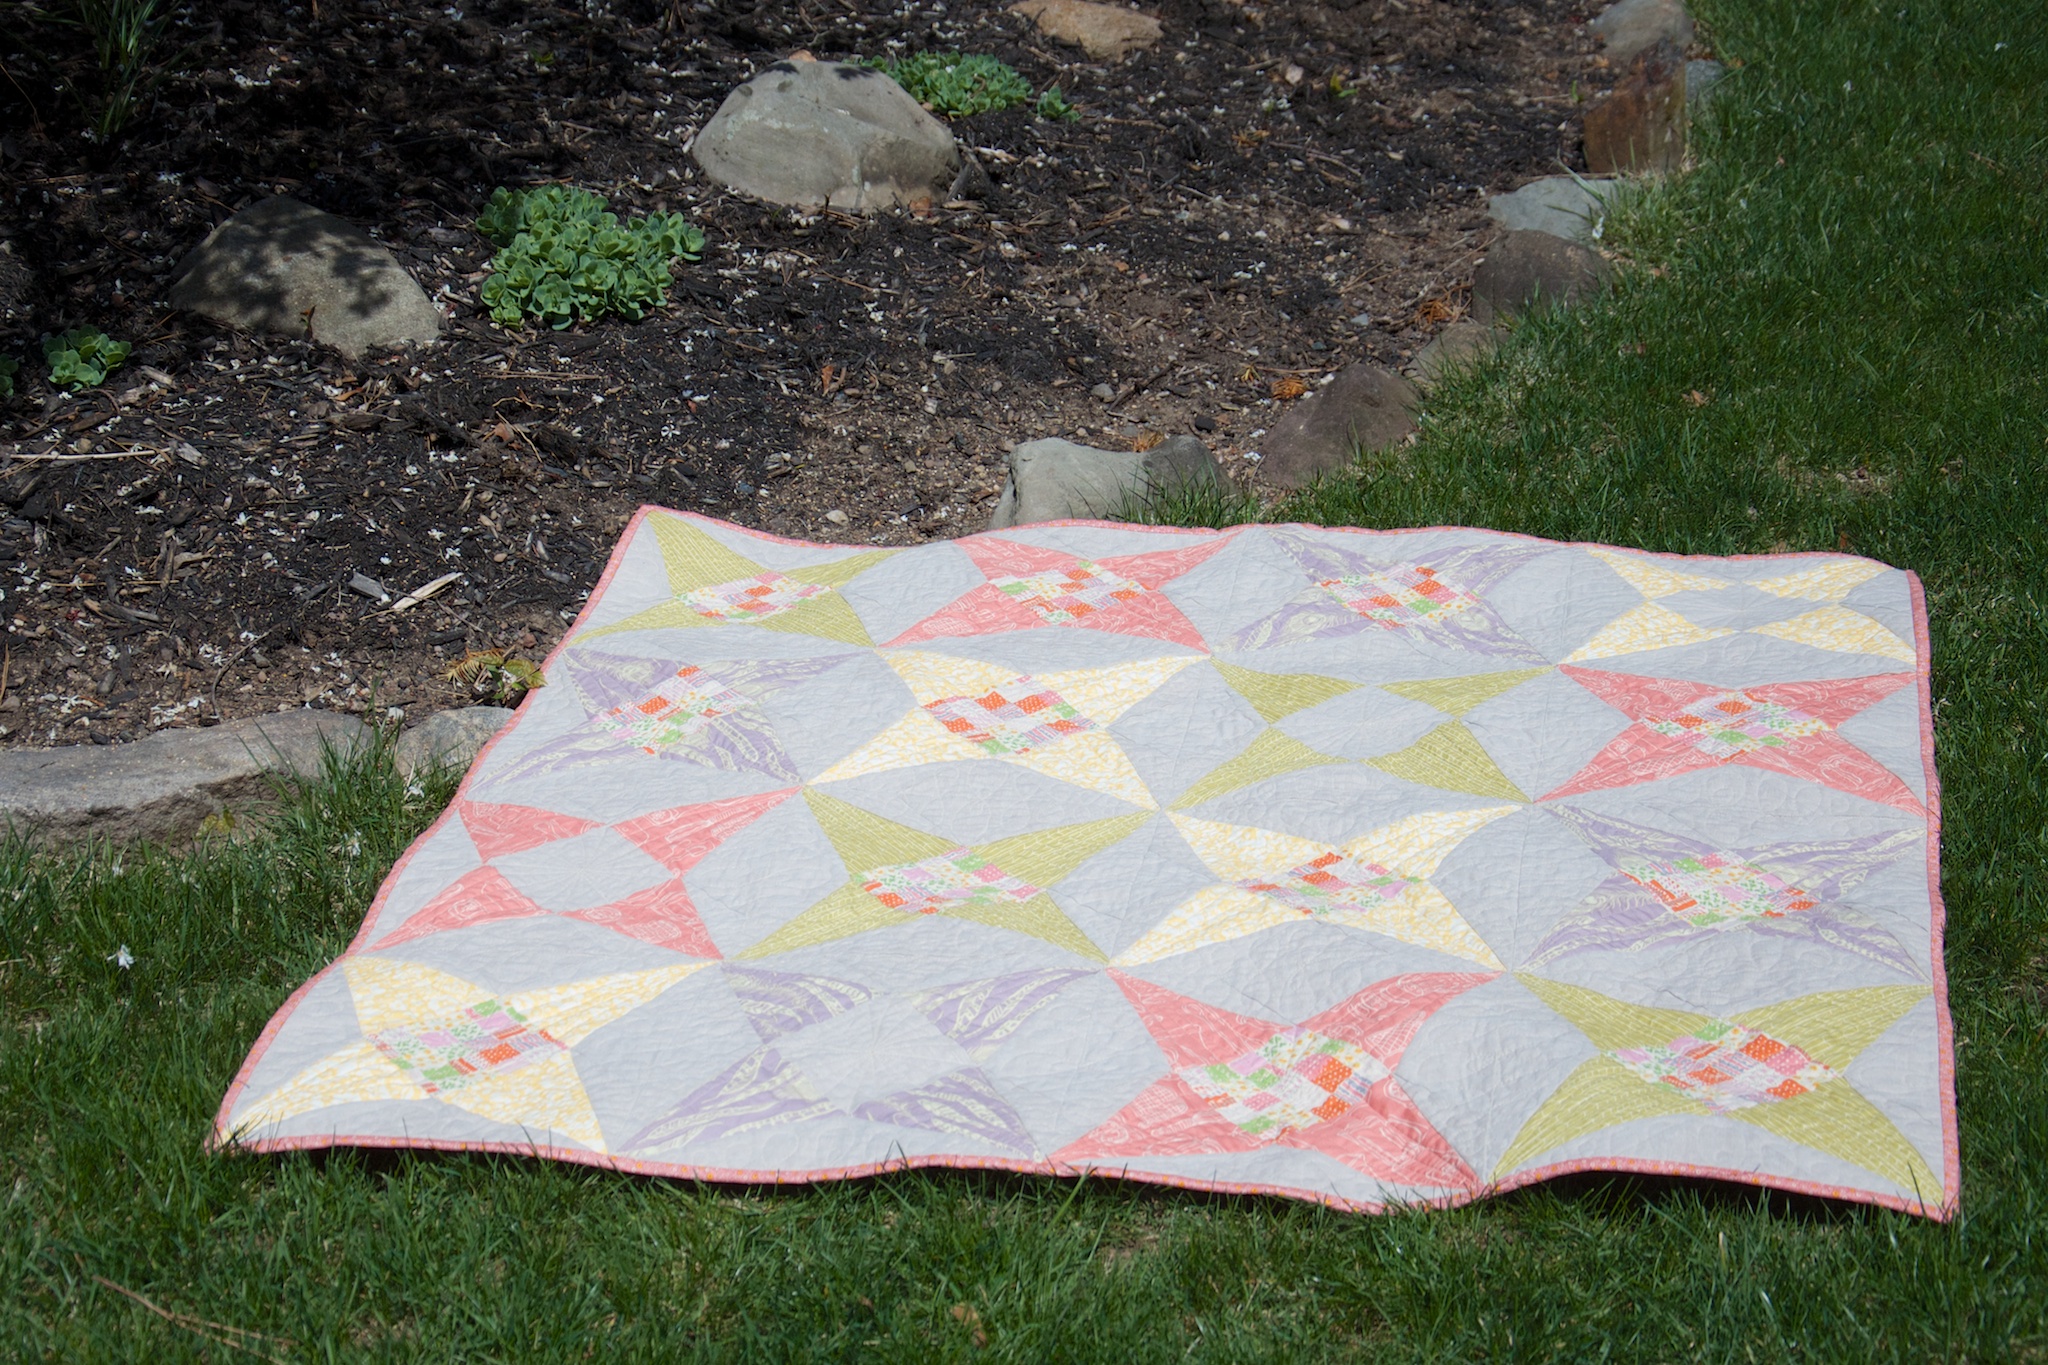
The quilt:
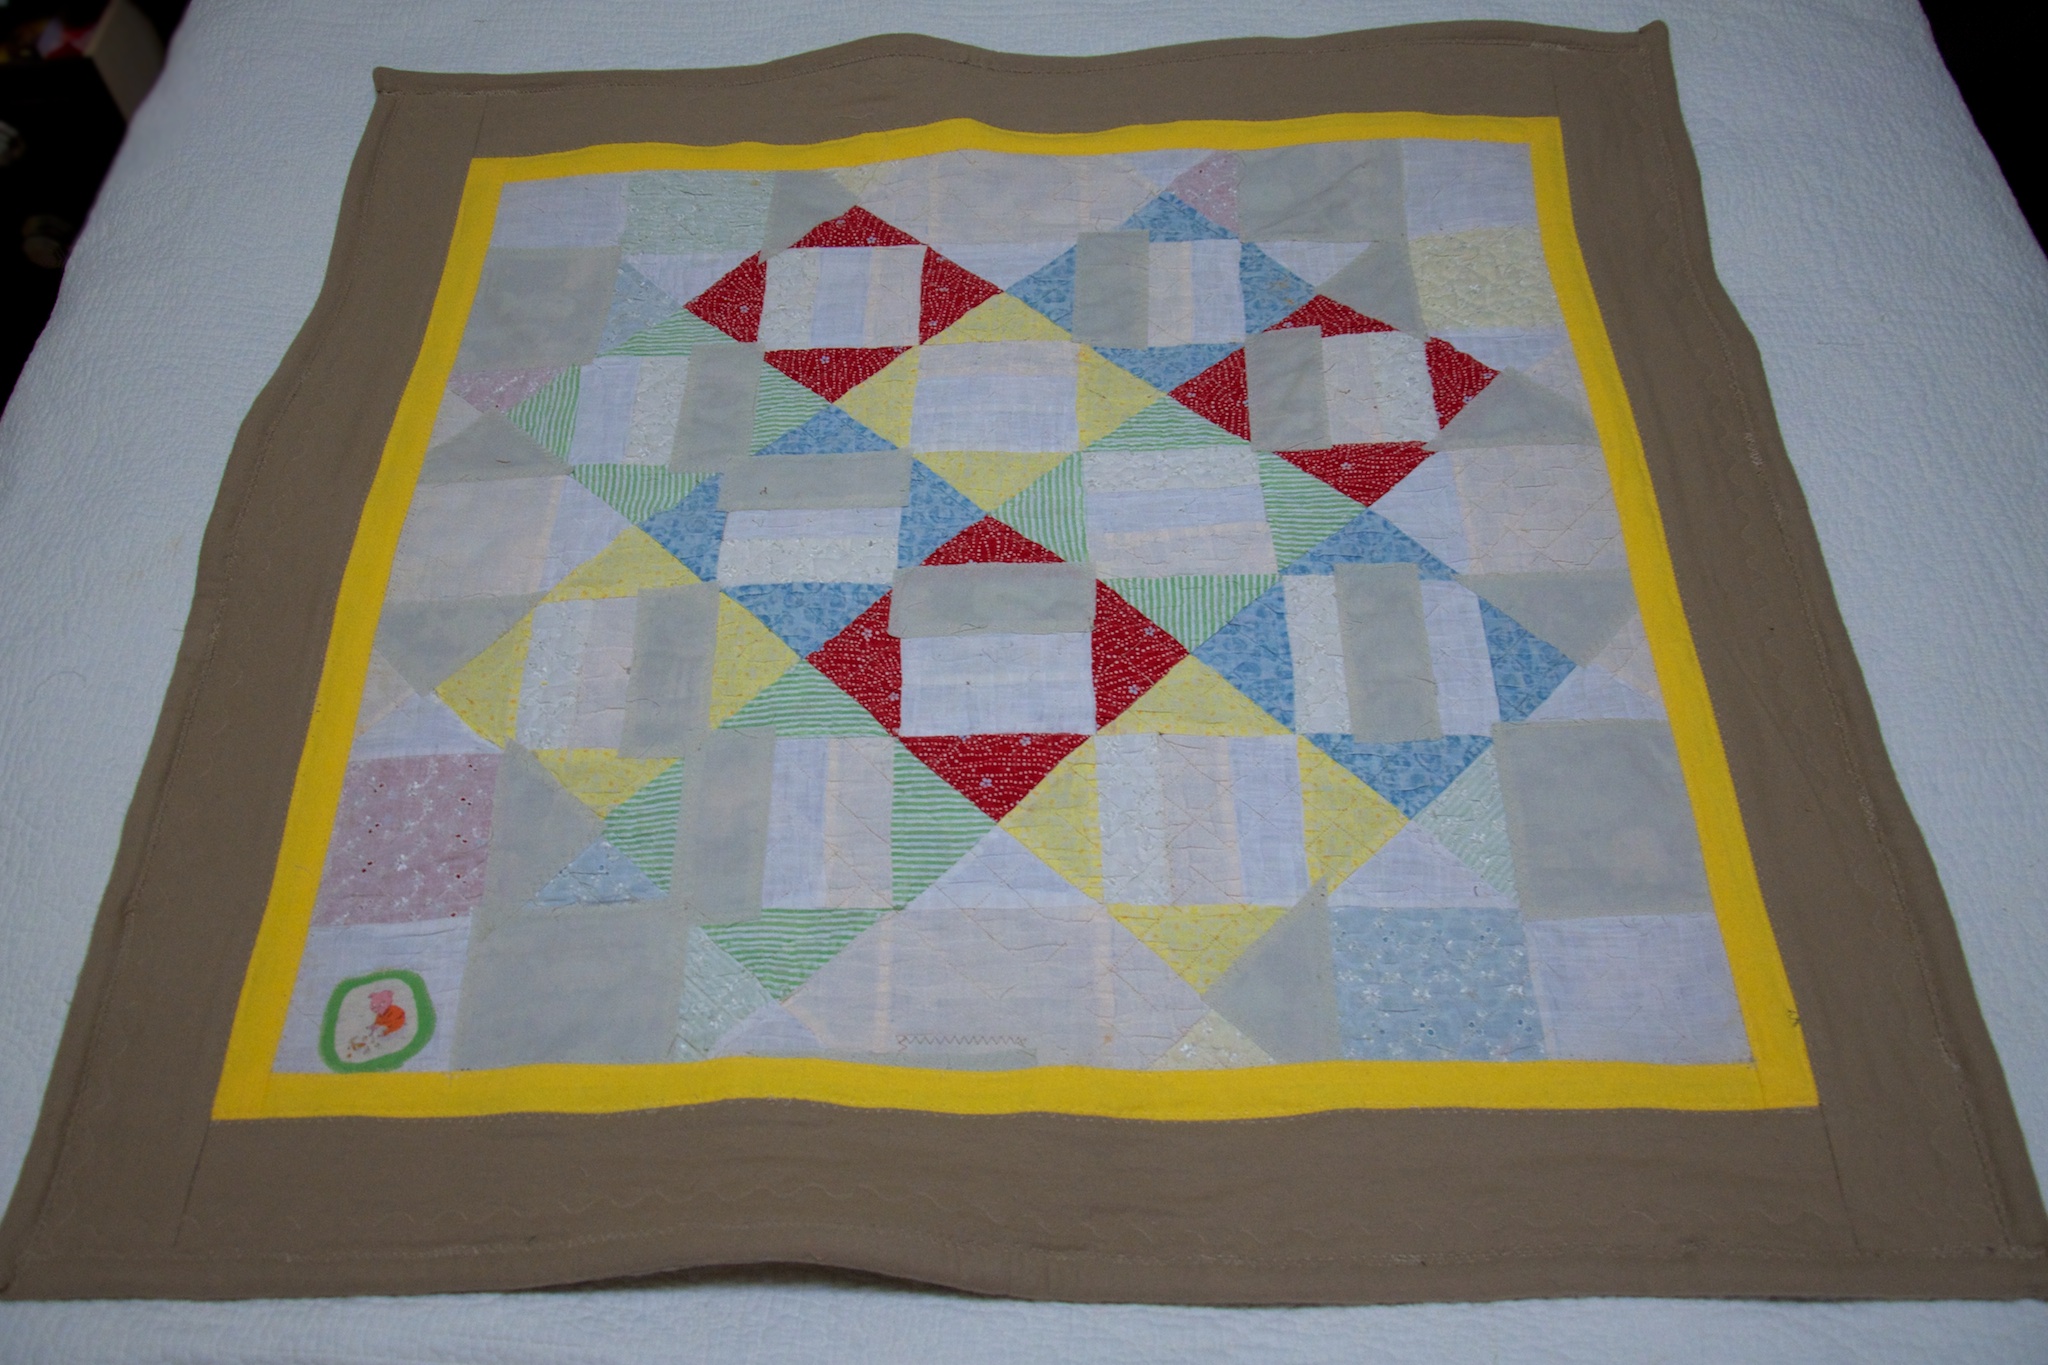
40.5″ square quilt, made from 25 8″ finishing blocks
The blocks:
Starting with 24 2.5″ x width of fabric strips…
Sew six strip sets of four strips each…
Cut four 8.5” blocks from each strip set, totaling 24 blocks.
Then, cut a 4.5” x 8.5” section off two of the strip sets and sew those together to create one more 8.5” block.
Alternative: if your strips have 42.5″ of usable width (after you remove selvages), you can get all 25 blocks from only 20 strips—5 blocks per strip set, and no pieced extra block. Some strips will have this width, others won’t; each manufacturer, fabric line, and even bolt varies on the total width of fabric.
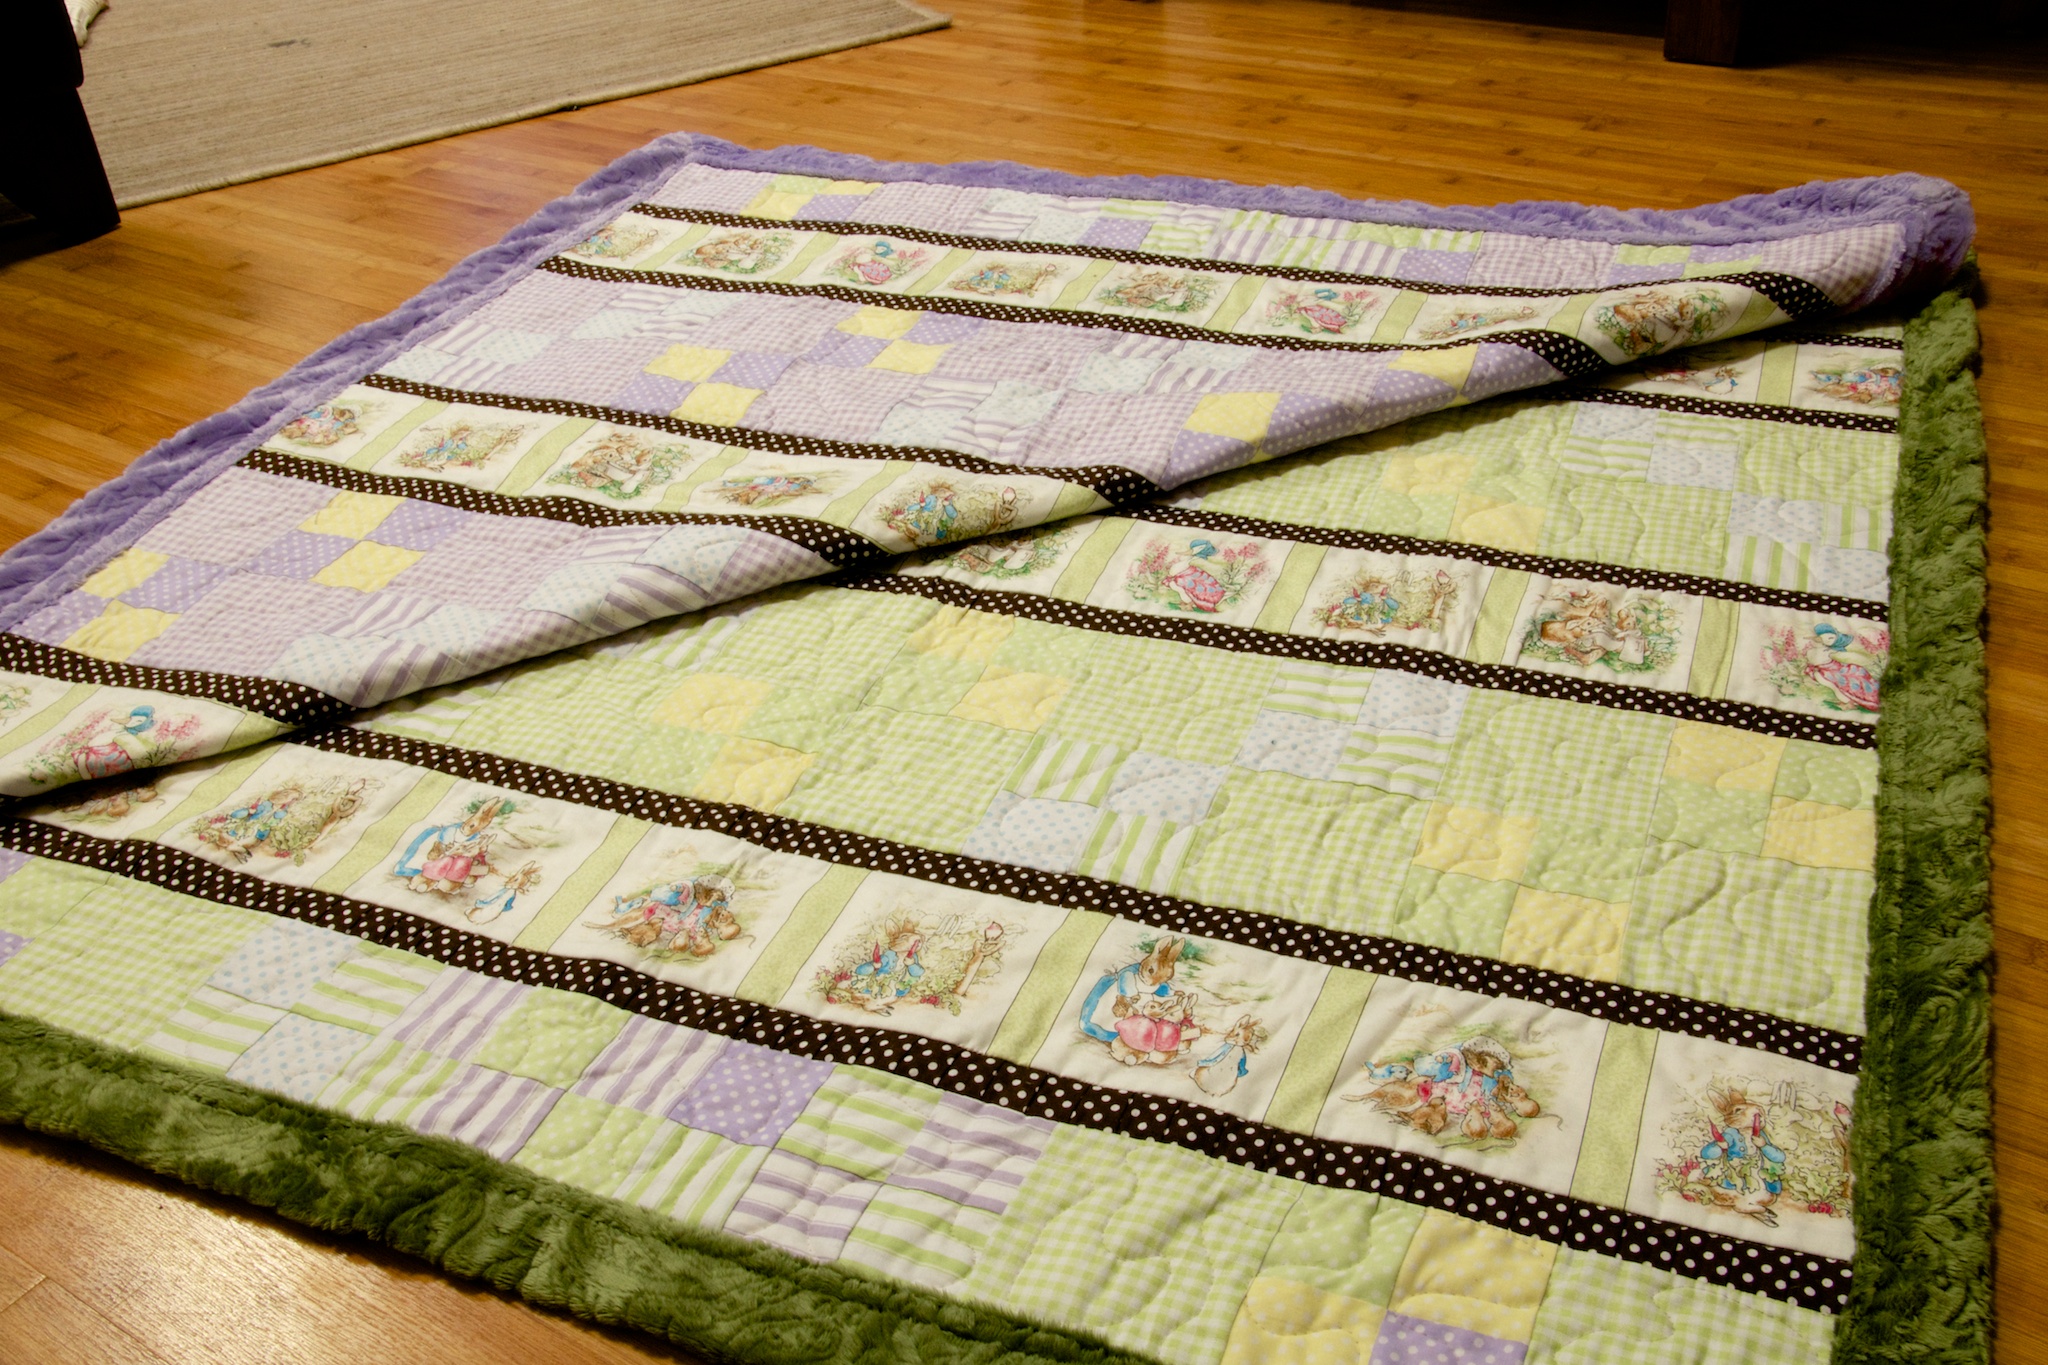
The layout:
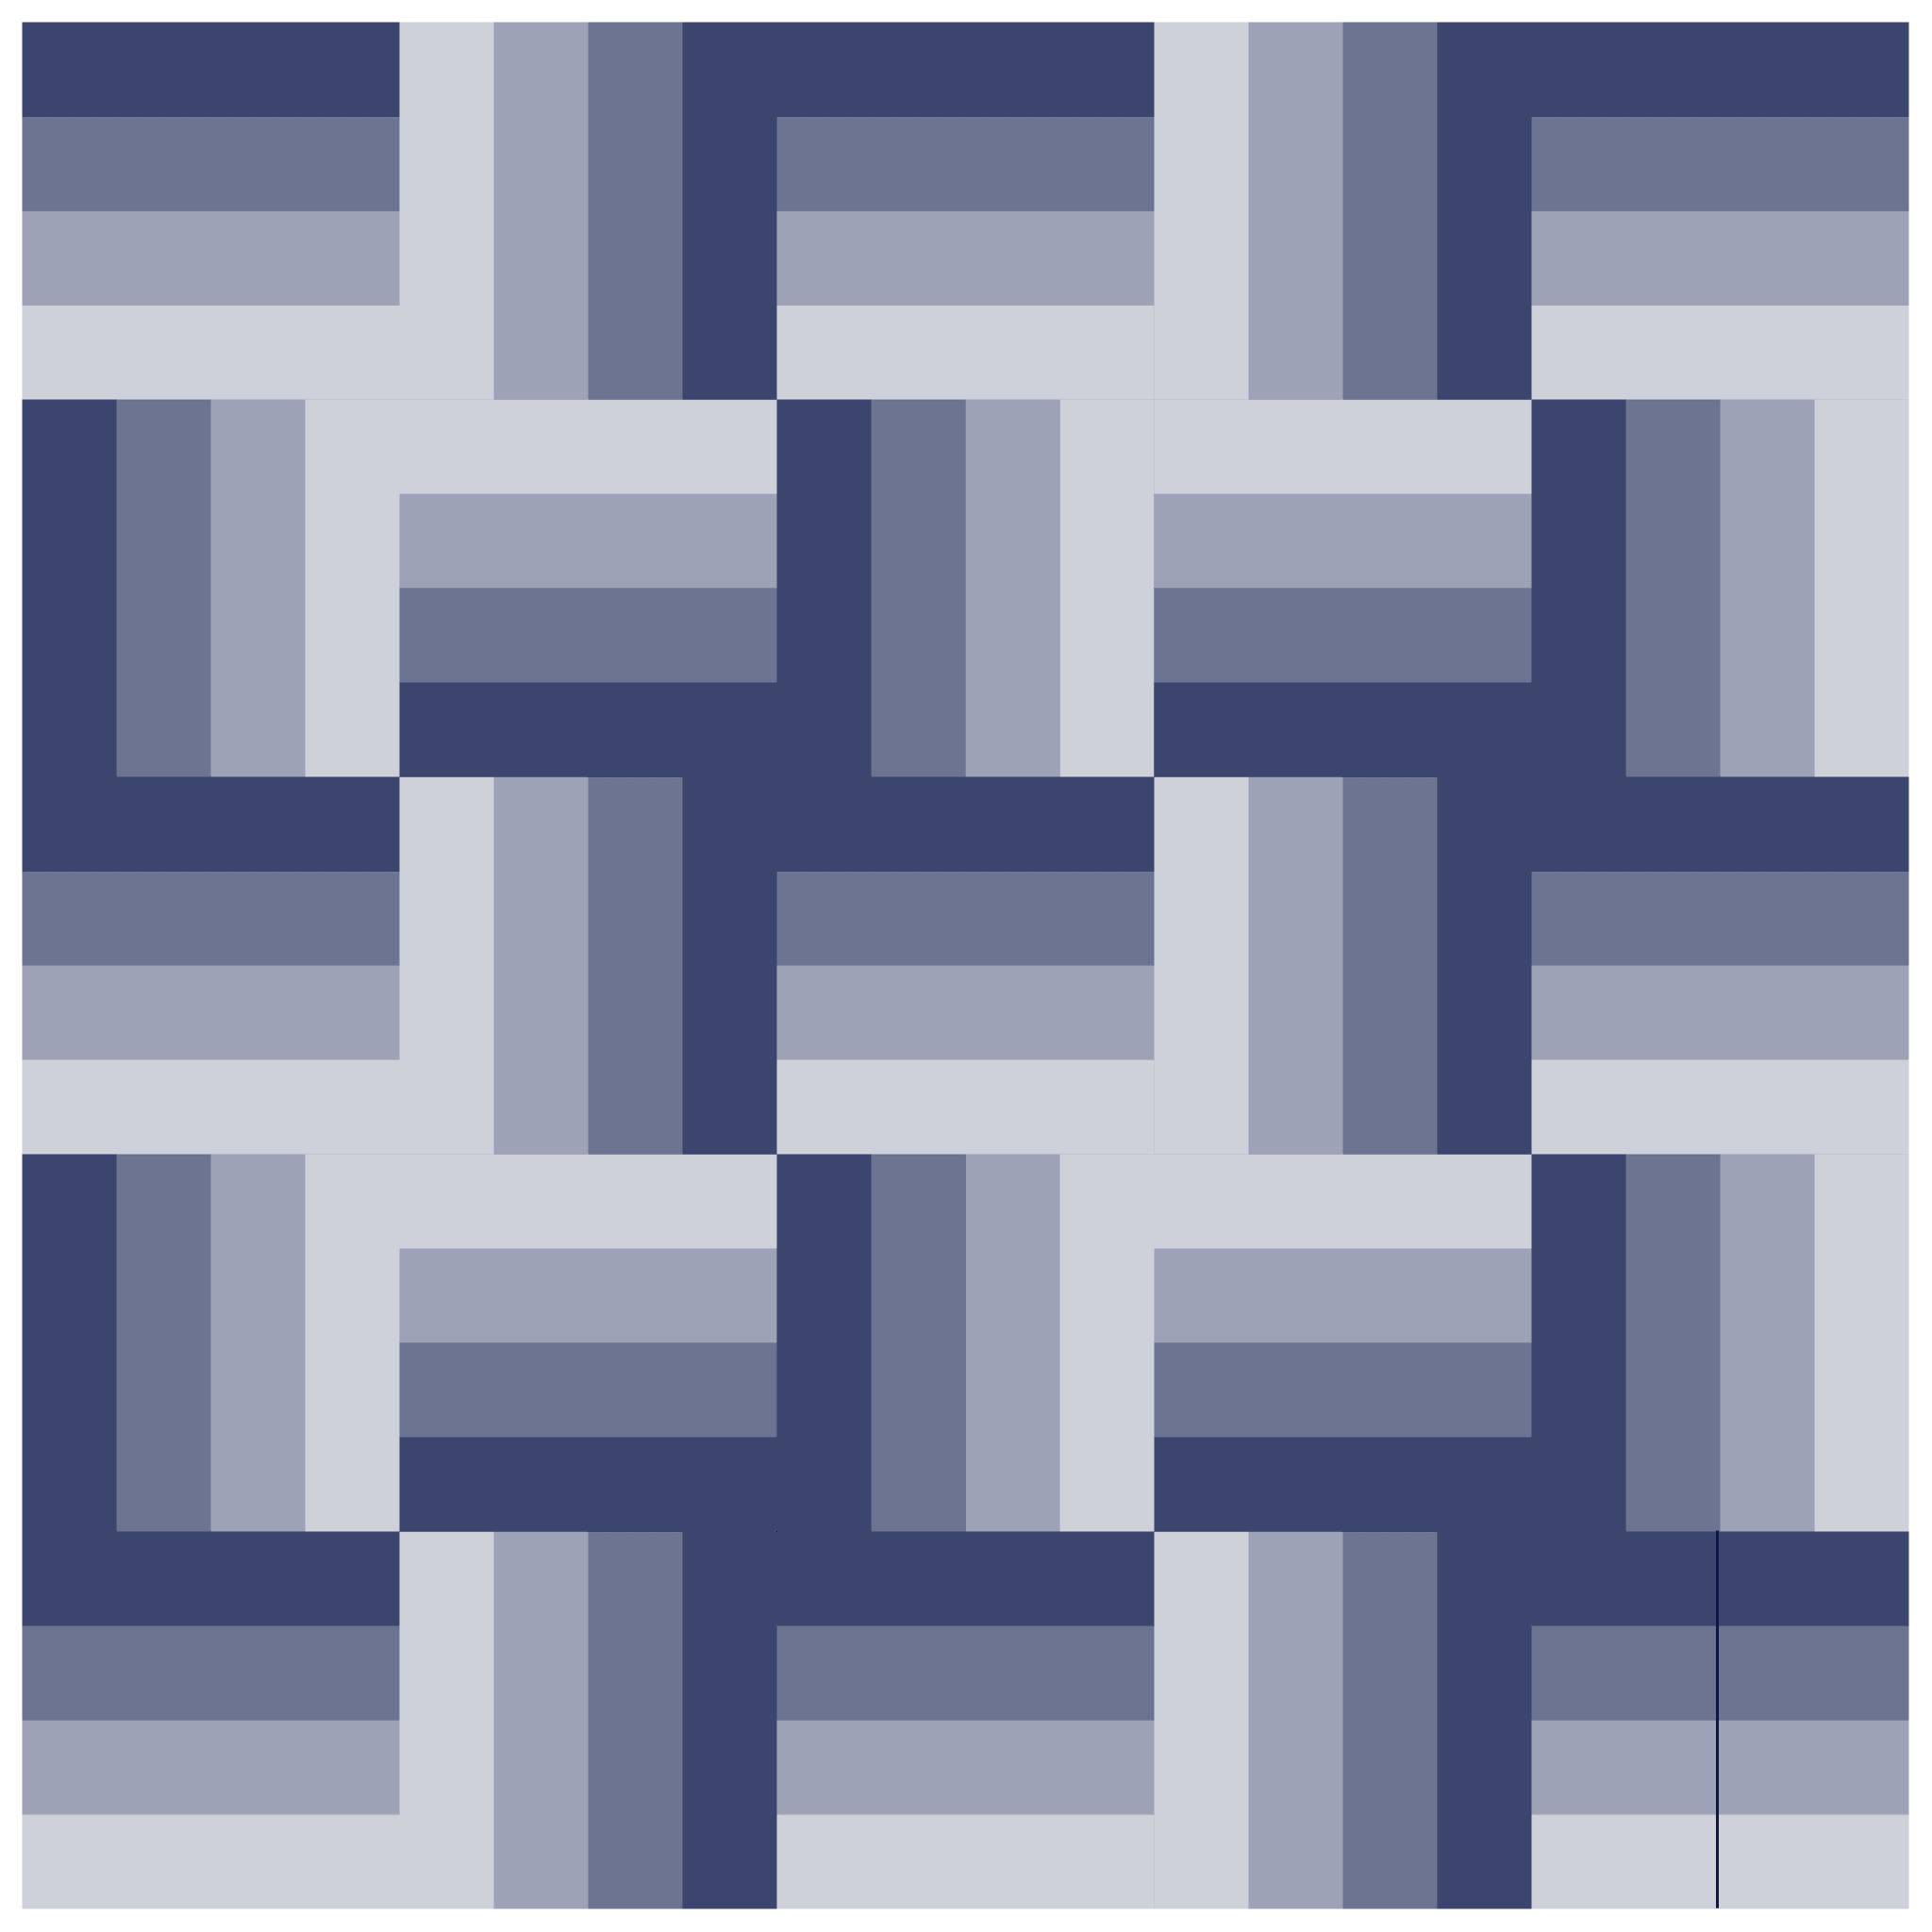
Basic: Five rows of five blocks each, alternating the direction of each block.
Intermediate: use values of the strips within blocks to create secondary patterns (sketch it before piecing or use a design wall).
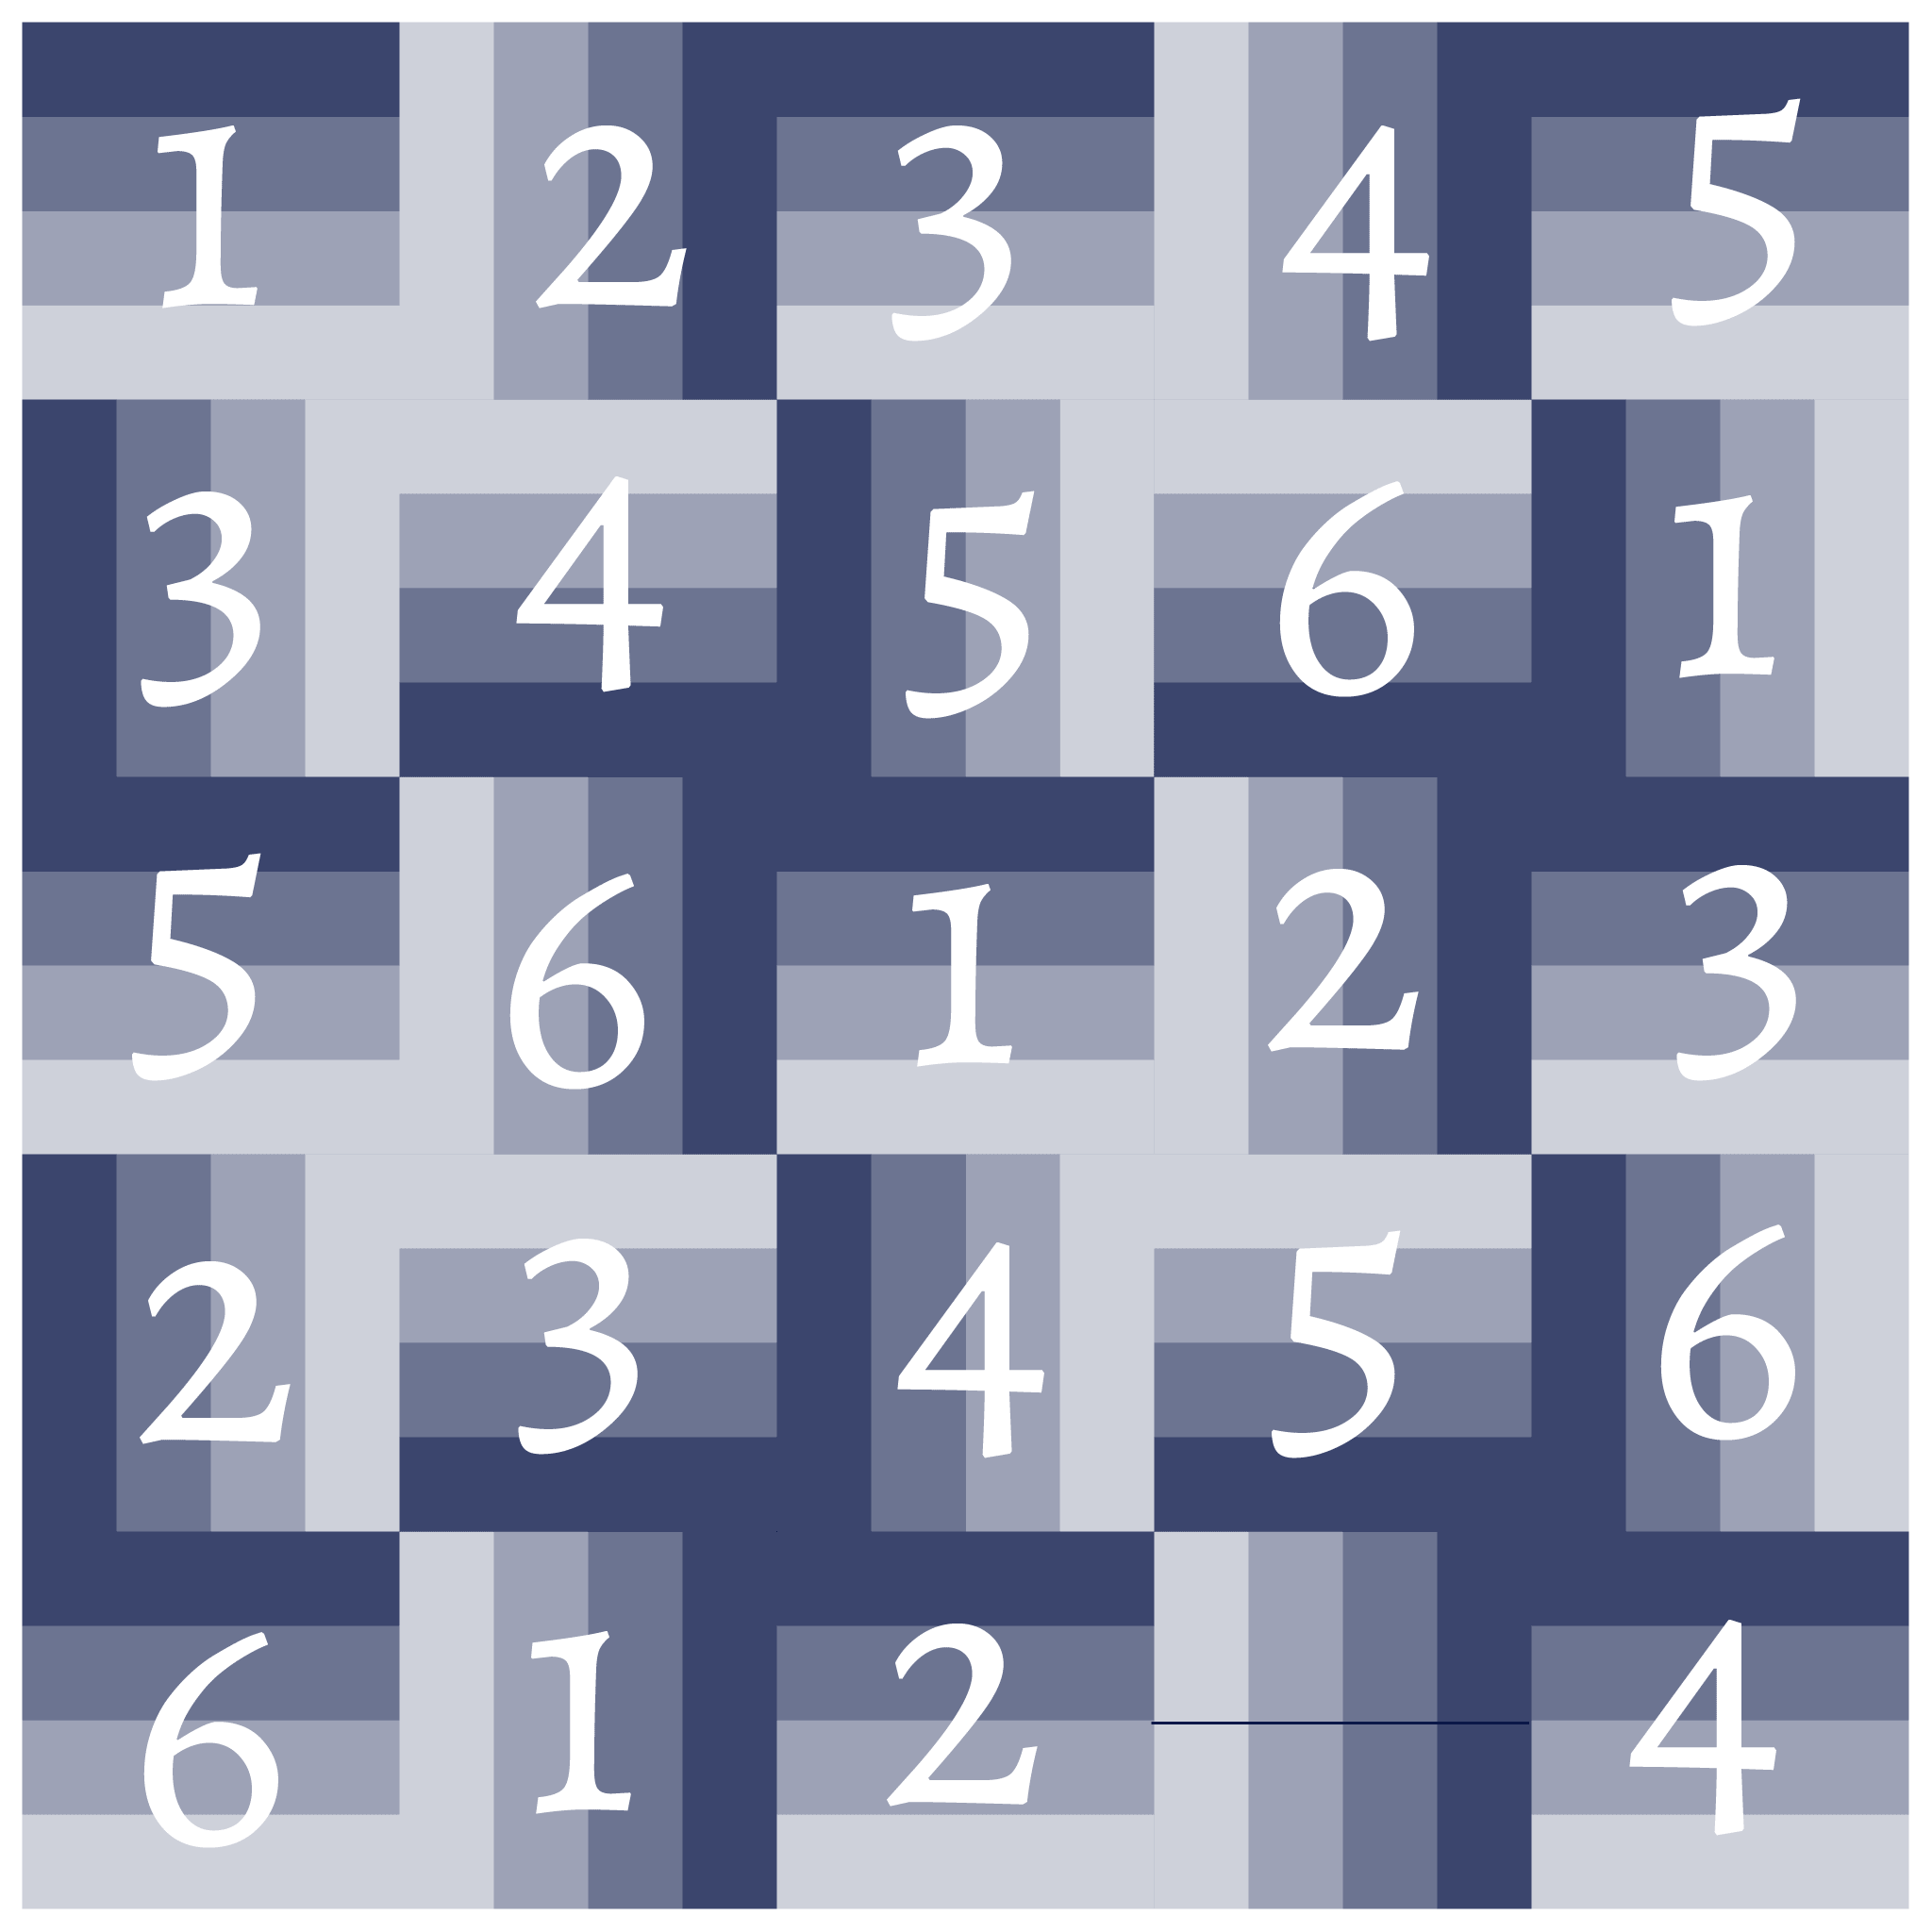
Advanced: solve the n-queens problem with your placement like I did to please my nerdy mind (no block is on the same horizontal, vertical, or diagonal as another of the same block set).
Go Further (optional):
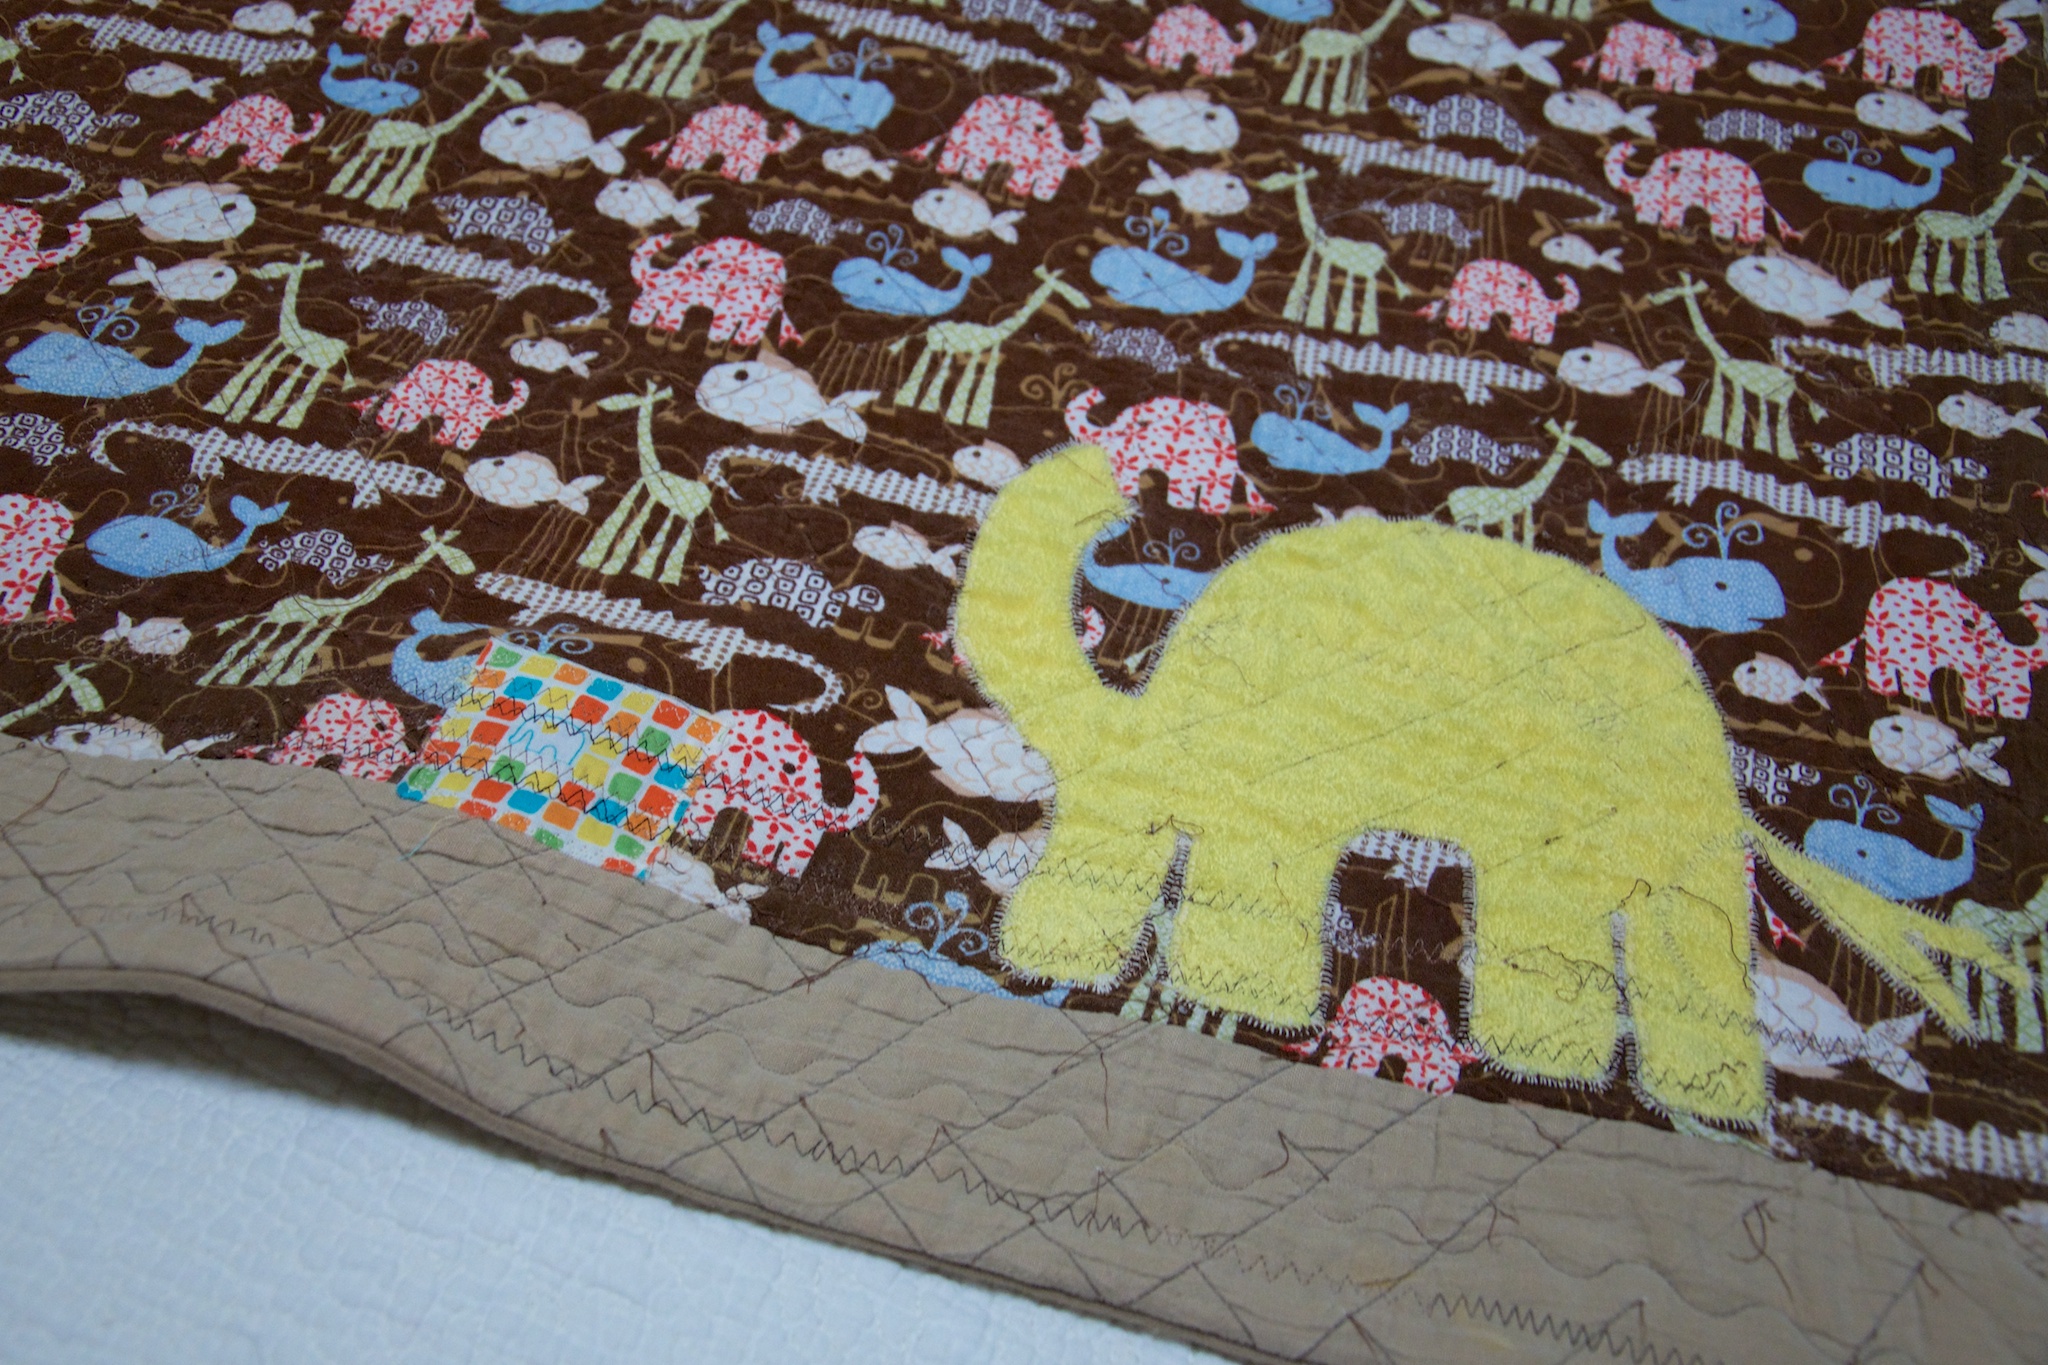
Use embellishment or applique to personalize it
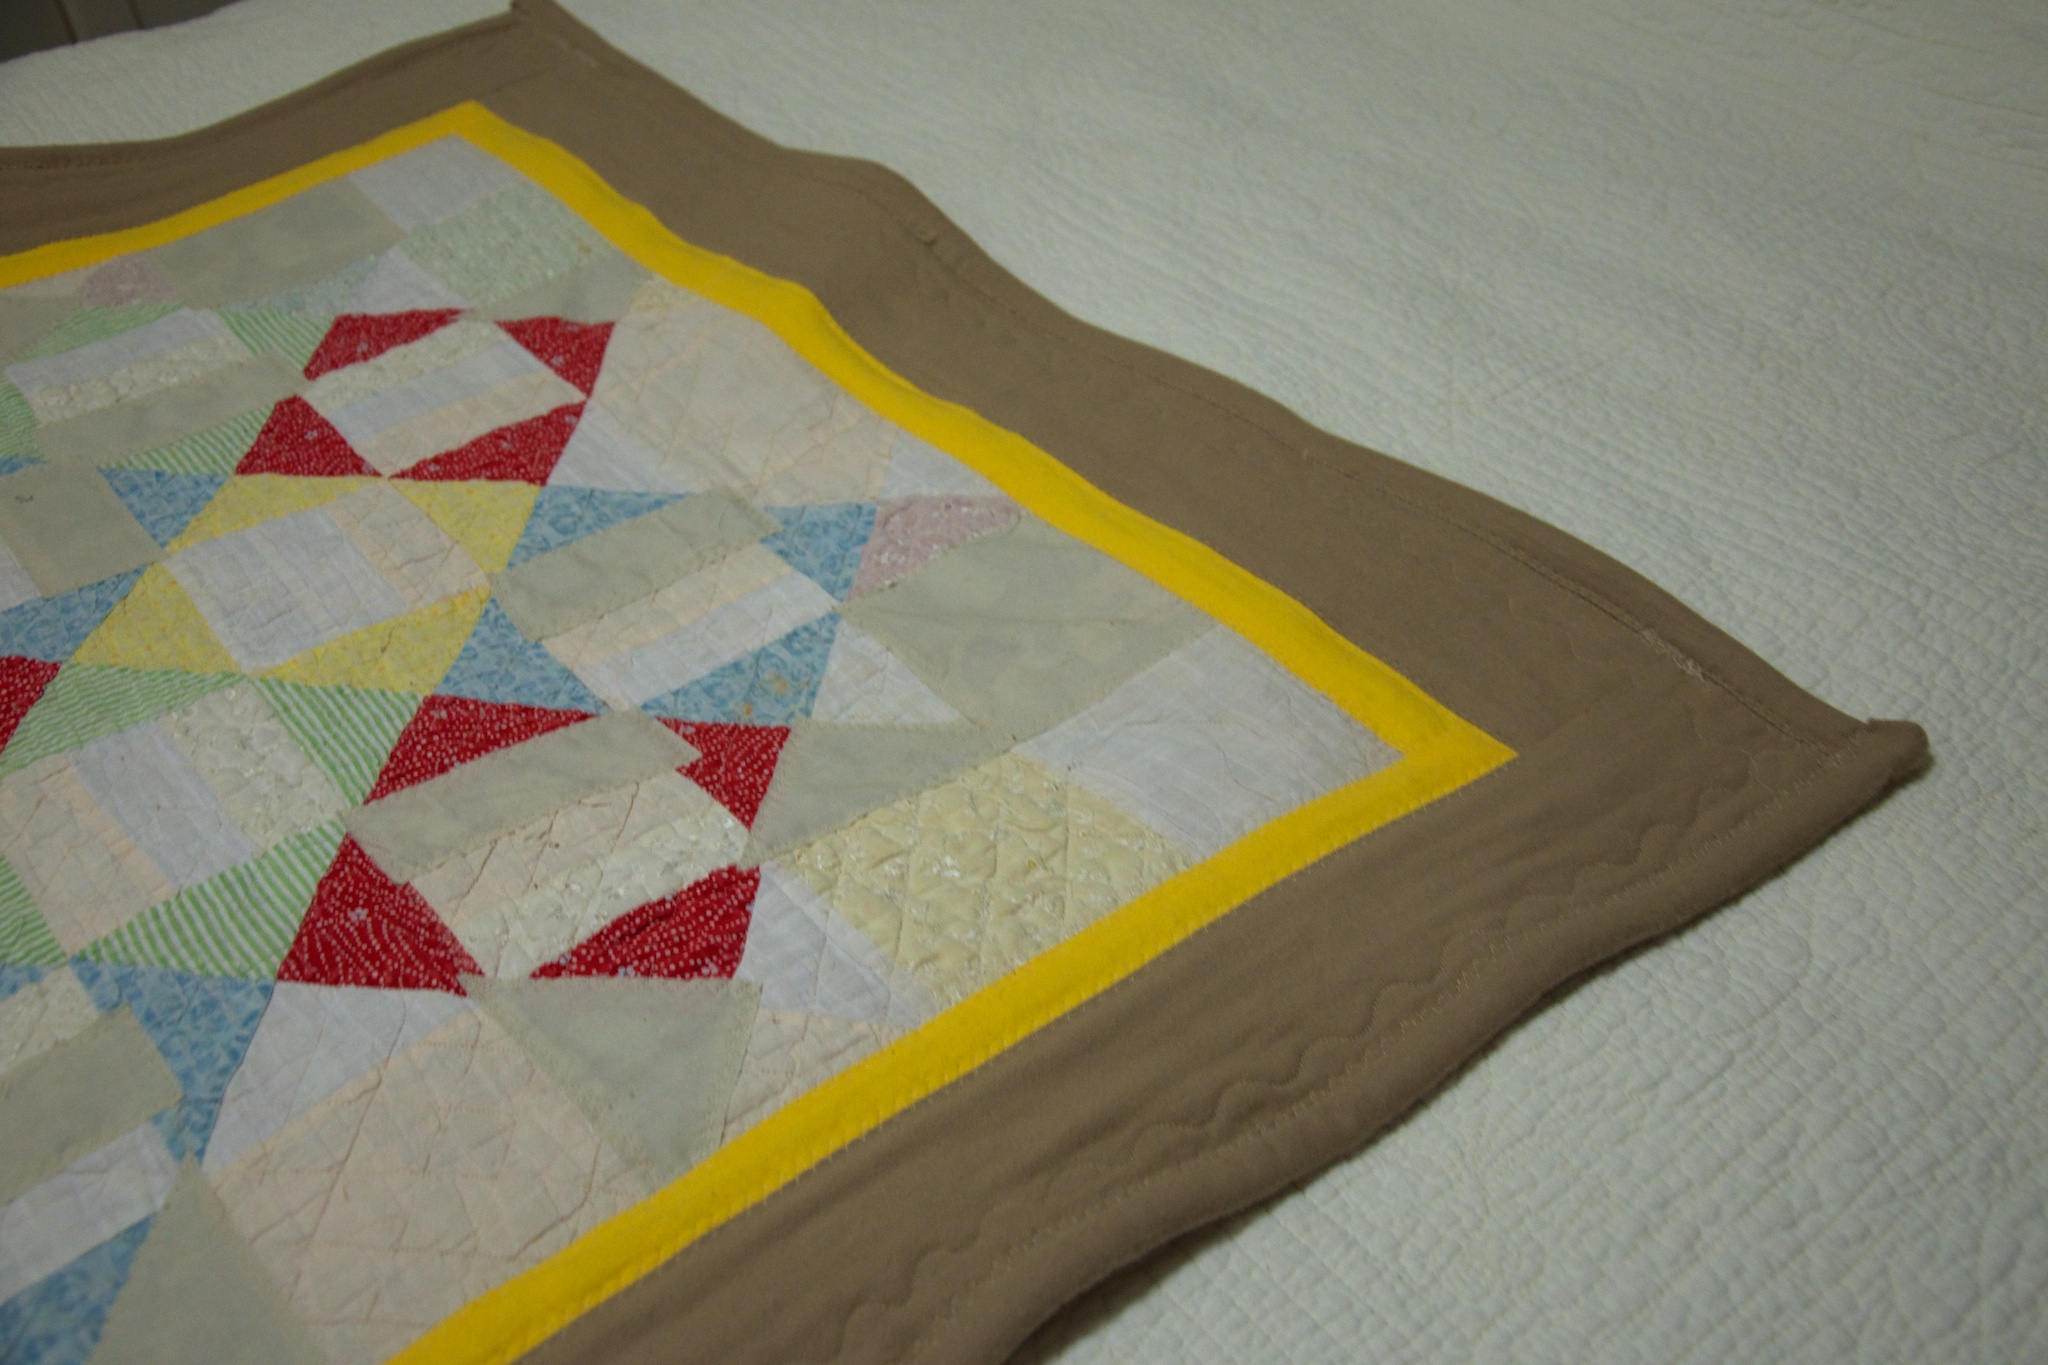
Add borders to make it larger
Add asymmetrical borders to play with negative space
My Decision-making Process
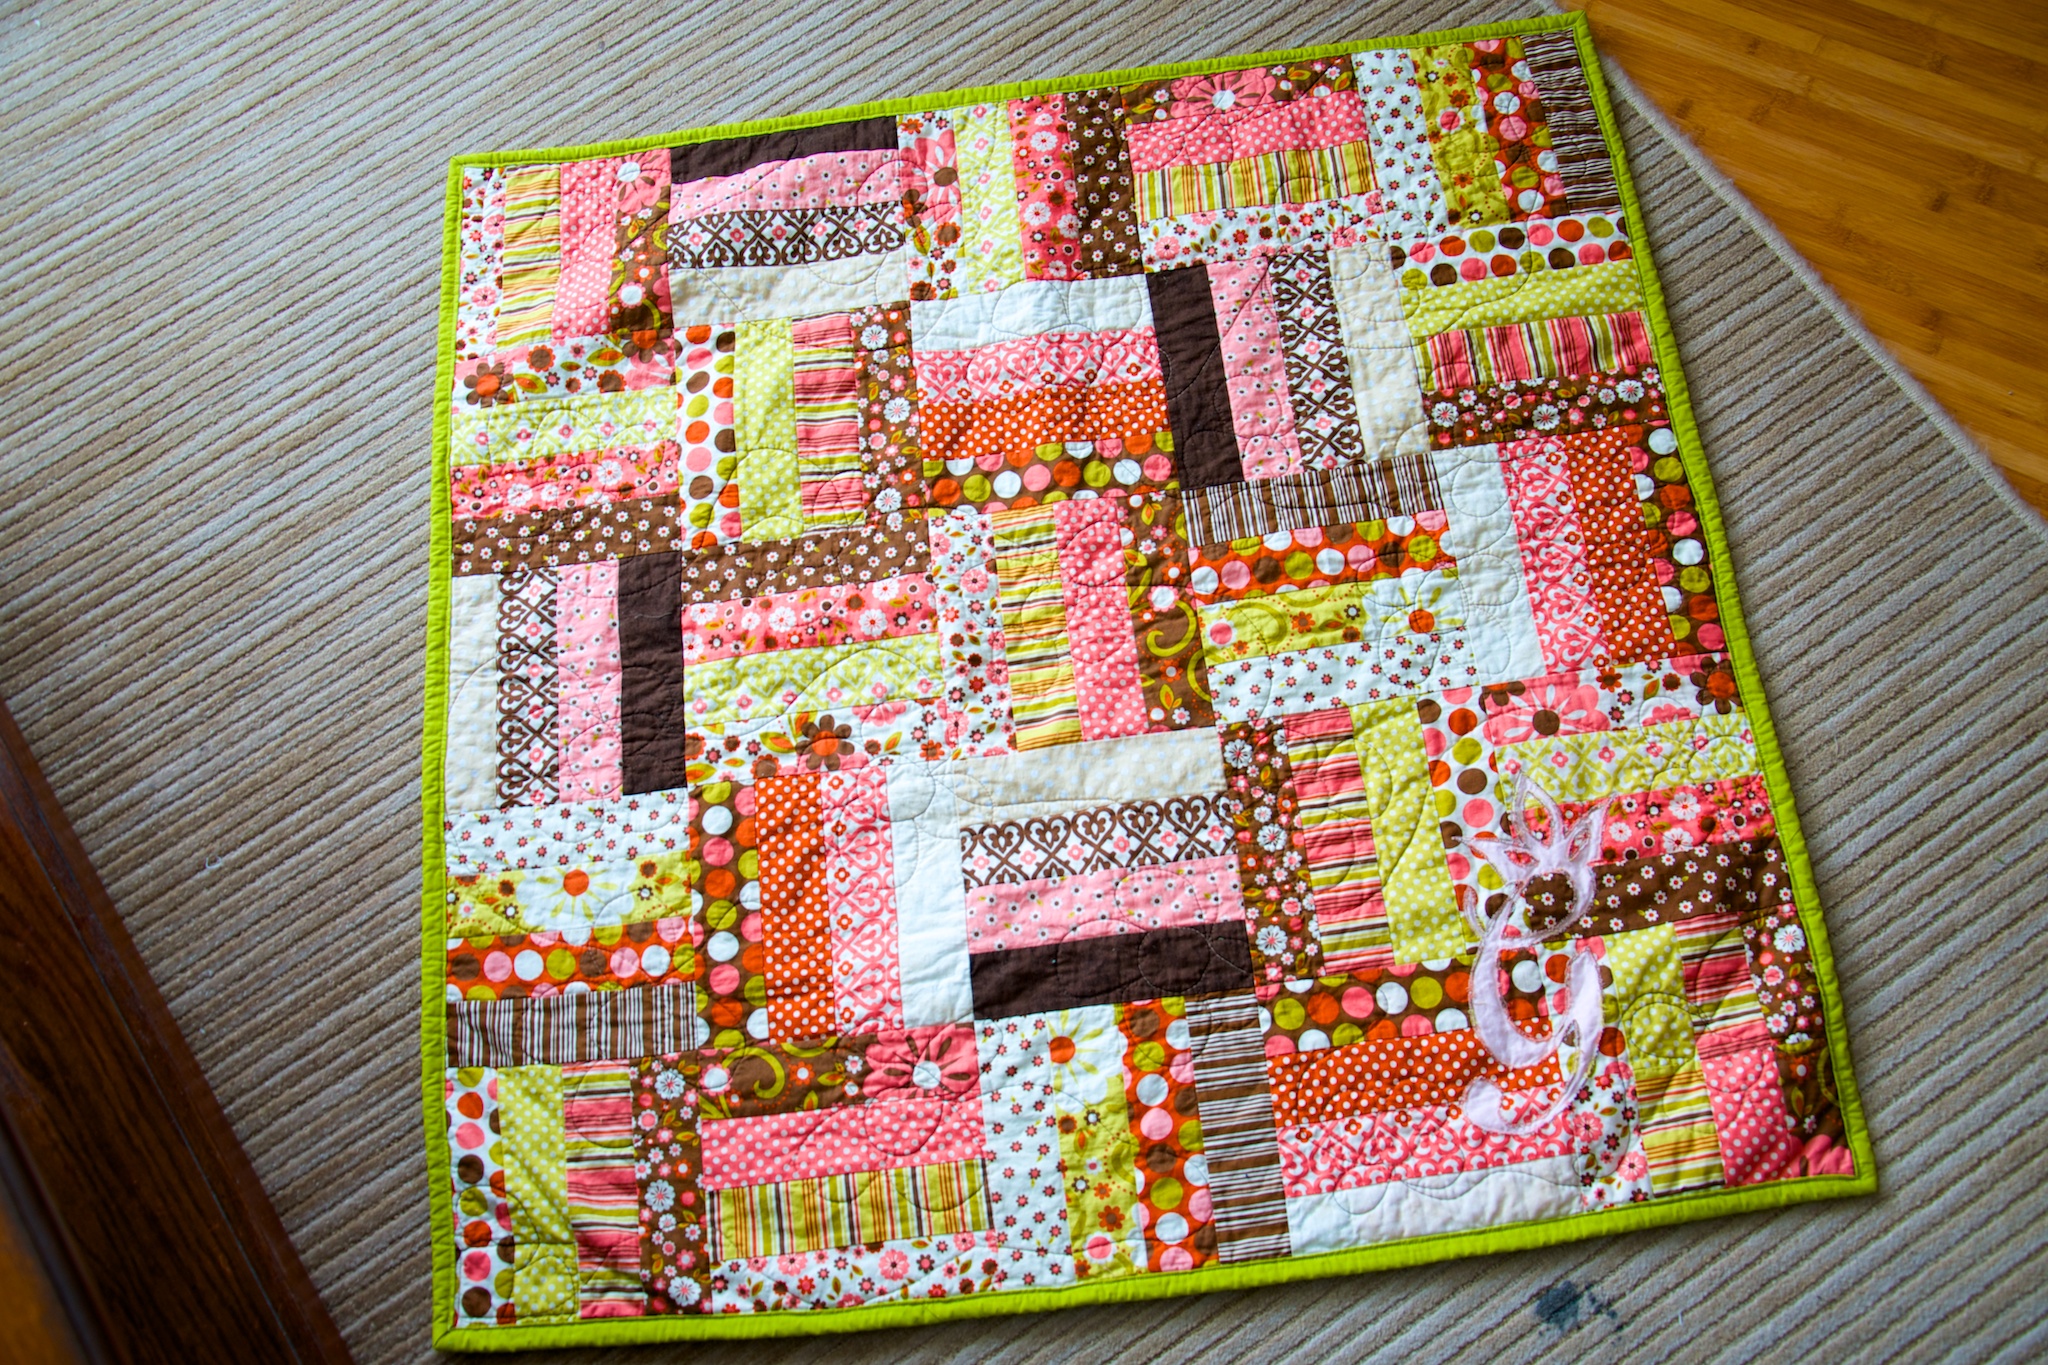
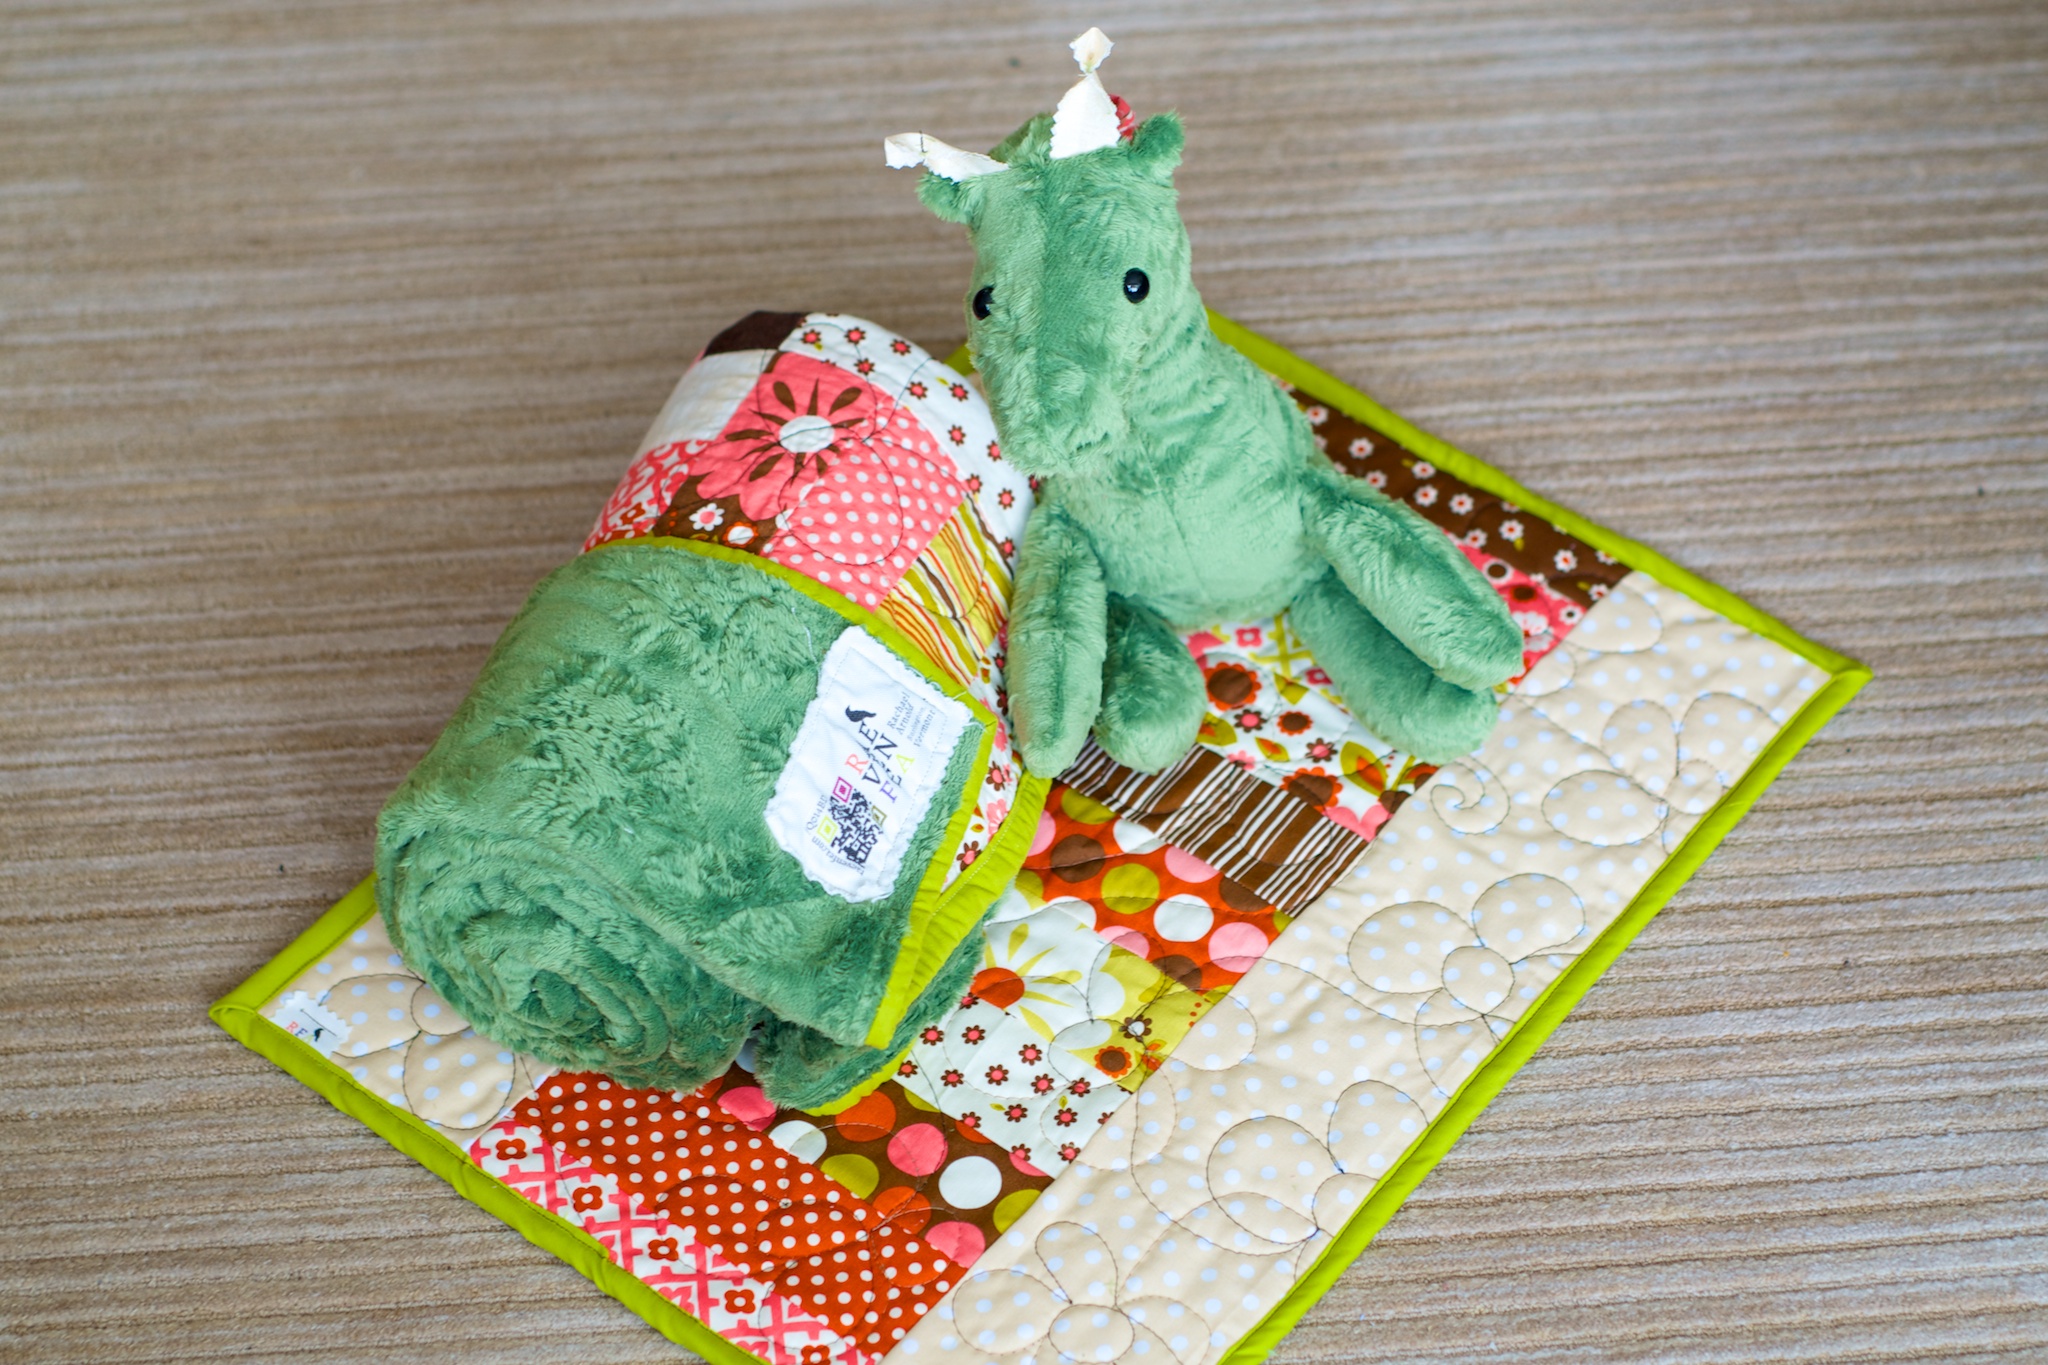
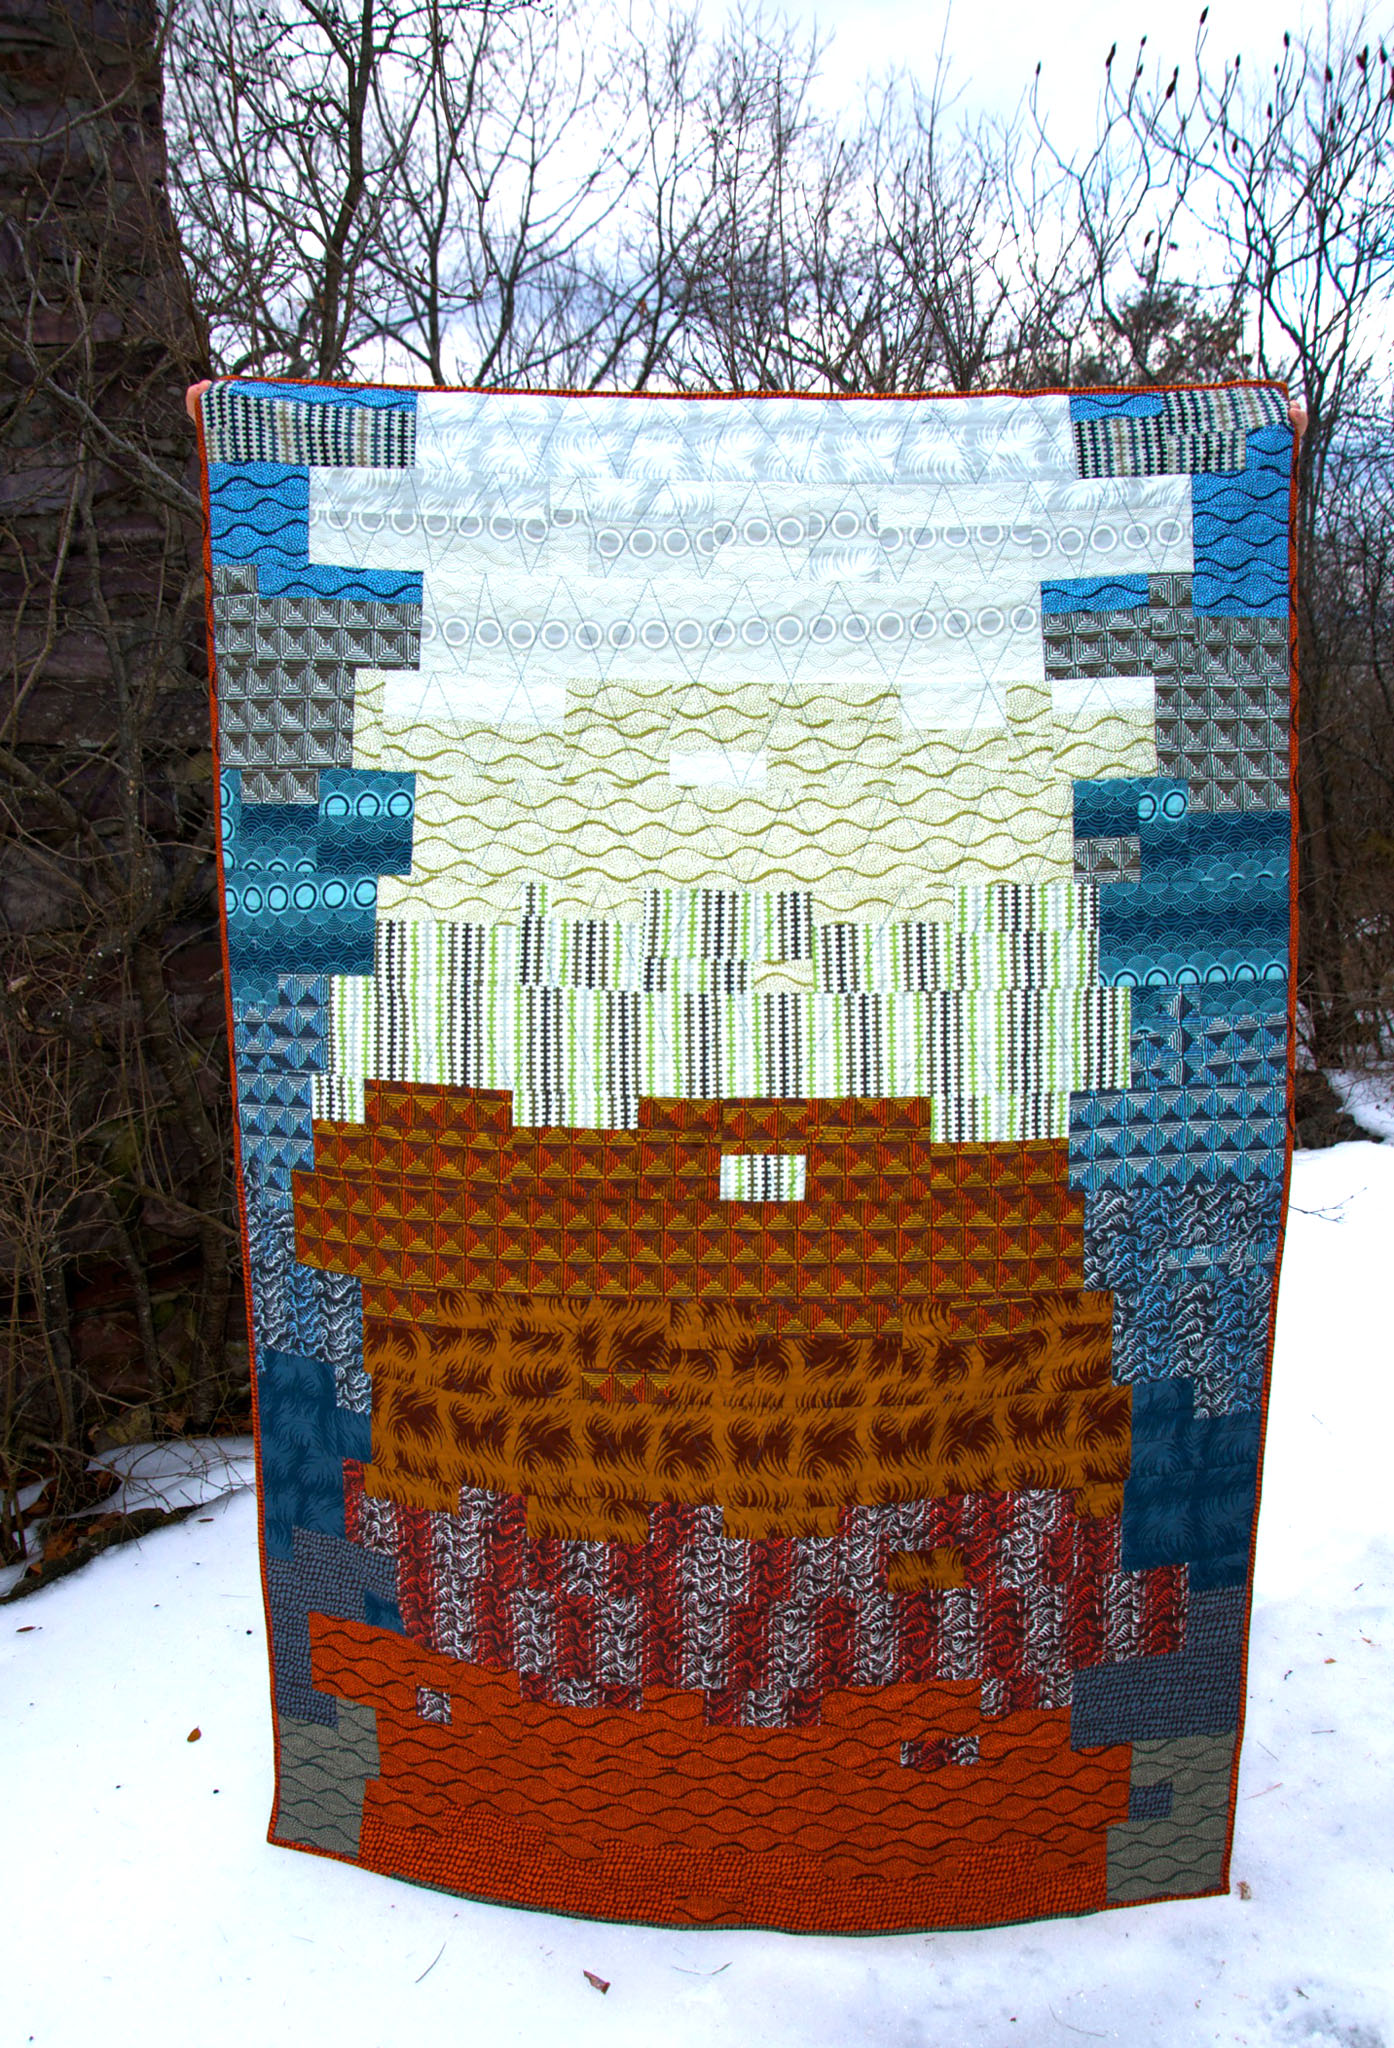
What caused me to make the choices in my own quilt? In this case, form followed supplies and time. I had a Rolie Polie of 23 2.5″ strips, a 54″ square piece of Minky, a stash to draw from for binding, but nothing much that coordinated with the Rolie Polie otherwise. And, I had about a week and a half to make the quilt.
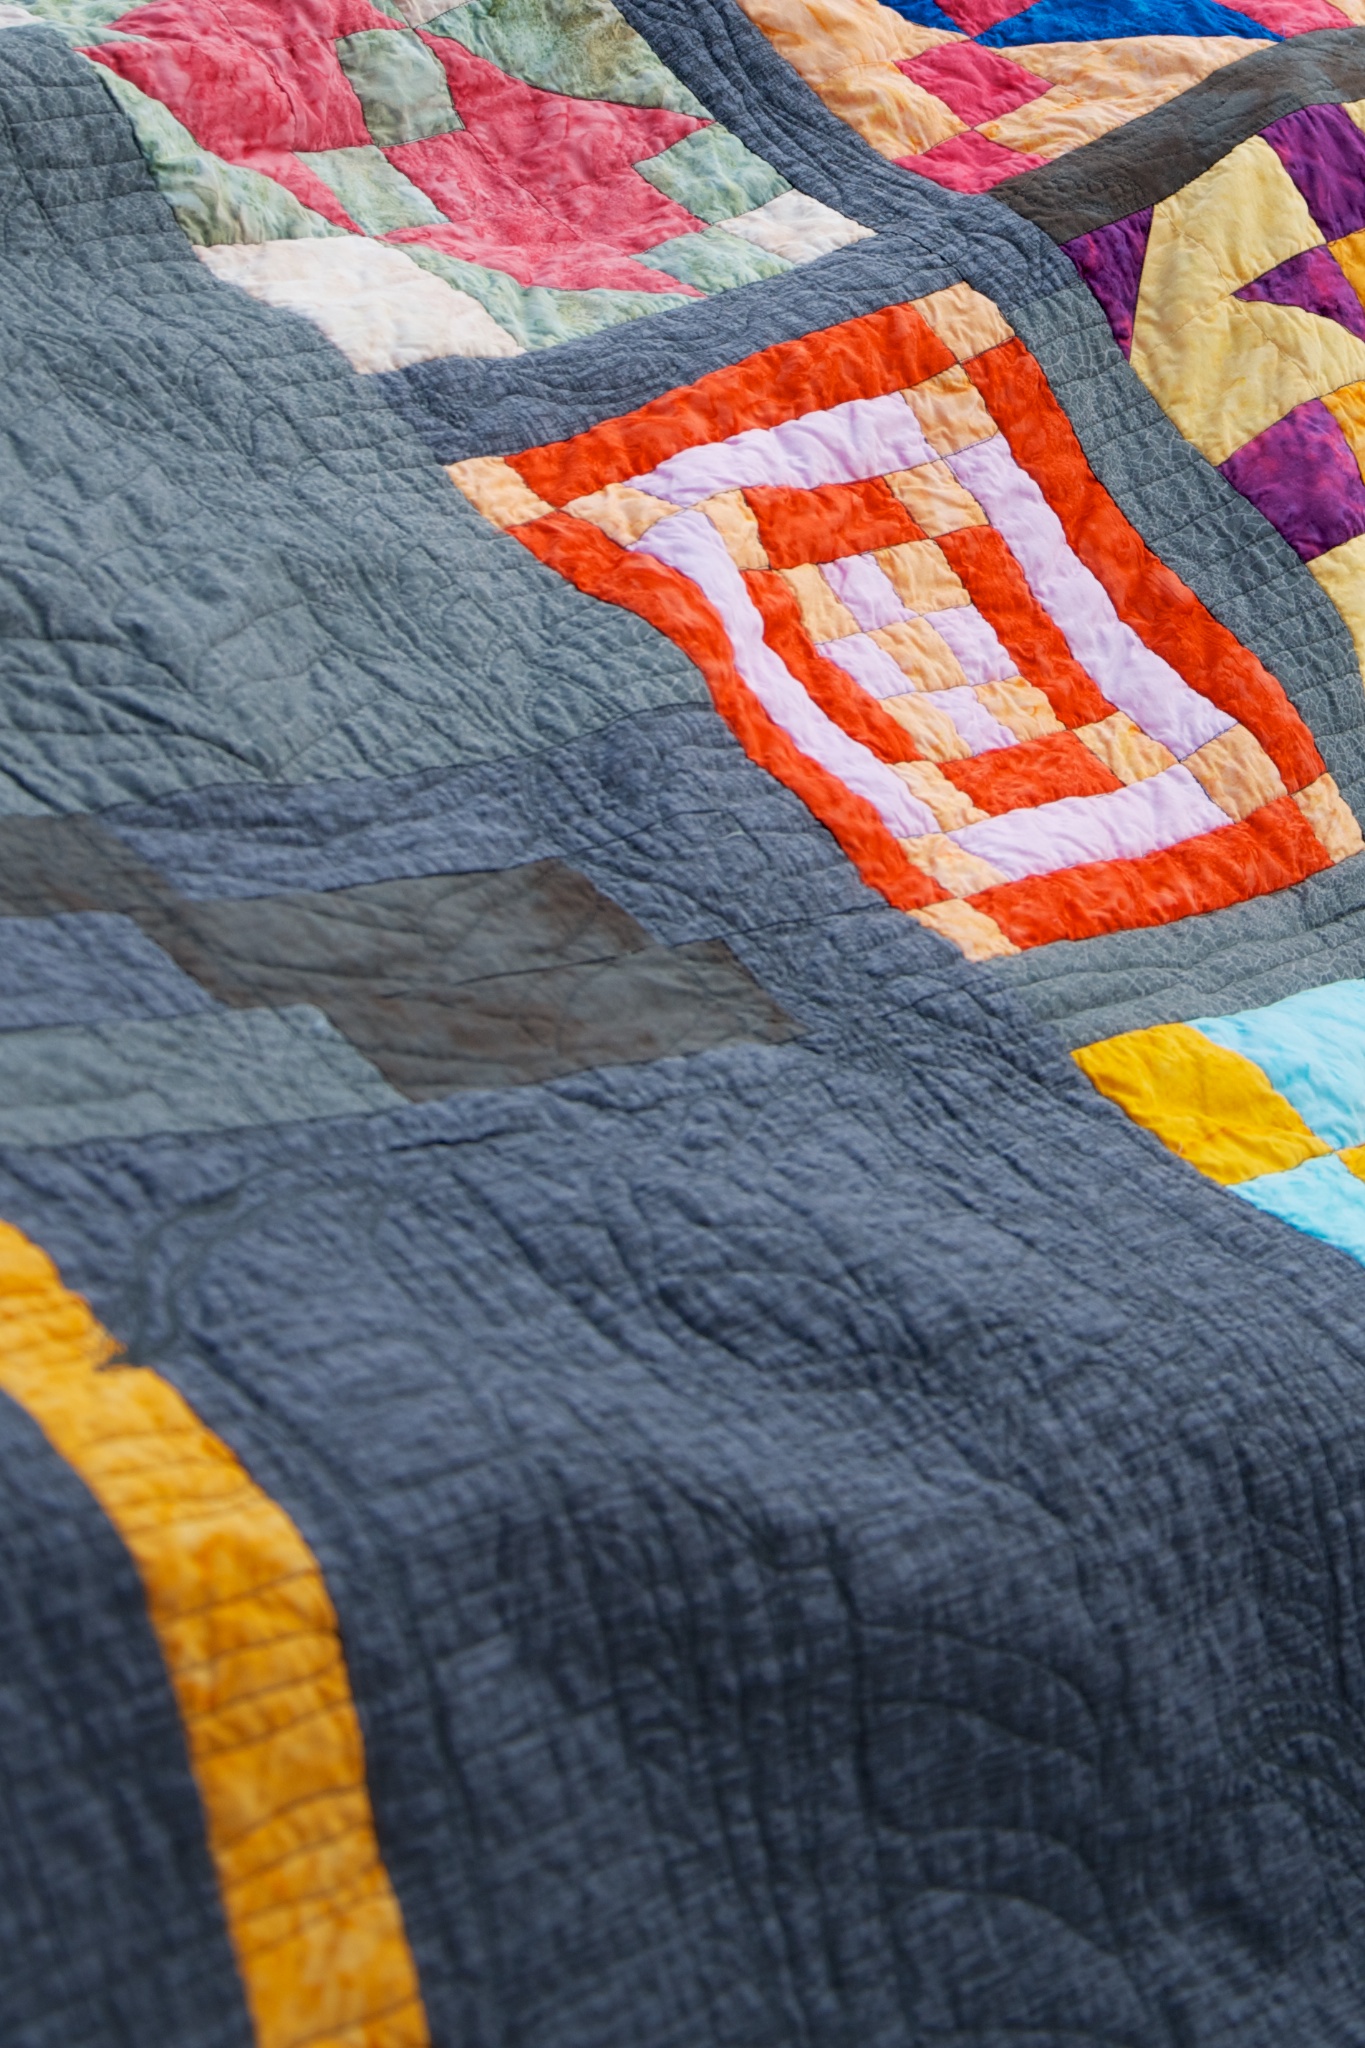
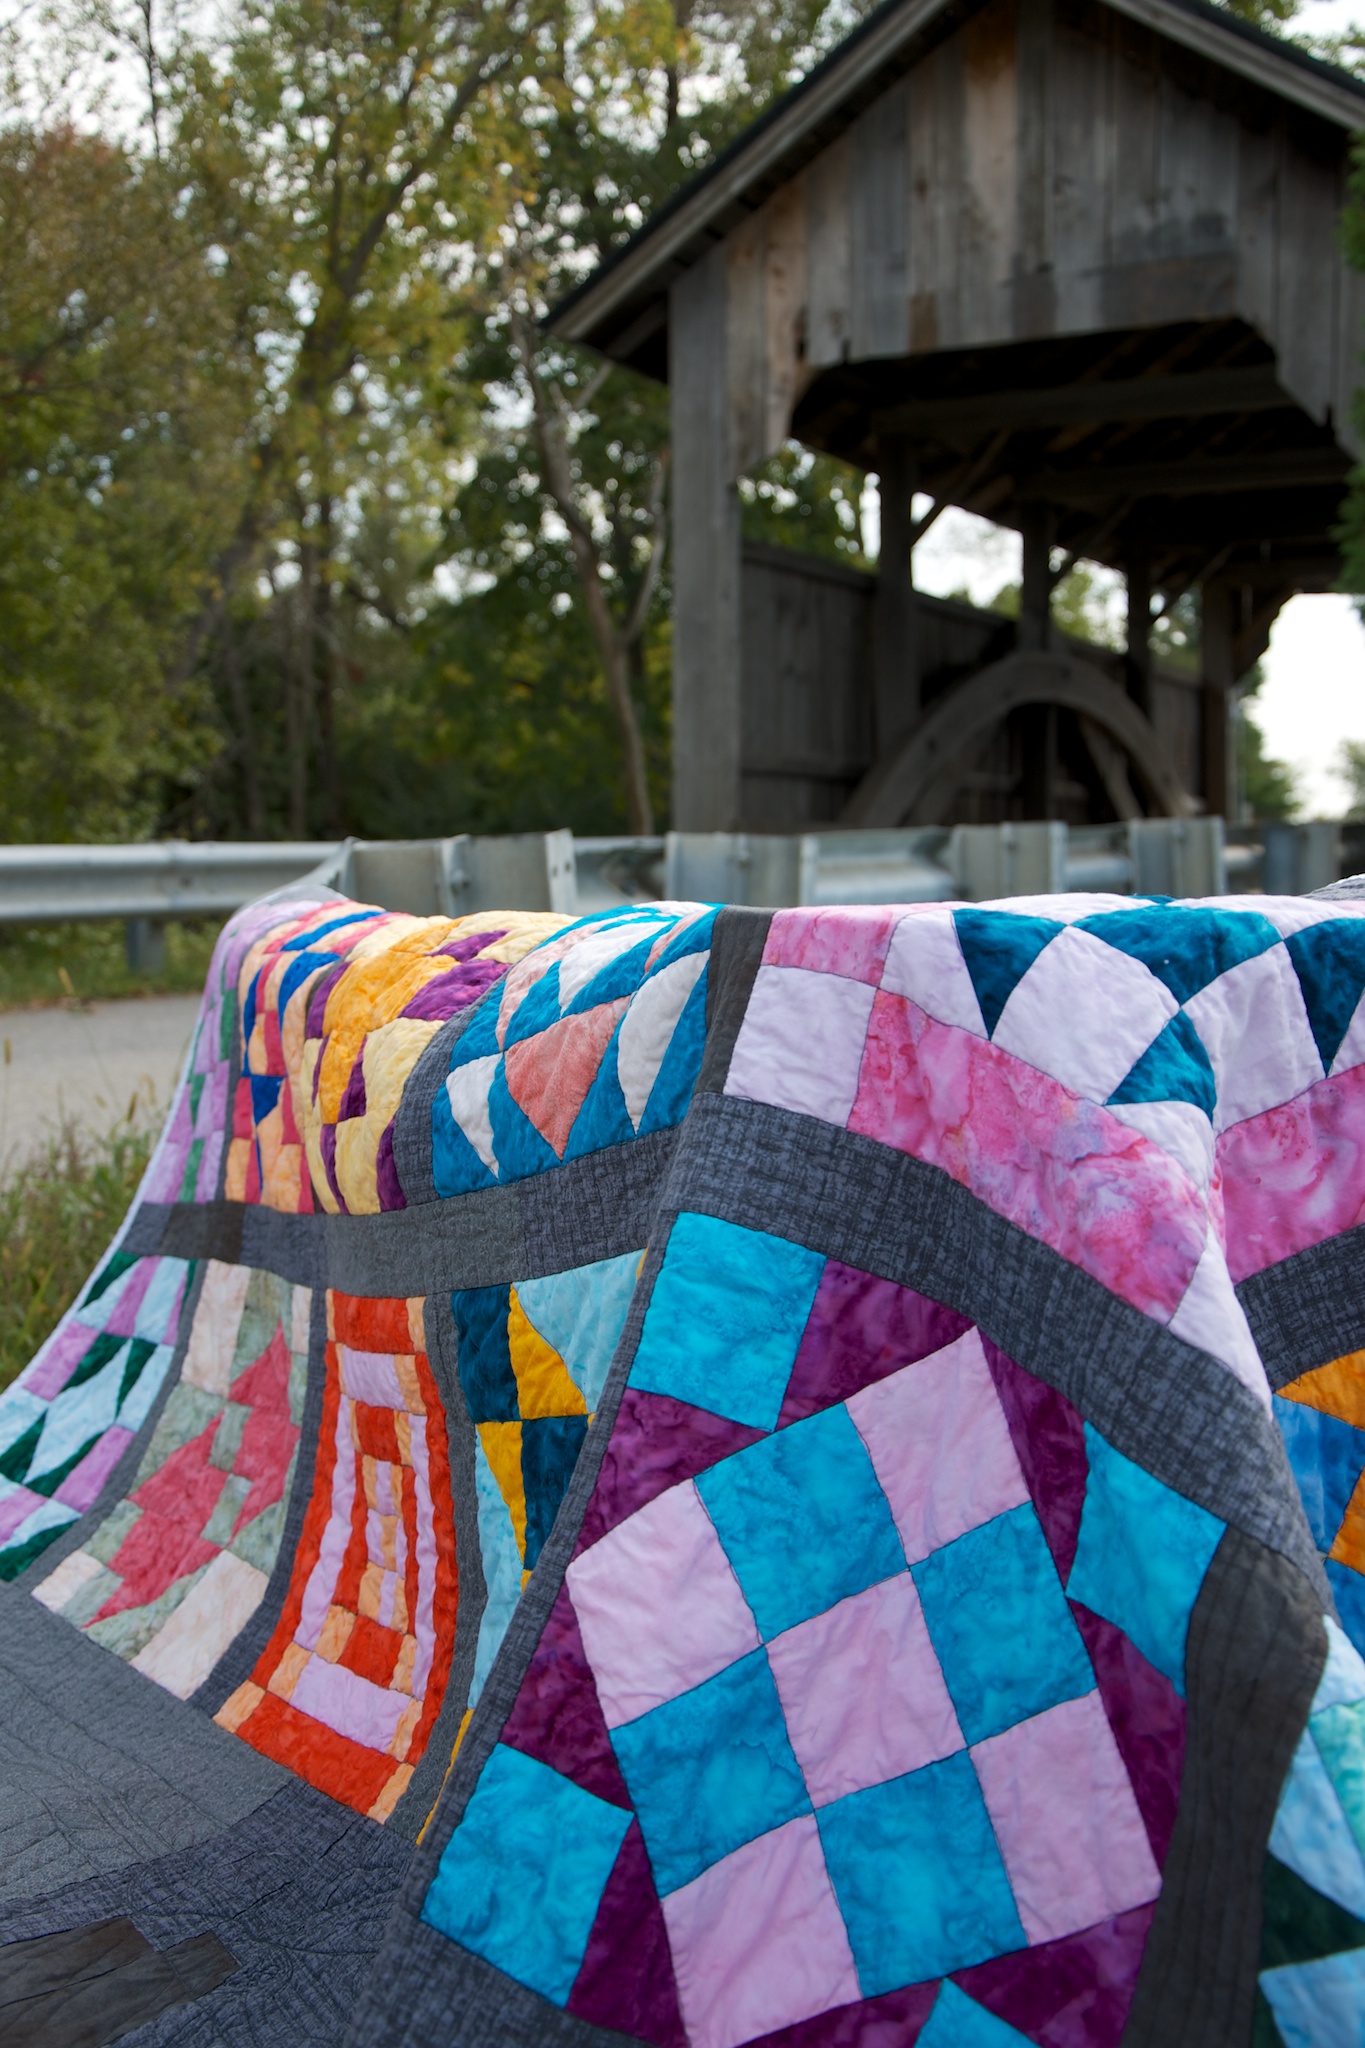
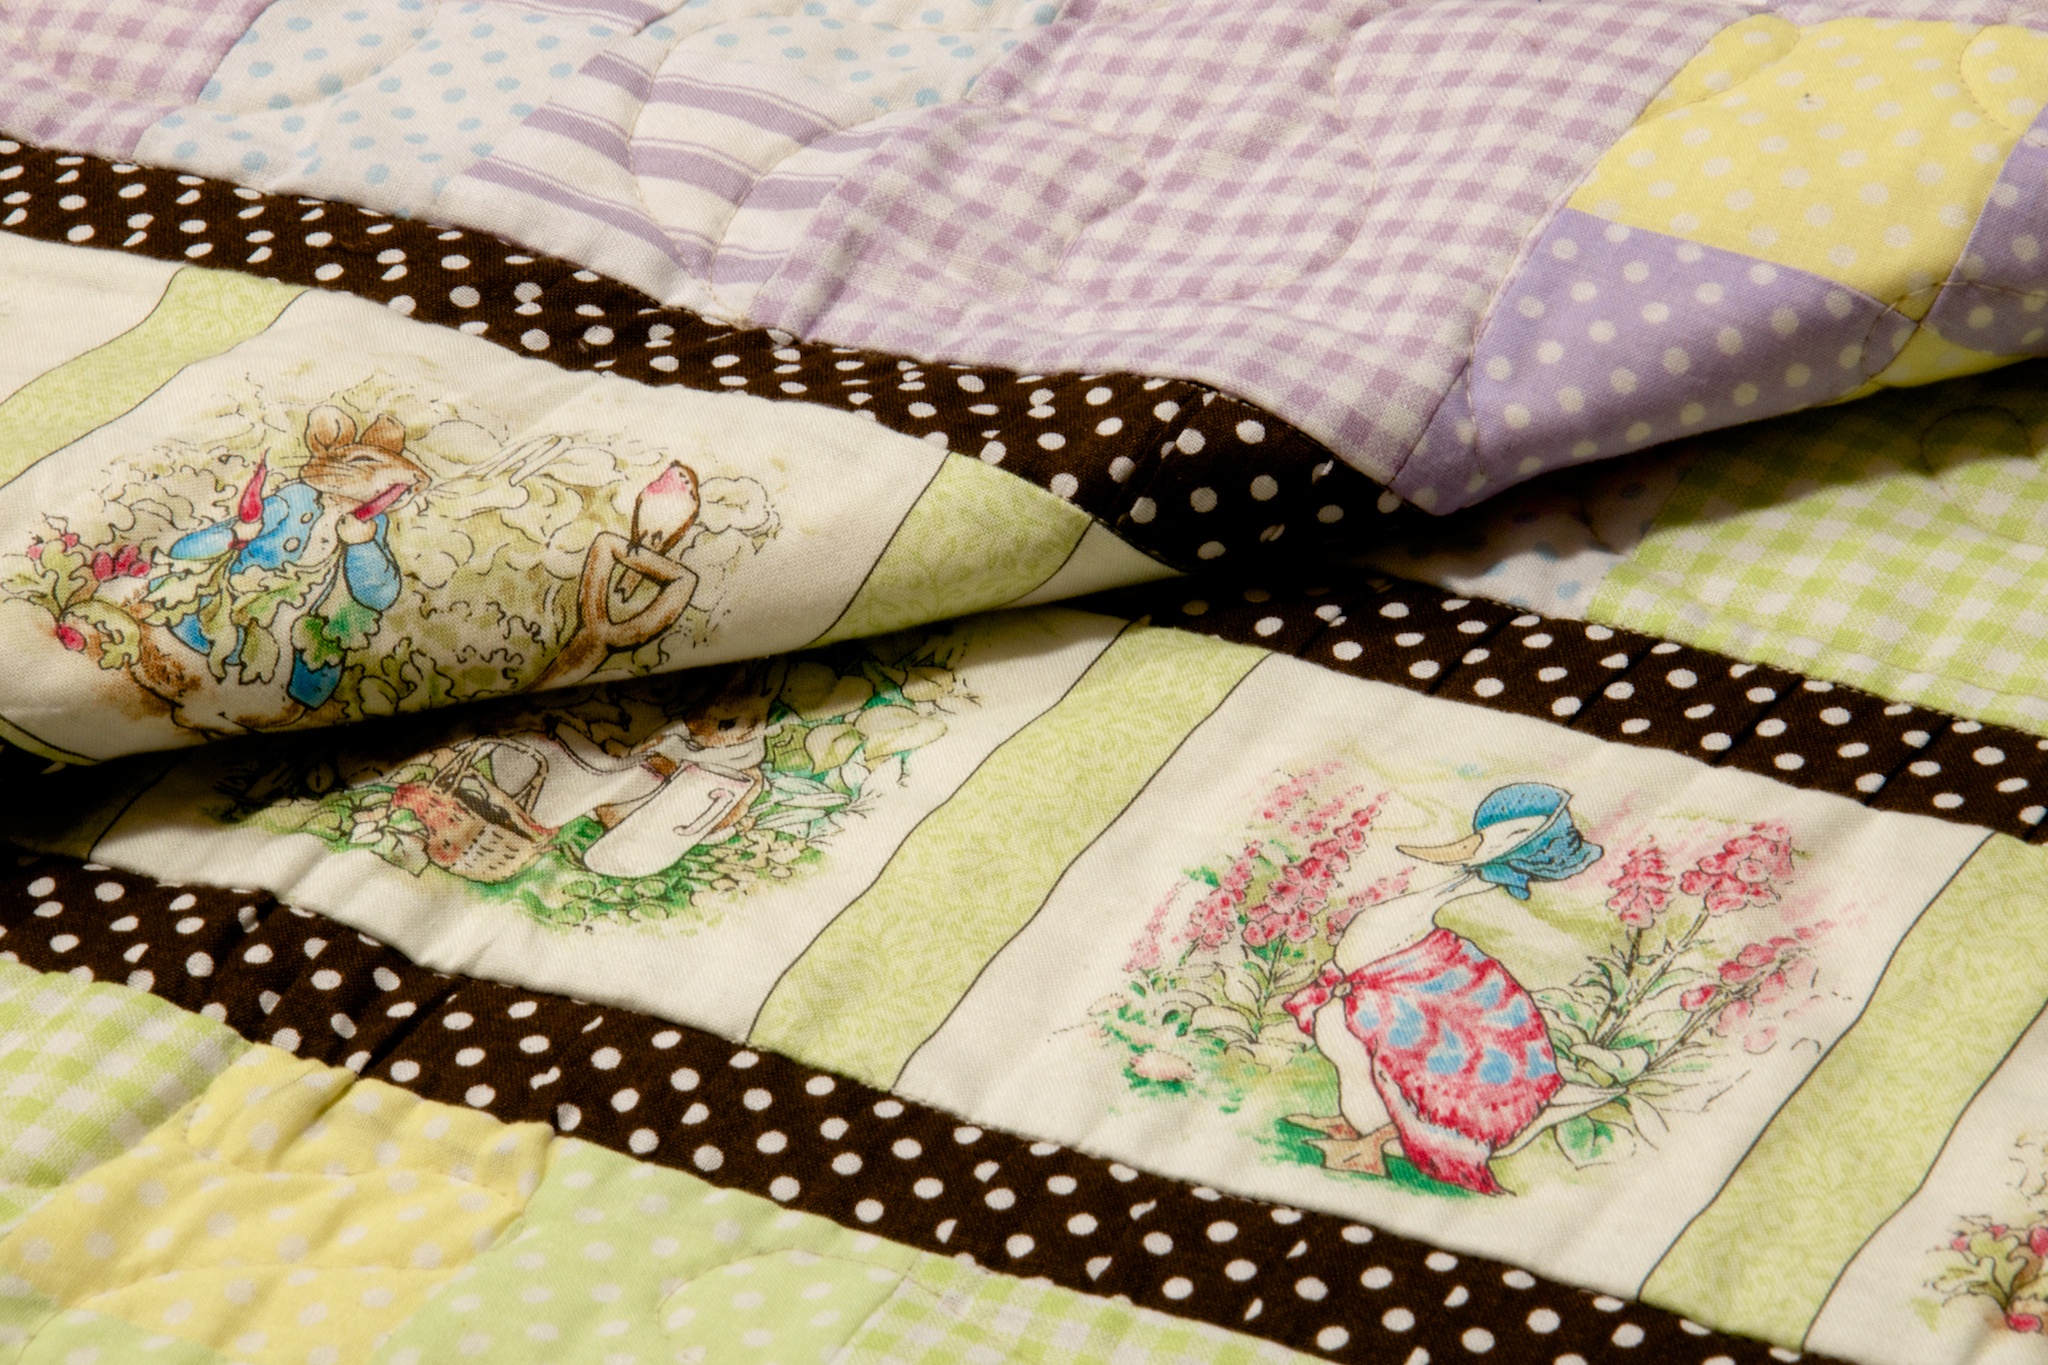
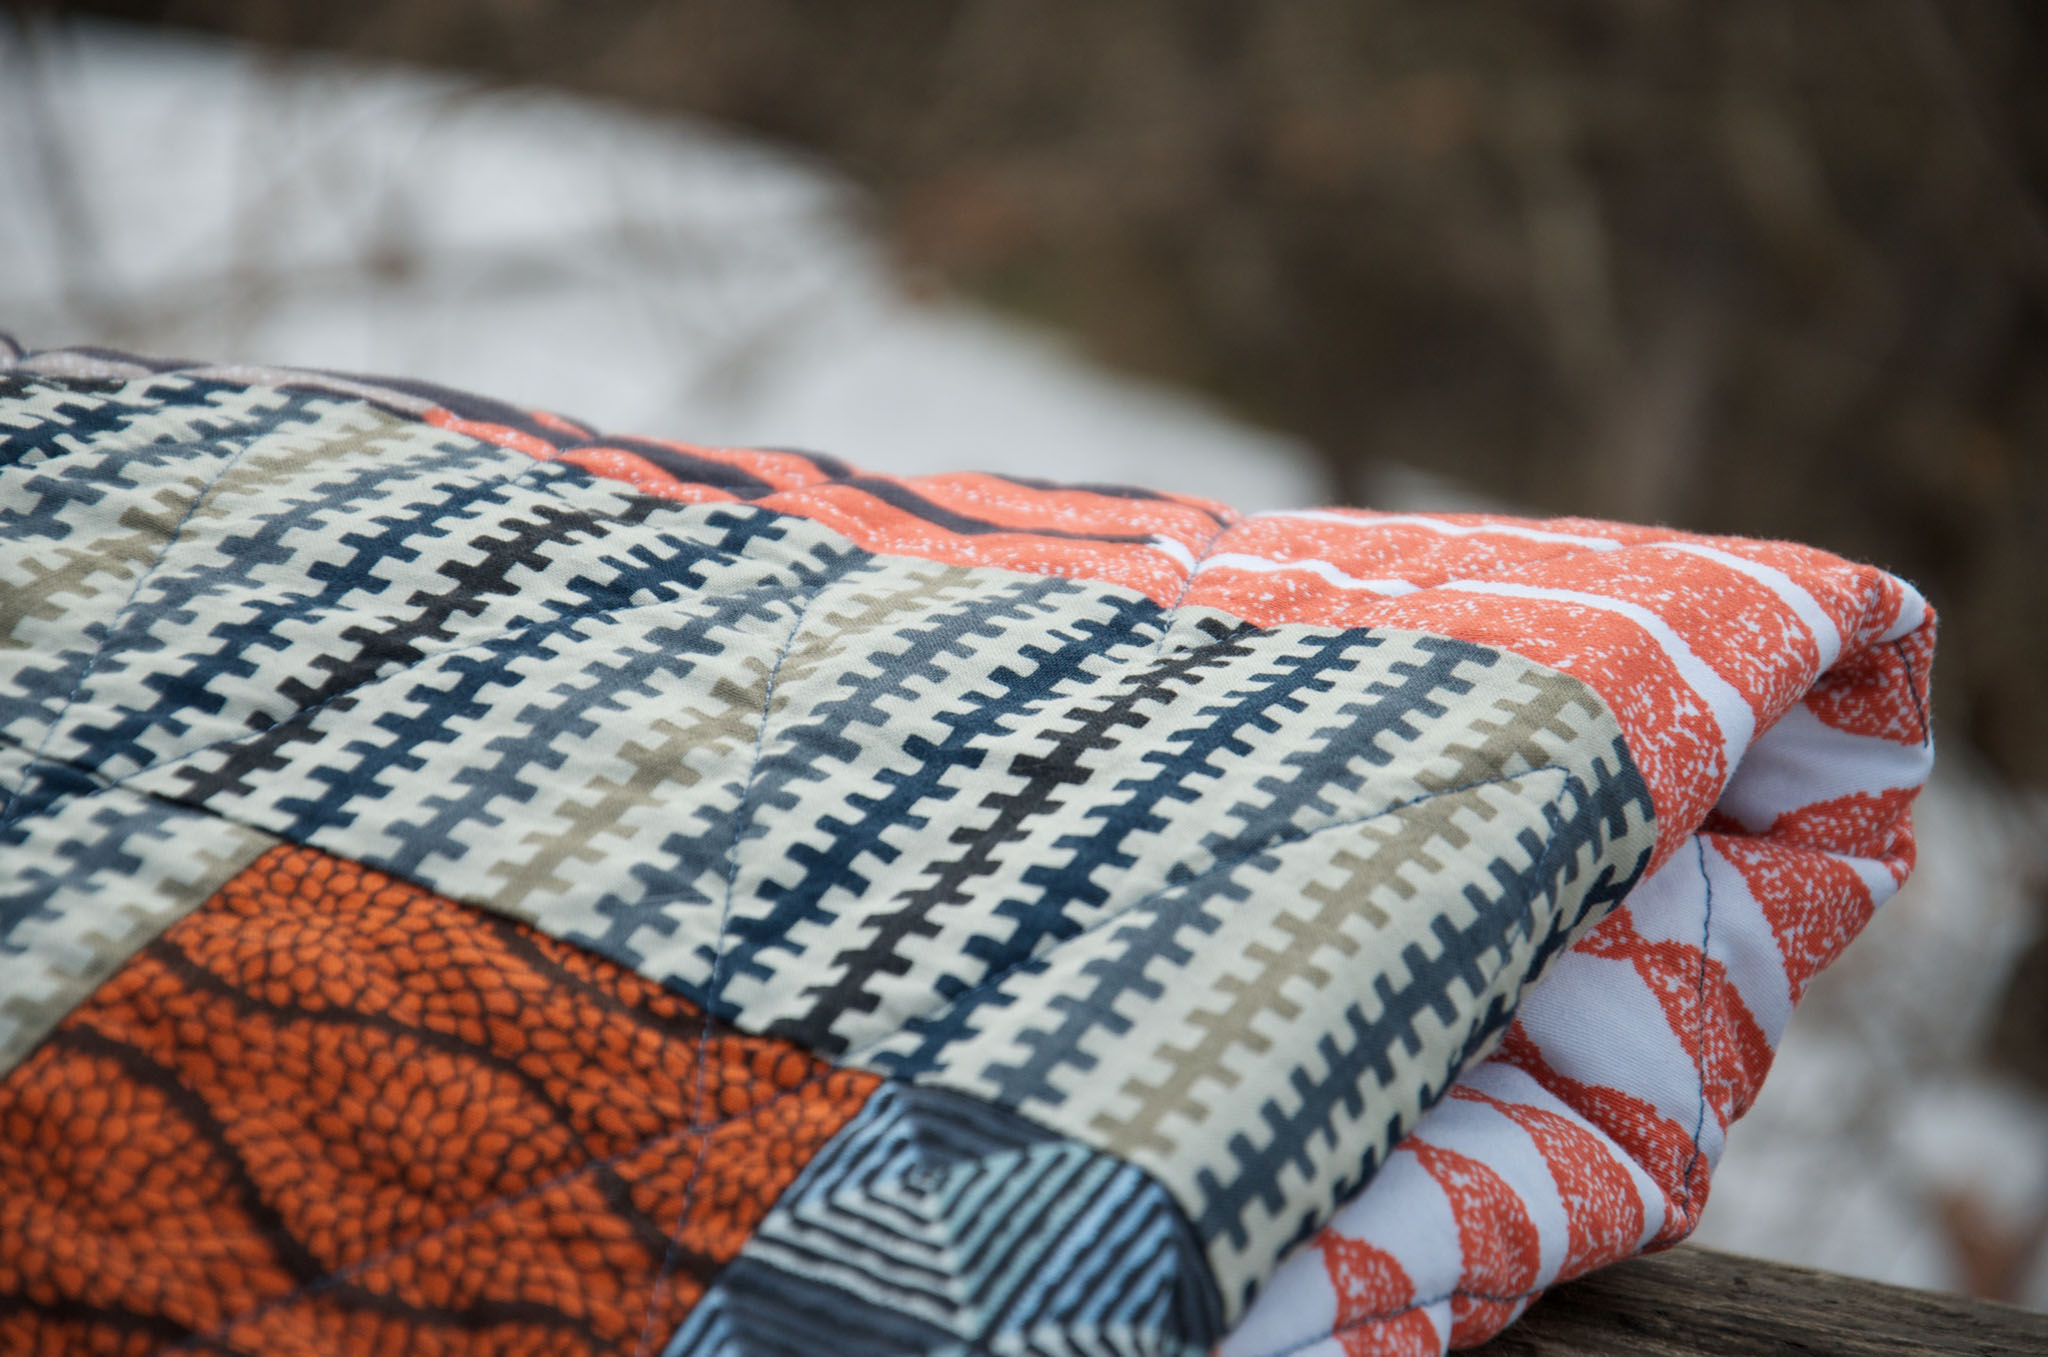
Rail fence blocks can be arranged in any number of ways. Since I had four distinct color and value groups (brown, pink, green, beige) with an equal number of strips in the roll (more or less), I was inspired to make all of my strip-sets with one strip of each from darkest to light. Because I could only cut four blocks from each strip set, I had to add one additional strip from my stash to the Rolie Polie, and piece a block together from two half blocks to make 25. As I mentioned above, the layout of blocks was mostly to appease my problem-solving mind (although I deviated with the planned layout for the half-and-half block and another spot where I flipped a block when sewing rows and didn’t want to rip).
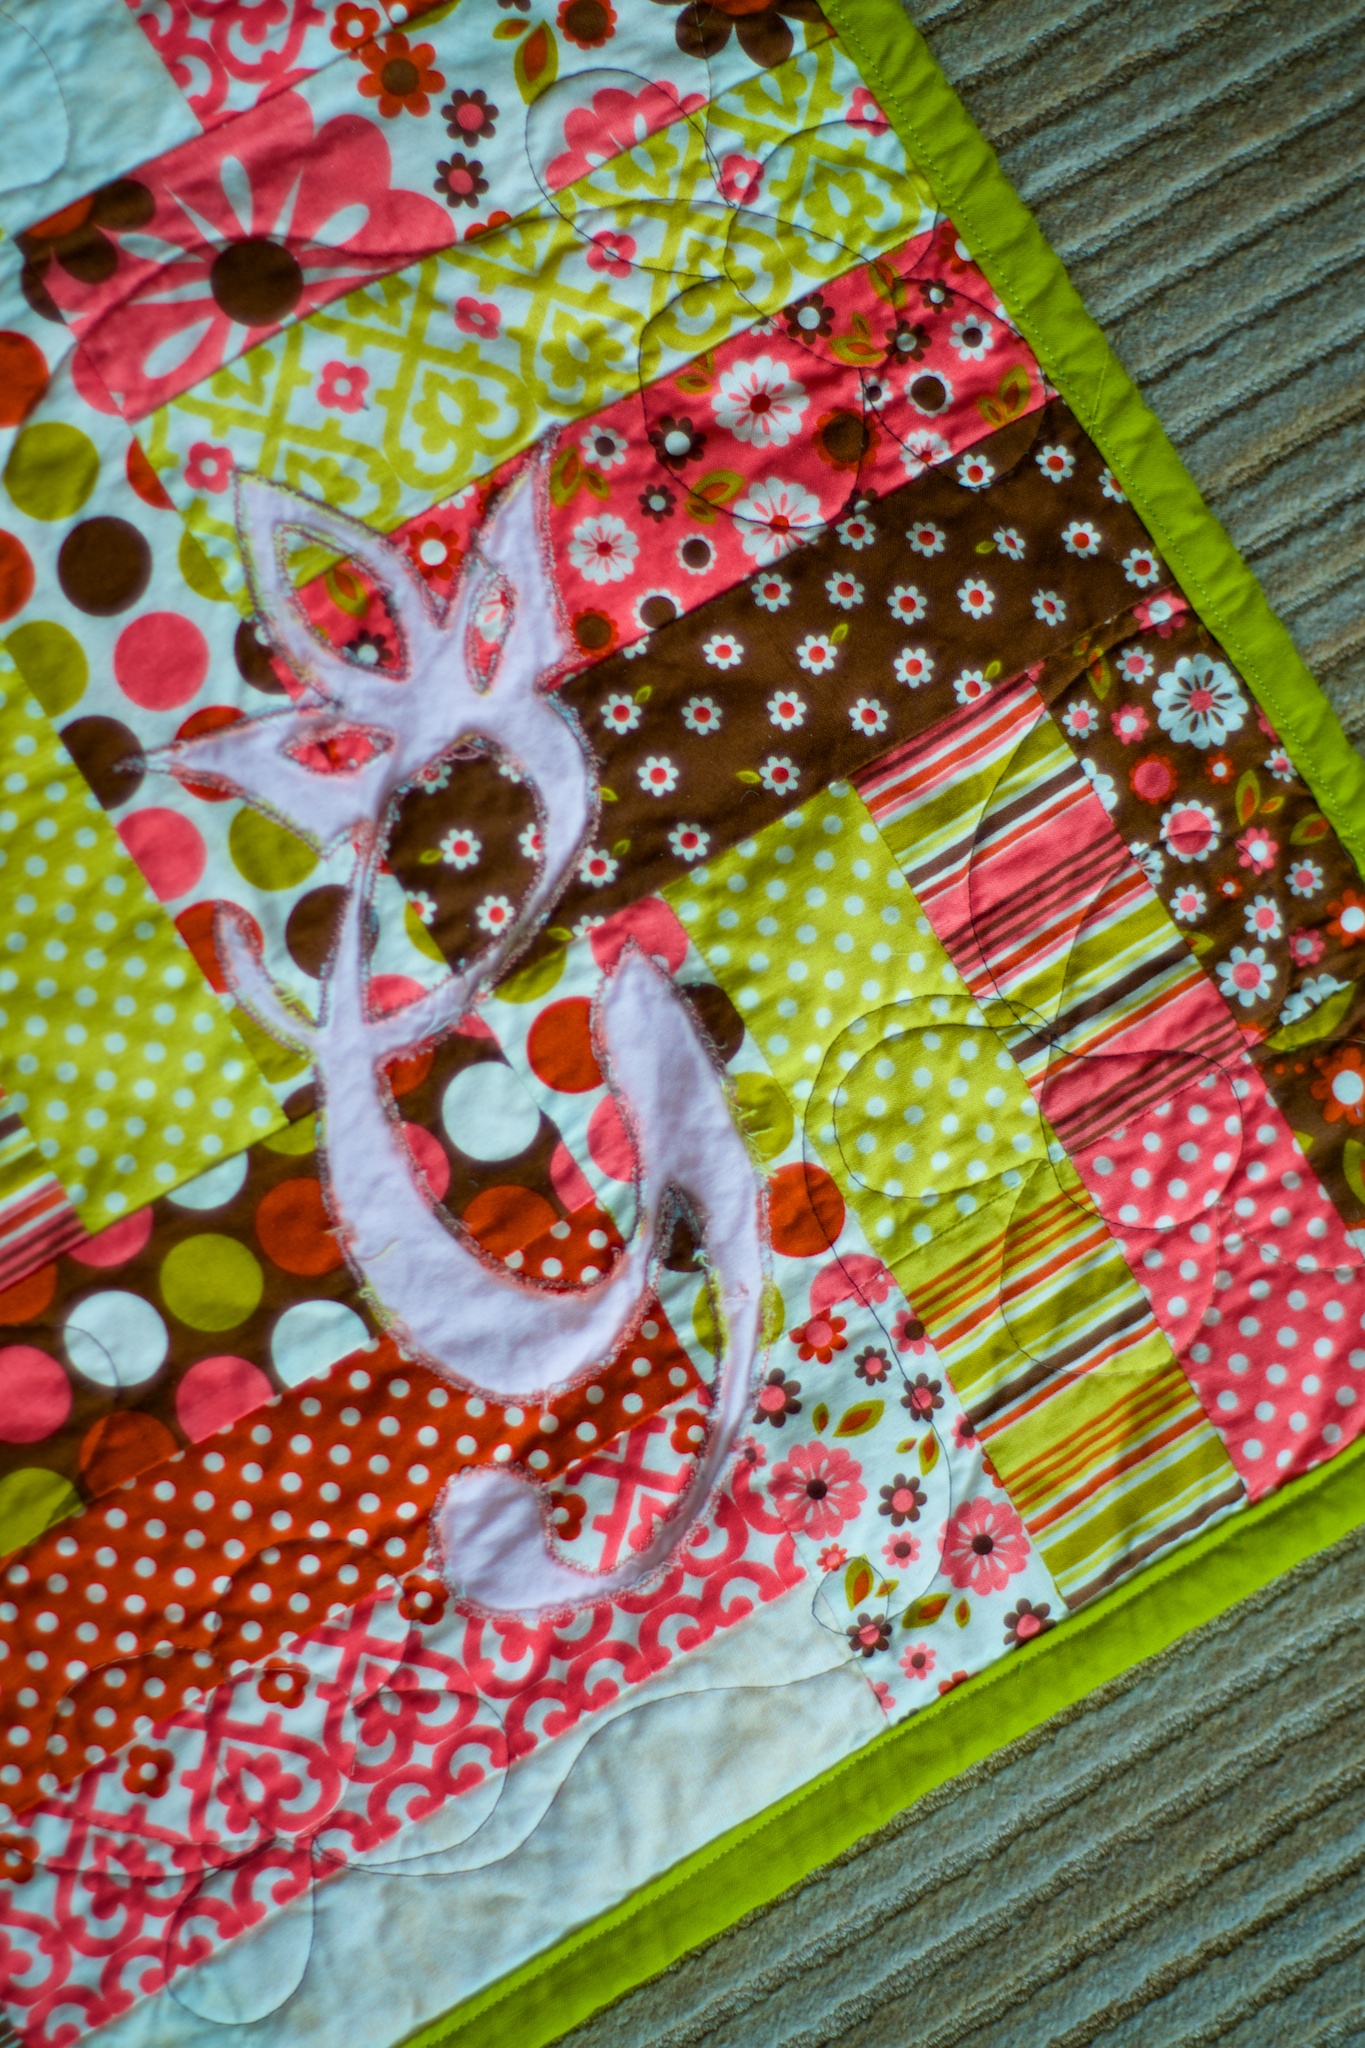
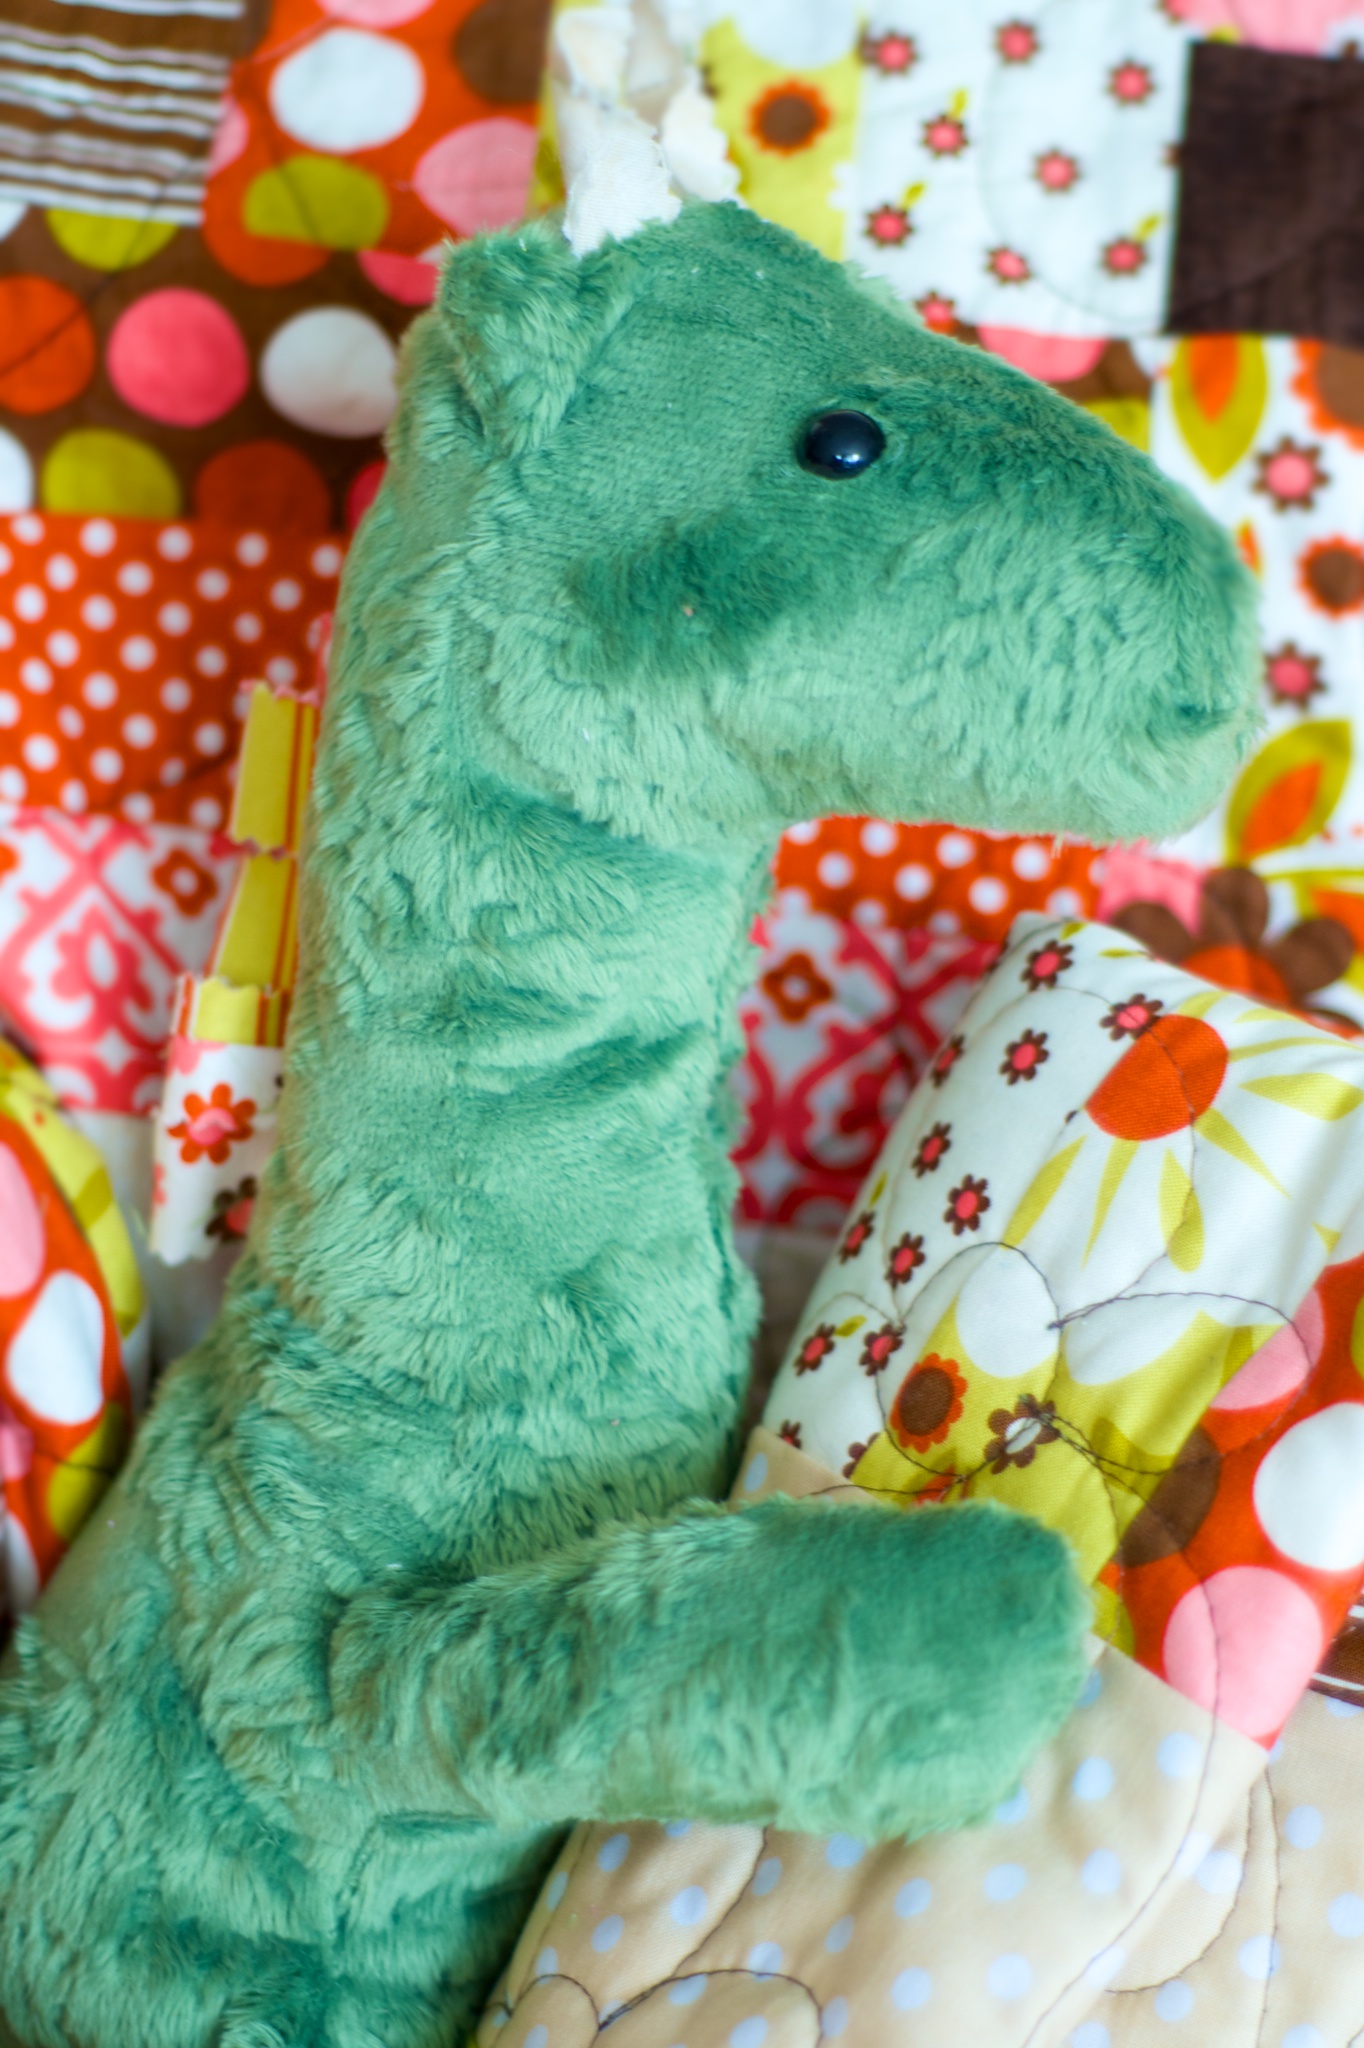
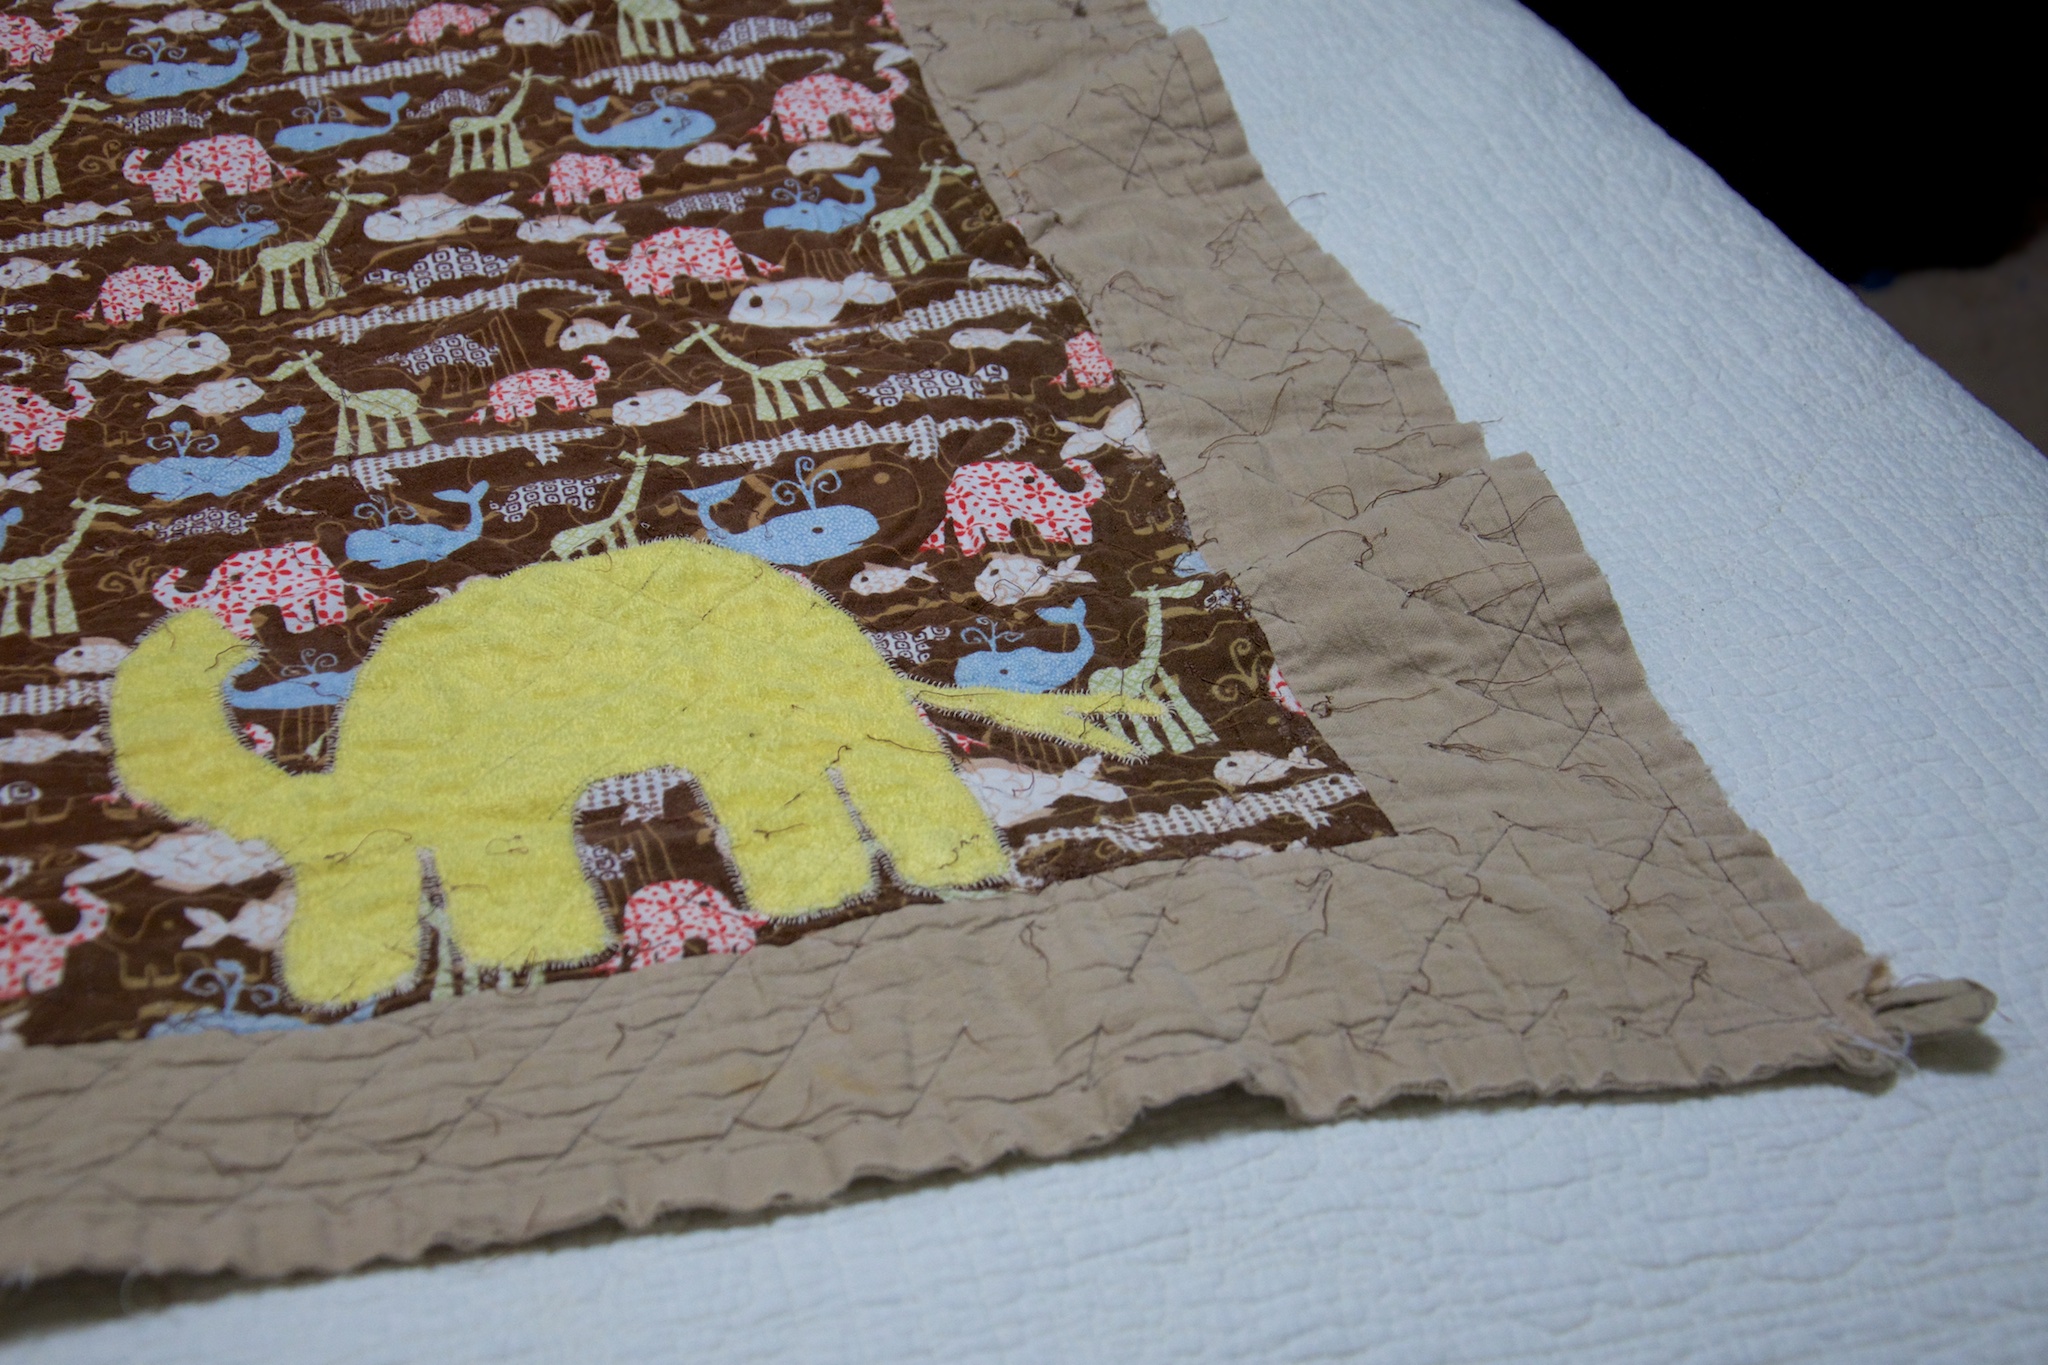
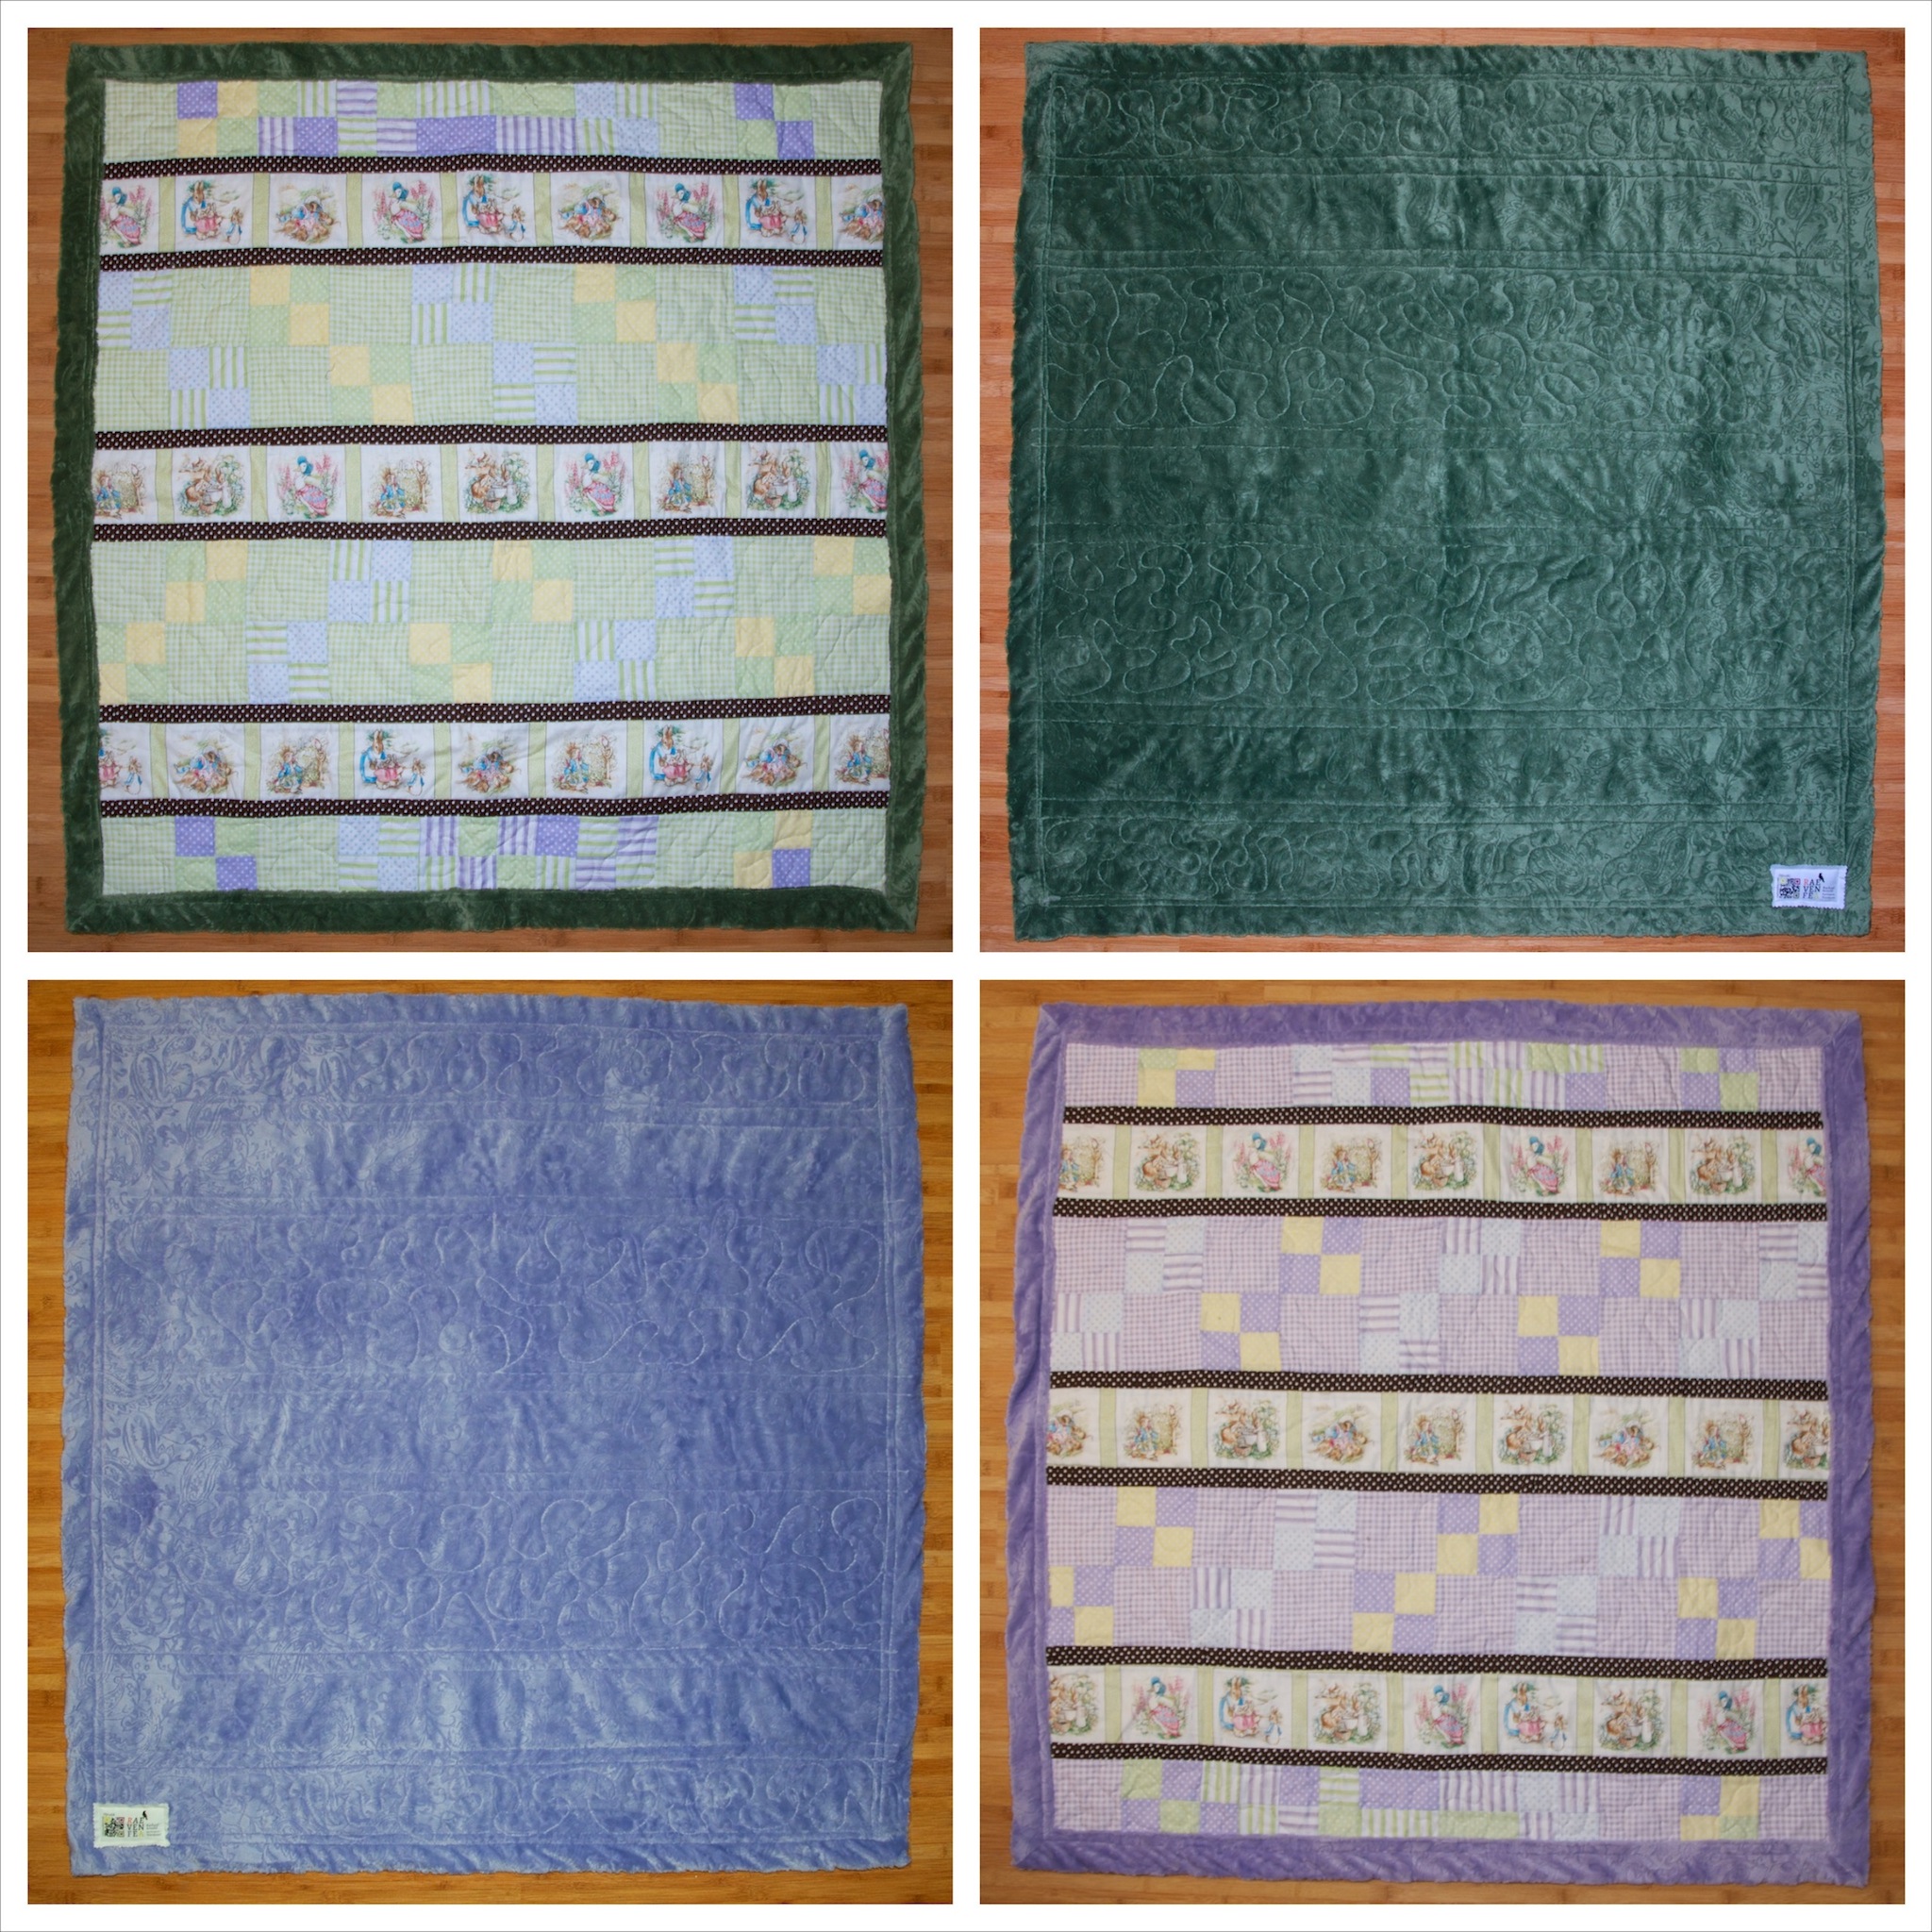
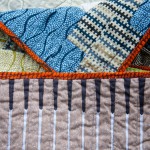
I wanted to personalize it, since the recipient’s sibling’s quilt had her initials in the quilting, so I chose to applique her first initial and a crown (playing off the meaning of her name) in one corner, using one of the few FQs in my stash that matched the other fabrics. You can download a printable version for your own project (if you want a curly, be-crowned ‘G’).

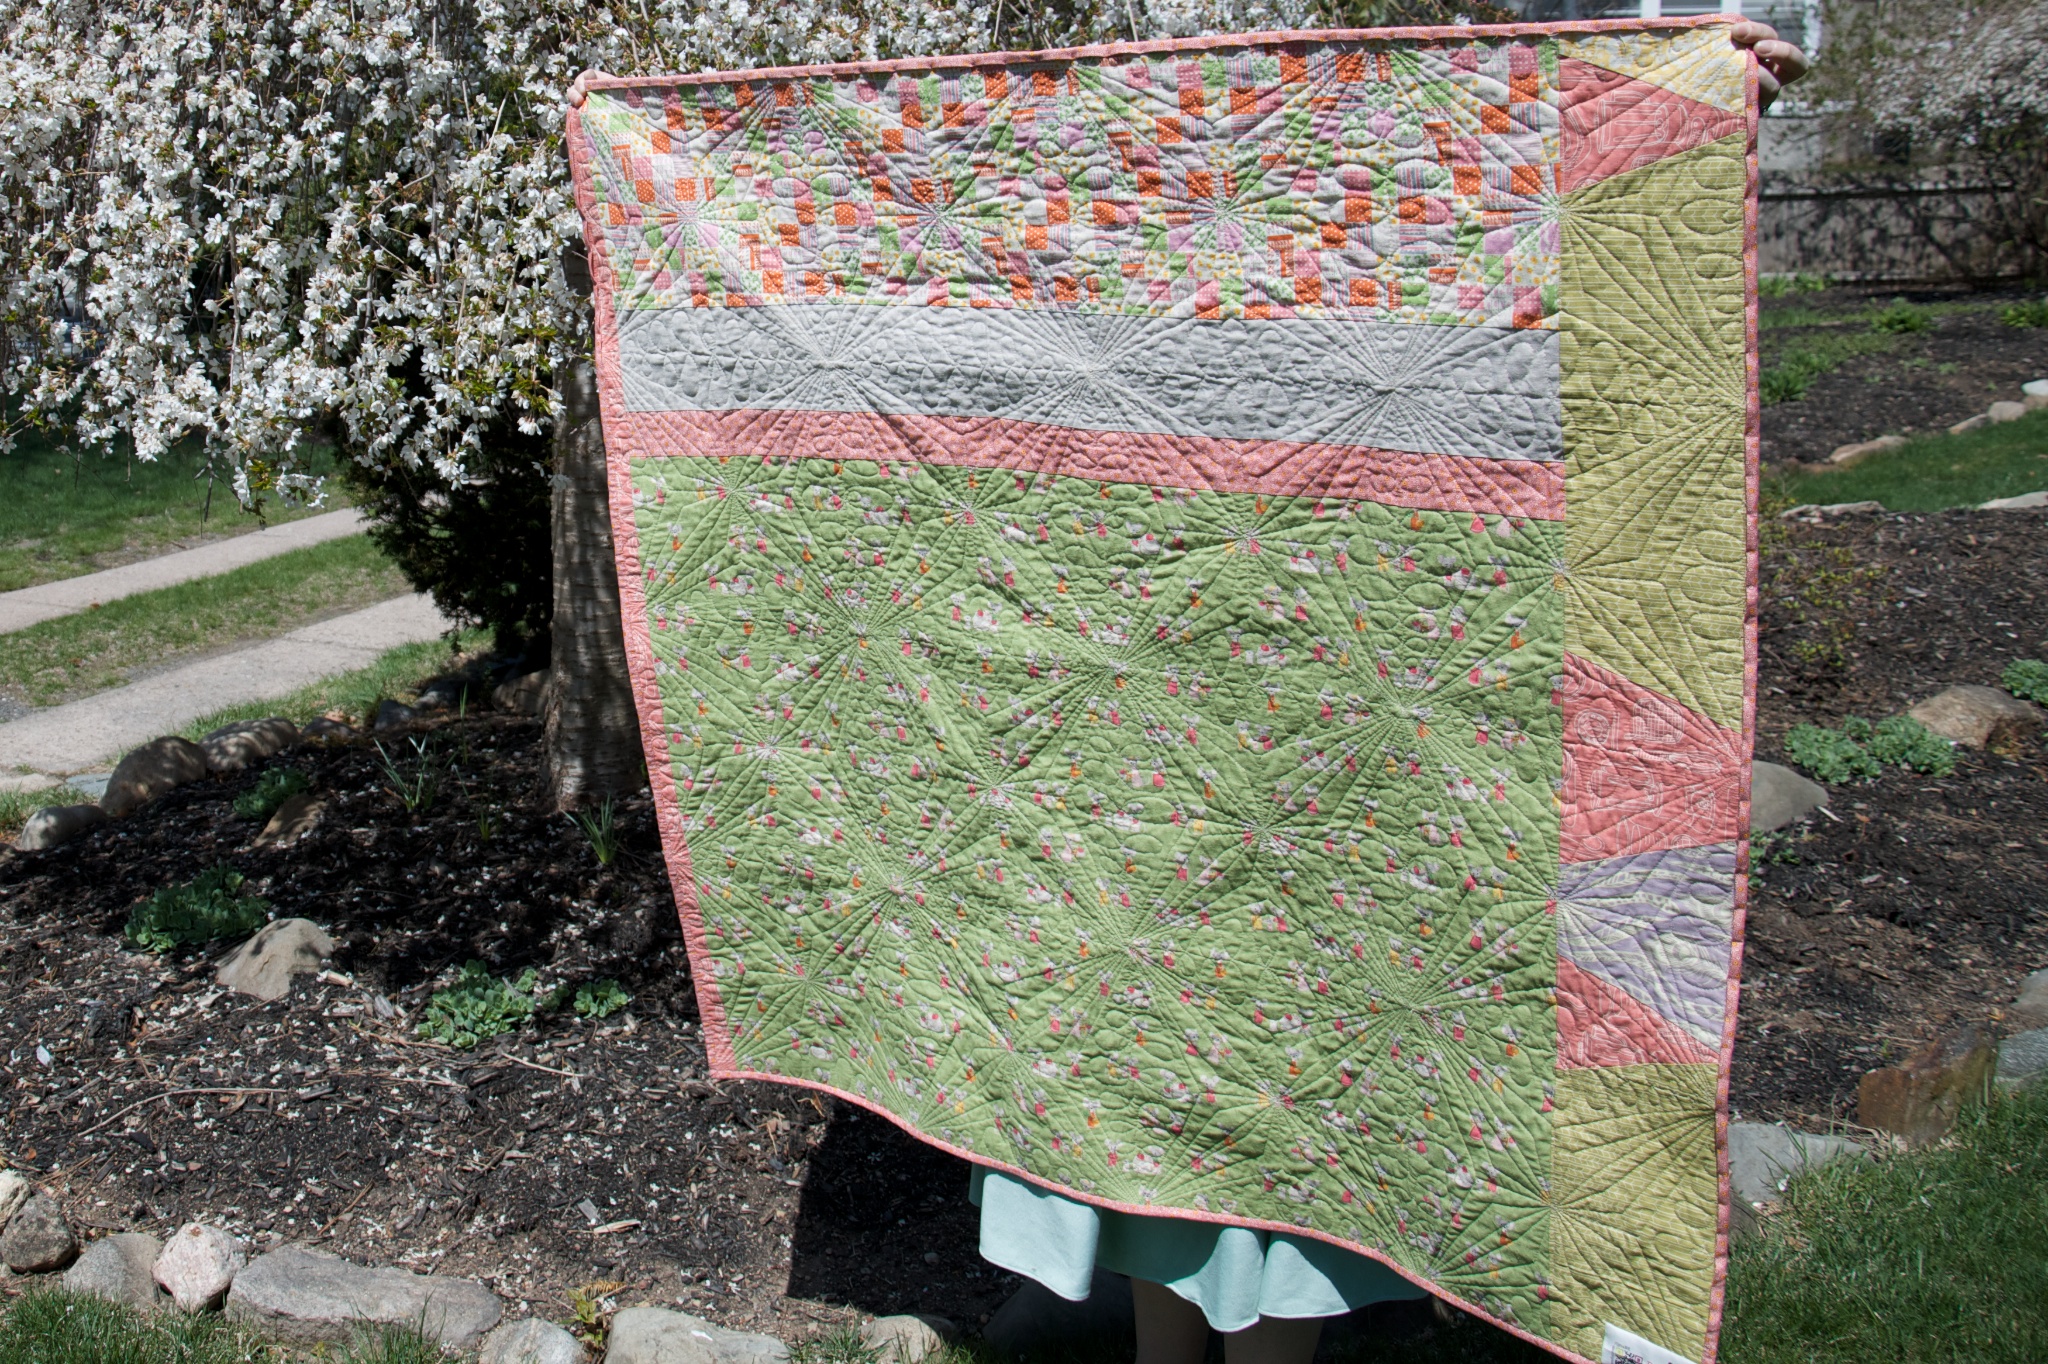
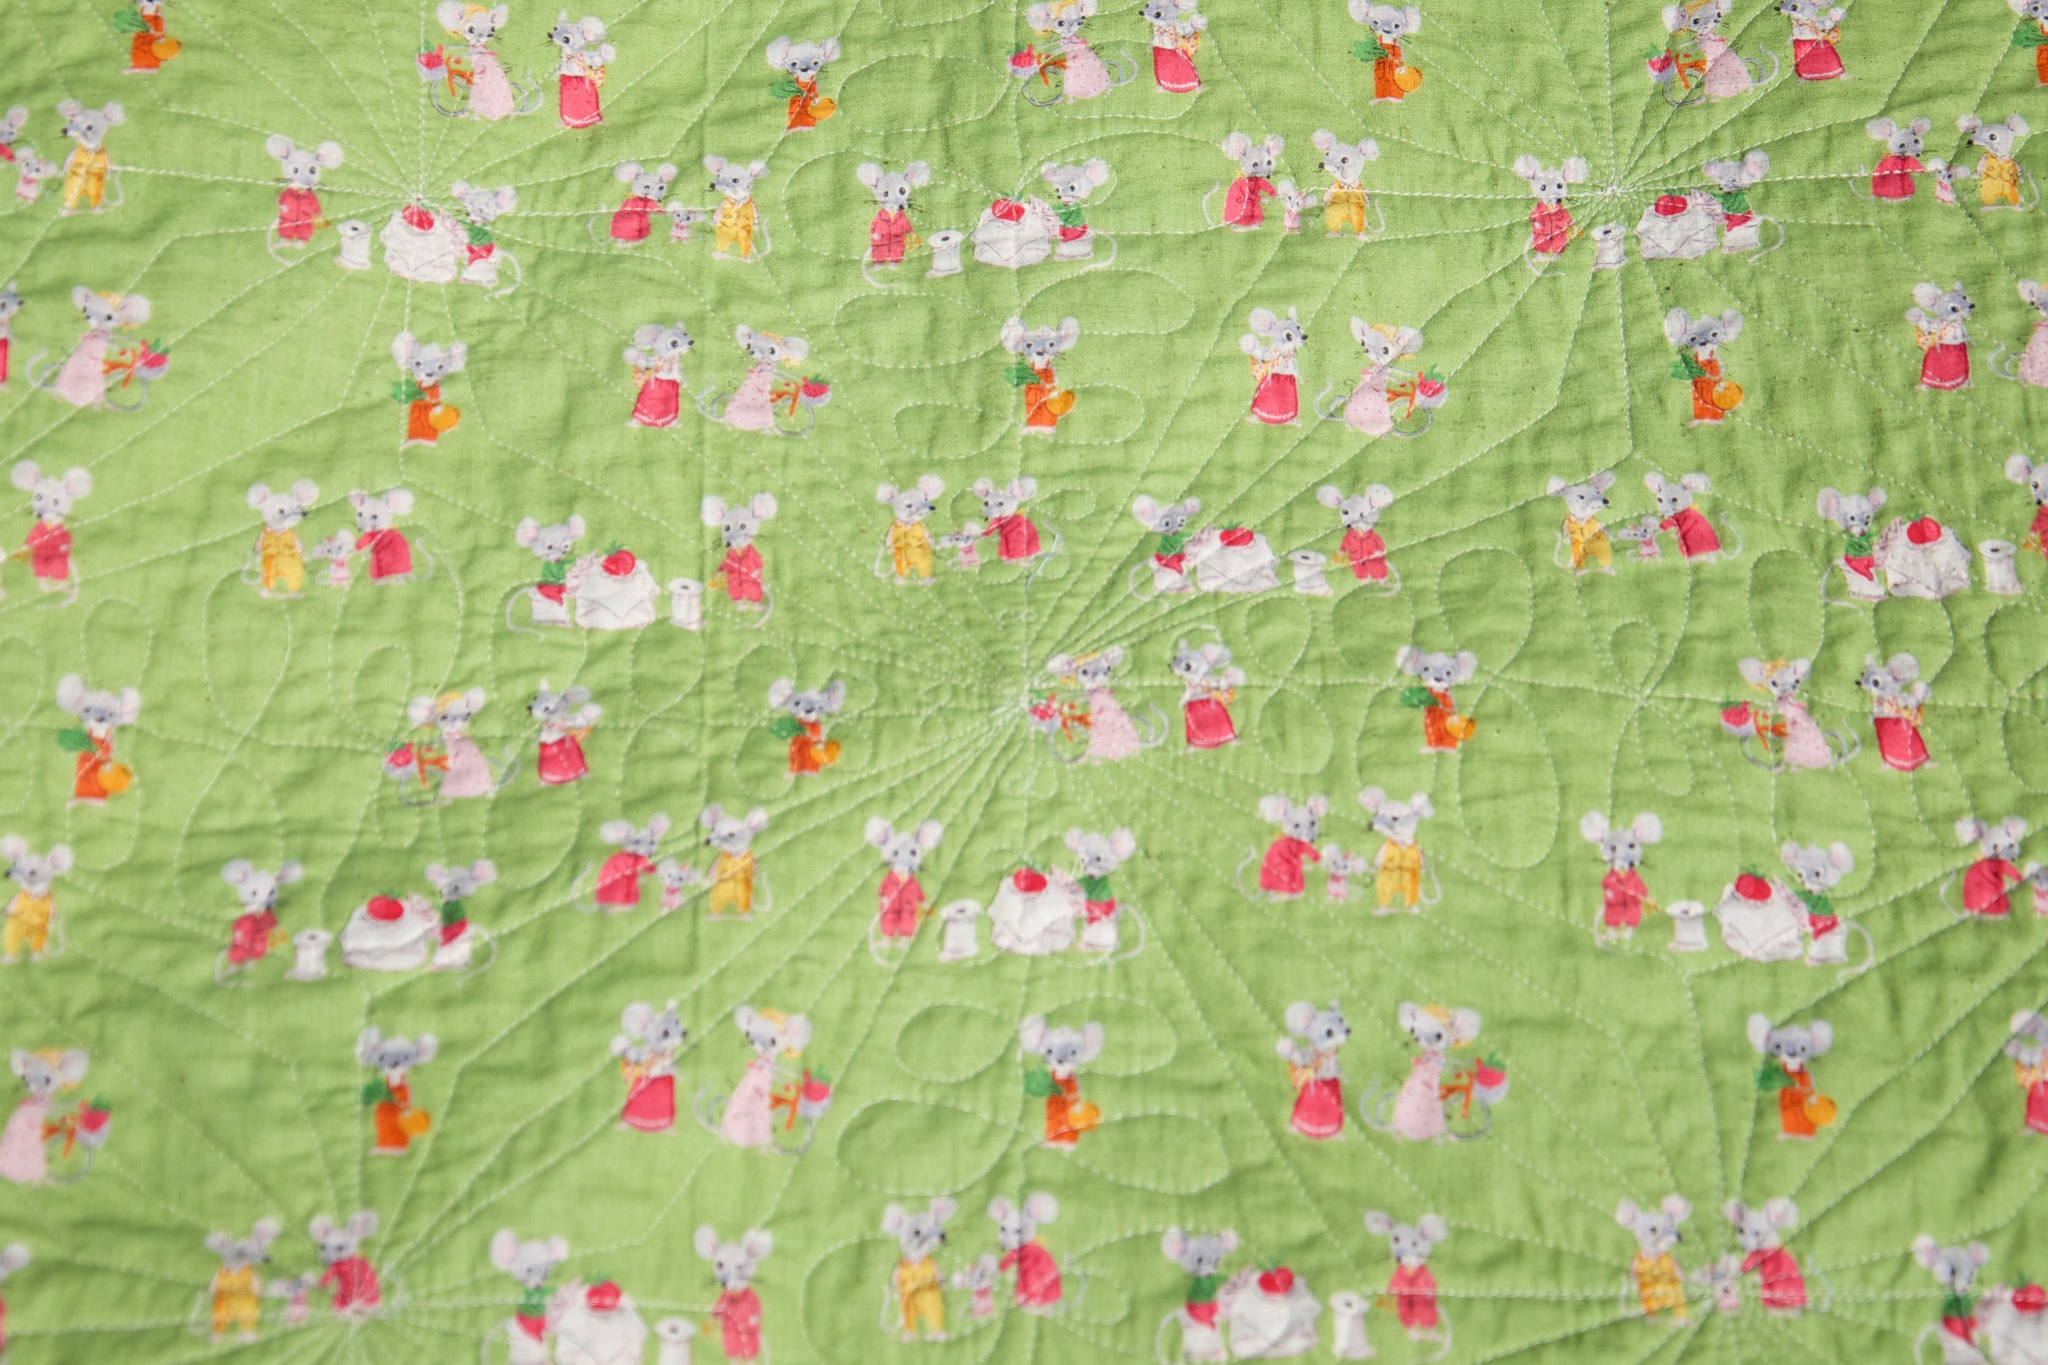
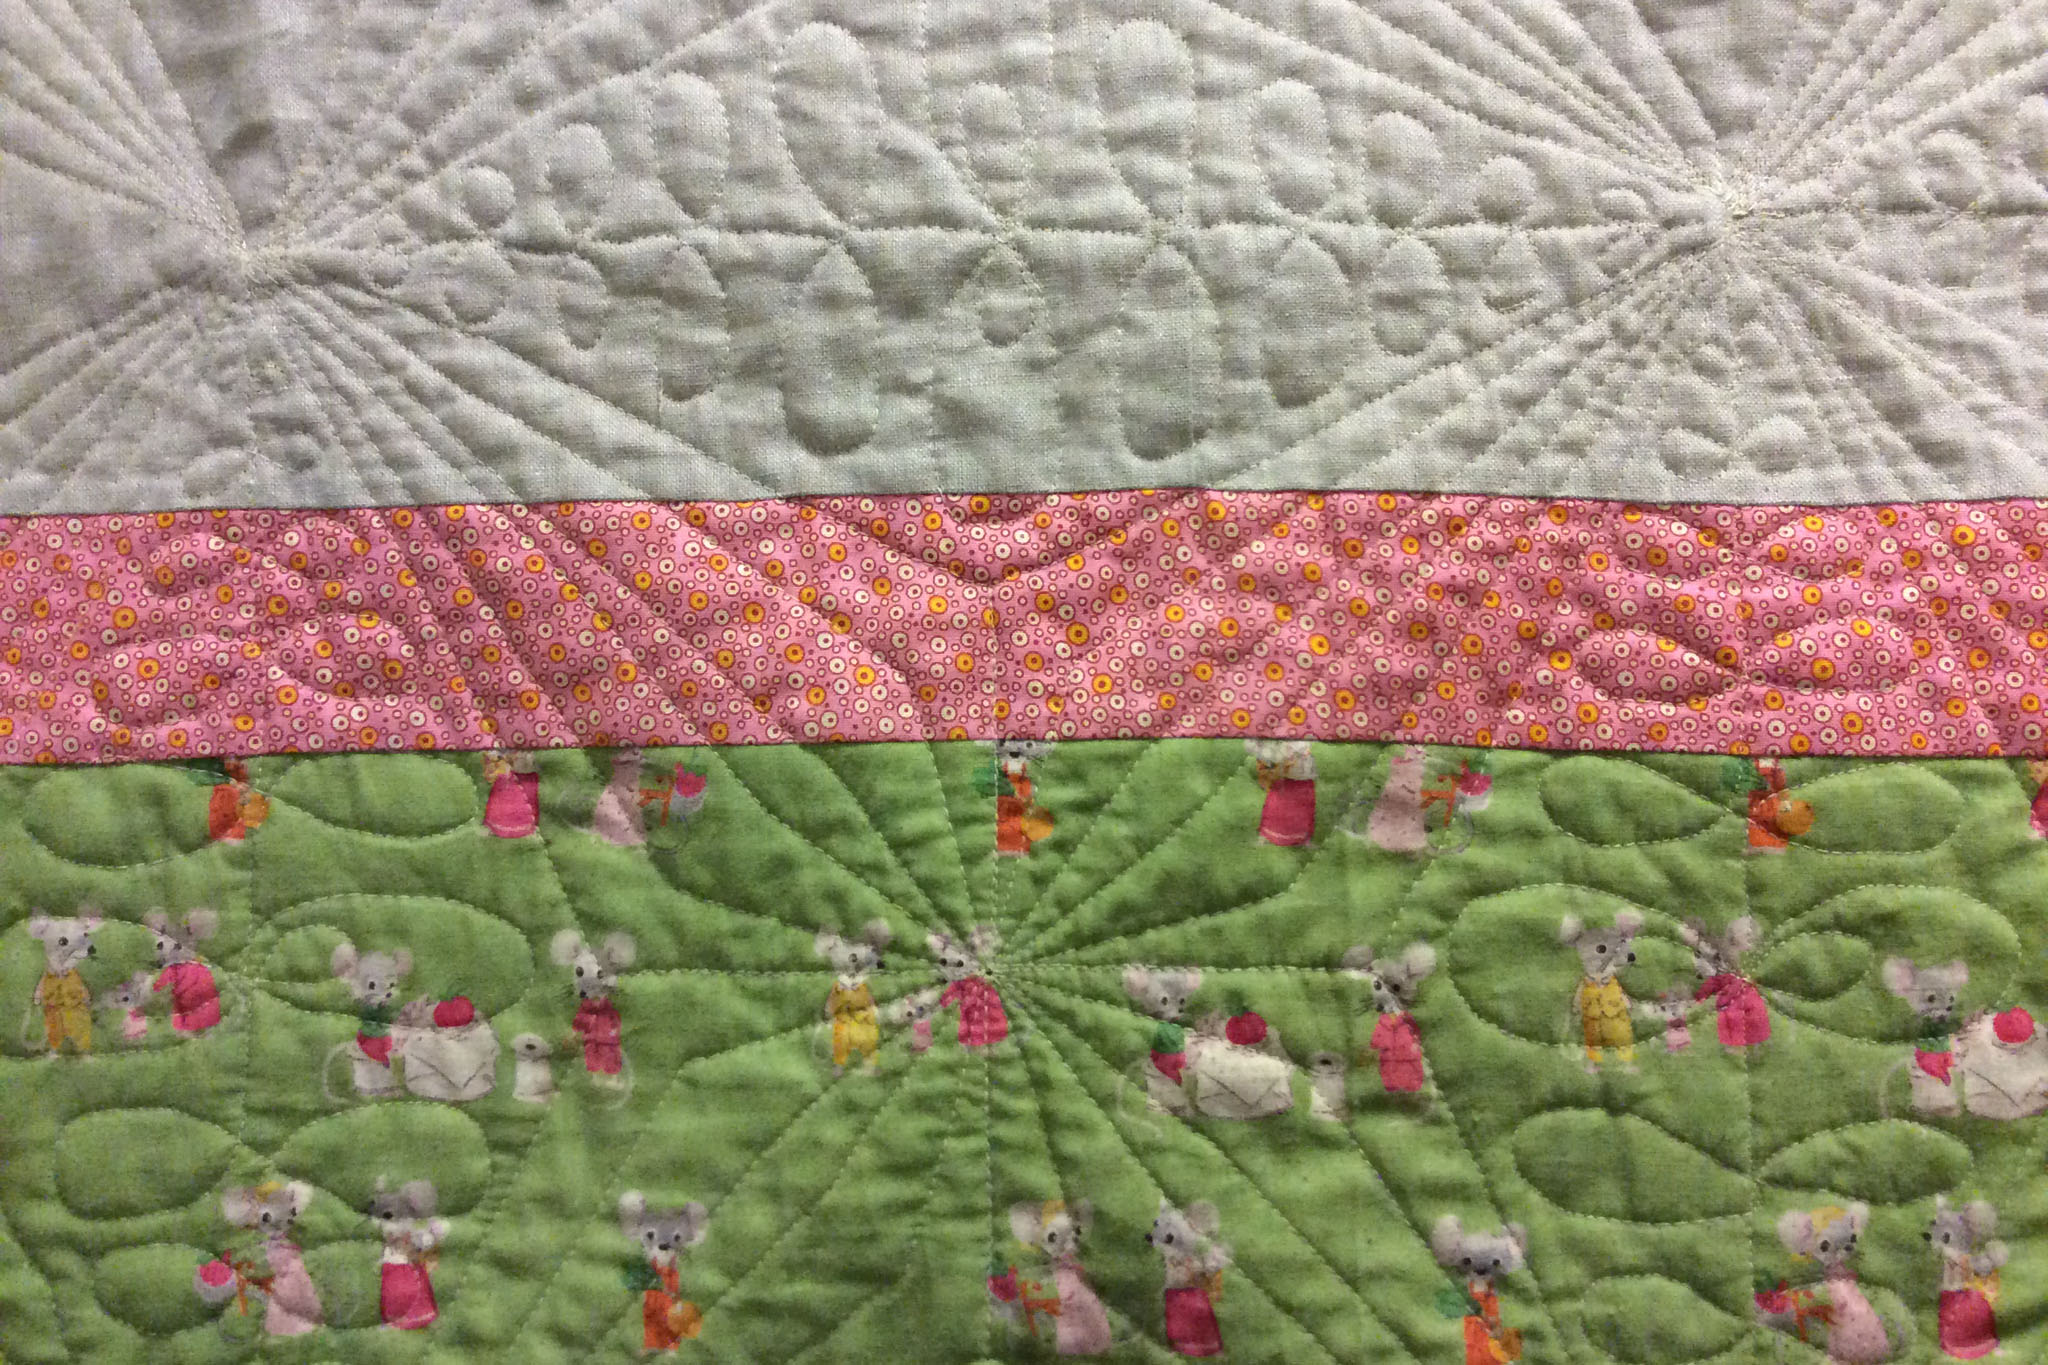
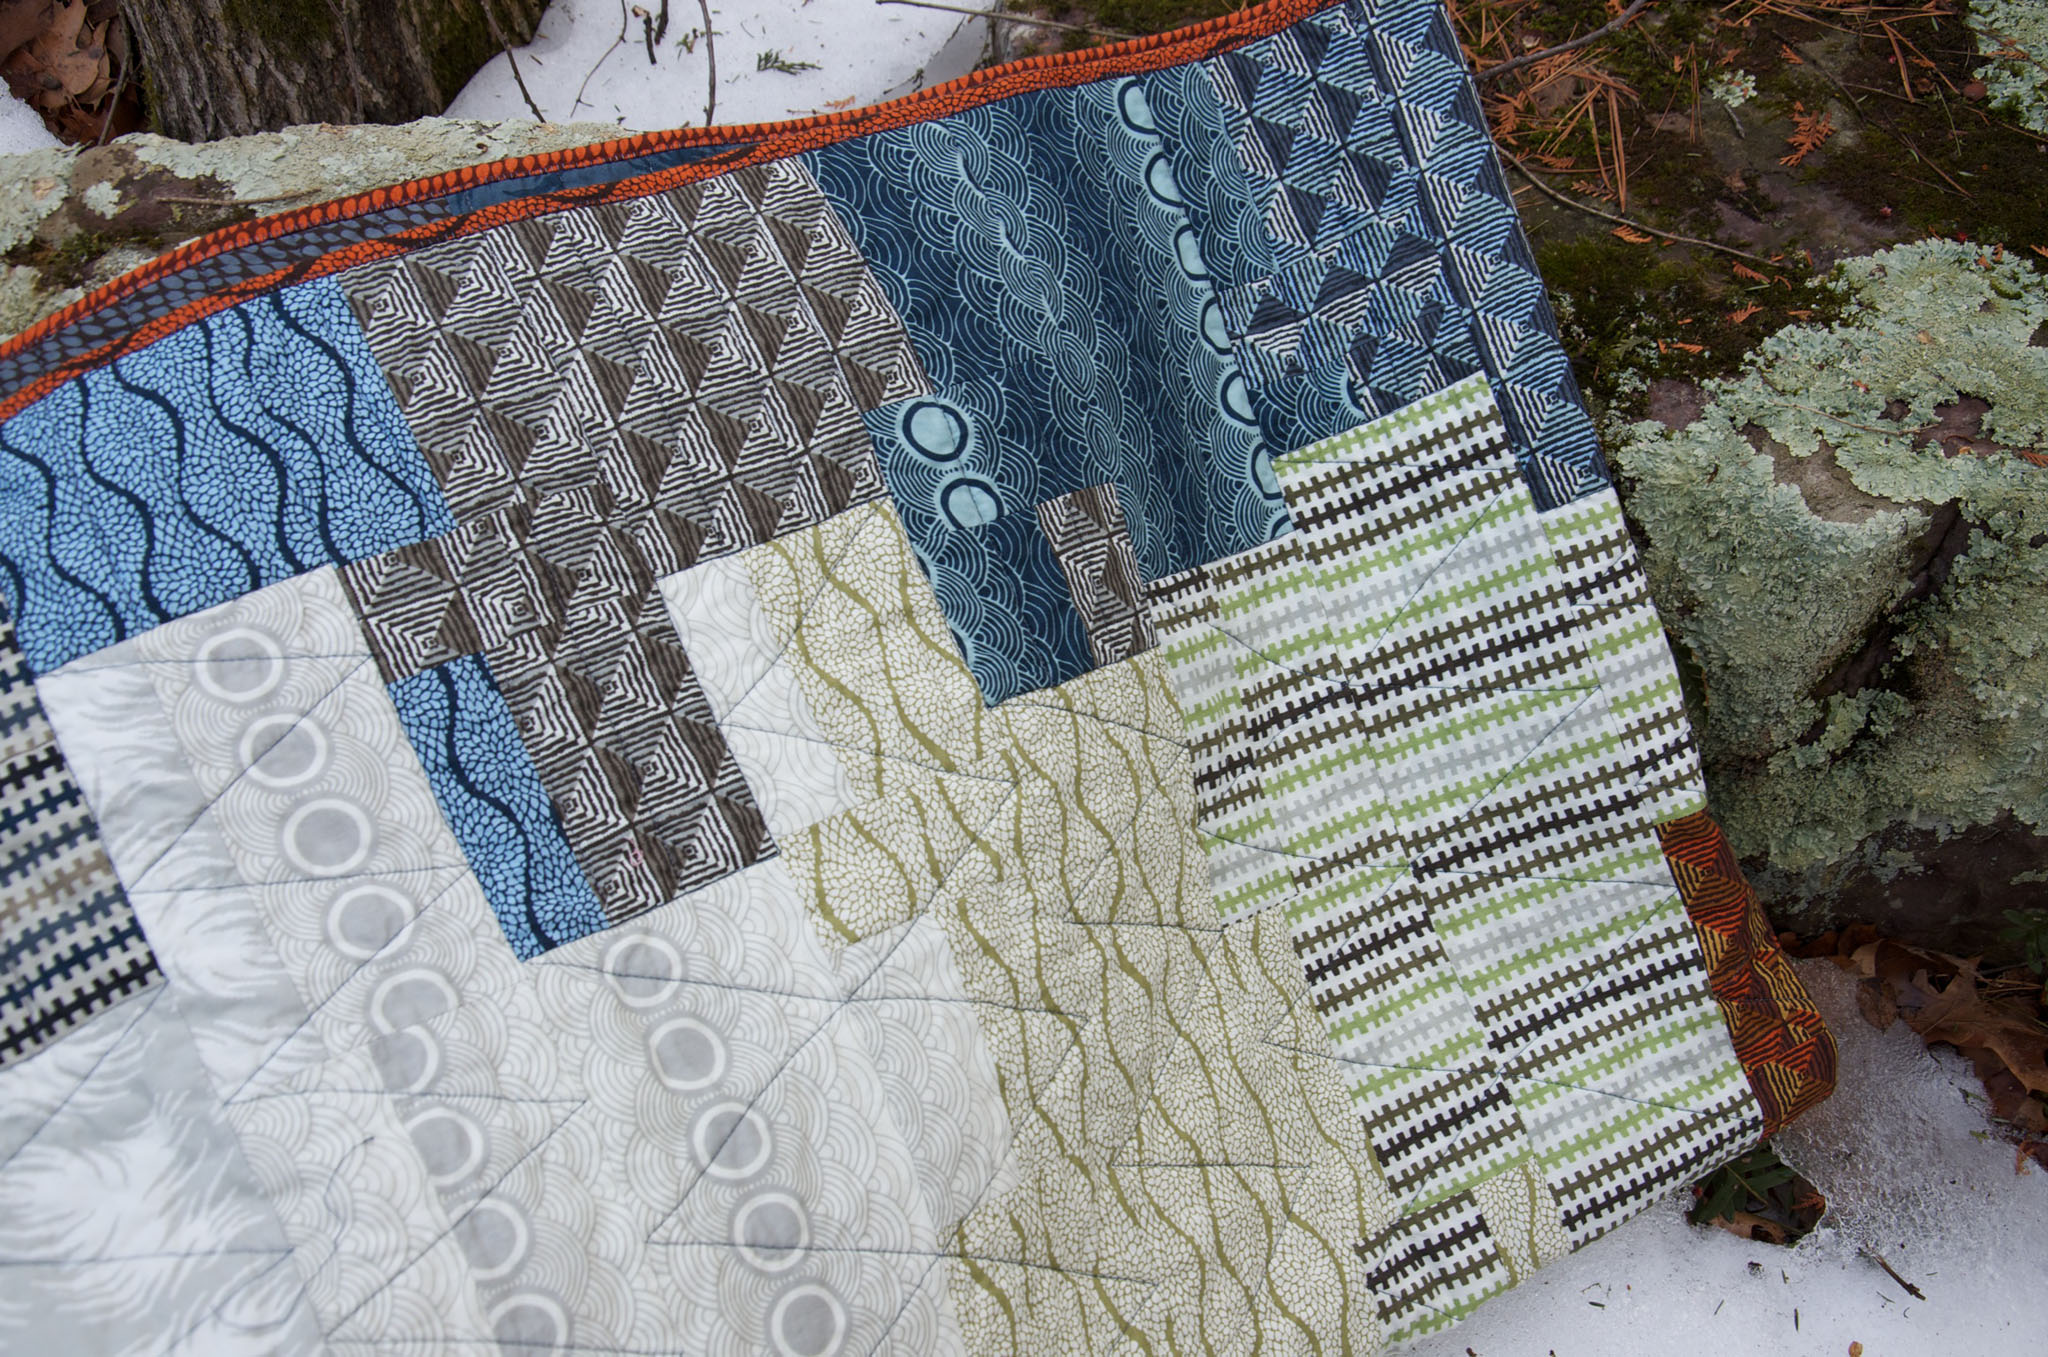
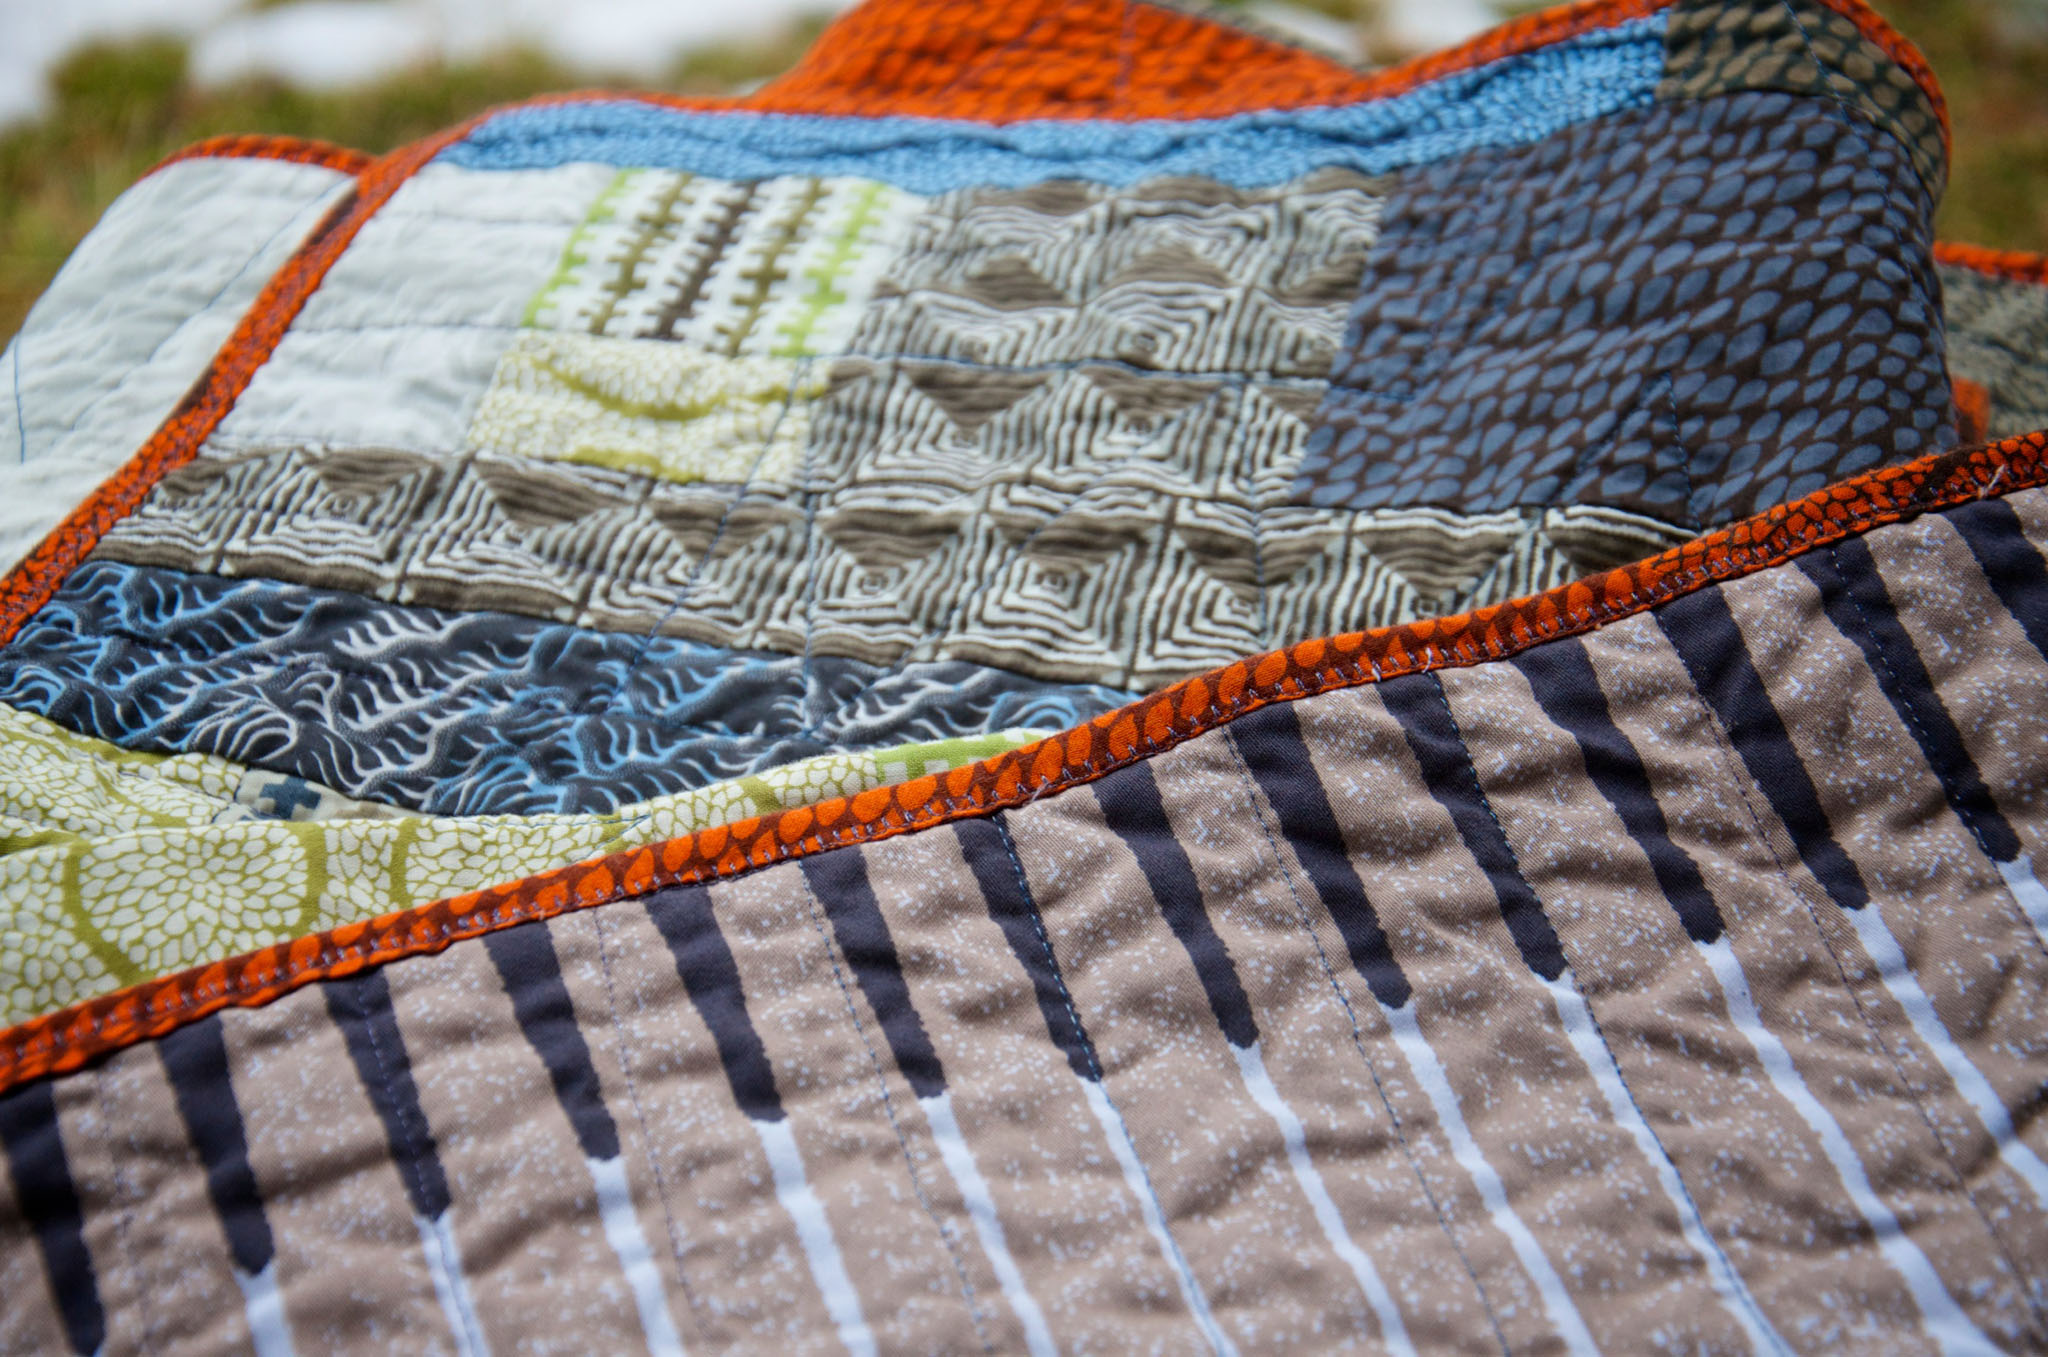
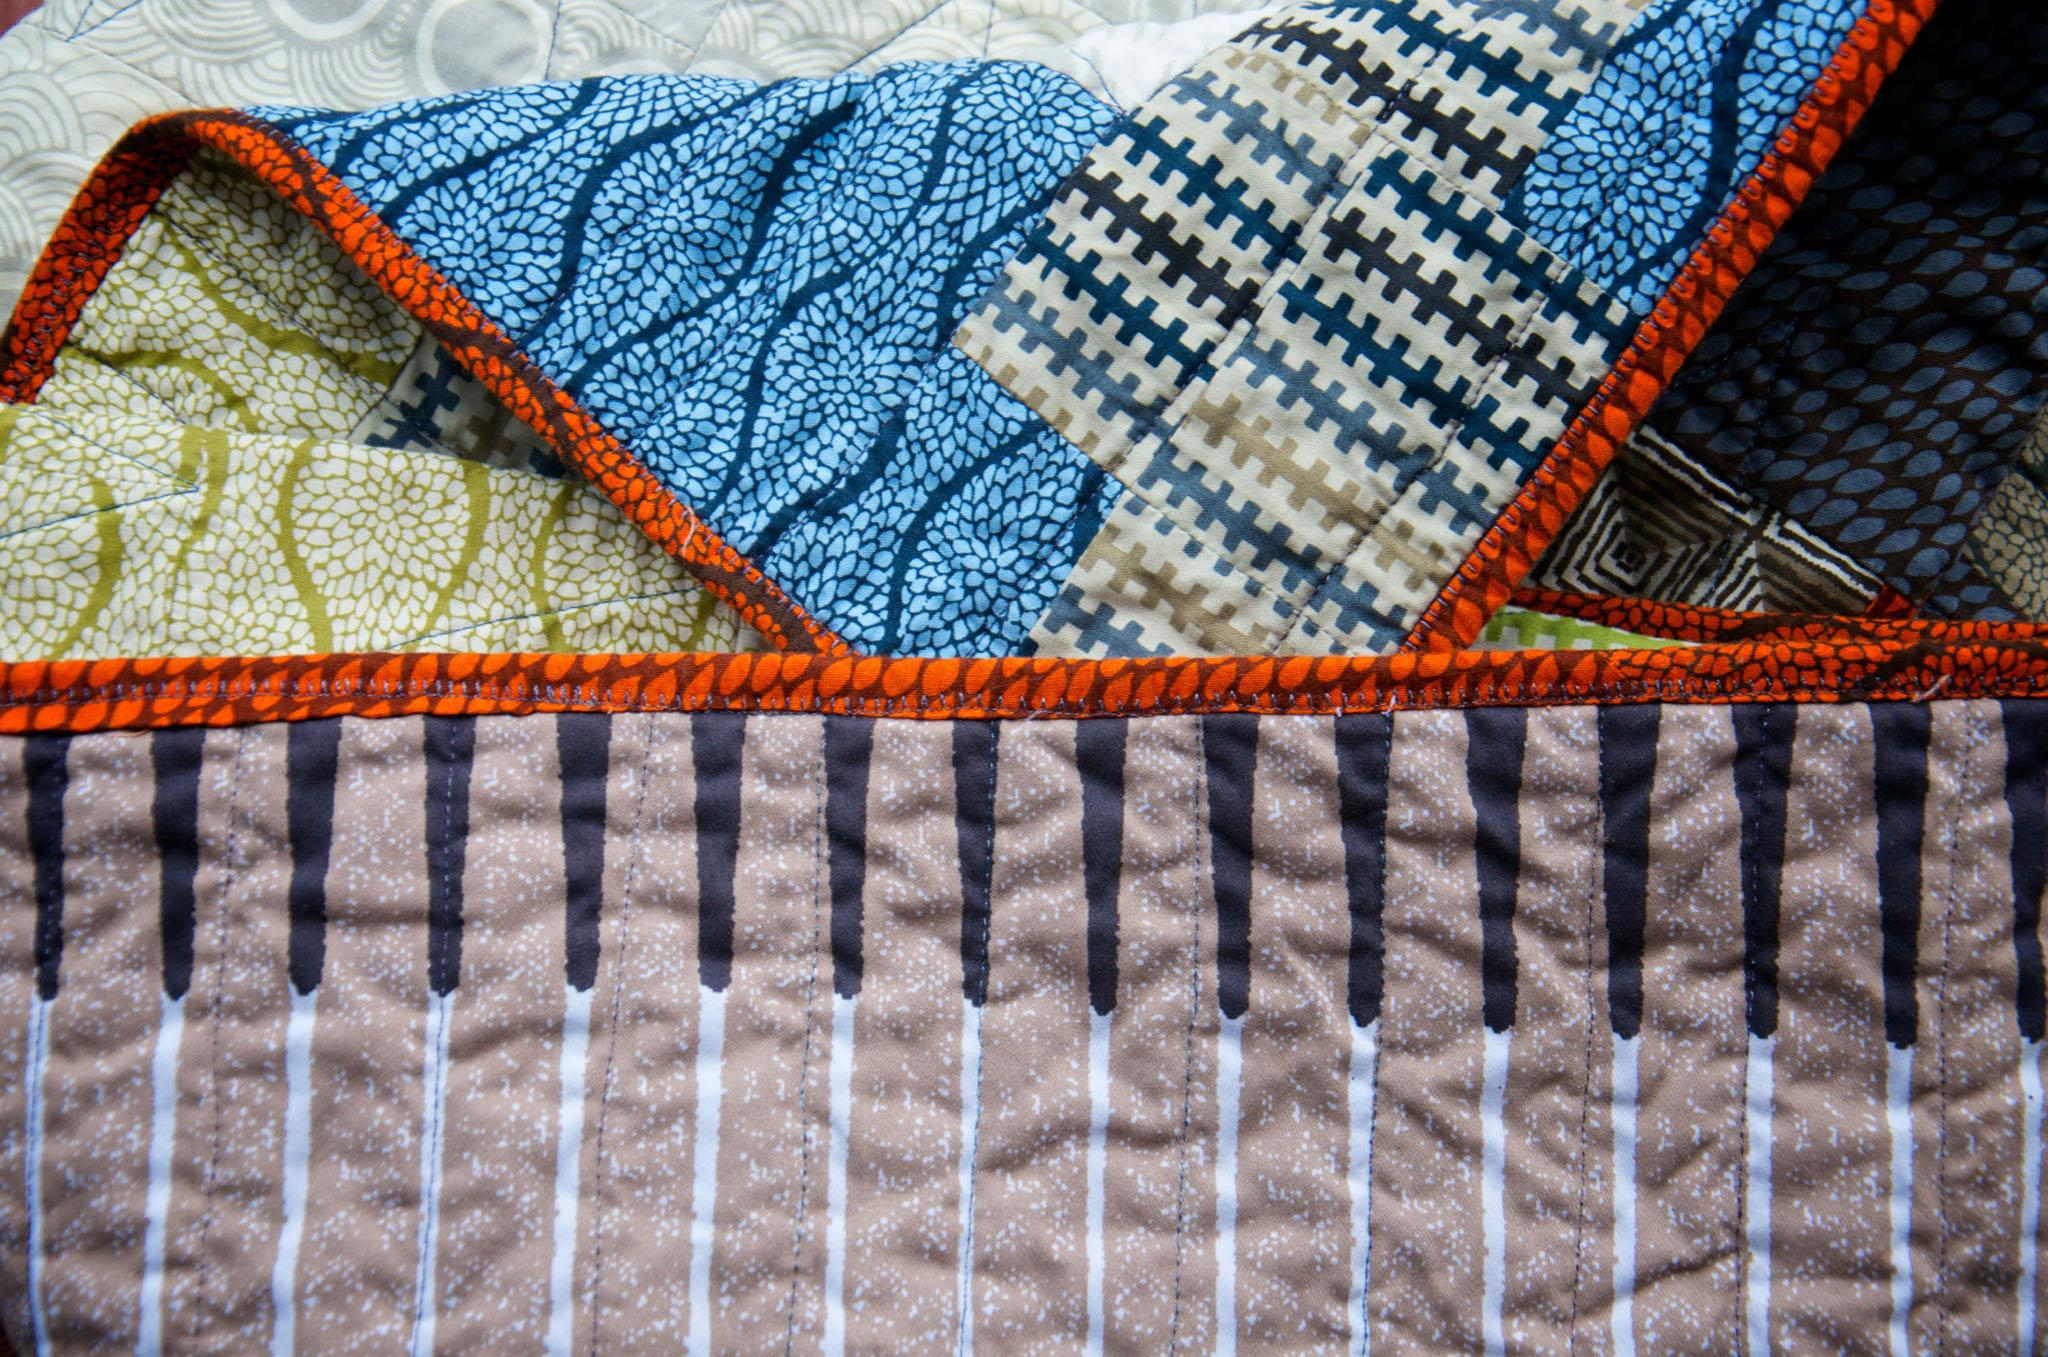
Quilting possibilities are only limited by your imagination. I used a large-scale, all-over flowery free motion motif based on the flowers in the fabric for two reasons: it could be done quickly, and was a good project for me to play with free-motion on. I chose to use a cream-to-brown variegated thread because it was the best match in my stash, but also because it blended the quilting into the varied colors of the fabrics.
Overcoming Obstacles
Because I worked with 2.5″ strips, the math on this was simple. But, that didn’t mean everything went to plan. I didn’t measure the width of the strips, so I couldn’t cut my planned five blocks from each strip set and had to improvise by finding a 24th strip (actually, two 21″ strips from a fat quarter) and piecing a block together from the leftovers of other strips sets. Sure, it meant reevaluating the block layout I’d planned initially (as well as choice of binding, as I’d planned to use the leftover strips and that fat quarter as the binding), but in the end, I am pleased with the final quilt (and, I like the solid binding far more than I think I would have liked the original plan). In the blueprint above, I went with the assumption that you might also run into this issue.