Raevenfea

Maker of various fabric things

This is a static export of a blog I put on ice many years ago, that still has personally relevant content. No promises can be made around linkrot, styles, or working functionality.

Posts tagged: Binding

Three Binding Tricks

Posted in Quilting

  • Binding
  • Tips and tricks

At our last guild sew-in, it seemed that half the attendees brought binding to hand finish (saving them having to lug their machines around). As we ooh-ed and ahh-ed over each other’s projects, I noticed that our president’s corners were so much cleaner than mine ever turn out—I always seem to end up with a gap in stitching on one or more corner, no matter how exact I think I am. So, I thought I’d share her corner trick, and my two finishing tricks to help ease your binding work. I use these tricks for both hand and machine-finished binding.

1. Perfect corners

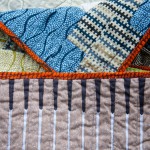
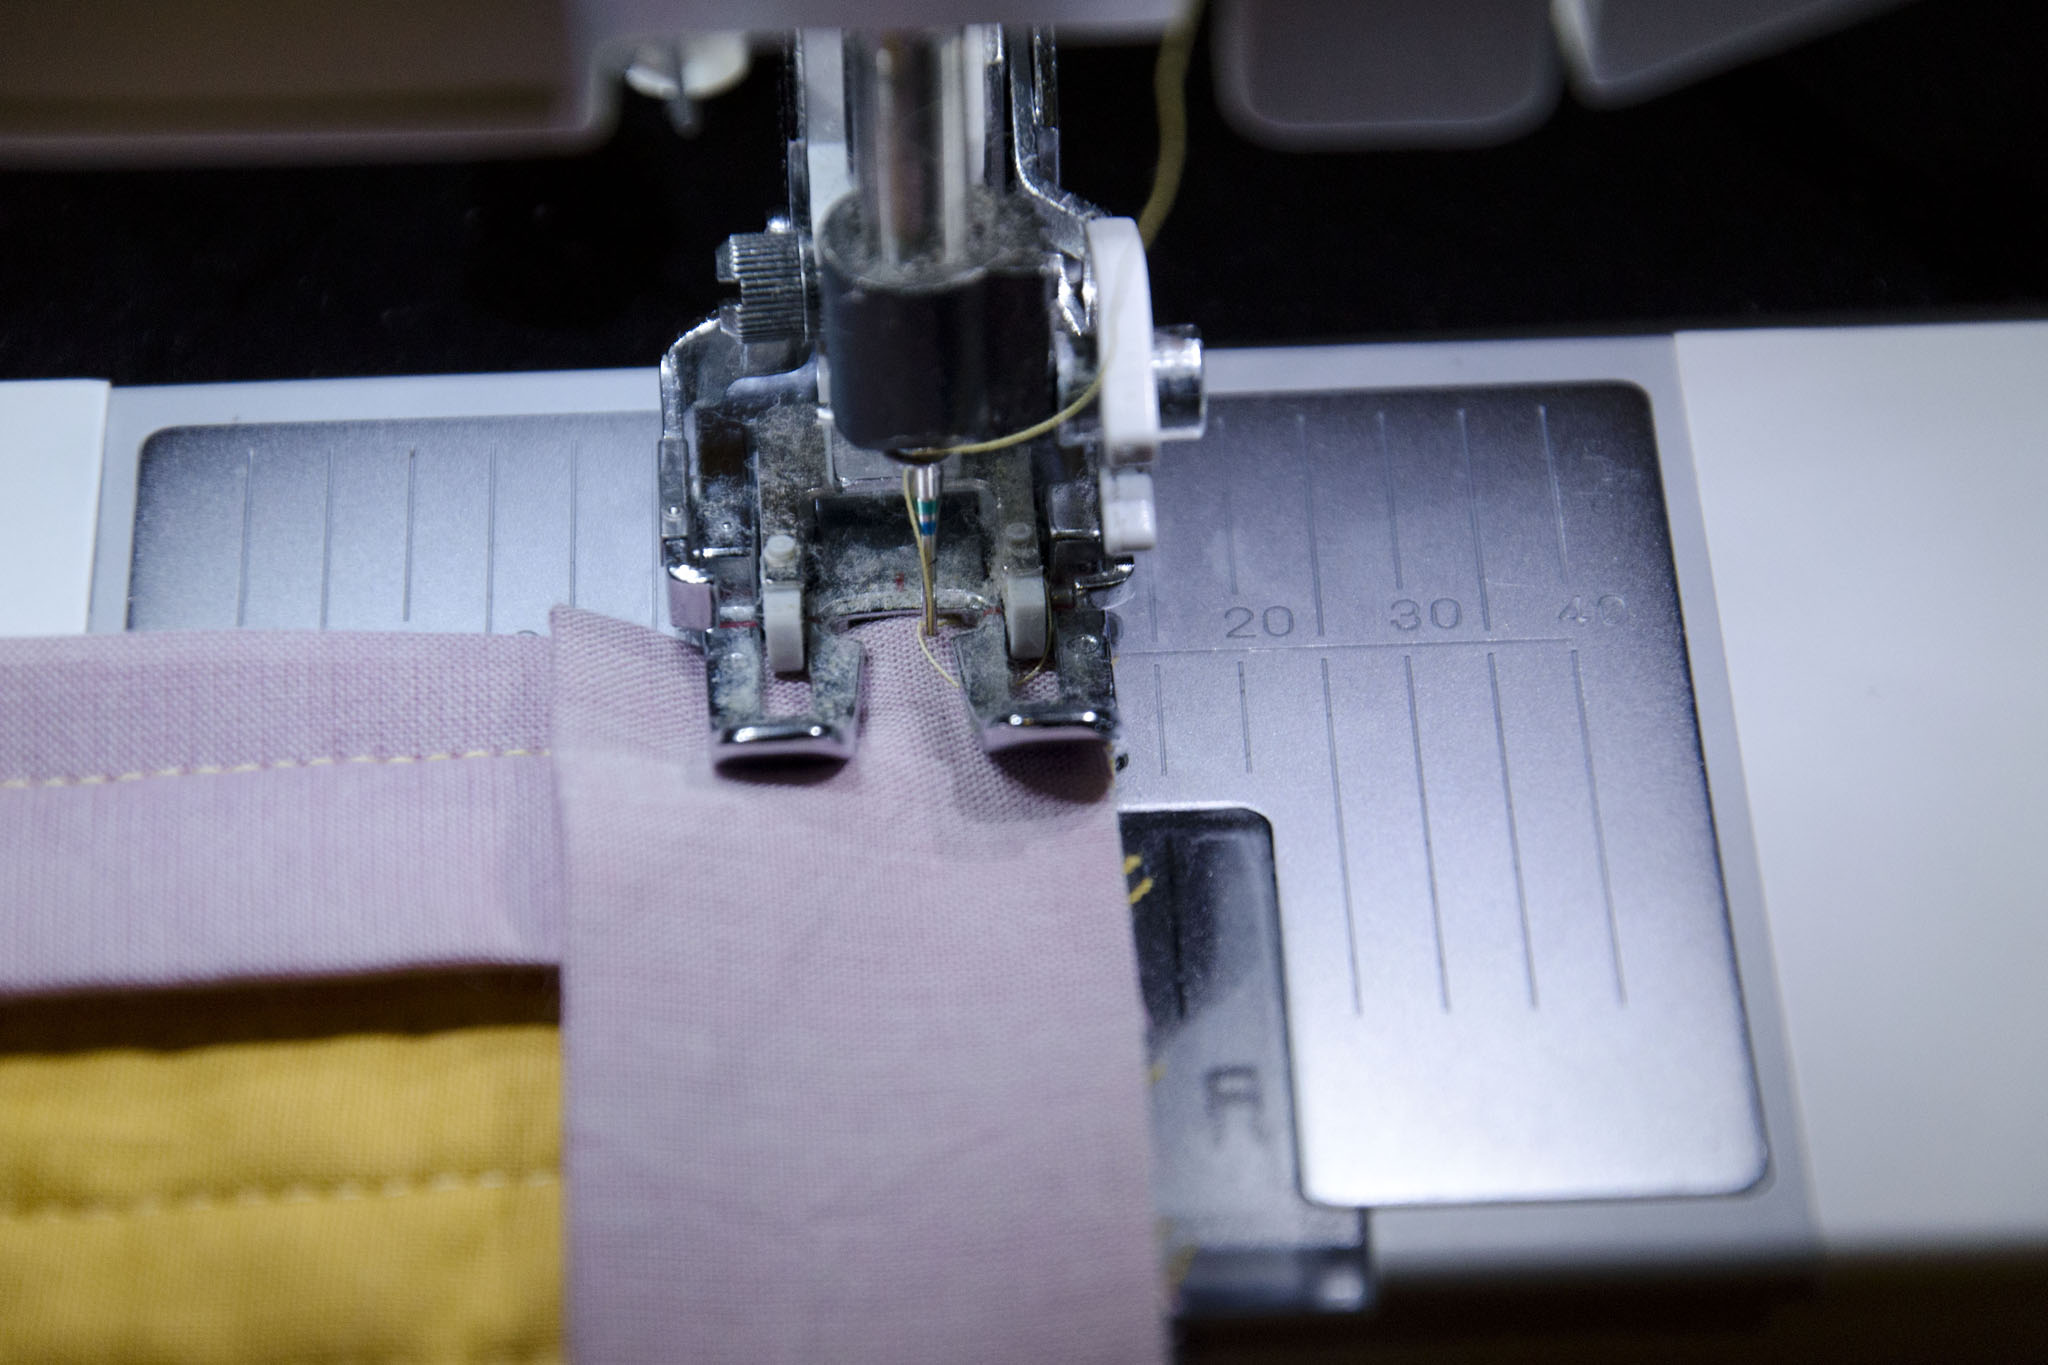
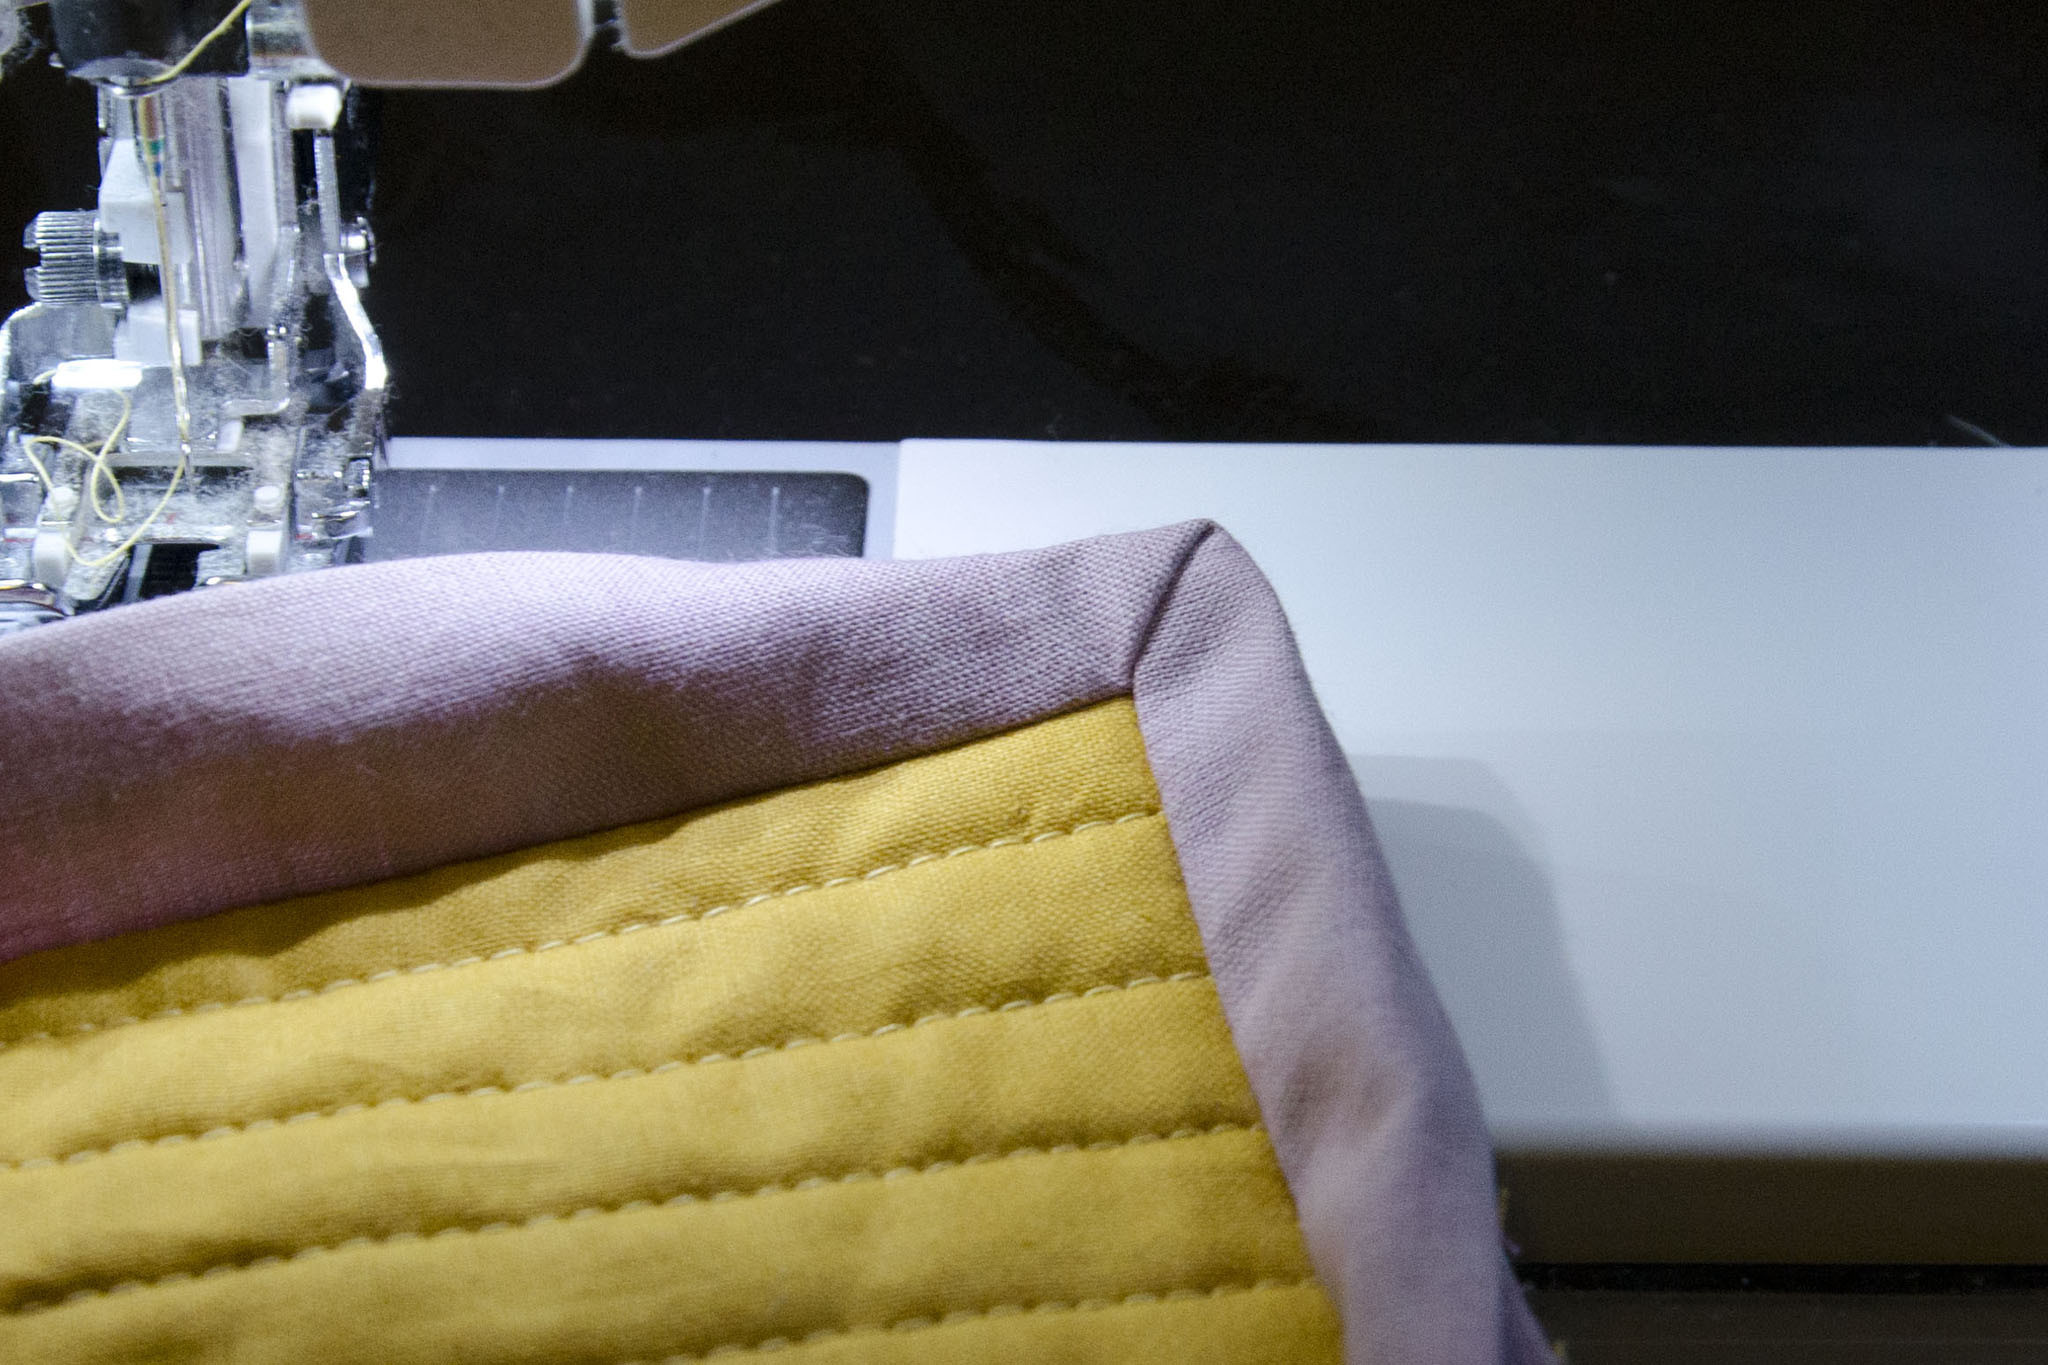
These first few photos show the method I’ve always used—the only way hers differs is the very last step (photo 4), but it makes all the difference.

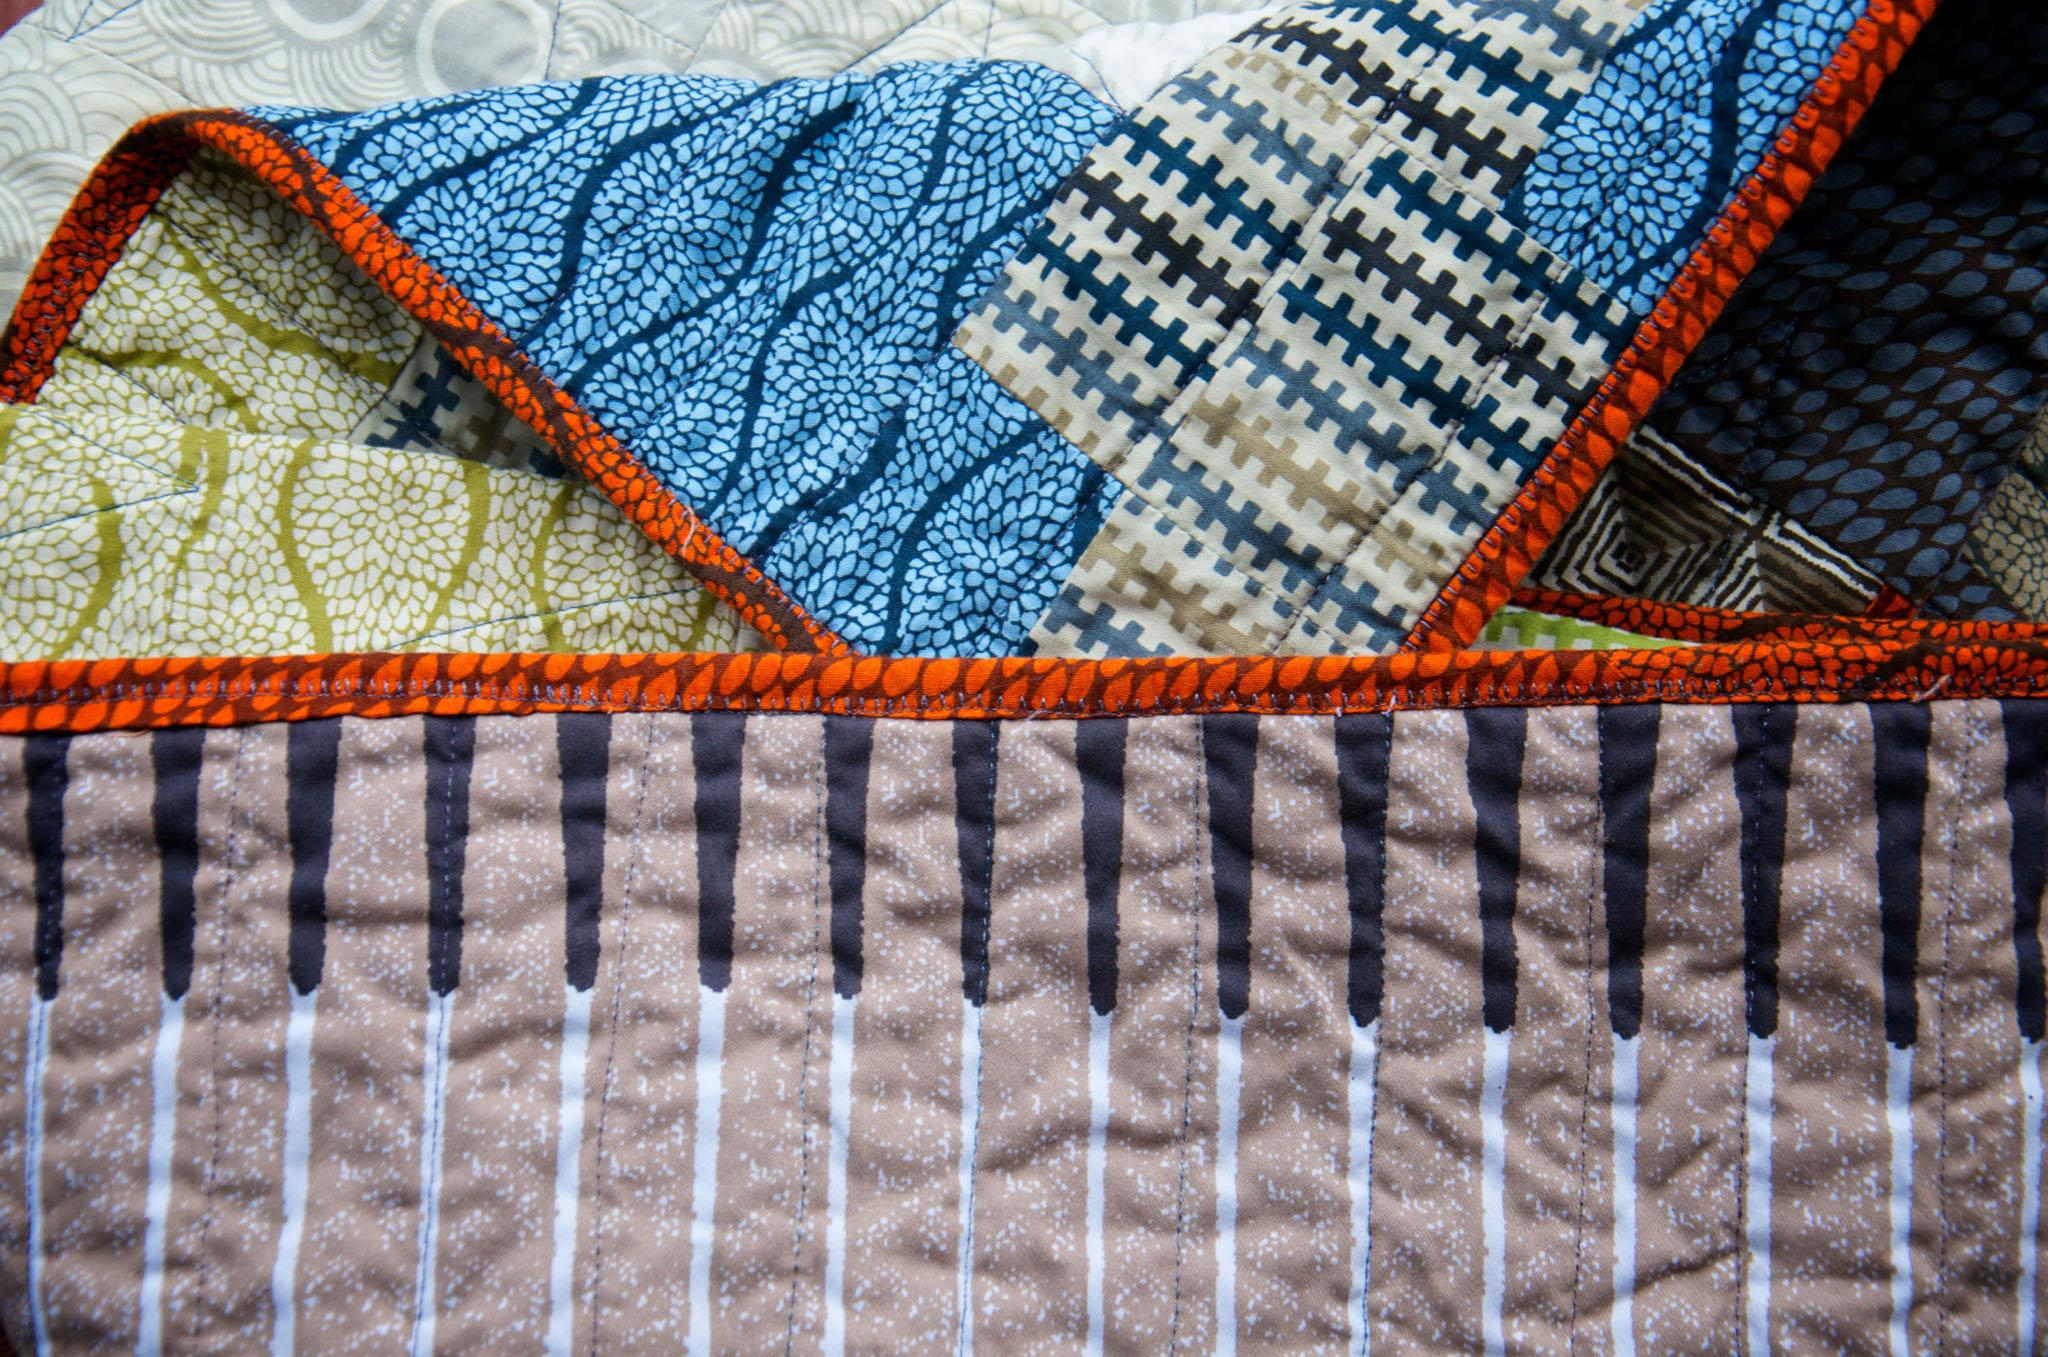
In words: mark the width of your seam allowance in from the edge of the quilt (photo 1). Once you stitch to that point, turn, and stitch out to the corner at a 45° angle (photo 2). Fold your binding up on the diagonal, and then even with the edge (diagonal shown in photo 3). The magic step: instead of starting part-way in, which often leaves a gap if you aren’t exact, start stitching from the very edge (photo 4). As long as you stopped at the seam allowance point from the first direction, doing this won’t screw up your corner. Once you’re finished, turn your binding to the other side, and admire your gap-free corner.

binding-tricks-1
binding-tricks-2
binding-tricks-3
binding-tricks-4
binding-tricks-9

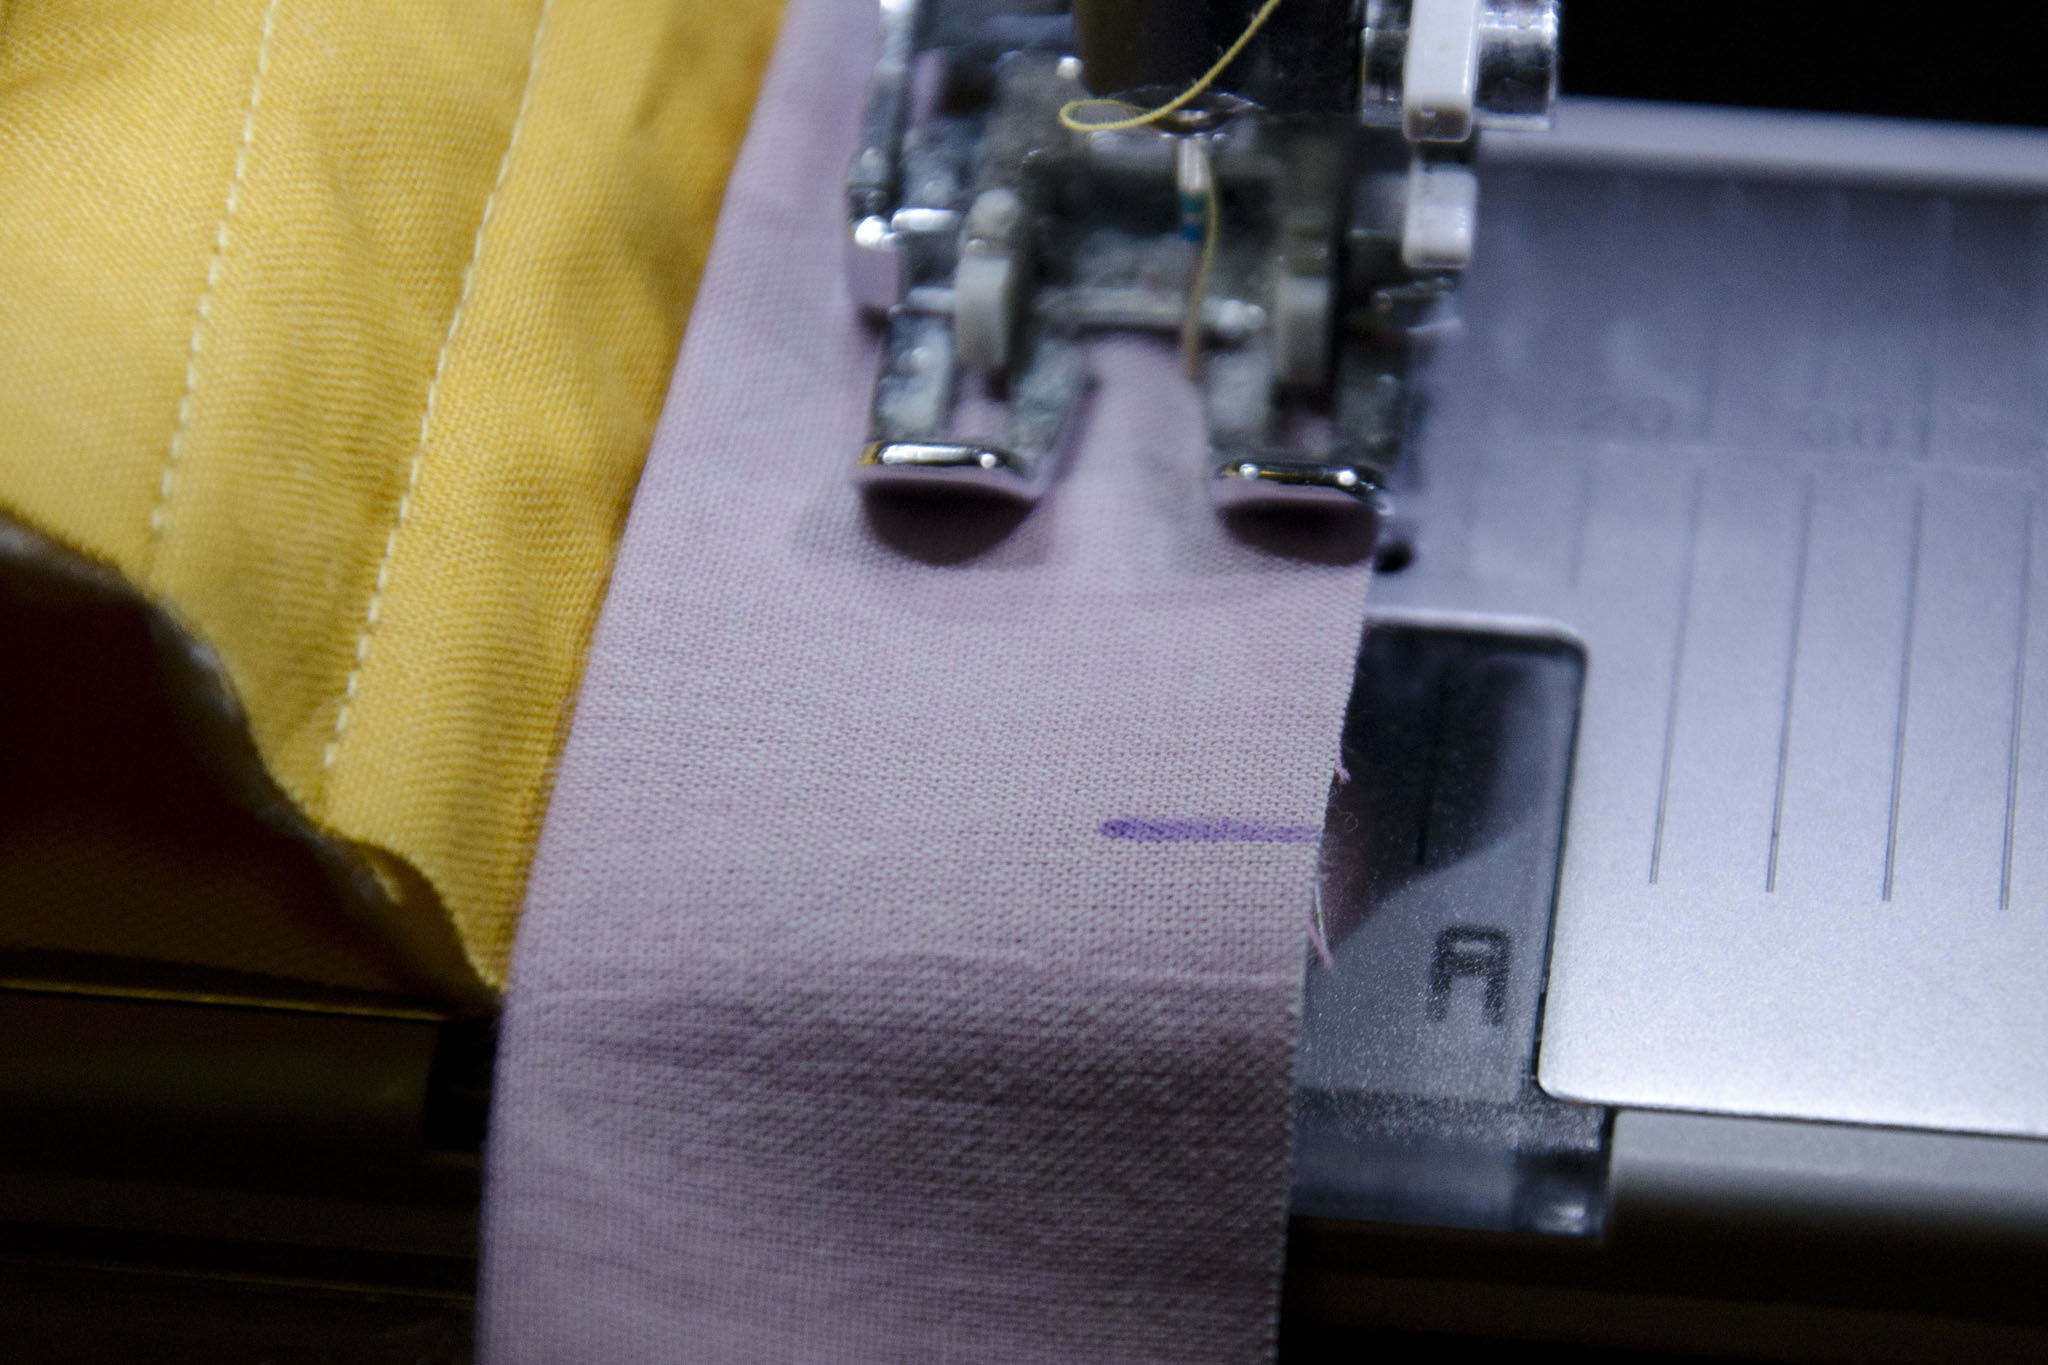
2. Measuring the overlap to close the loop

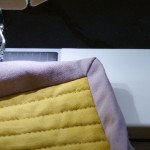
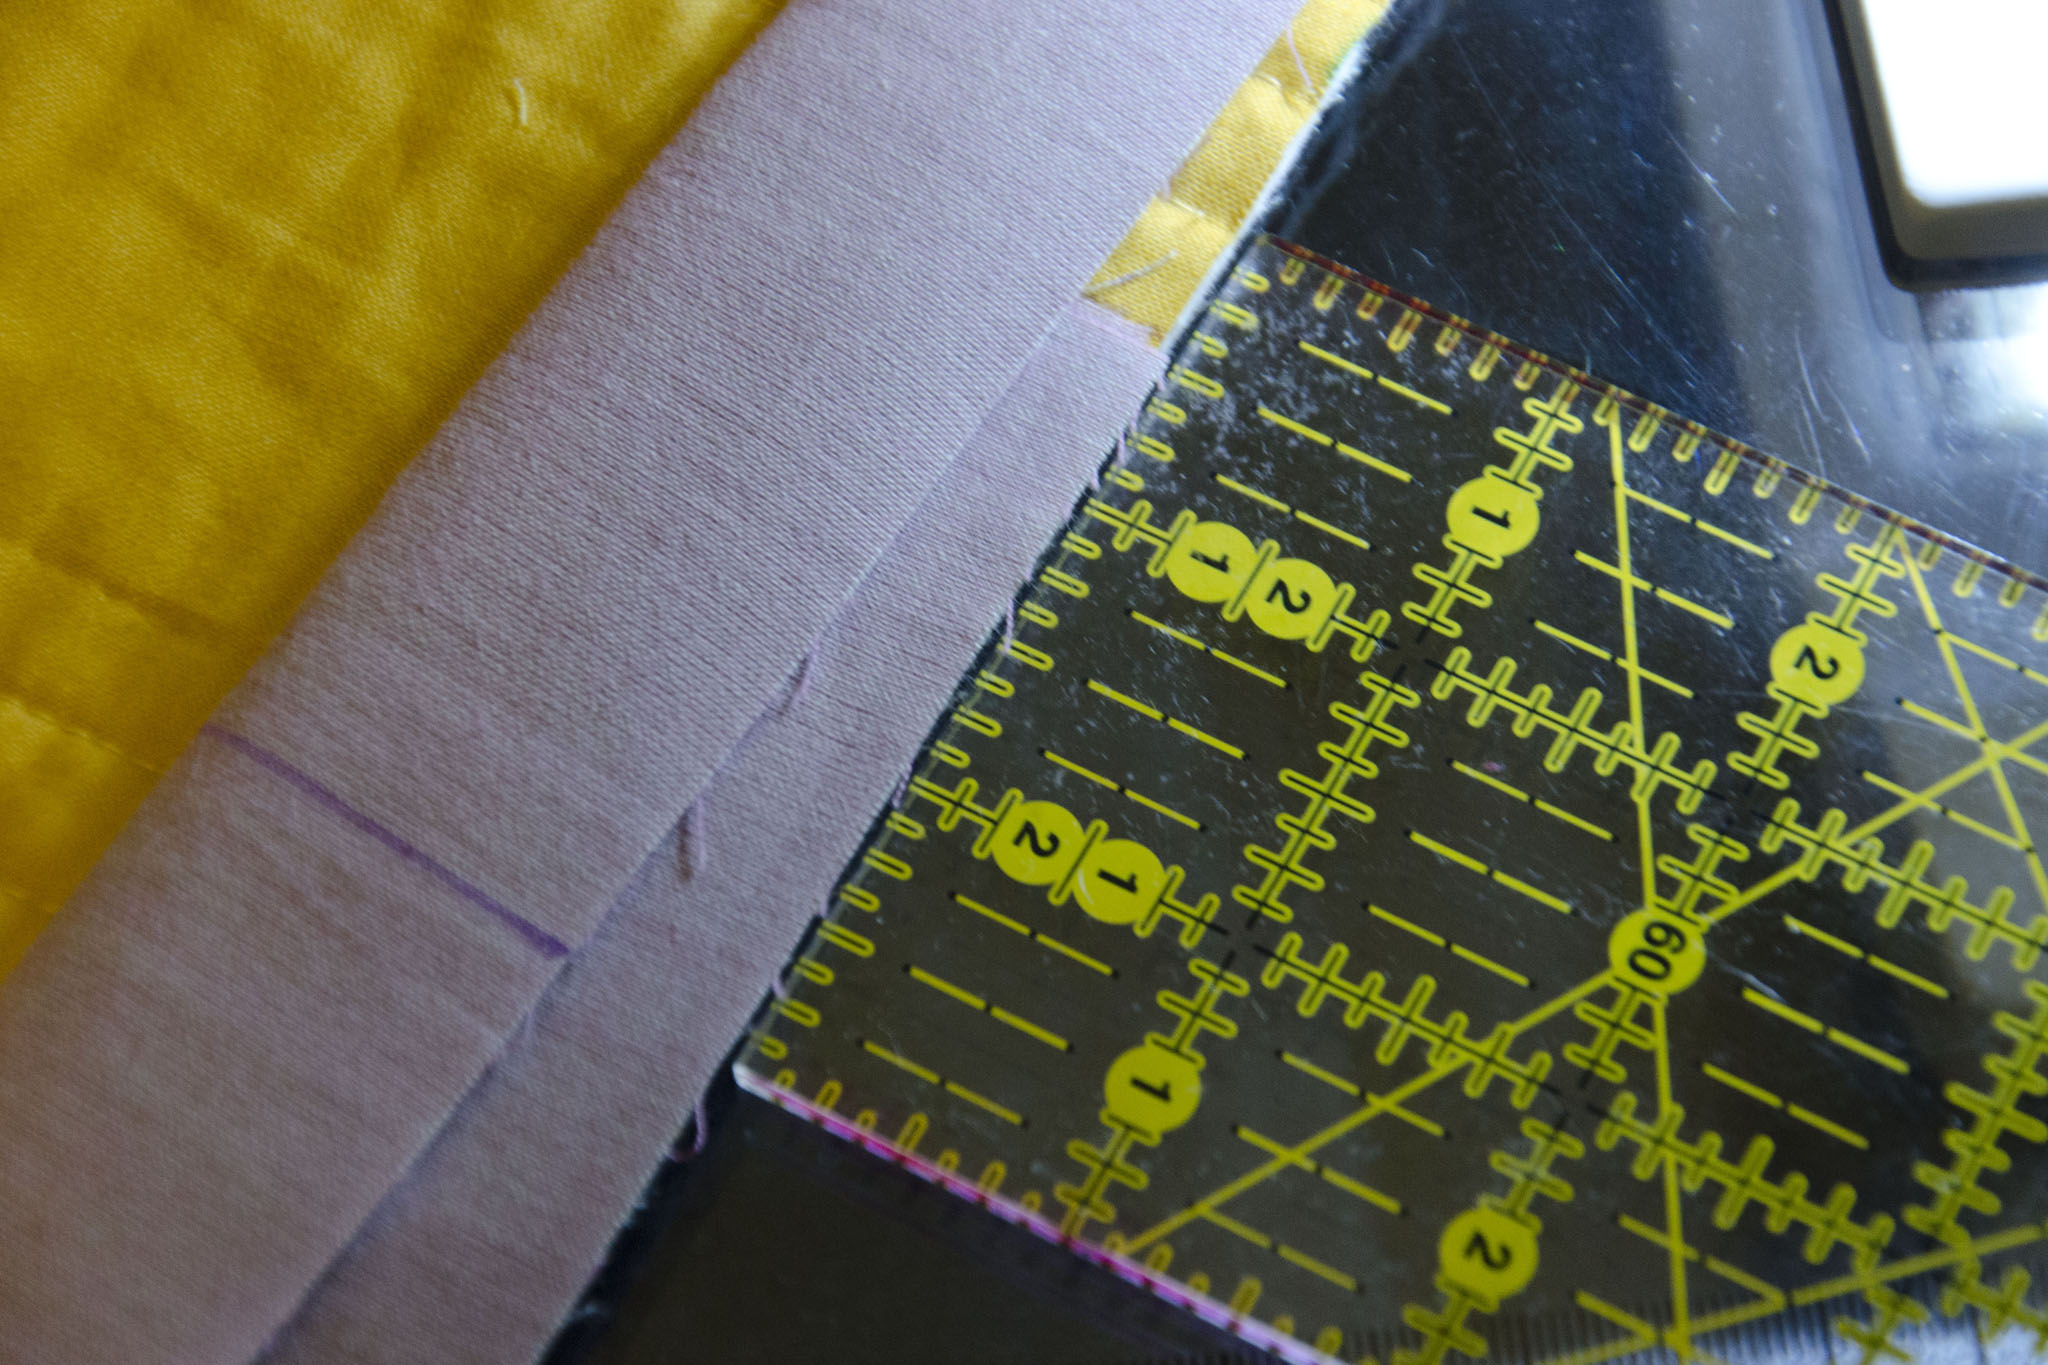
This one’s quick—to measure the amount needed for perfect-length binding (before cutting off the extra and sewing the final seam), simply overlap the ends by the width of the binding strip.

In my example, I’m using 2.5″ strips, meaning I need an overlap of 2.5″. I’ll cut on the purple line prior to sewing the seam.

binding-tricks-5

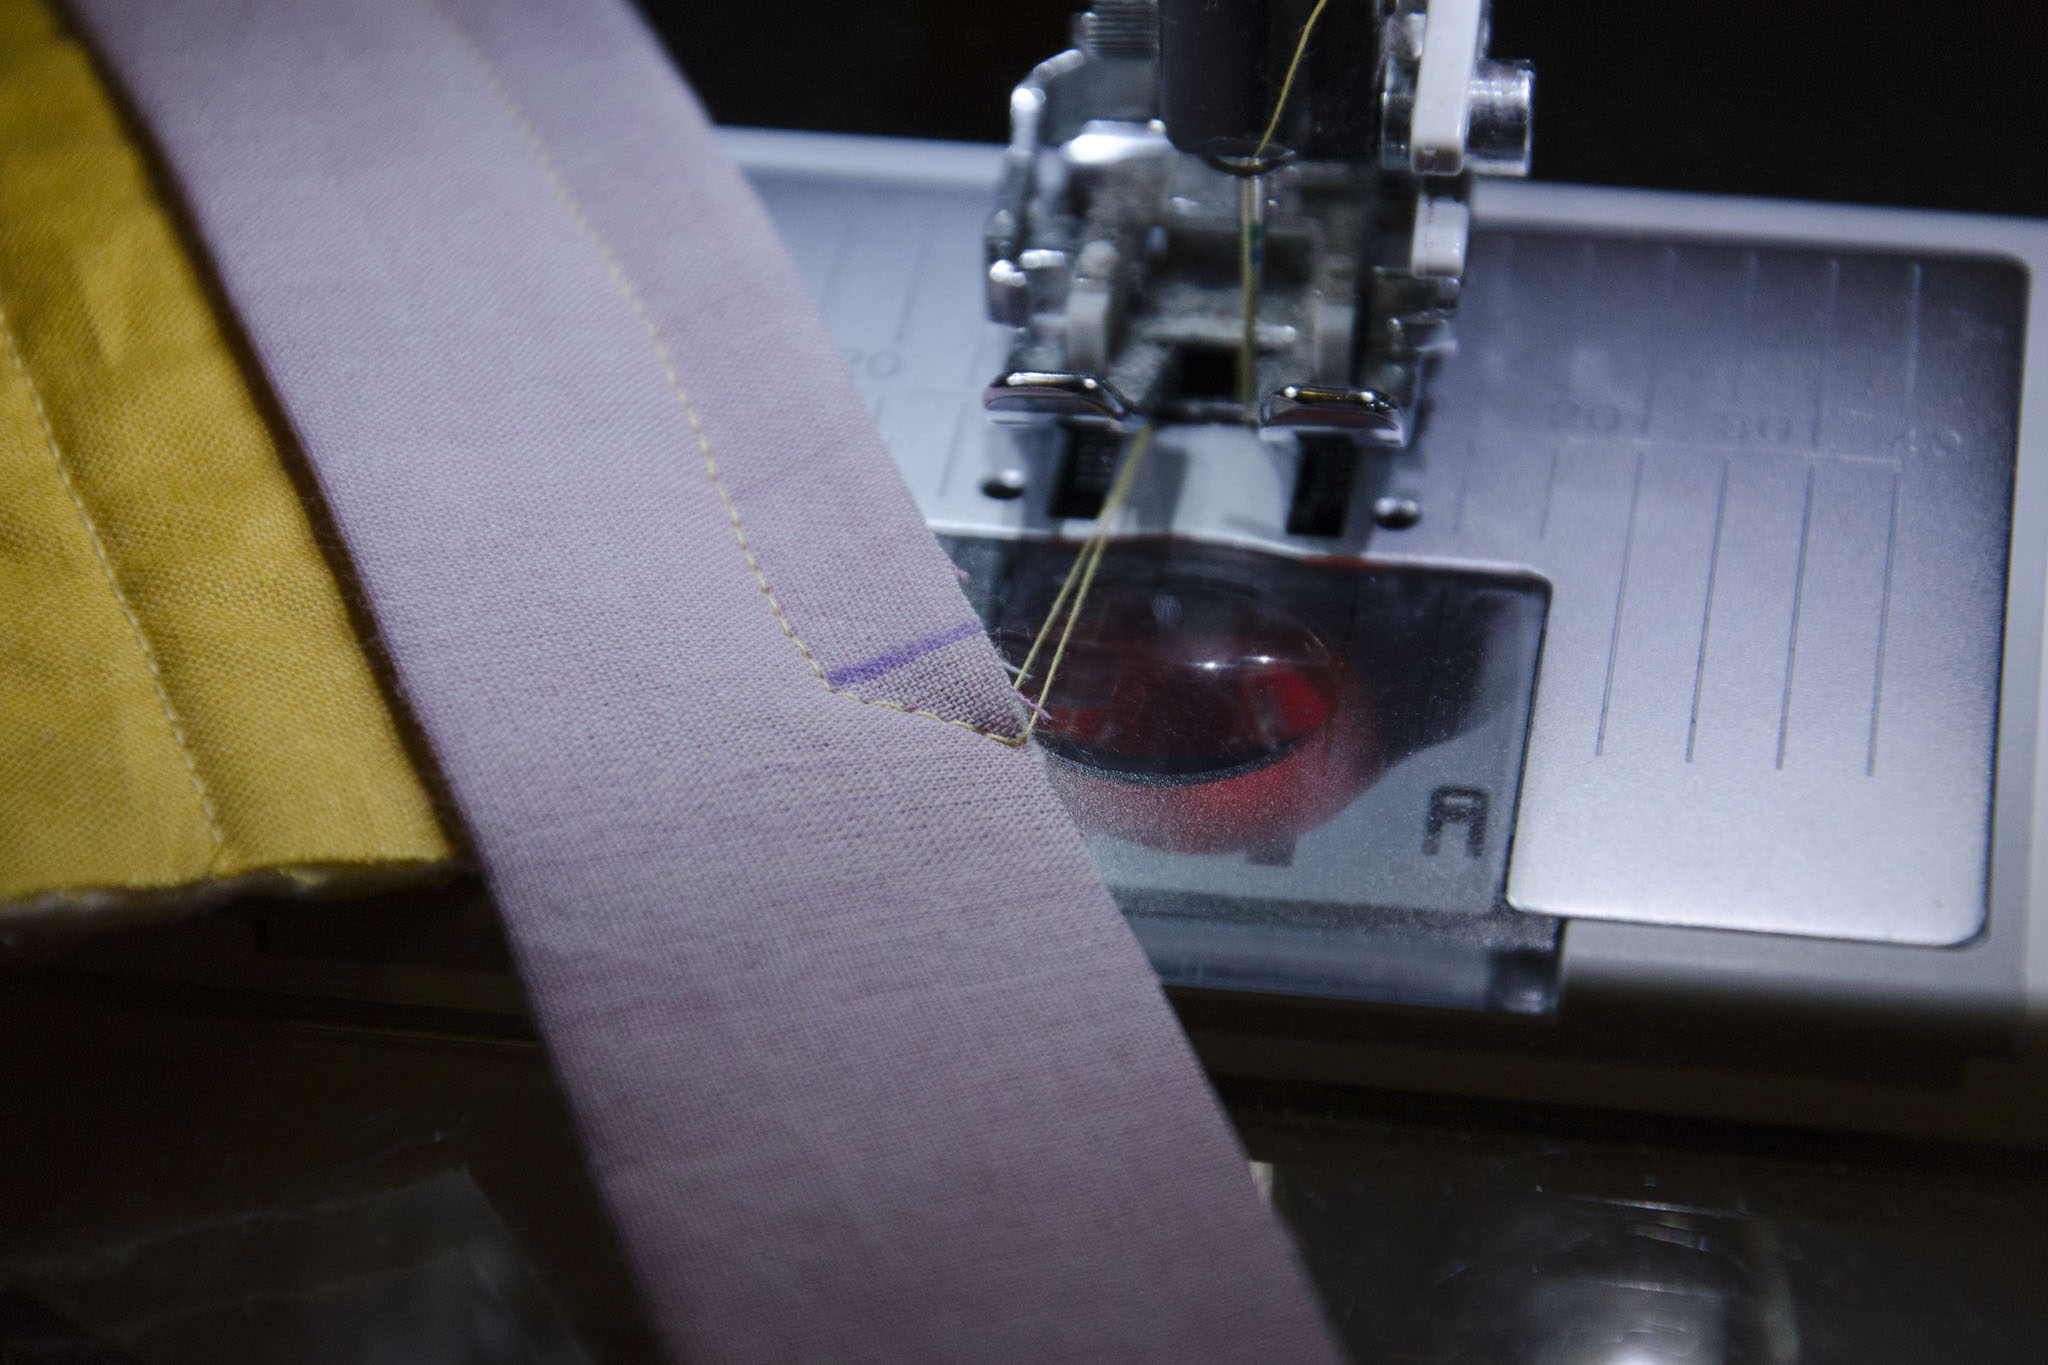
3. Seam it the right way the first time

Until I came across this tip, I had to sew the seam to close my binding at least twice every time. I’d always sew the wrong direction or have it twisted. It’s just a quick memory trick to help keep everything straight.

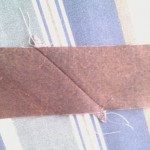
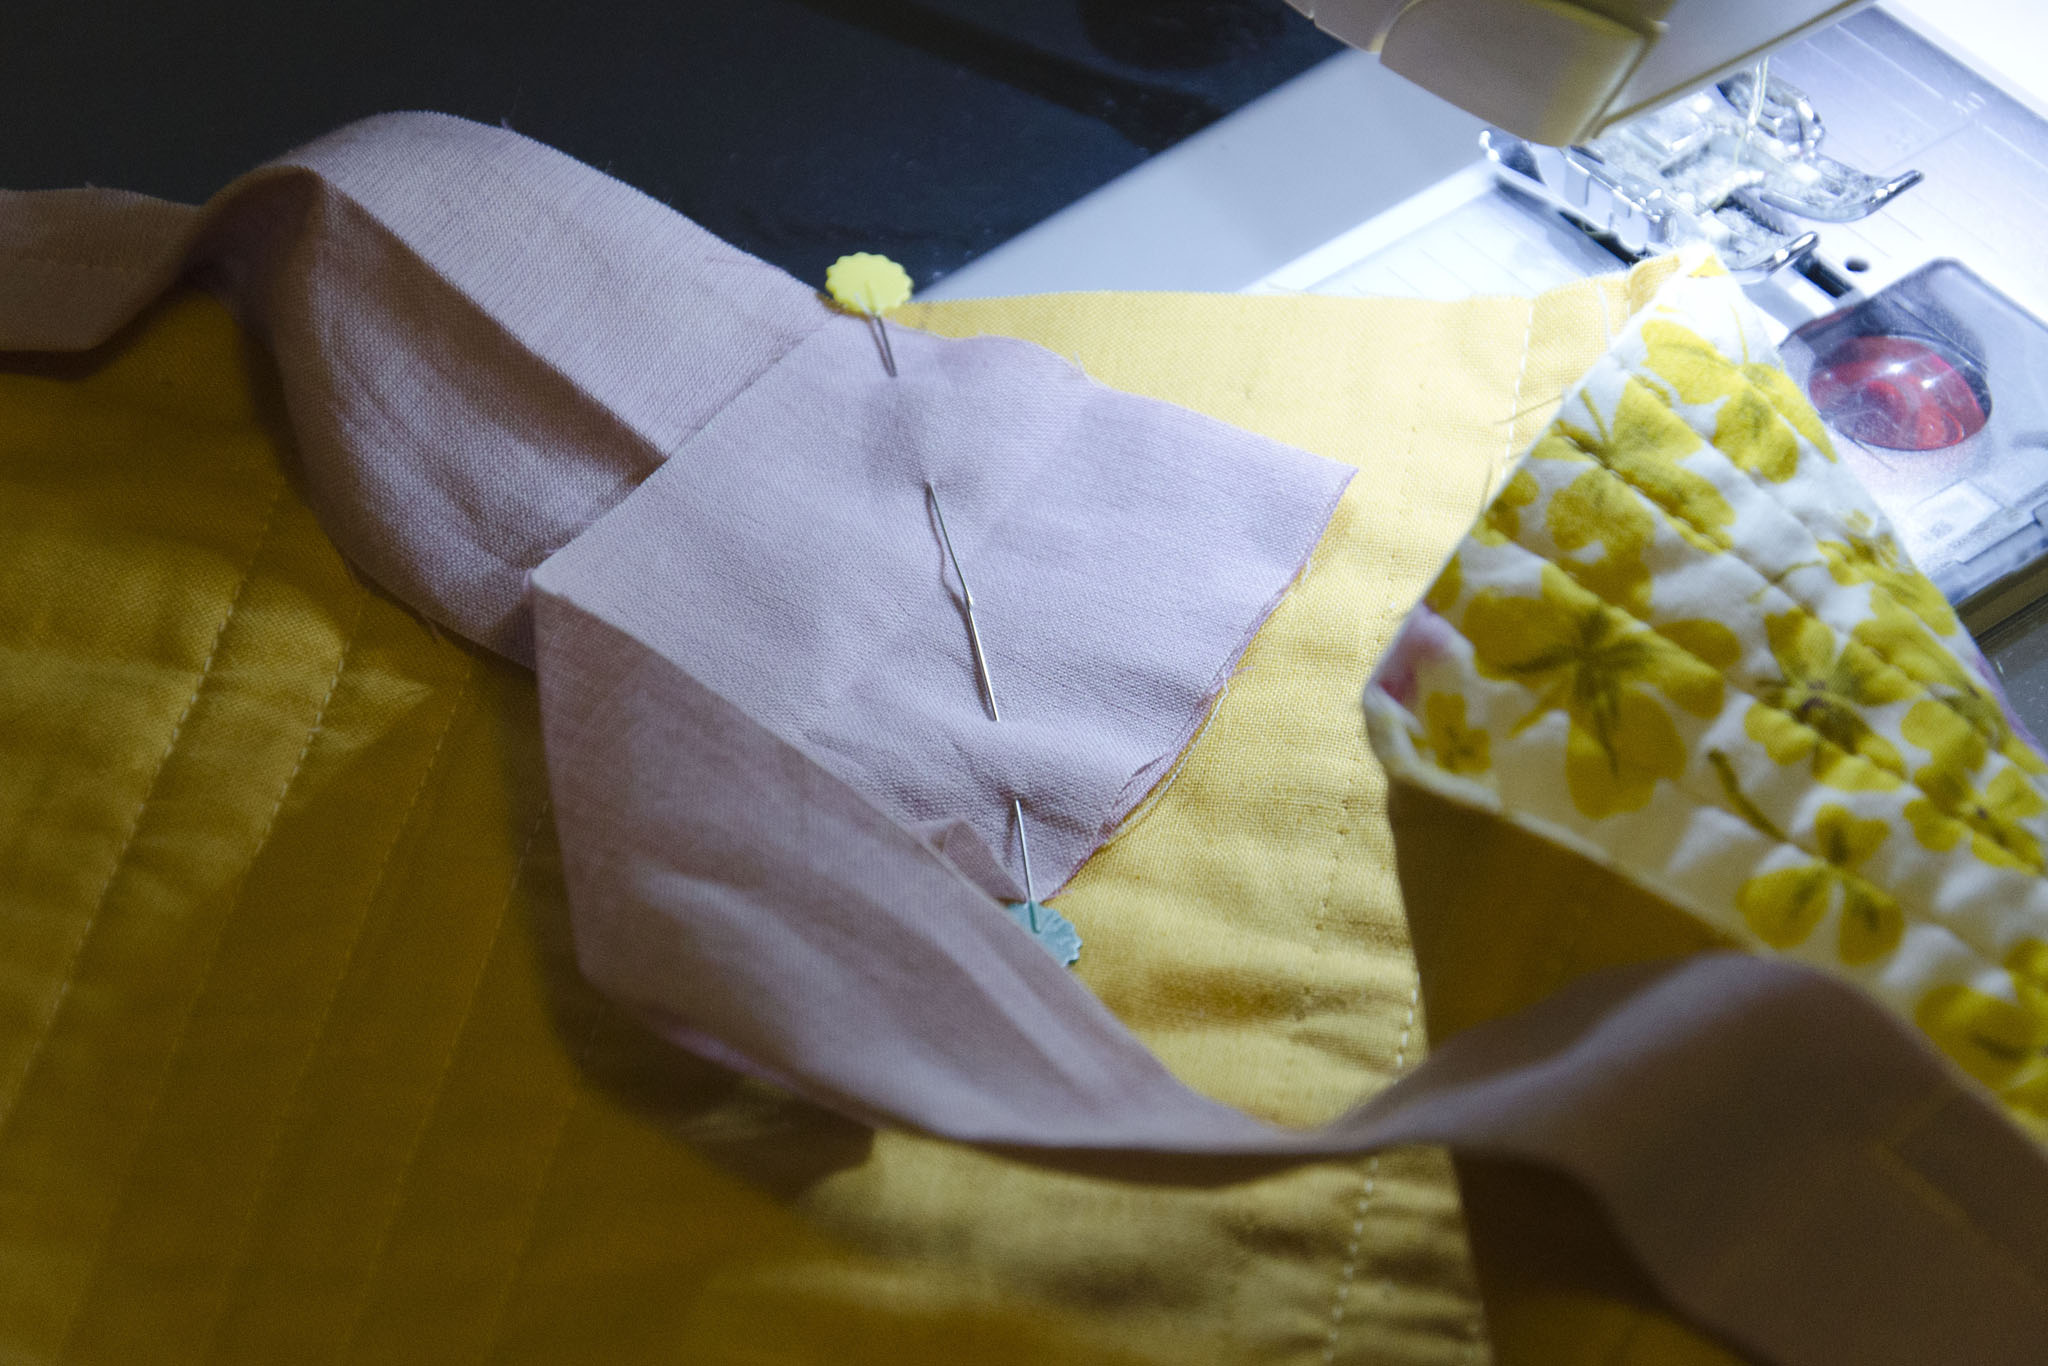
With the edge of the quilt away from you, the left strip goes in back and the right goes in the front, because back/left have four letters each and right/front both have five.

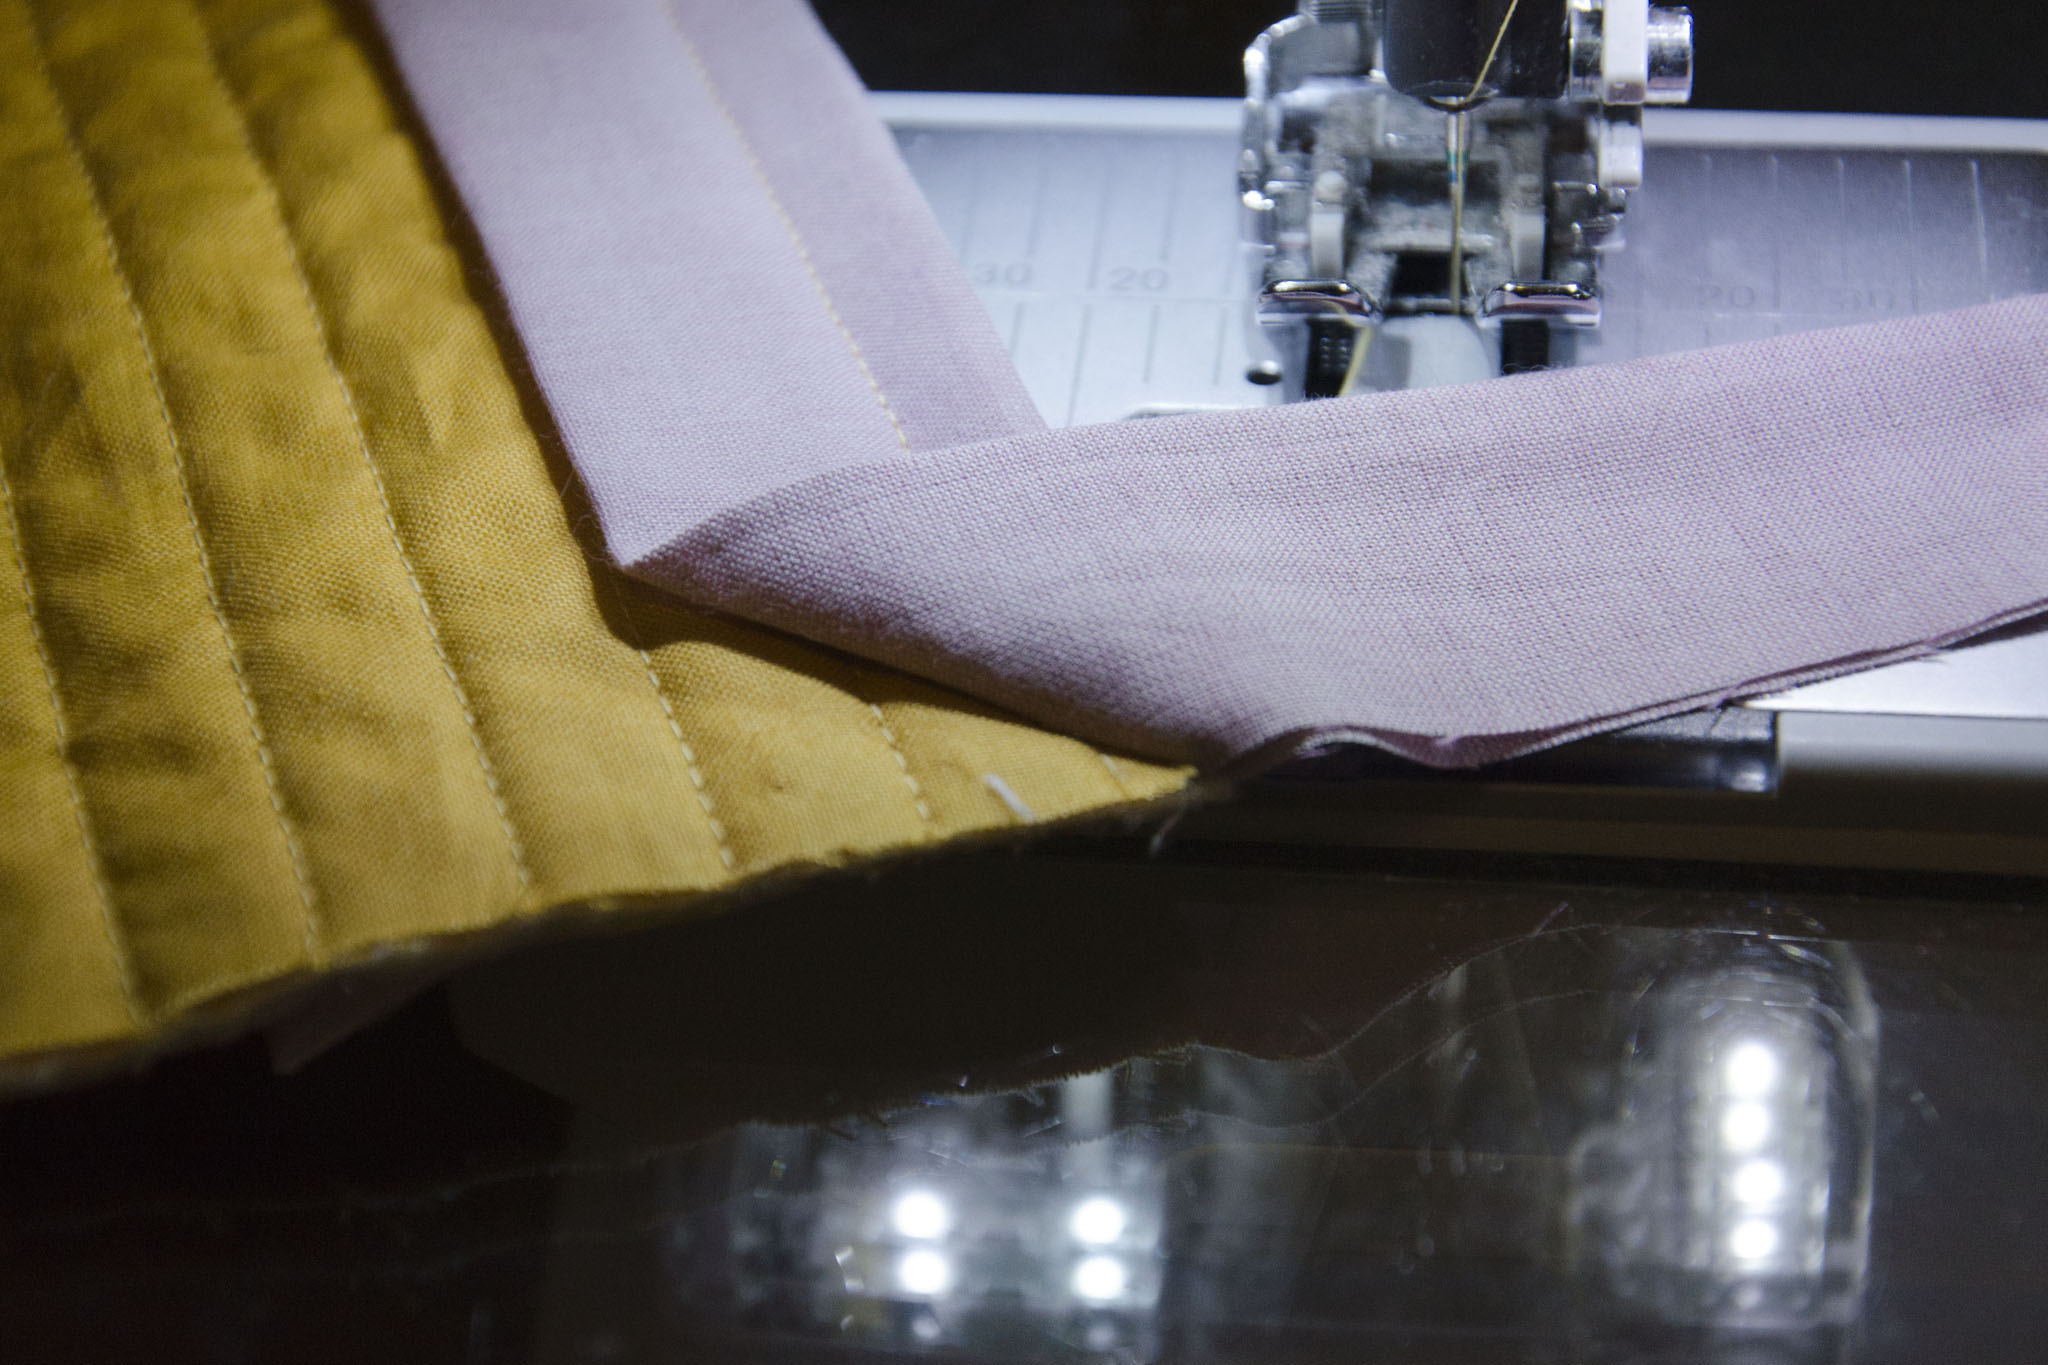
Then, just make sure you have right-sides together (the peak of the folds should touch), align the strips for a bias seam, and sew from corner to corner as shown in the photo (a.k.a. the standard binding finishing).

binding-tricks-6
binding-tricks-7

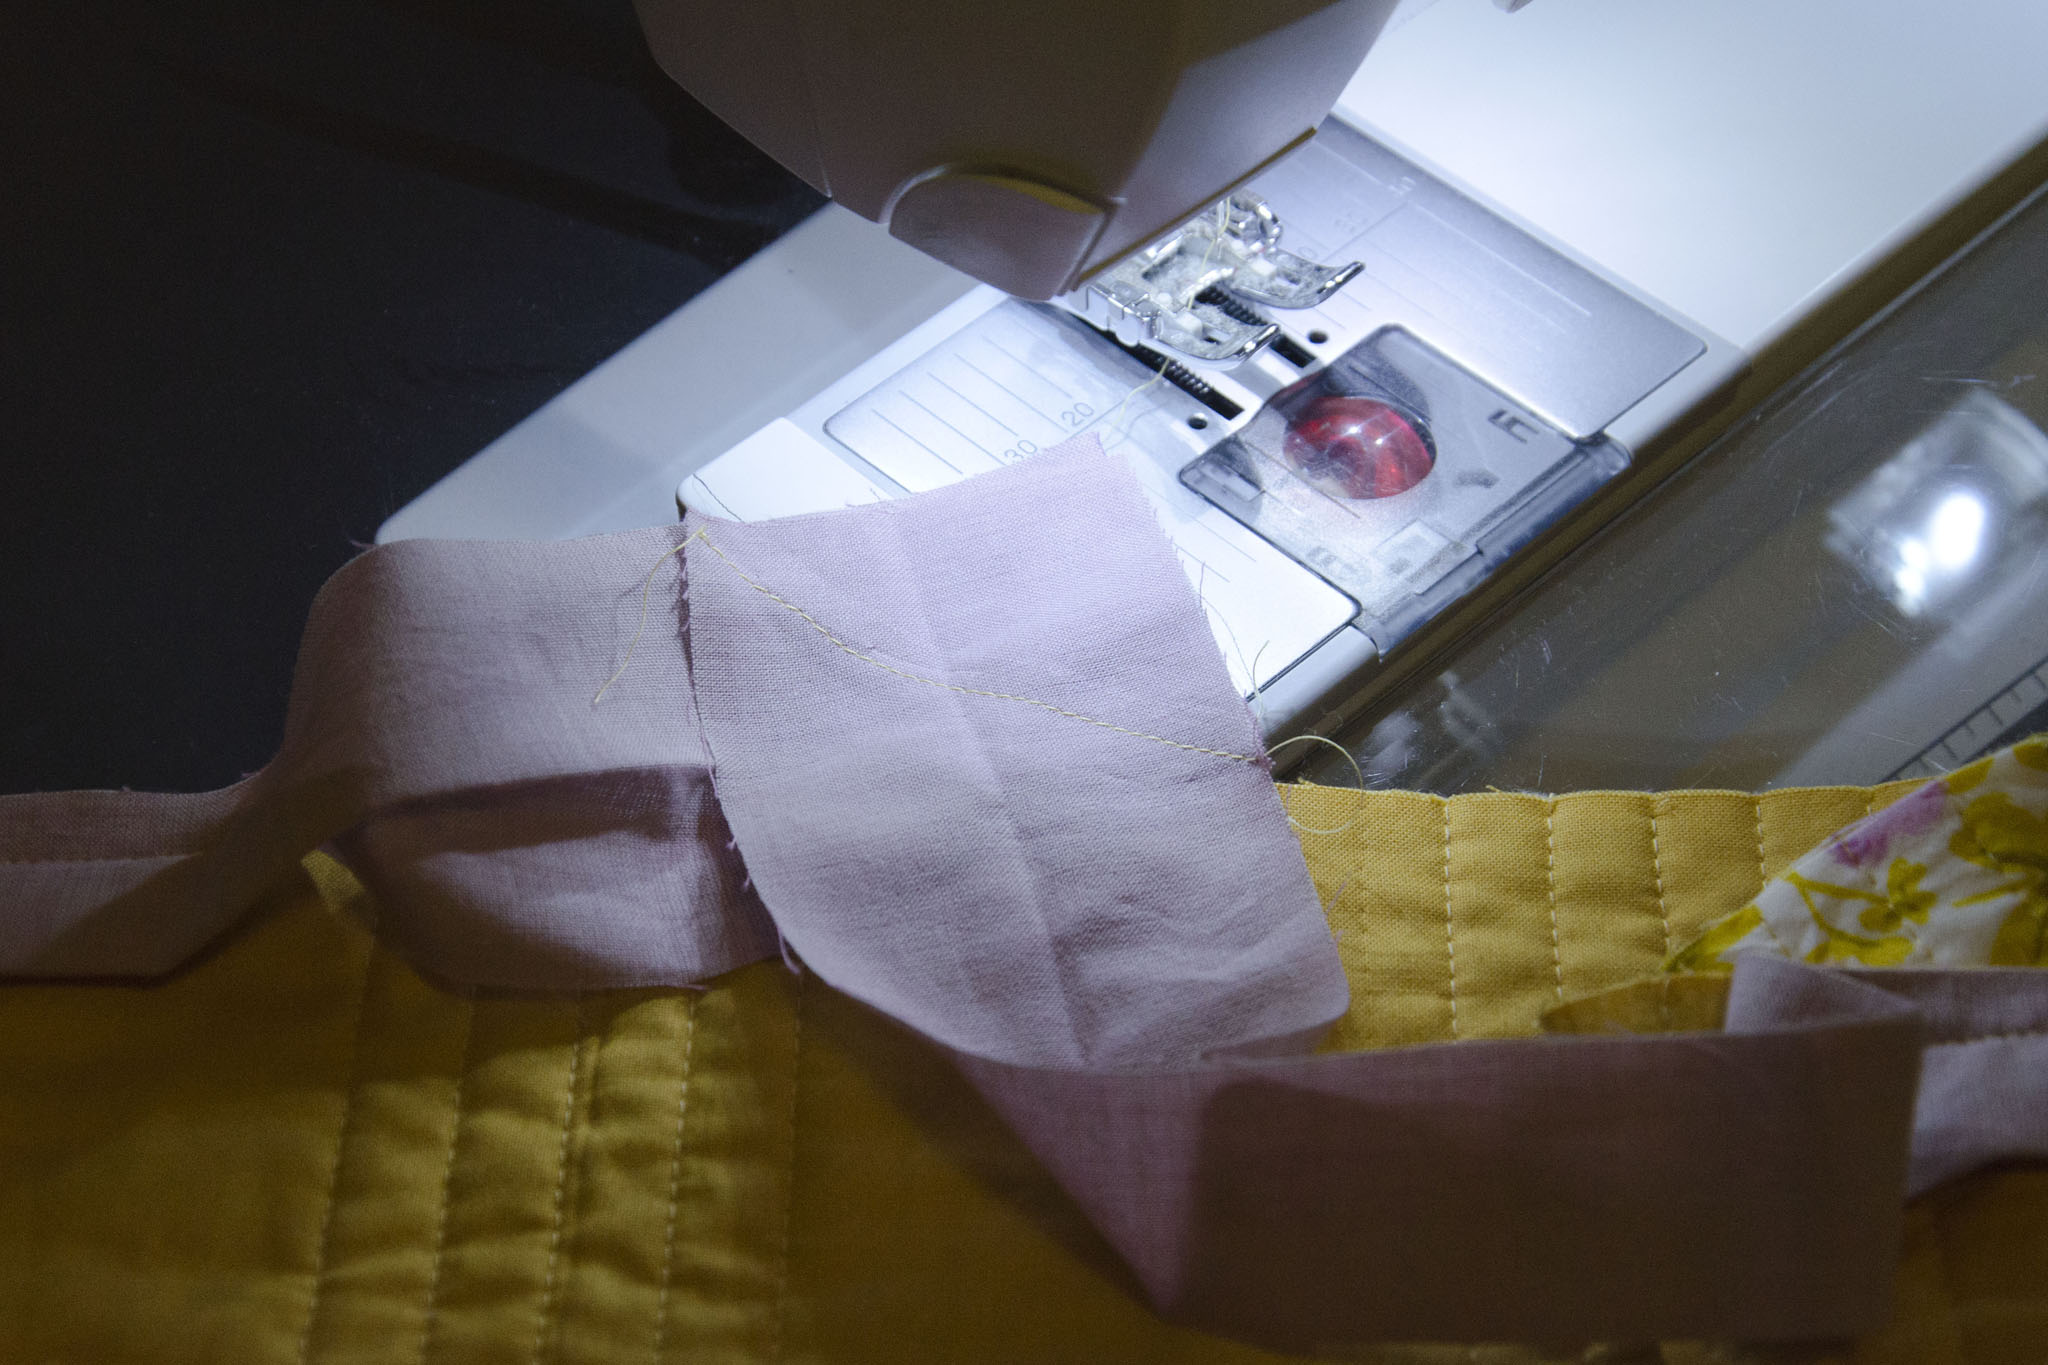
Once you’ve sewn it, it should snap into place and be the perfect length (make sure to trim the seam allowance down, and press). So very satisfying!

binding-tricks-8

Do you have any other handy binding tricks you love?

August 12th, 2015

2014 Skill Improvement Goal: Binding

Posted in Quilting

  • Binding
  • Fabric: Seven Wonders
  • Q014BA
  • Techniques
  • Wonders of Impromptu

On my latest quilt, I machine-sewed the binding rather than hand-finishing like I’ve done with most of my other quilts. It has its advantages: rather than spending the weekend (and maybe longer) sewing almost seven yards of binding to the back of a quilt, it was finished in fifteen minutes (maybe fewer; I wasn’t watching the clock). It’s also stronger and will presumably hold up longer—my machine sews many more stitches per inch than I do by hand.

The disadvantage is aesthetic. I like how hand stitching hides the stitches completely (well, if you use a ladder stitch like I do). But, well-executed machine binding means that the stitching is near-invisible on the front, and very evenly-spaced on the back—which doesn’t bother me aesthetically, or at least not enough to justify the extra hand-sewing time on most quilts.

So, really, the disadvantage is that my machine binding highlights a skill deficit; I am not very proficient at sewing and folding my binding so that there is an even overlap all the way around the edge of the quilt. It’s not obvious when all of the stitches are hidden, but when the stitches are visible you can see the areas where the binding wraps to the back more deeply or not.

Wonders of Impromptu binding

I compensated on this quilt by using a blanket stitch, which means it’s more obvious on both sides of the quilt, but the stitches securely caught all edges of the binding. Some parts were quite even, but others weren’t. One corner was especially shallow. Using fusible web to secure the binding to the back before I sew (rather than pinning) helps to some degree, but not completely.

In 2014, I want to focus on my binding skills. Whether I machine-bind more or not, I want to keep my binding width consistent on both sides of the quilt. Then, I can make better choices about when to use either technique.

Do you have any tips? What is your preferred binding method?

January 12th, 2014

Making Binding Strips

Posted in Learning

  • Binding

While I’m quilting away on the Spring QAL, and prepping the binding, I thought I’d share my binding method.

I don’t know that I ever officially learned how to make binding. In fact, after I publish this, I’ll probably head out into the quilt blogging world to re-learn from everyone else’s posted tutorials. The first quilt I made, I self bound. That means I folded the extra backing fabric to the front and sewed it down, rather than cutting it off. But for the bargello quilt and the Spring QAL I used straight-of-grain binding strips.

Binding strip width seems to be a matter of preference, to a large extent, and wider or narrower strips will result in wider or narrower binding, of course. However, a decent standard seems to be 2.5″ or 2.25″. I use the former, mostly.

So, my method for making the strips is:

April 22nd, 2011


© 2008–2025 Raevenfea