
Quick Diamond Napkin Rings
Posted in Crafting
As part of a gift, I need coordinating napkins and napkin rings, so I whipped some up on my day off yesterday. And, dear readers, I’ll show you how to make the same napkin rings. They are very easy; it took me all of an hour to make four, not including the time it took to go buy more ribbon when I ran out. Lesson learned: measure out the full spool before cutting, don’t just eyeball it. Luckily JoAnn carried the same ribbon (my original spool is of unknown origin… I’ve had it for ages).
Before you get started, you can download my template (and instructions) as a PDF.
In the downloadable instructions, I’ve provided a template and measurements using both ¼” seam allowances and 1⁄8″ seam allowances so that you can use whichever you’re more comfortable with. I made mine with 1⁄8″ ones—or technically however far the right-side hash mark on my utility foot is from the center needle position. The following instructions use that method.
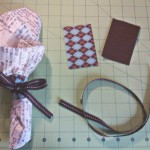
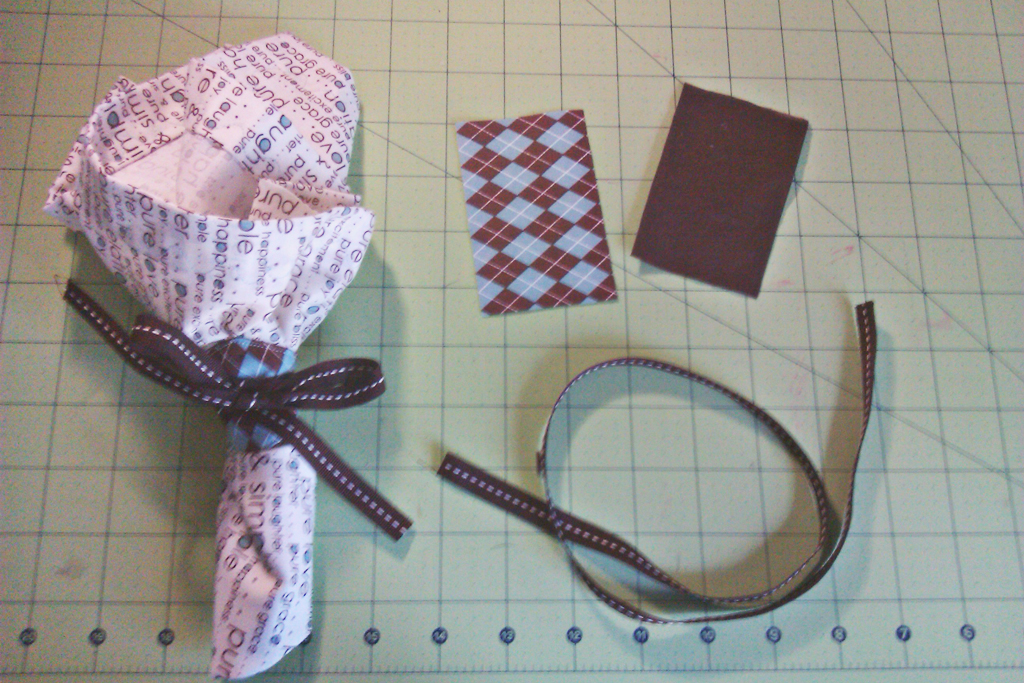
Materials
To make each napkin ring, you need:
Two 3.5″ × 2.25″ rectangles of fabric
24″ of ribbon
You can go scrappy and have them all different, or you can use the same fabrics. To make all four out of the same fabric, you only need two strips 2.25″ × 14″, so you wouldn’t even need a whole fat-eighth. A leftover jelly roll strip would be perfect, or a couple of squares from a charm pack.
Directions
Cut your two rectangles into the template shape. If you don’t like templates, there’s a shortcut (what I did, using 1⁄8″ seam allowances).  Fold your rectangle in half so that the short sides are touching, then mark 3⁄4″ in from each edge on the side across from the fold. Cut from those marks out to the edge of the fabric at the fold, which will give you little triangles of scrap, and the proper shape. If you are a visual learner, the grey areas in the image are scrap.

Place the pieces right-sides together. Sew together with a 1⁄8″ seam allowance (or, whatever distance from the needle to the right hash mark on your utility foot), leaving most of one long side open so that you can turn. Make sure to backstitch so that the seam doesn’t come loose as you turn it.
Turn right-side out and press, making sure to press the seam allowance of the opening in. A point-turner is quite handy here.

If you’re lazy (efficient?) like me, topstitch around the entire thing, approximately 1⁄16″ in from the edge, making sure to catch the seam allowance of the opening. Otherwise, you can whipstitch the opening closed by hand.
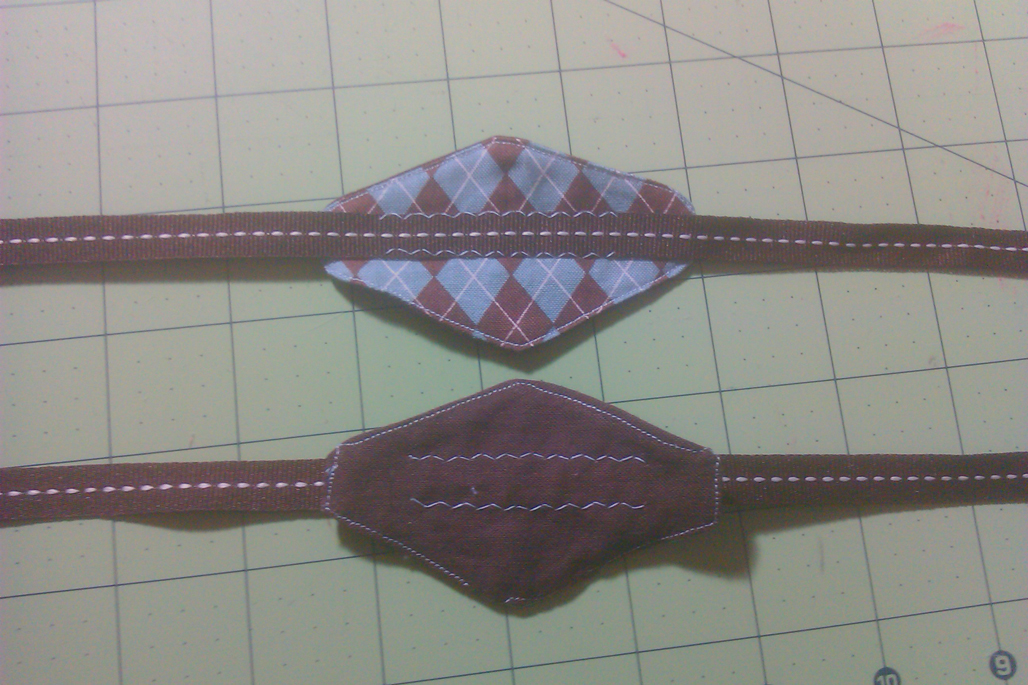
Place the center of your ribbon over the center of your fabric piece and secure with stitches. Leave ½” unsecured on each side of the fabric piece so that it can overlap a bit when you tie it around your napkin, if needed. I used a zig-zag stitch with contrasting thread on the top and bottom of the ribbon, because my ribbon already had a faux-sashiko stitch in the middle. But, you could do that same look with the stitches to secure it if you have plain ribbon.

Admire your new napkin ring, and then make more!

I made the napkins too, based loosely on this tutorial, although I mostly just winged it. They are 16″ square, with 1″ hems, so I started with 20″ squares… the giant hem wasn’t quite intentional, but I like how they turned out.
Here are the downloadable template and instructions again.
If you make these or use them as the basis for your own, leave a comment and link to photos or a post. I’d love to see them!
Comments are closed.