Raevenfea

Maker of various fabric things

This is a static export of a blog I put on ice many years ago, that still has personally relevant content. No promises can be made around linkrot, styles, or working functionality.

The Art Student and the Cottage Garden

Posted in Quilting

  • Bags
  • Fabric Designer: Amanda Herring
  • Fabric: Essex Yarn Dyed
  • Fabric: The Cottage Garden
  • Zipper

“This Art Student visited the Cottage Garden, and what happened next was a real challenge!” I really couldn’t restrain myself from click-bait copywriting there. Sorrynotsorry.

Art Student Tote front

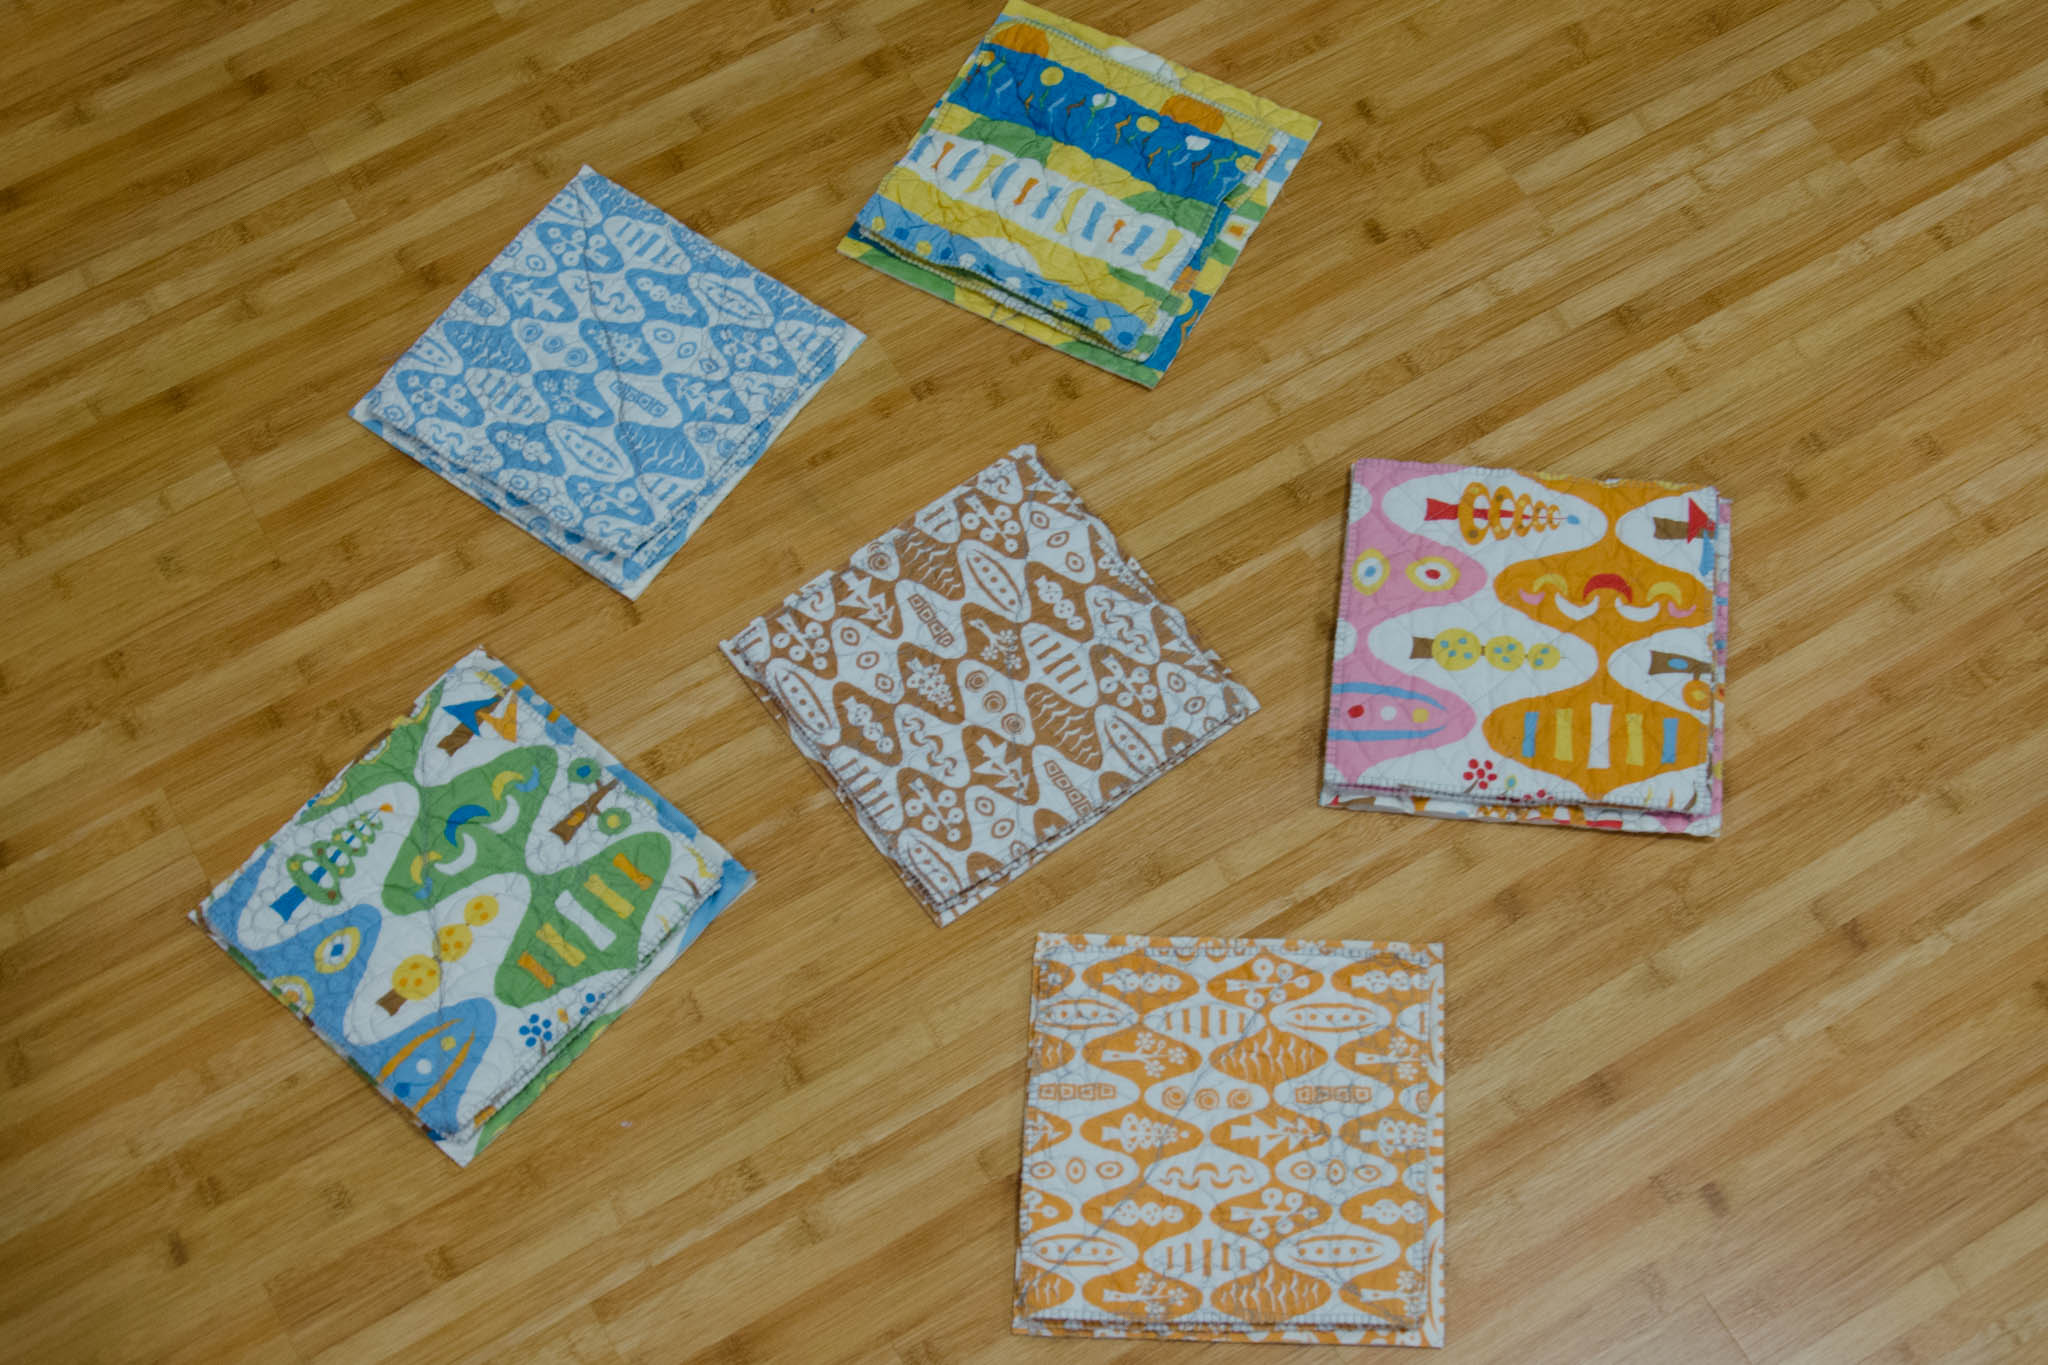
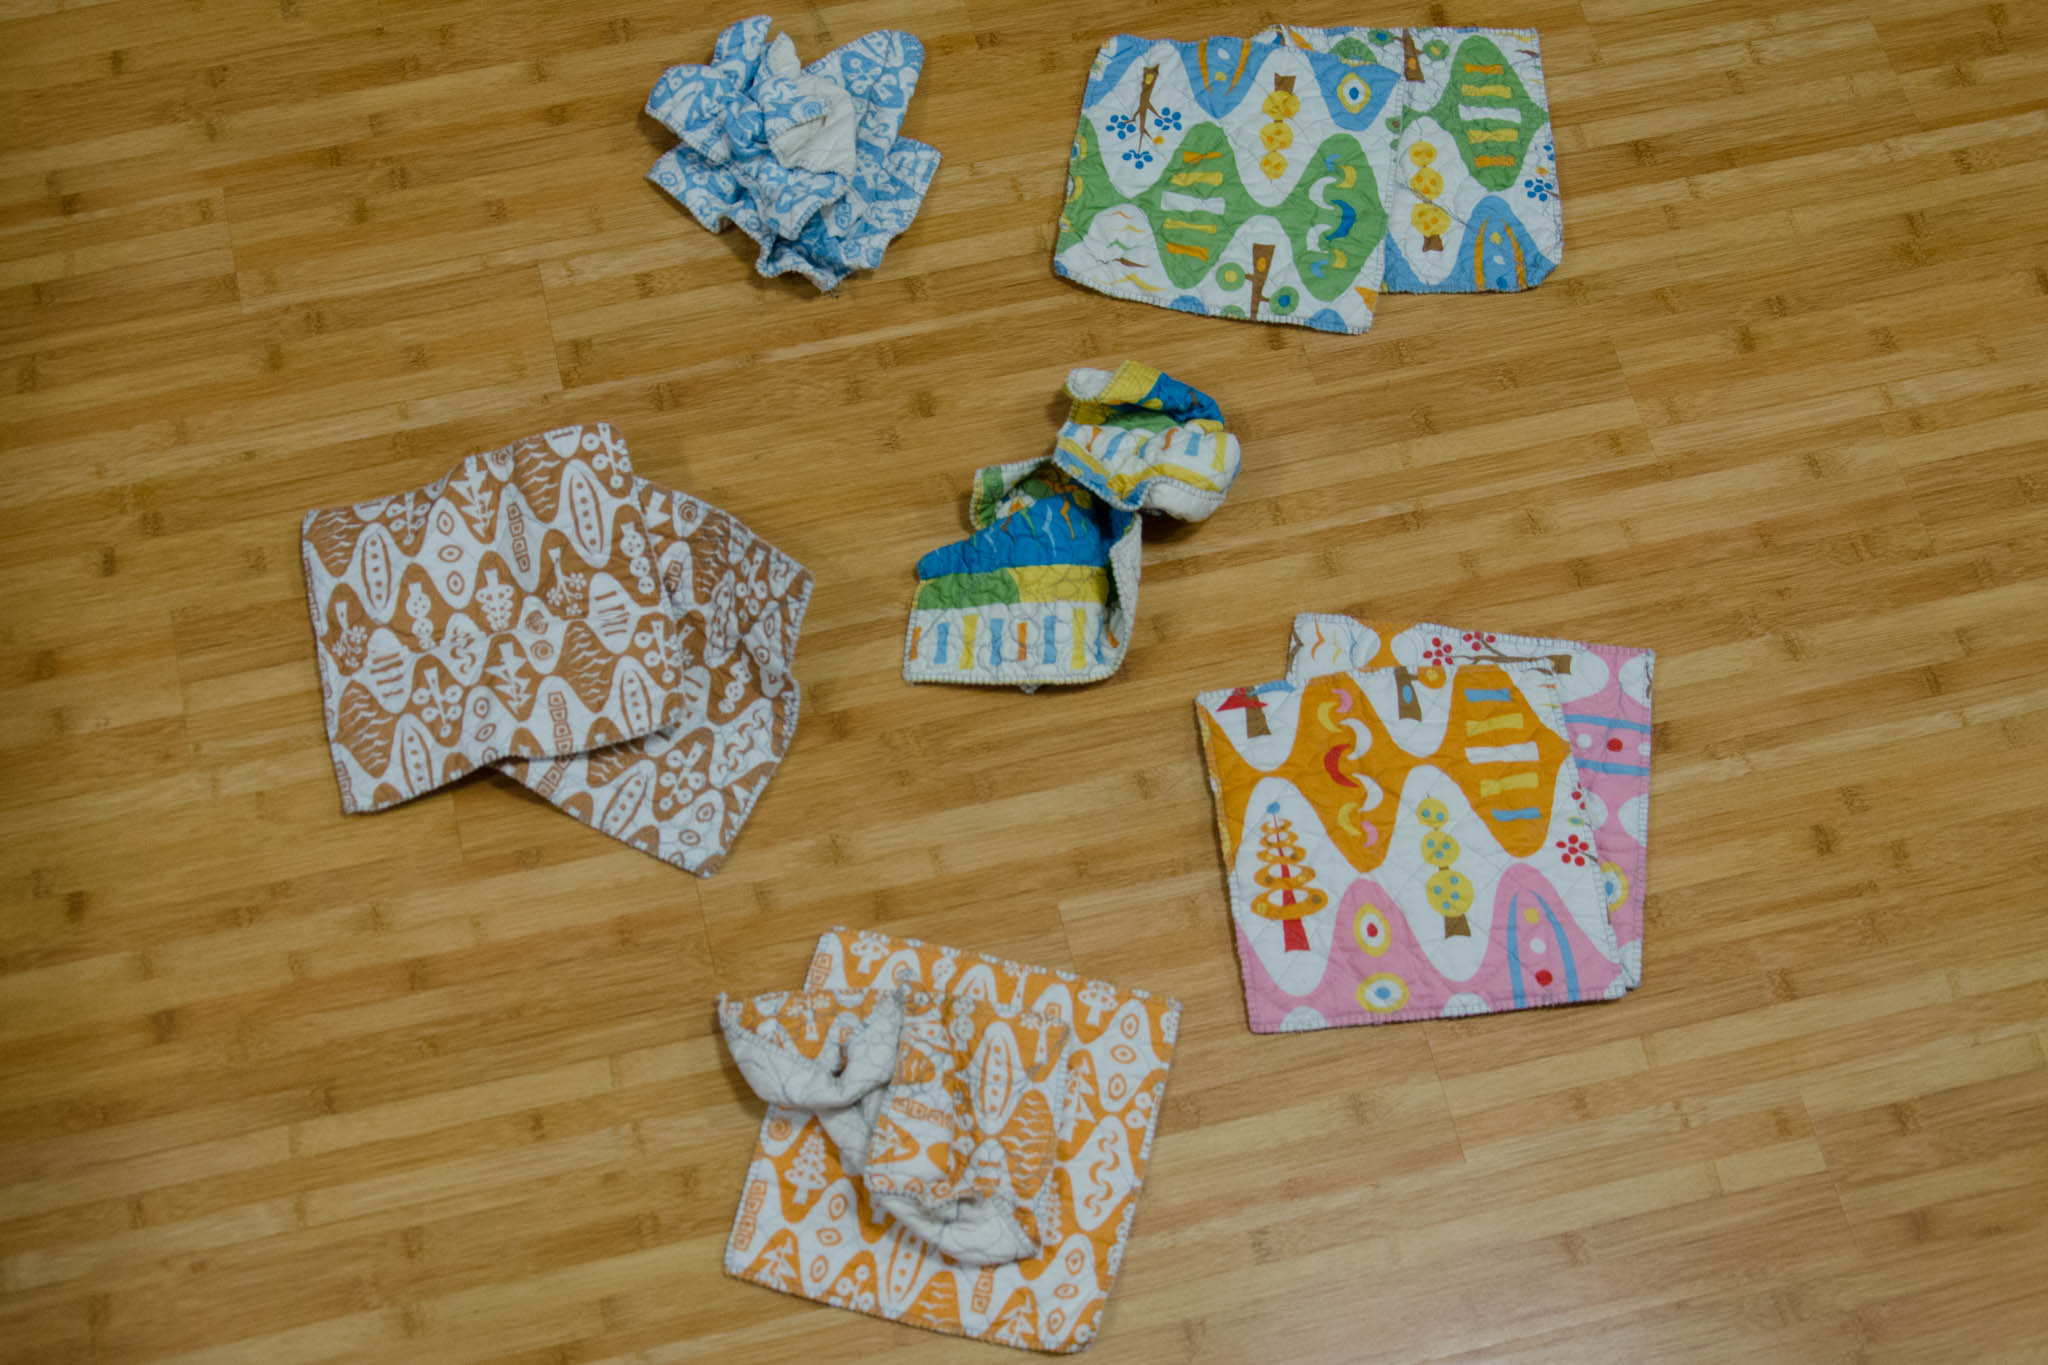
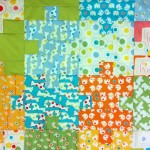
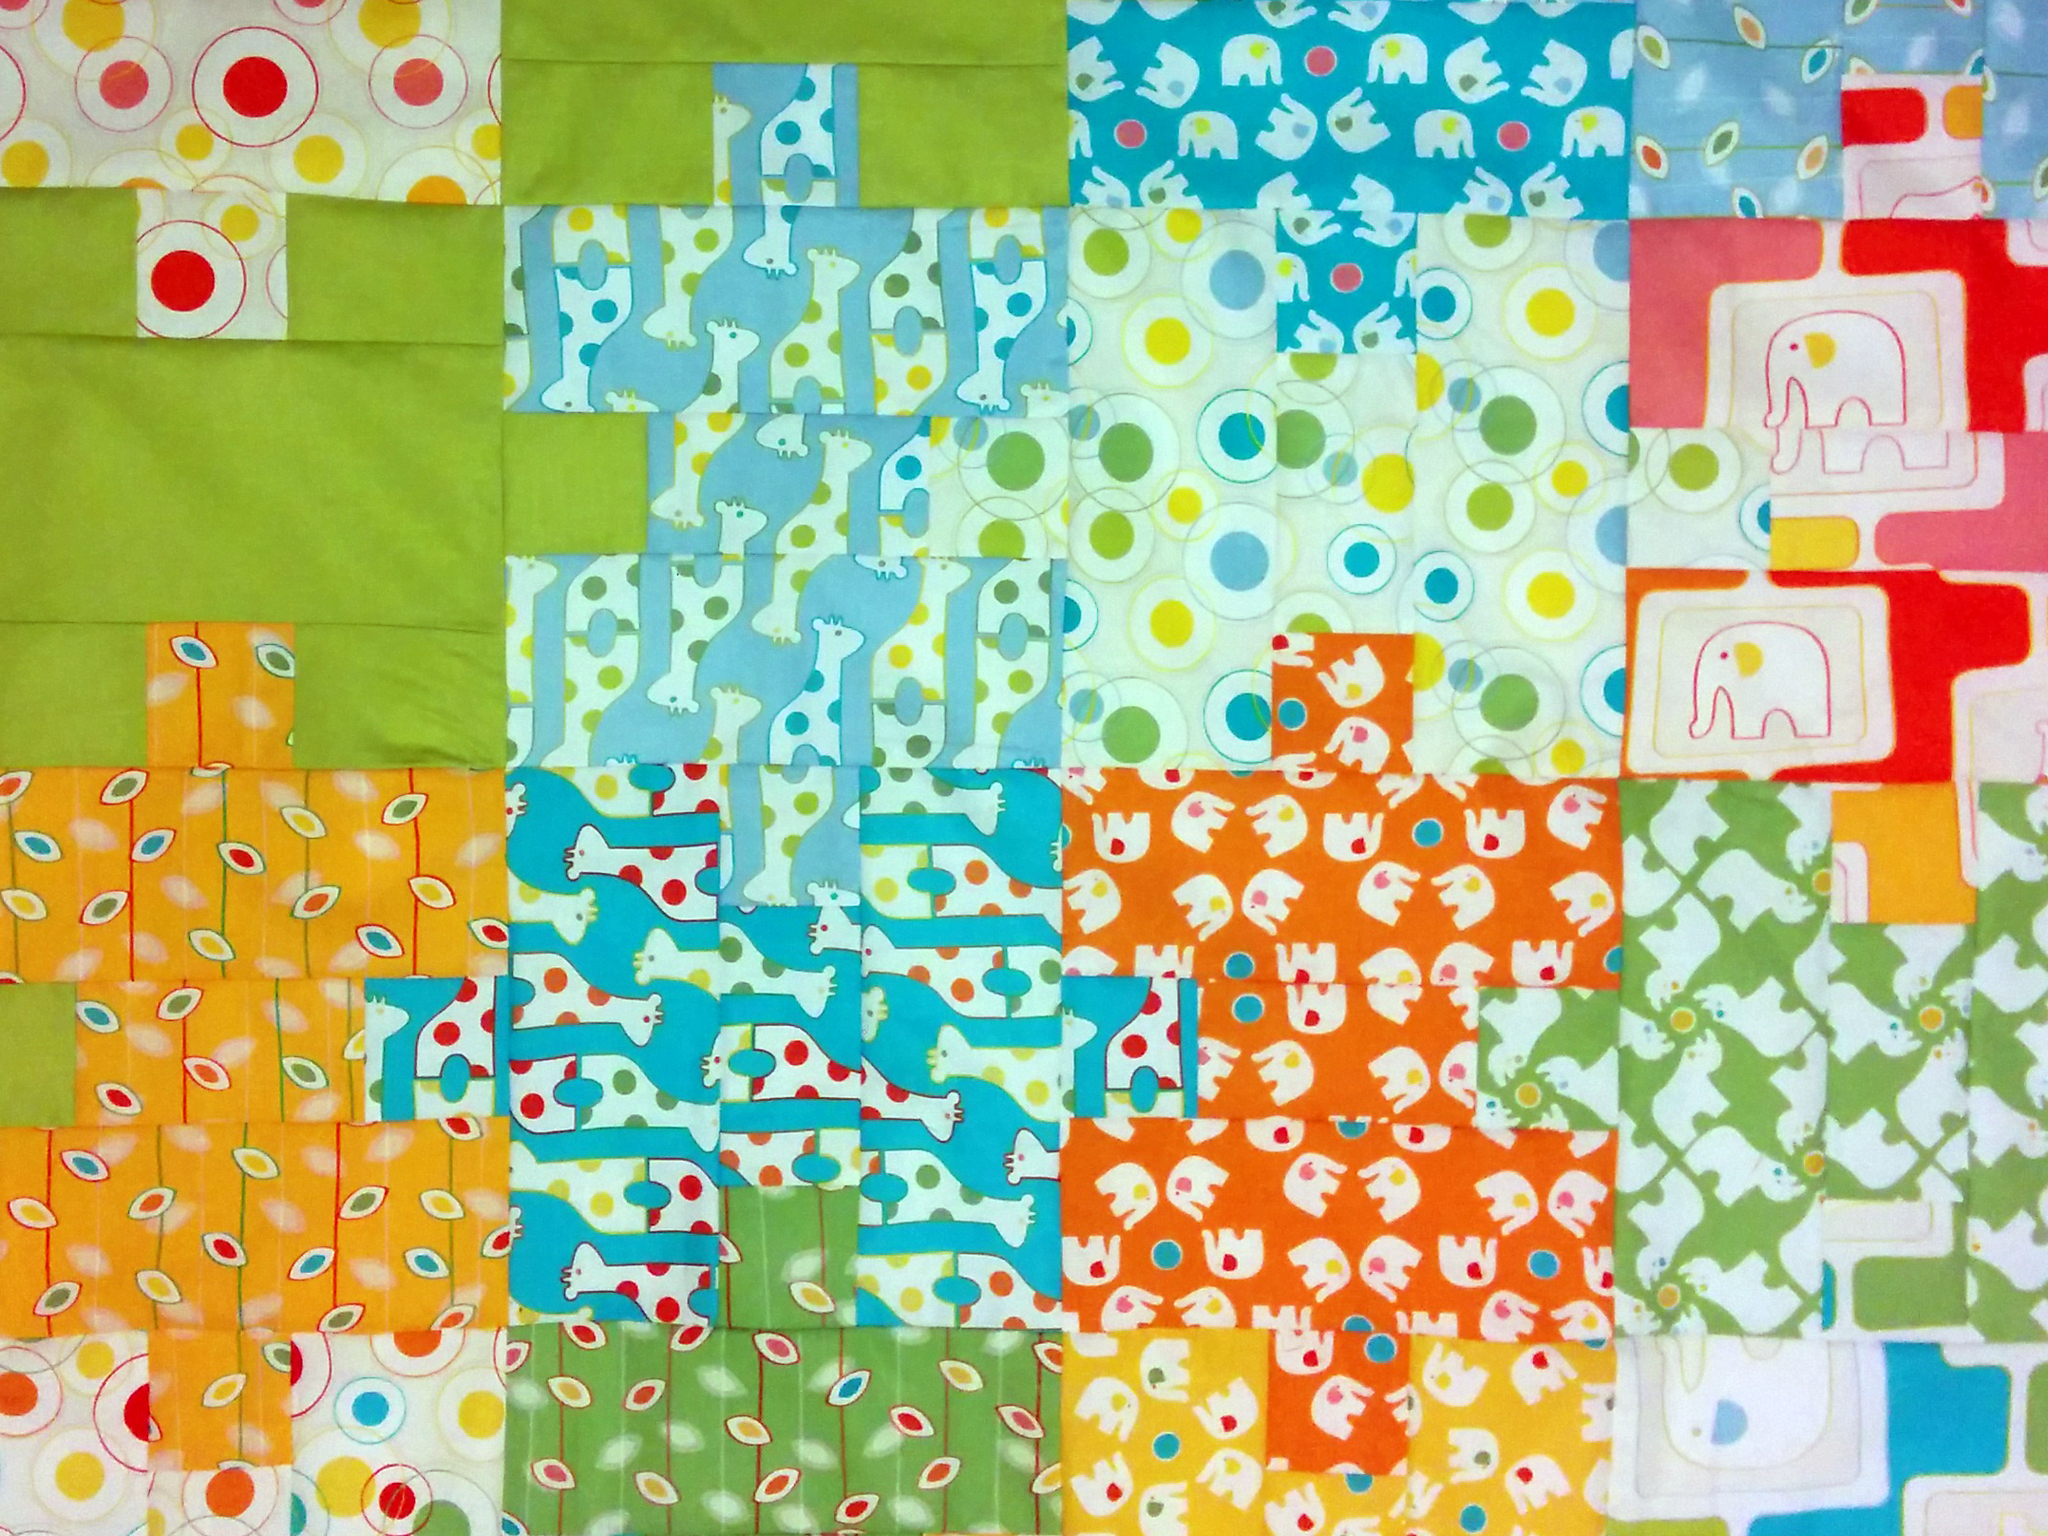
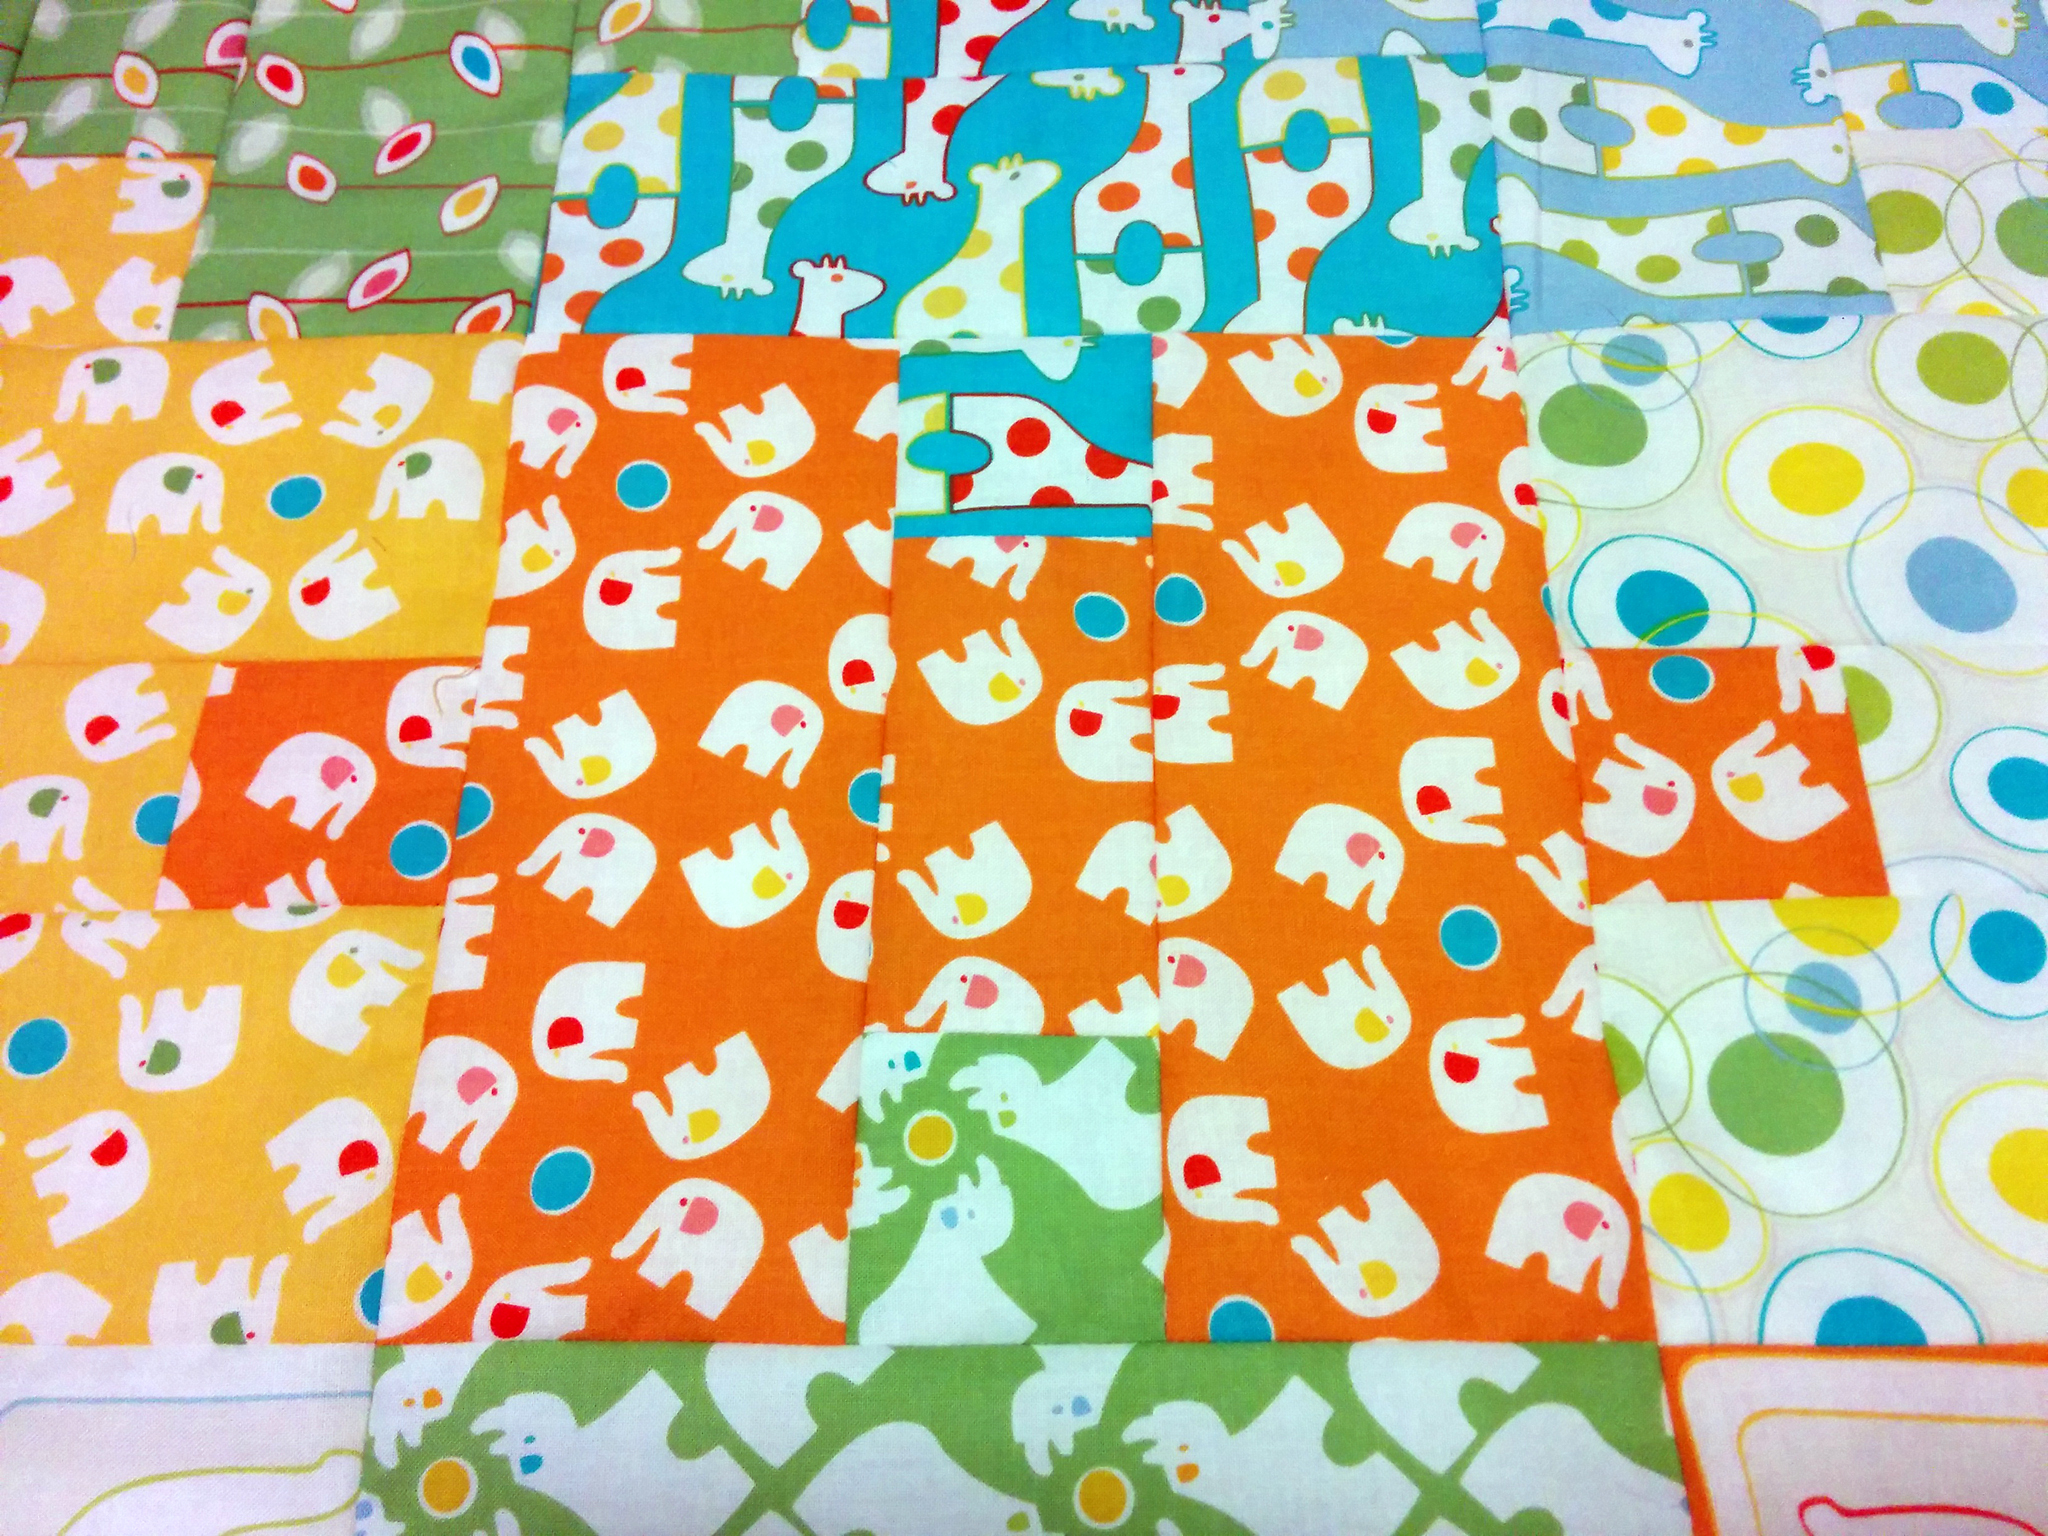
The MQG paired up with Riley Blake fabrics for a challenge this year. Those of us who were quick enough on the draw to score free fabric ended up with a pack of six fat eighths from the Cottage Garden line by Amanda Herring of the Quilted Fish.

The challenge rules:

  • Make something fantastic that is quilted.
  • Make something you’ve never done before.
  • Challenge yourself to learn something new.
  • Use only Riley Blake Cottage Garden fabrics and coordinating Riley Blake basics and solids.

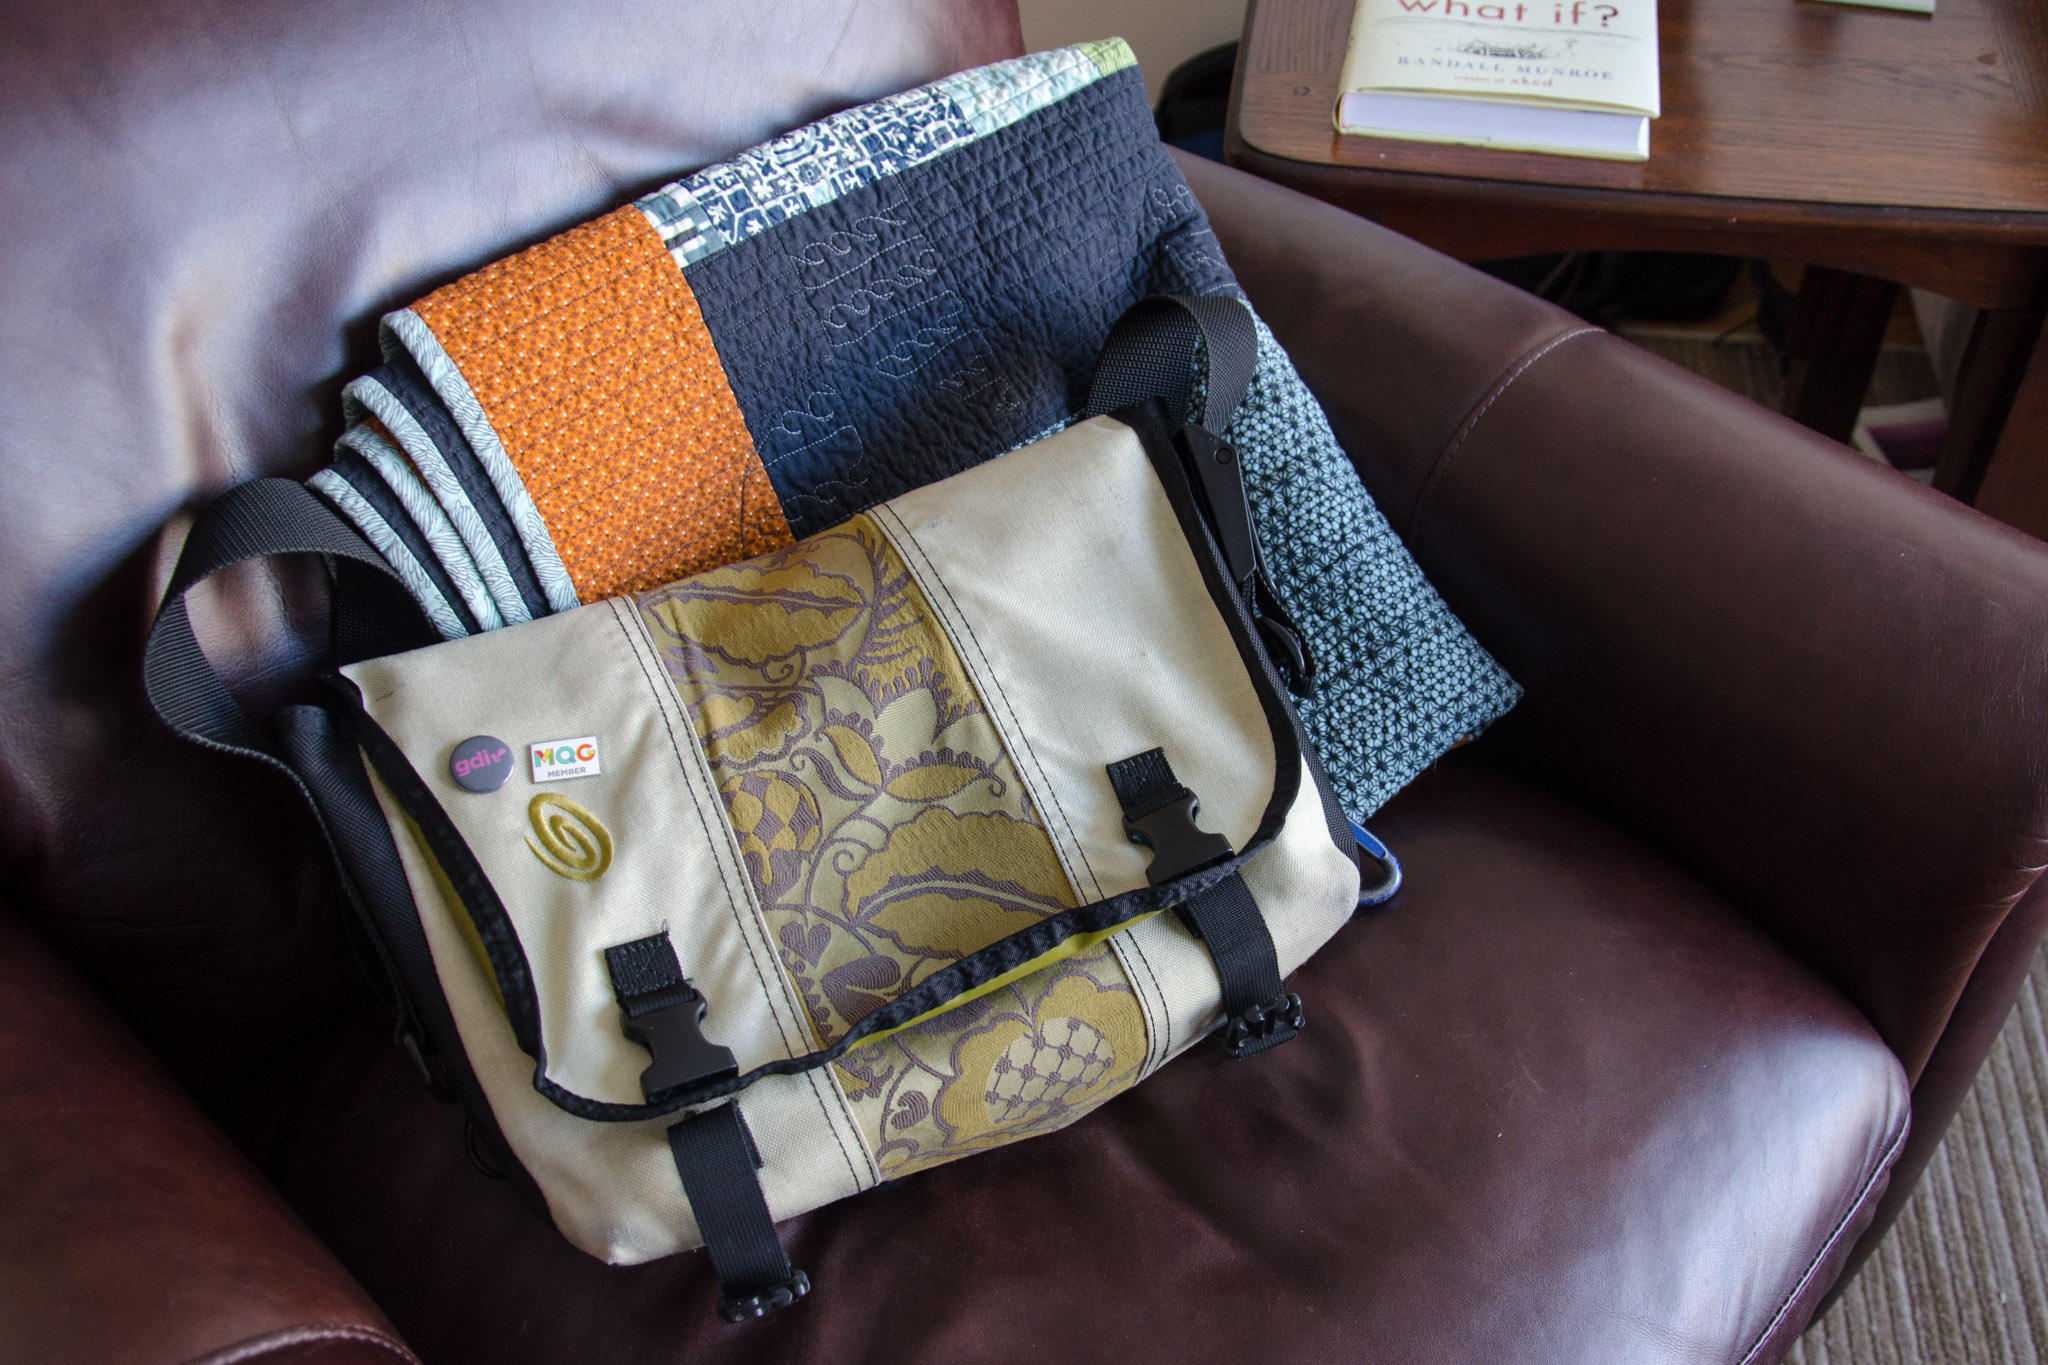
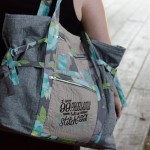
While I was pondering what to make, bags my fellow guild members brought to our sew-in in May inspired a bit of an obsession with Anna Maria Horner patterns, including her Art Student Tote.

“…Quilted”? Well, I can quilt part of it, sure. “…Never done before”? I usually just make bags without a pattern to varying degrees of success. “…Learn something new”? Well, the VT guild challenged us to learn paper piecing too, and I missed the demo while I was on vacation, and I can add quilted piecing to the bag, right?

That was the long way of saying I decided to make the Art Student Tote for my challenge project and incorporate quilted panels.

Art Student Tote front

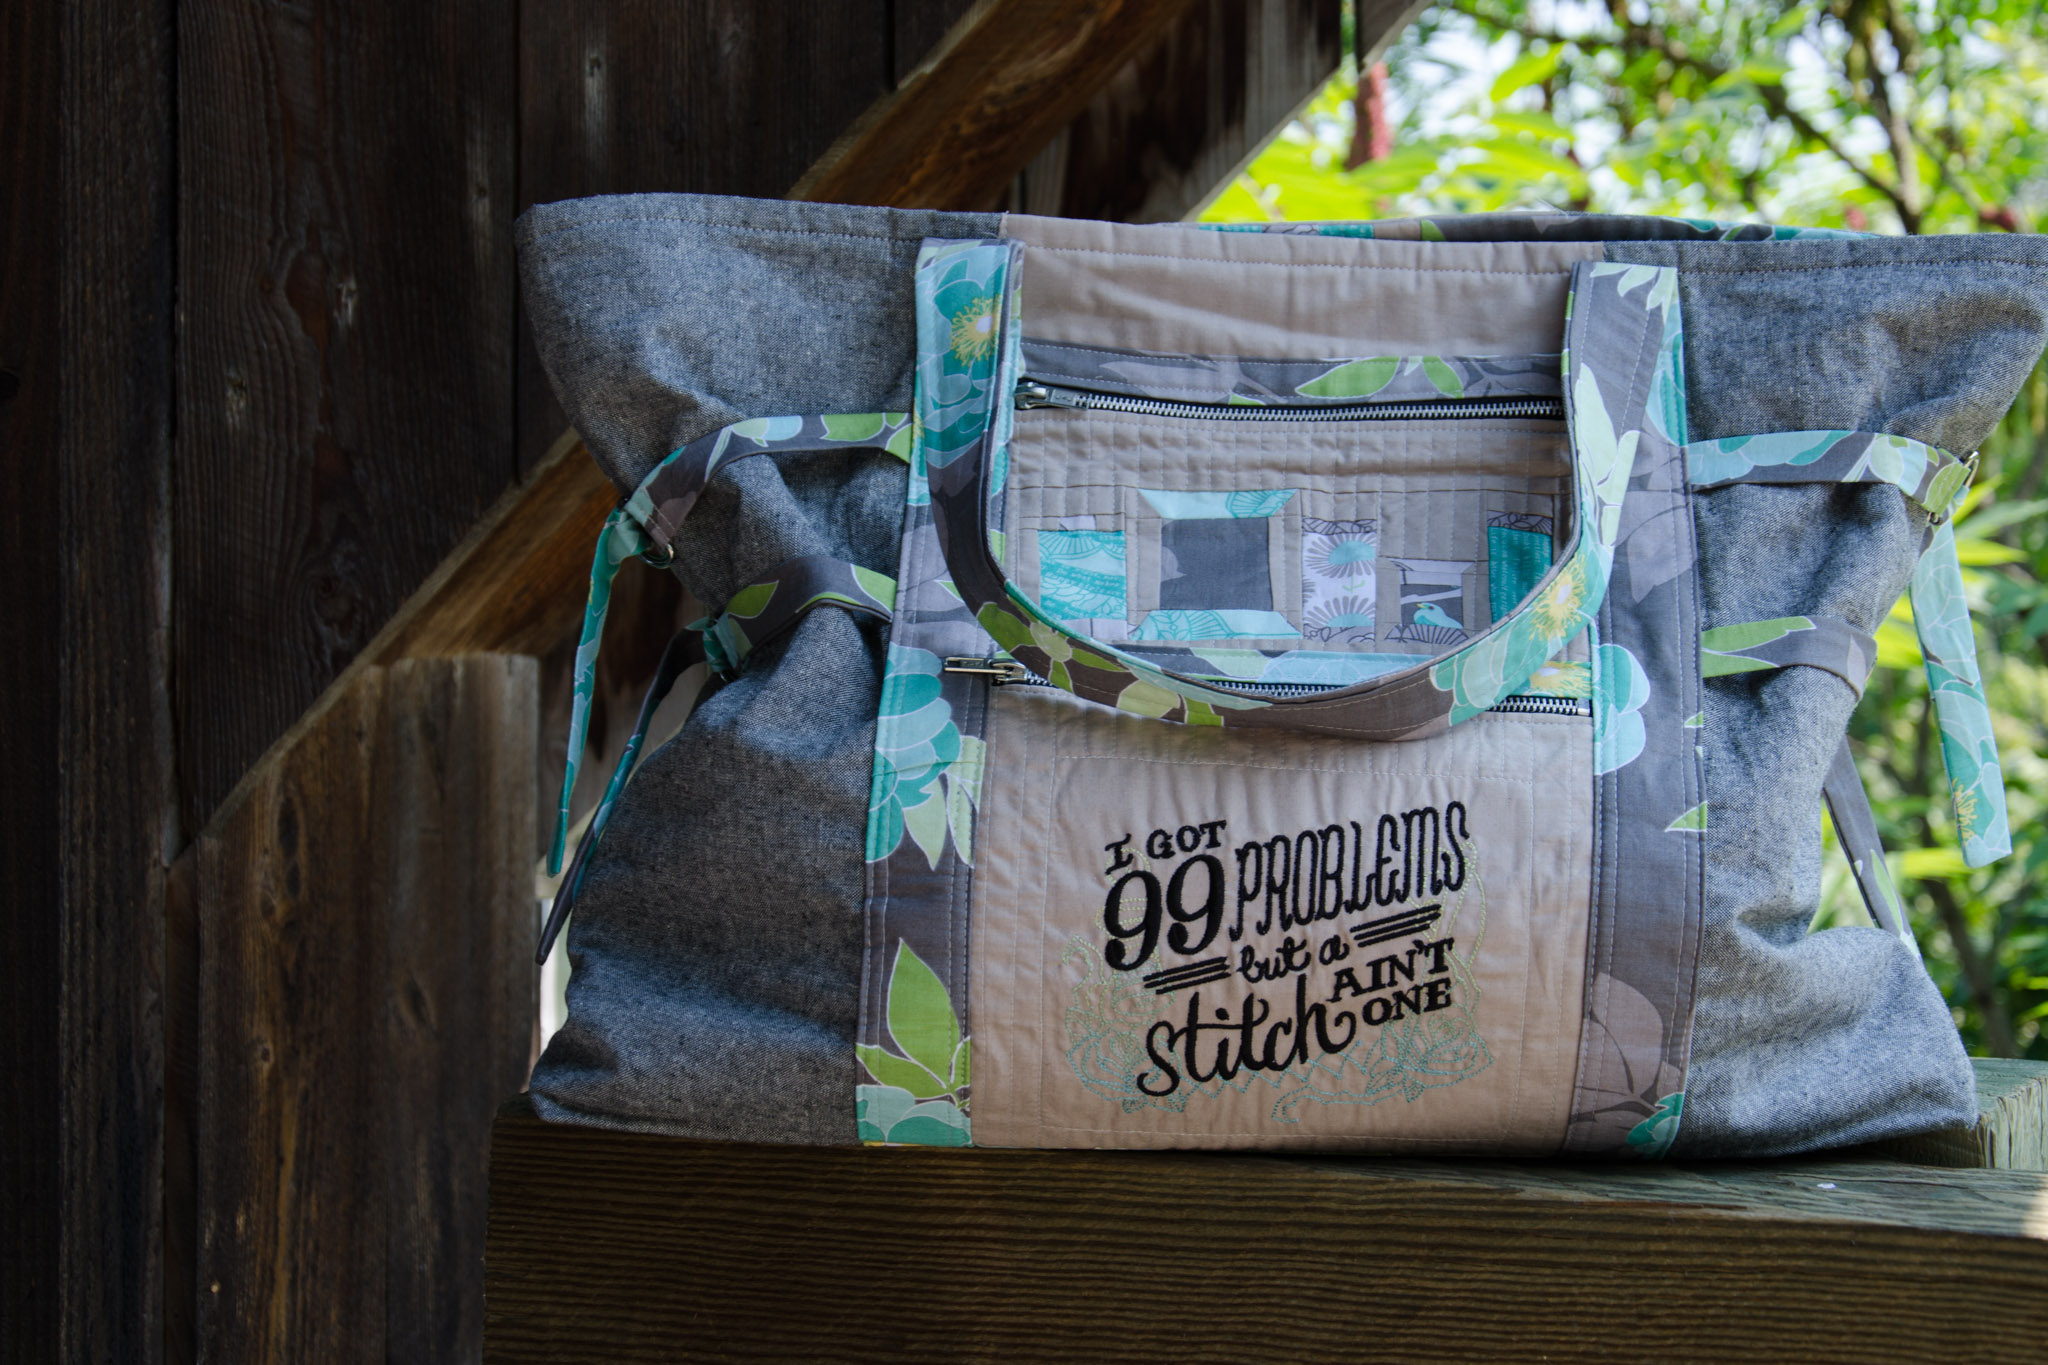
I may have forgotten and/or misread the whole “use only Riley Blake…solids” part of the instructions while shopping, so Kaufman Essex Yarn Dyed in black ended up being a substantial part of the bag. C’est la vie. So, I might not qualify for the challenge (although I’m not the only one who used other things, from what I can tell), but I do have a usable product that I’m excited about, and Riley Blake sold a few extra yards of their fabric.

Art Student Tote pocket detail

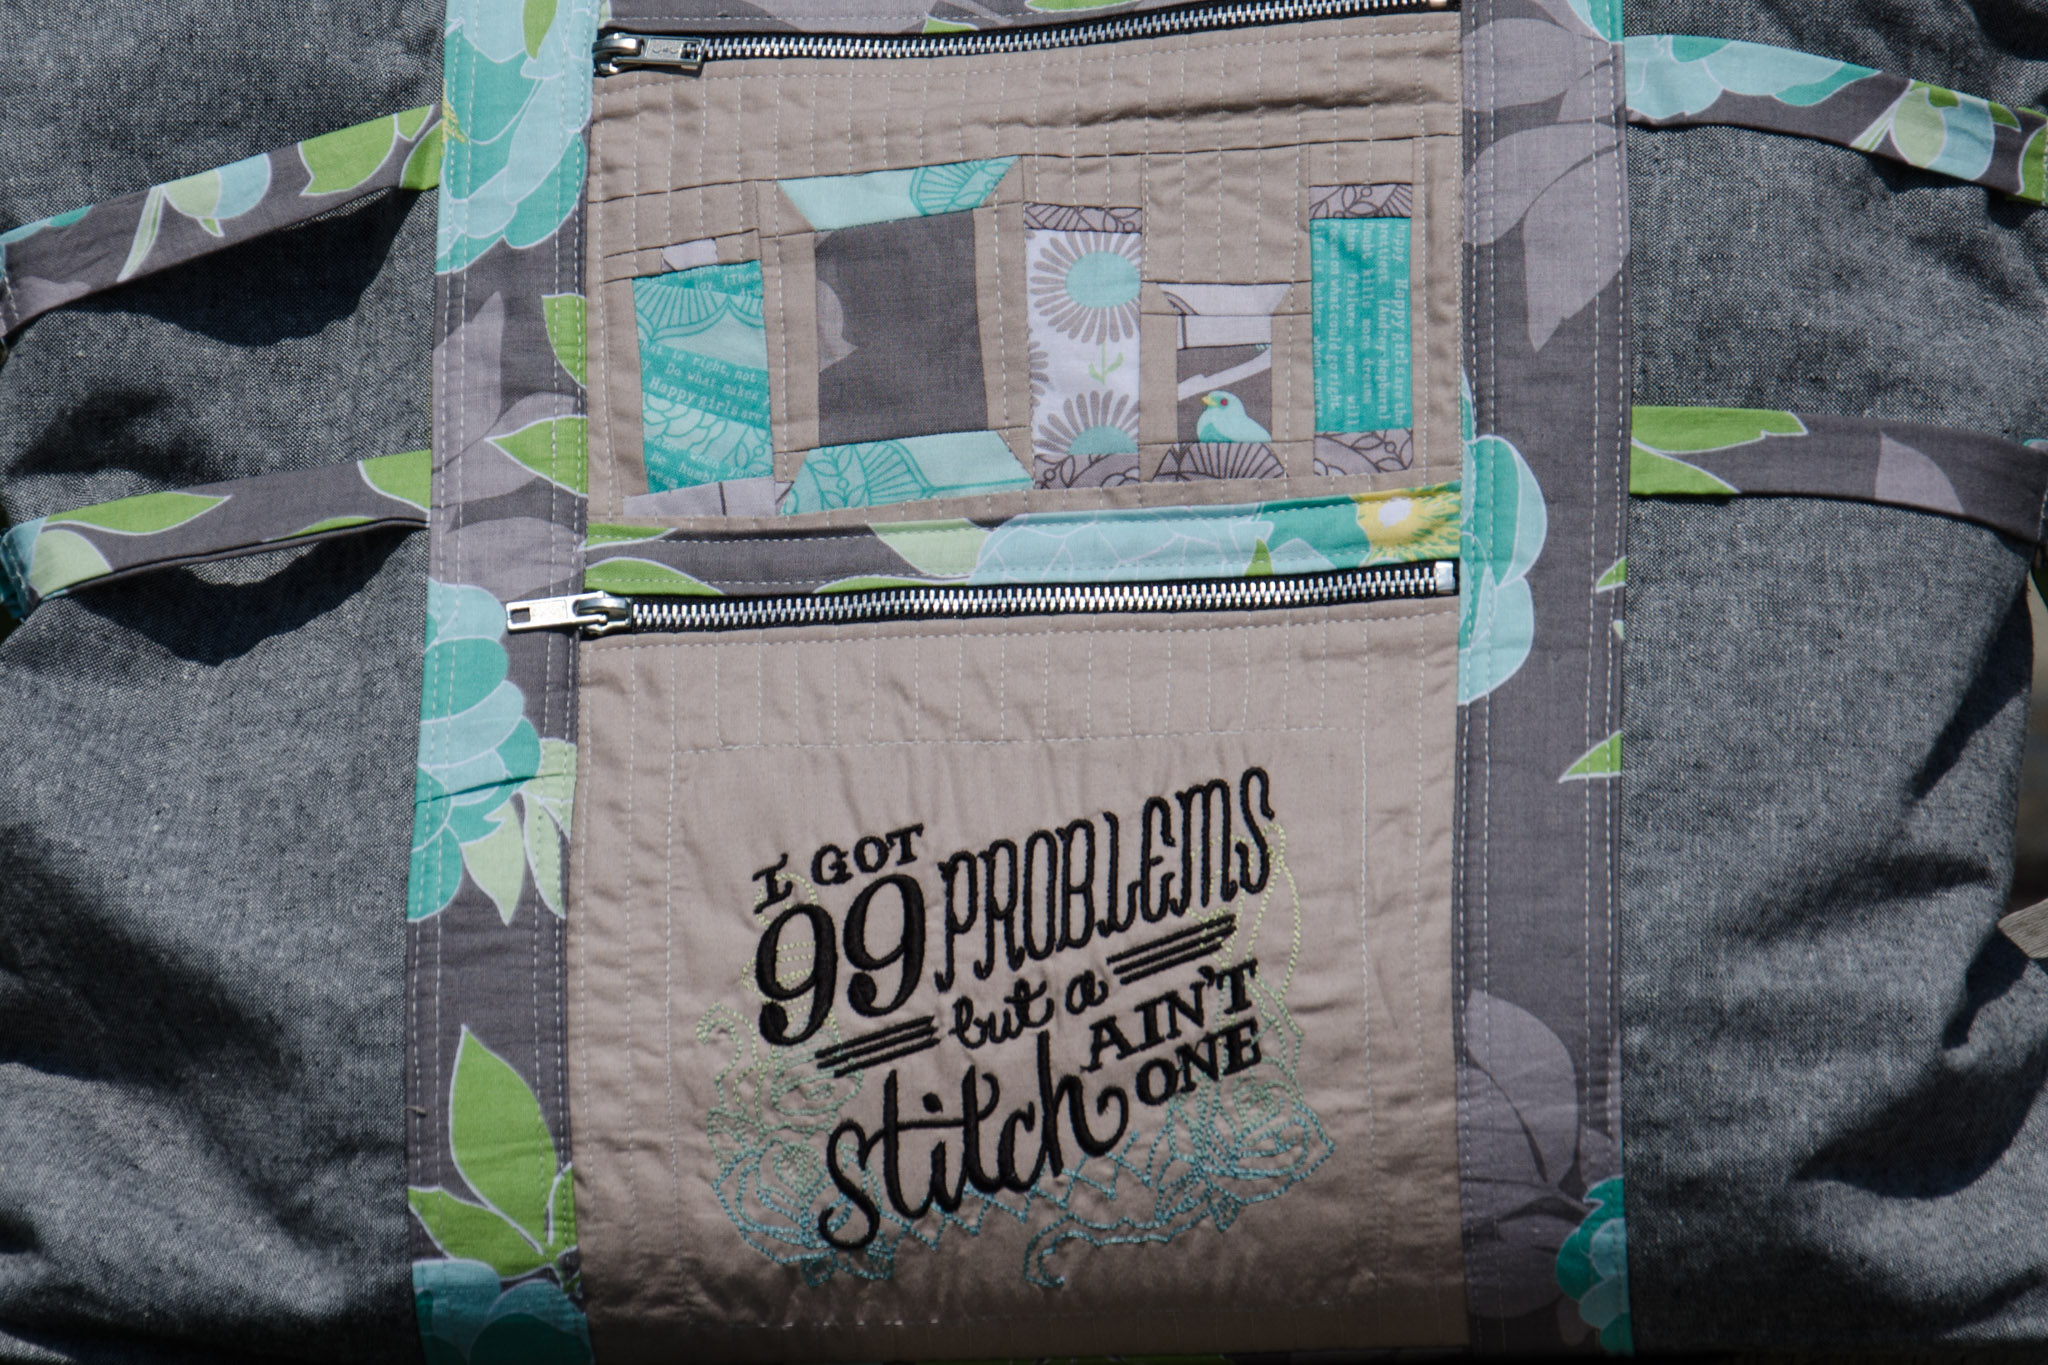
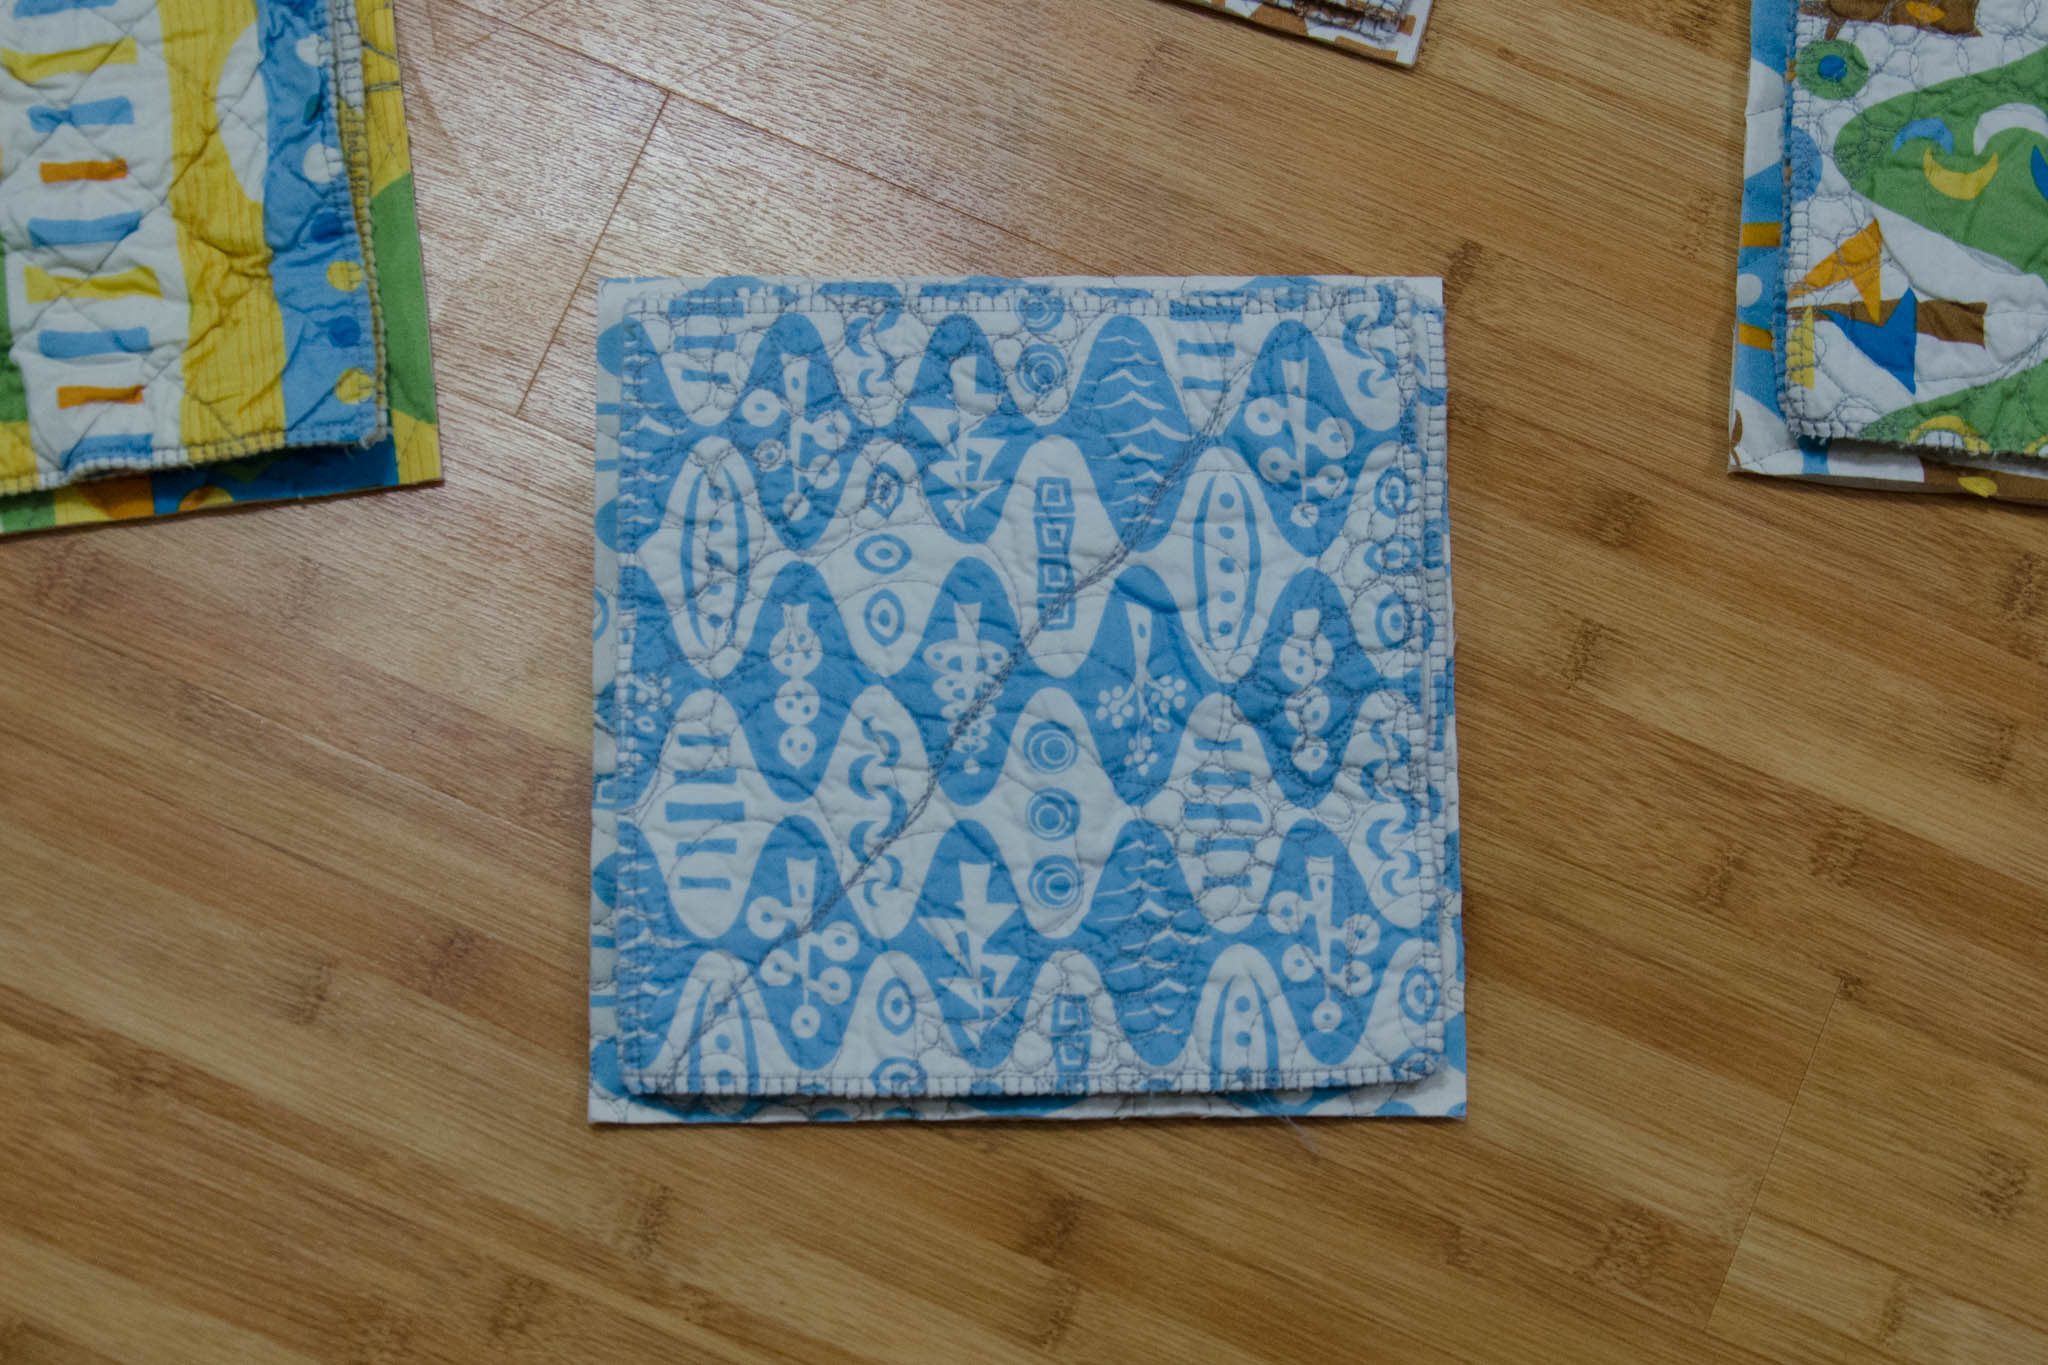
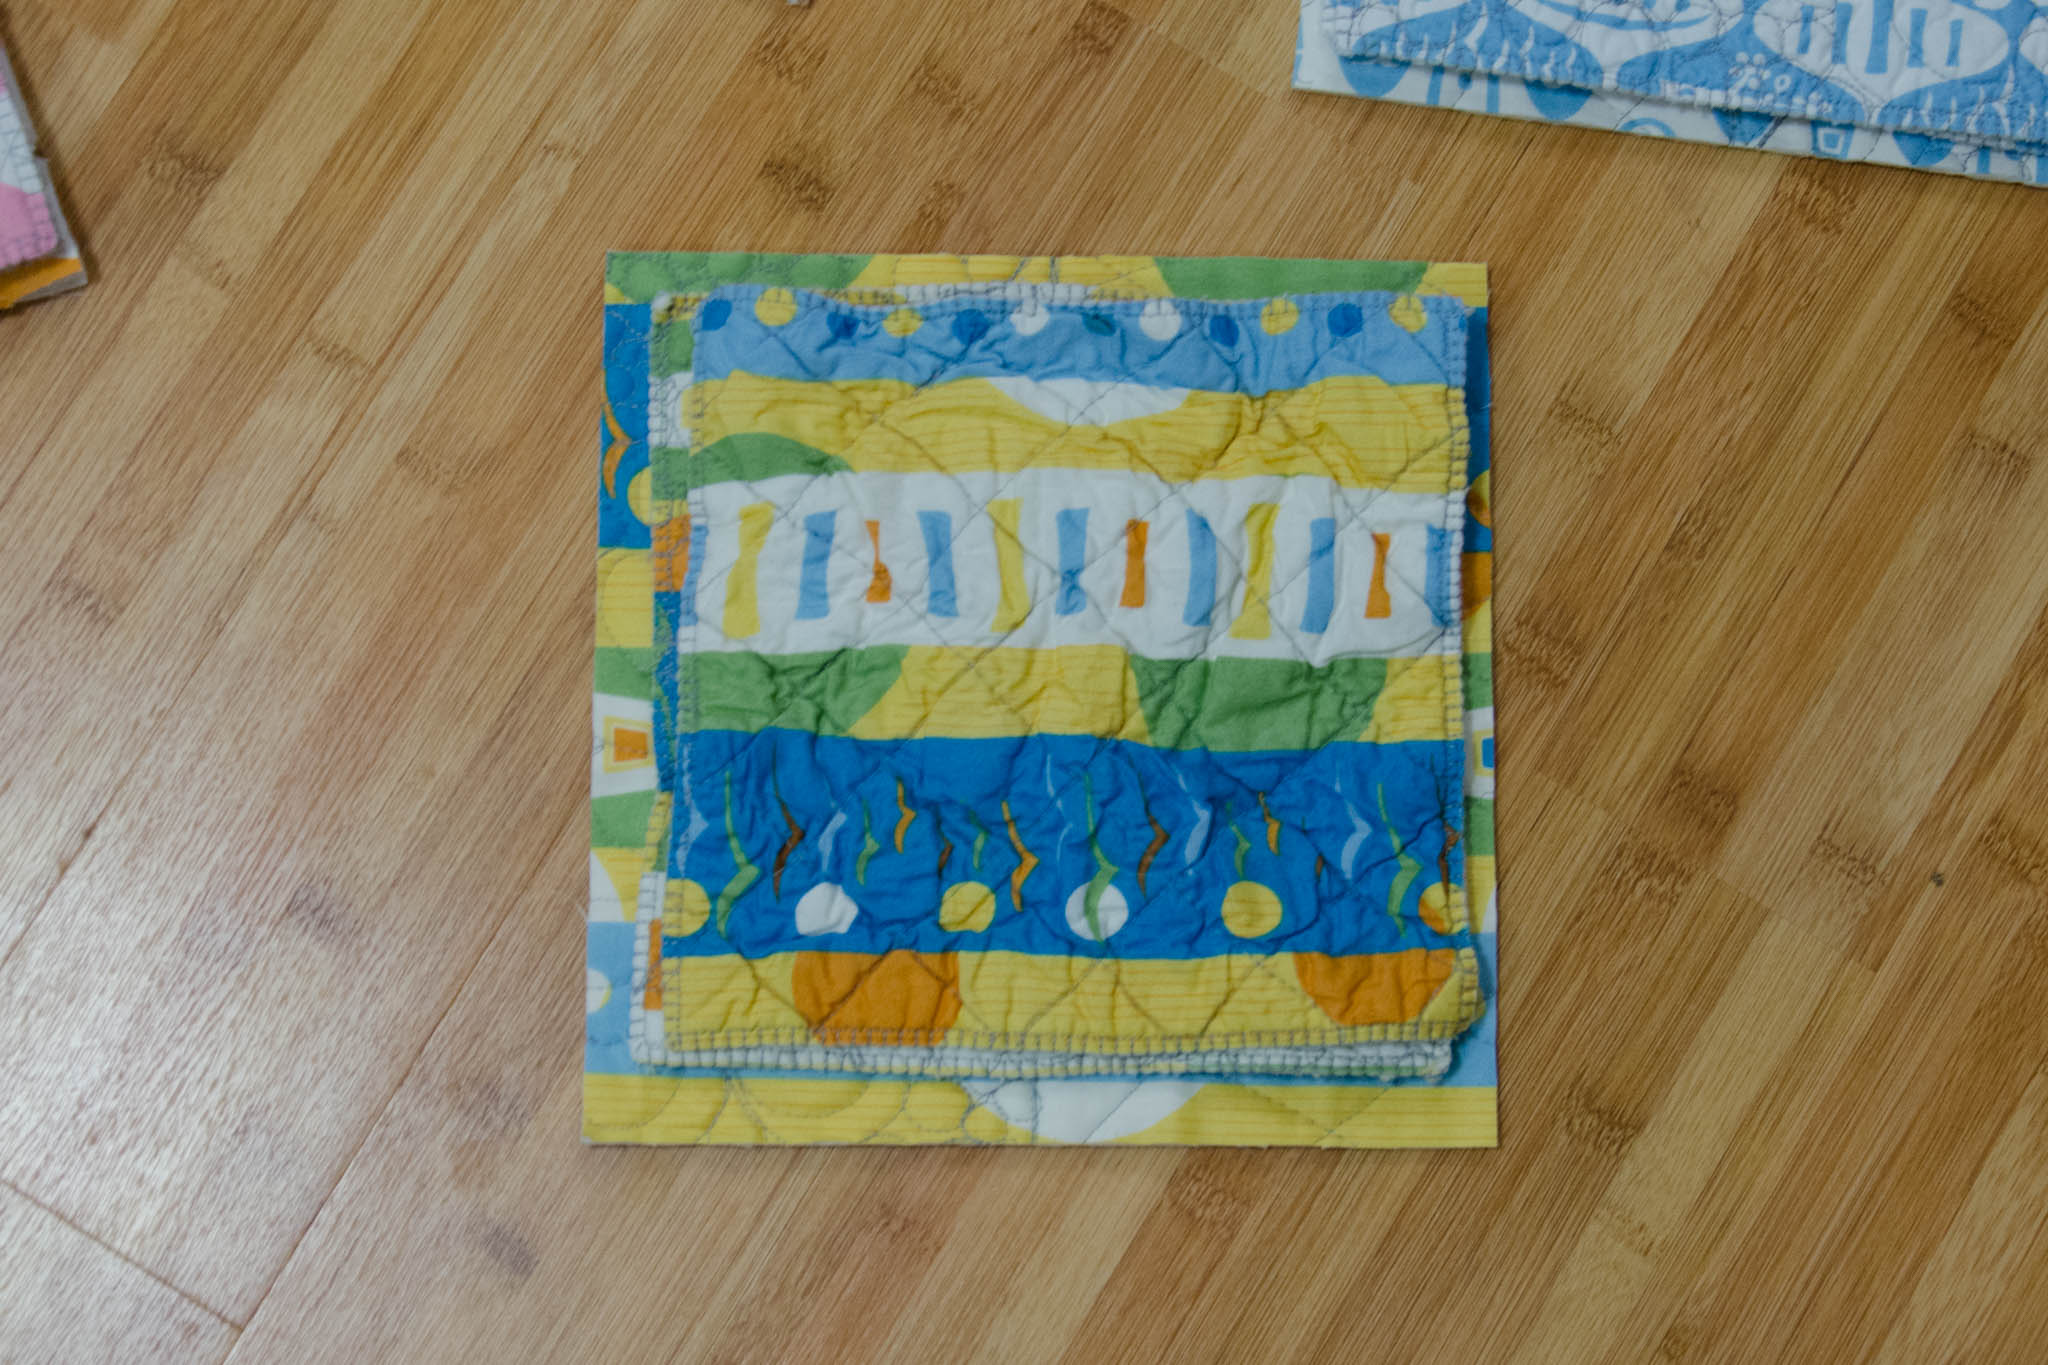
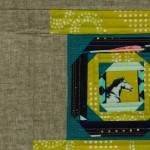
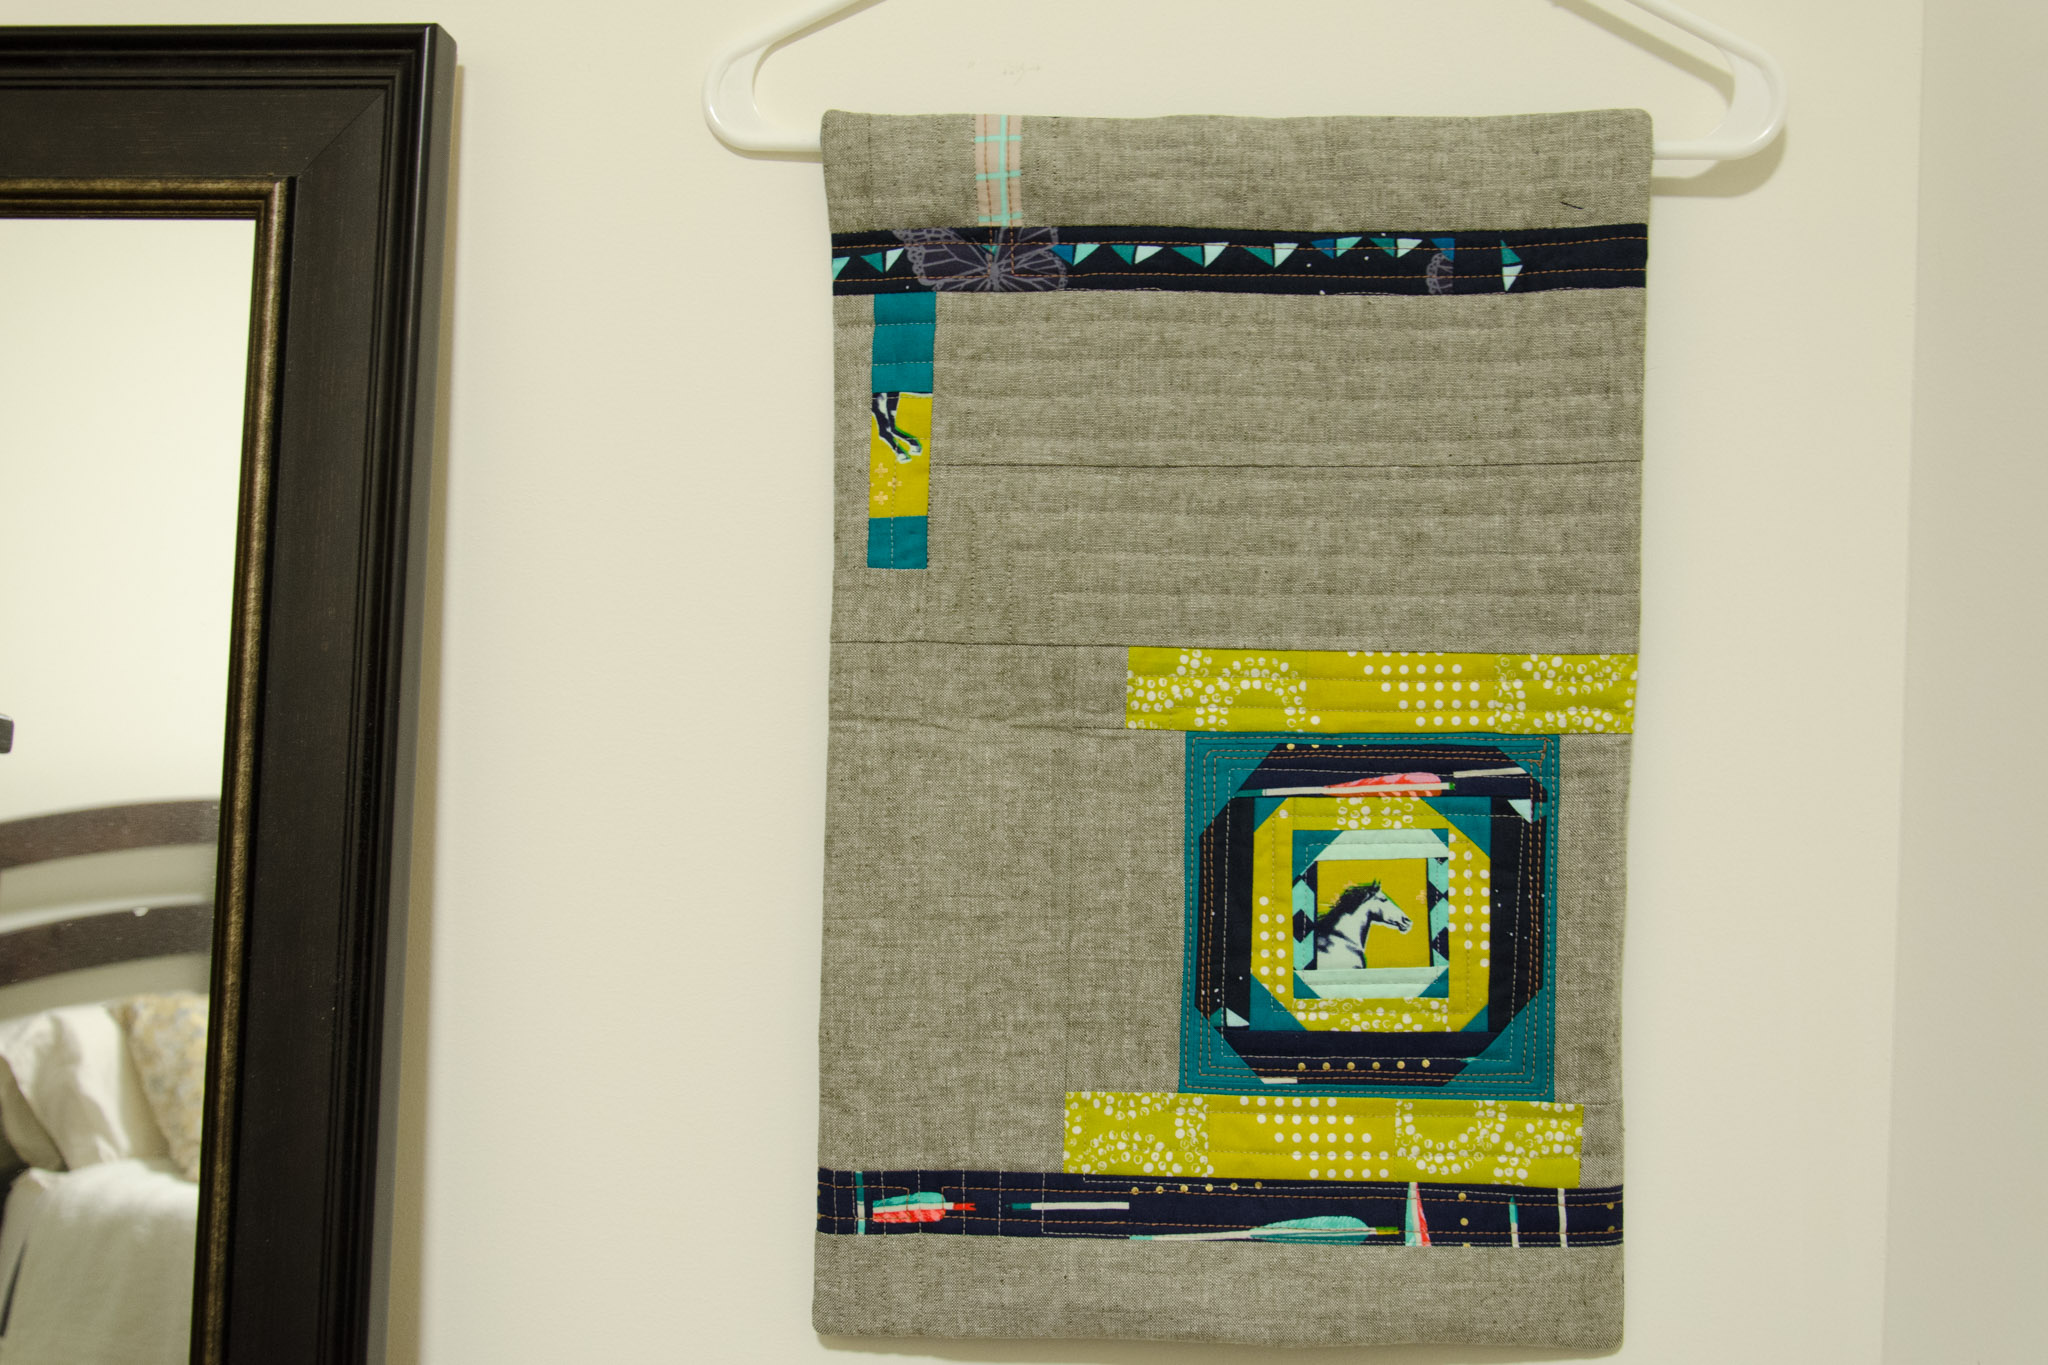
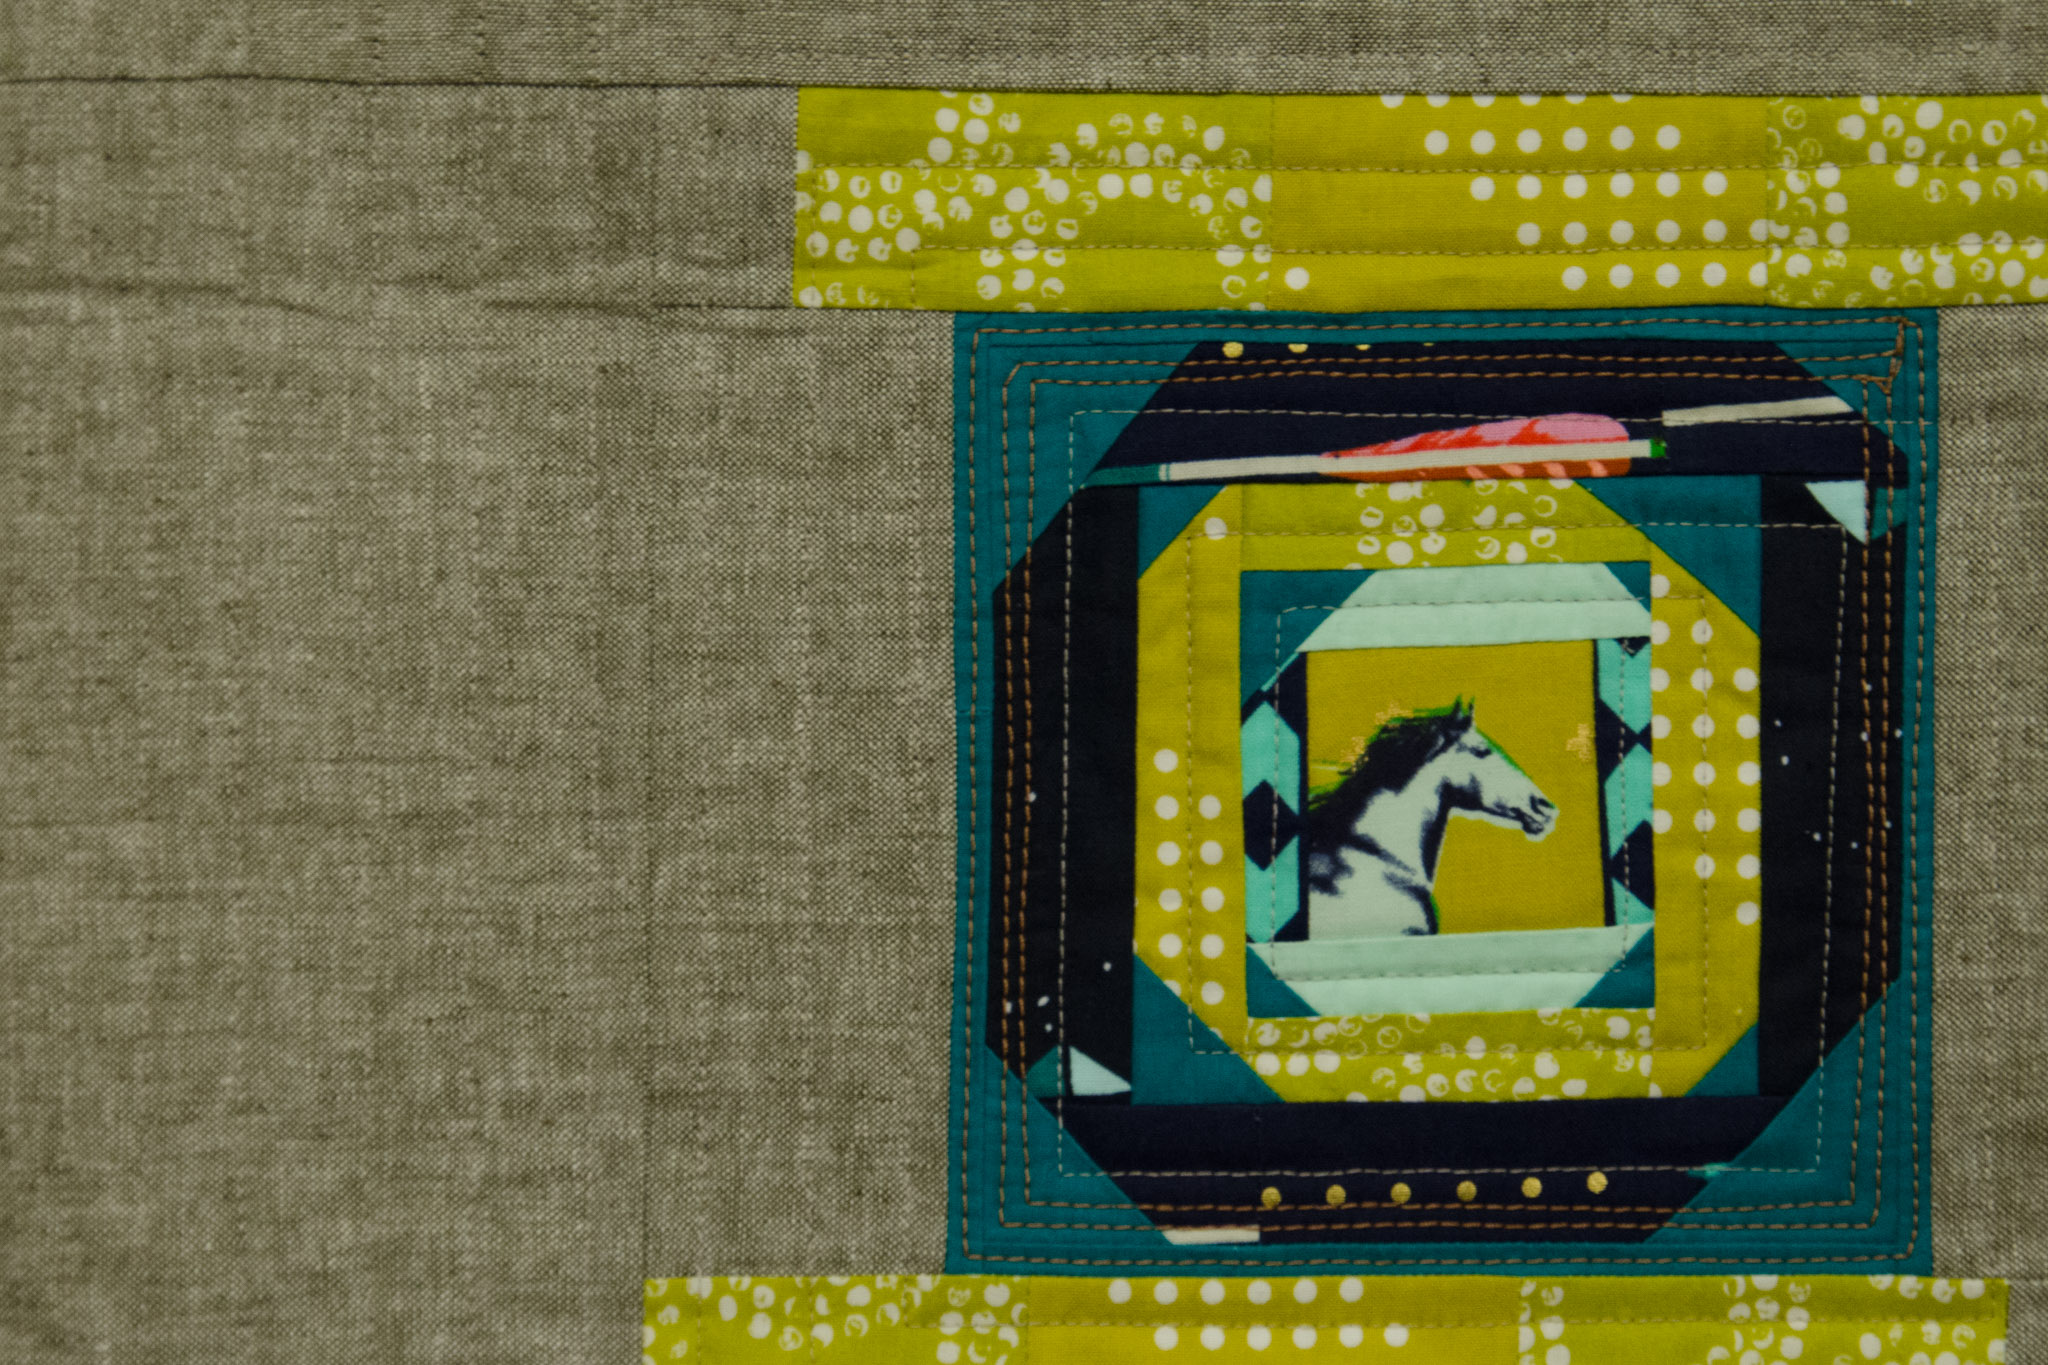
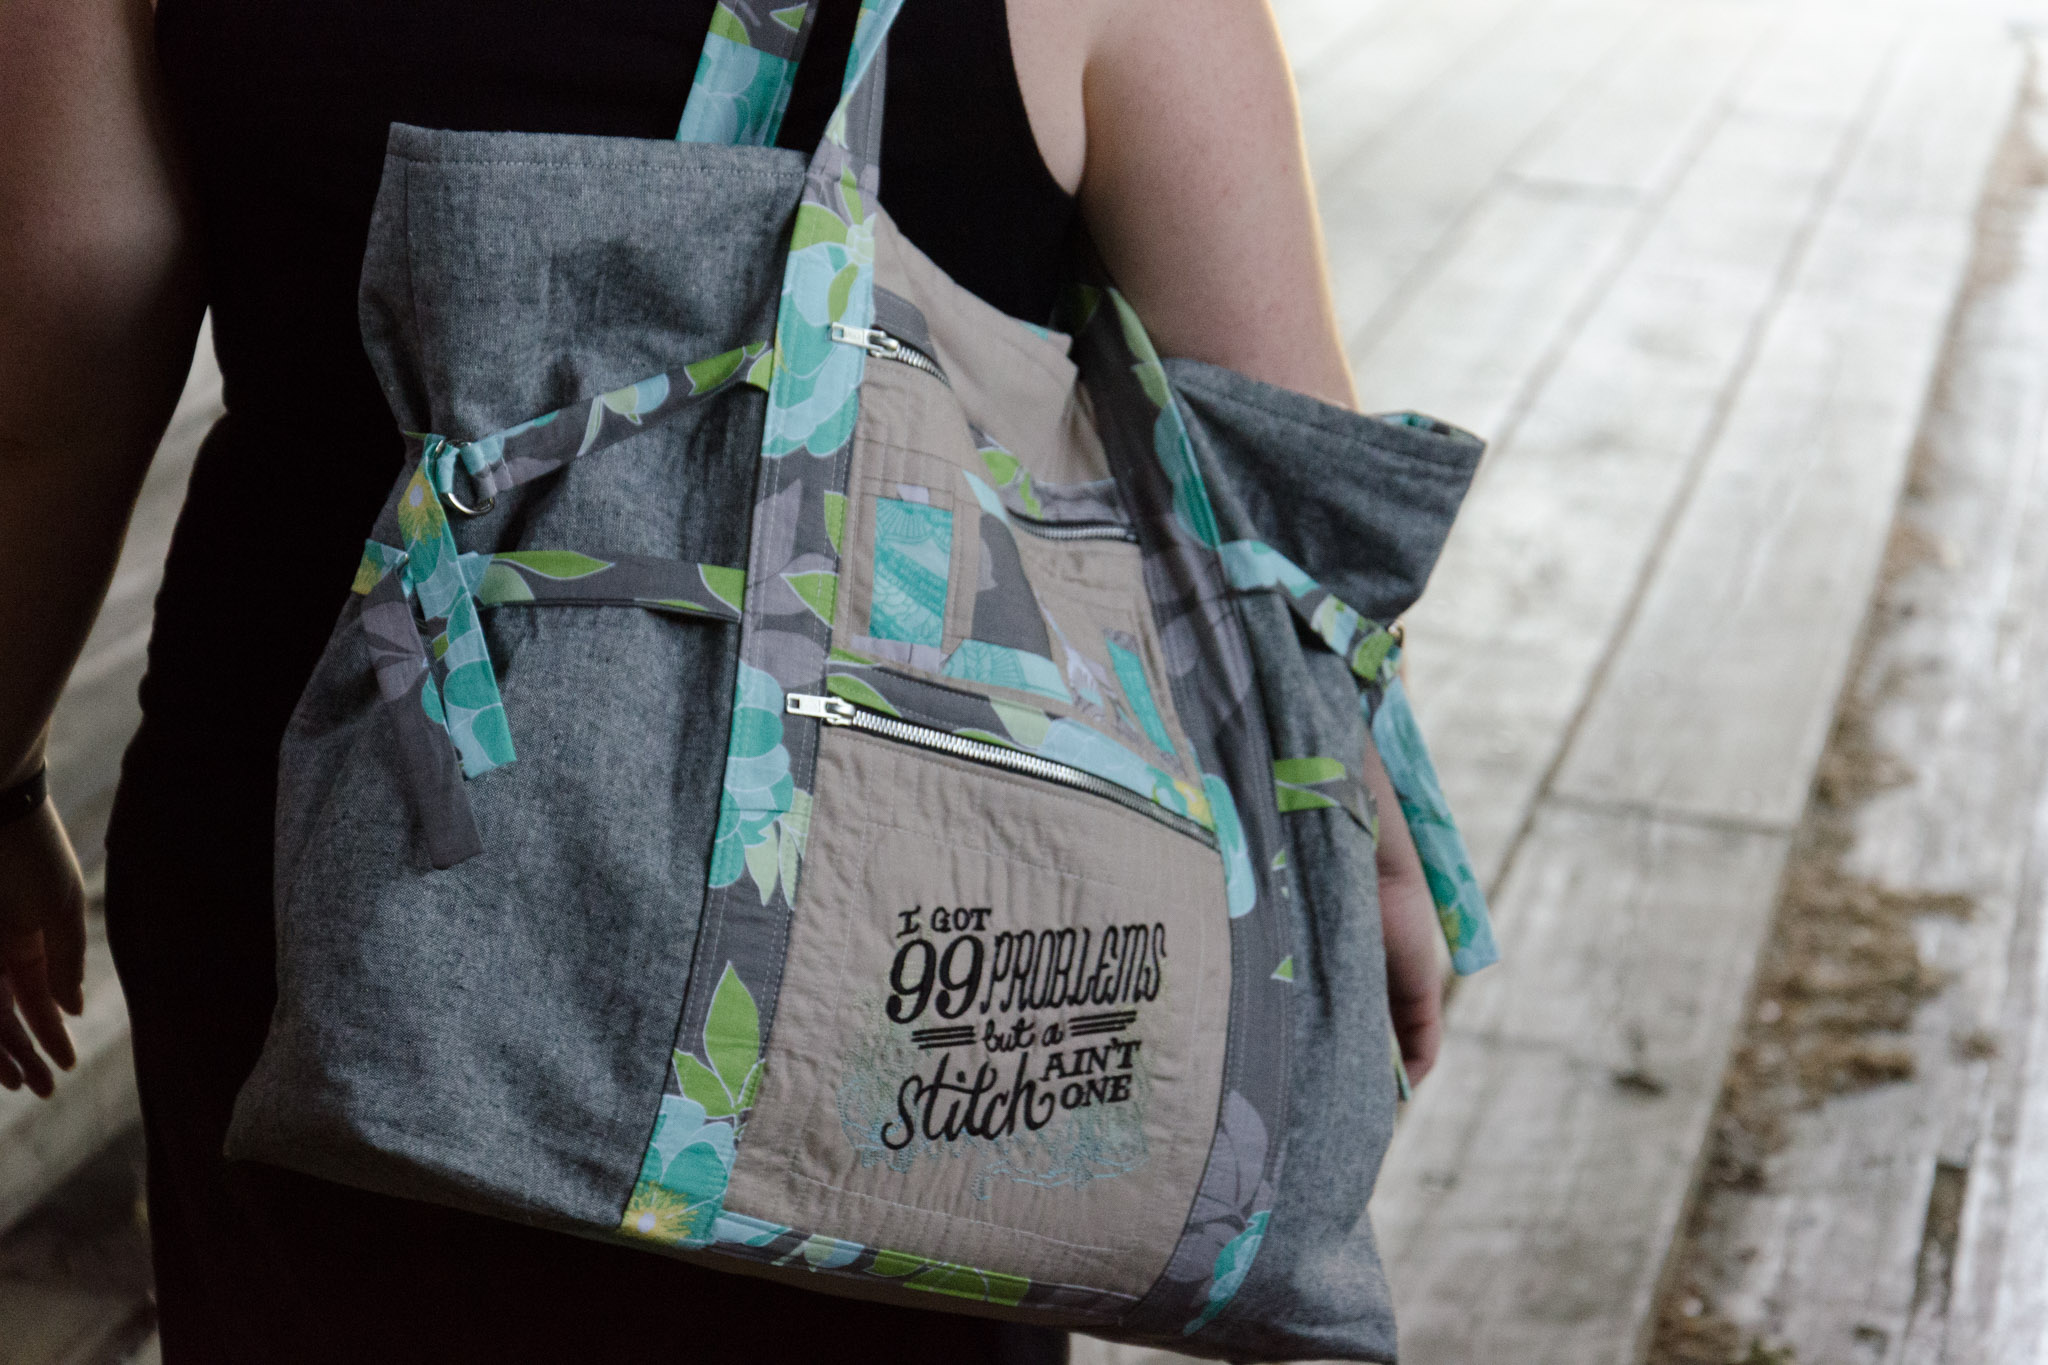
Choosing what design to use for the pieced section of the bag was difficult until I came across an Urban Threads embroidery that greatly amused me. Stitches need thread, so paper-pieced spools made complete sense. Ironically, my needle thread broke eight times while stitching out the embroidery.

Art Student Tote back detail

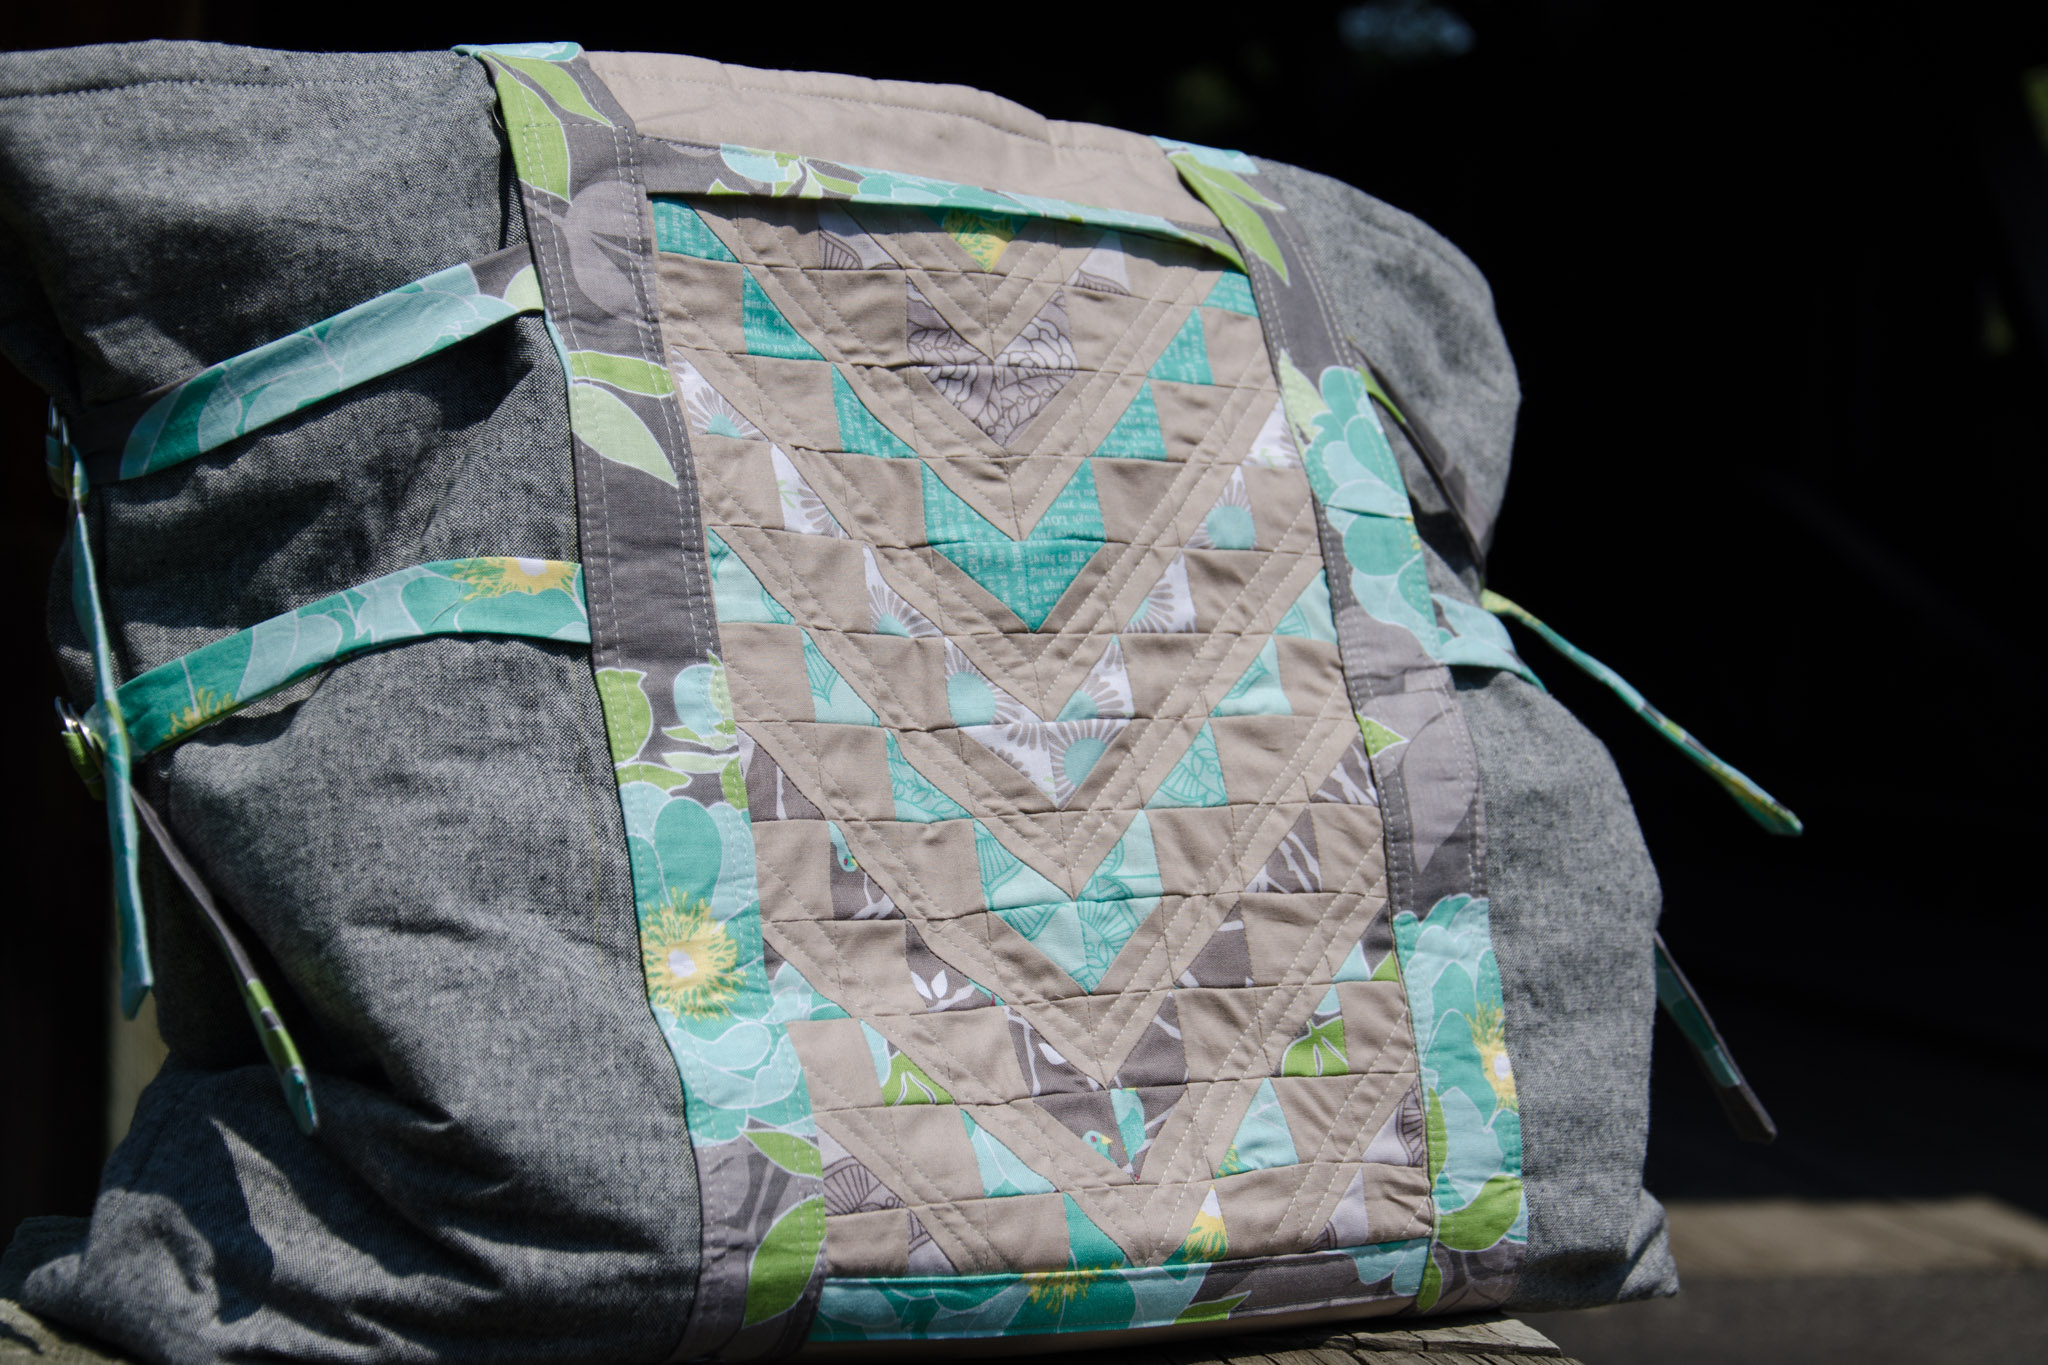
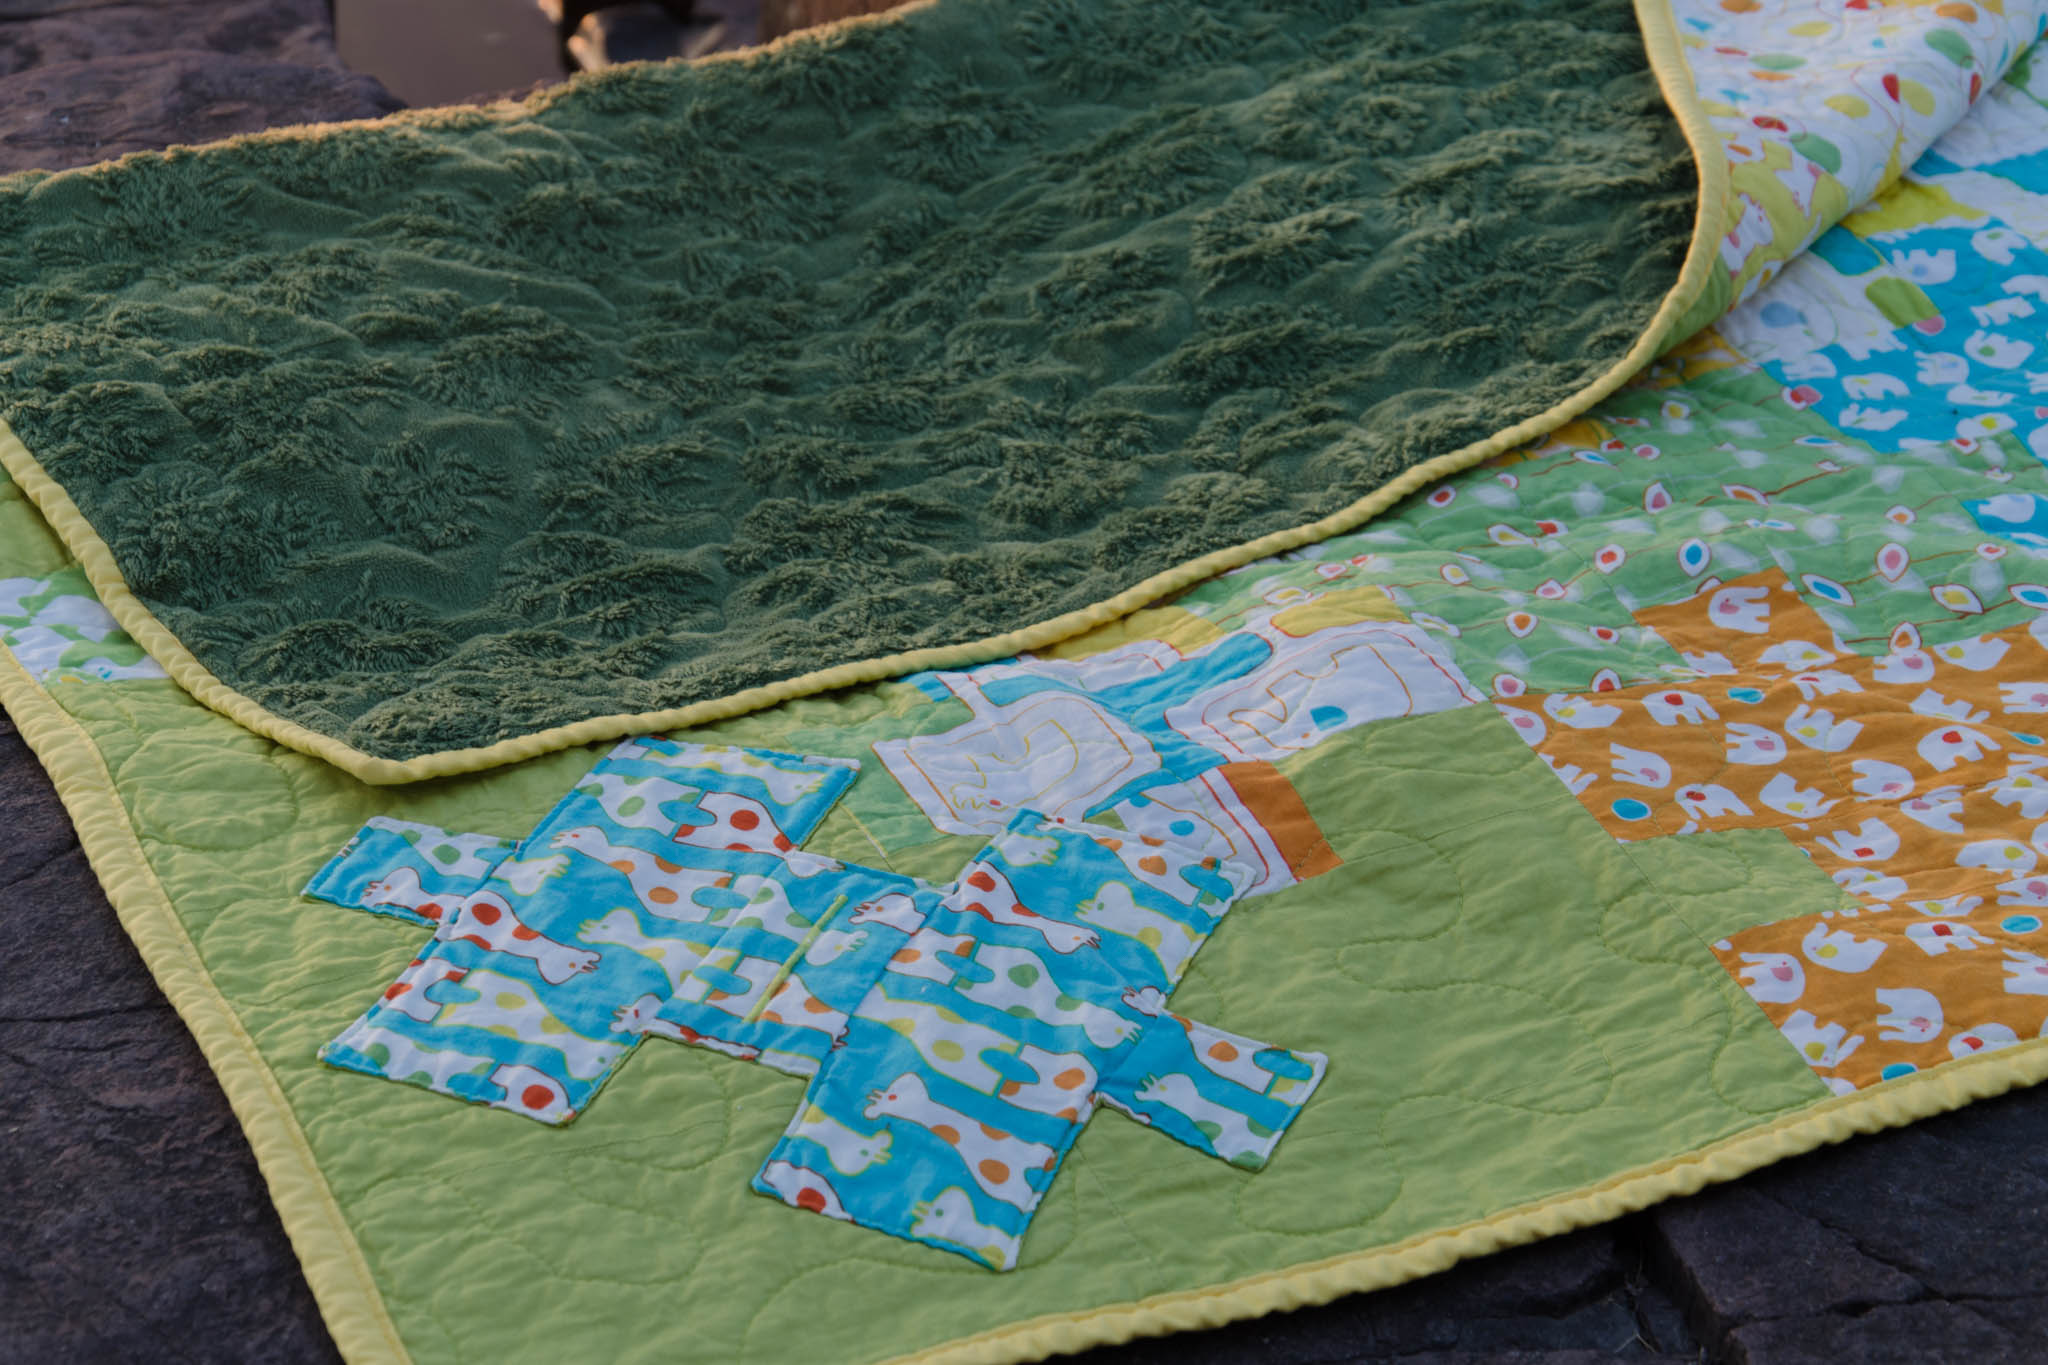
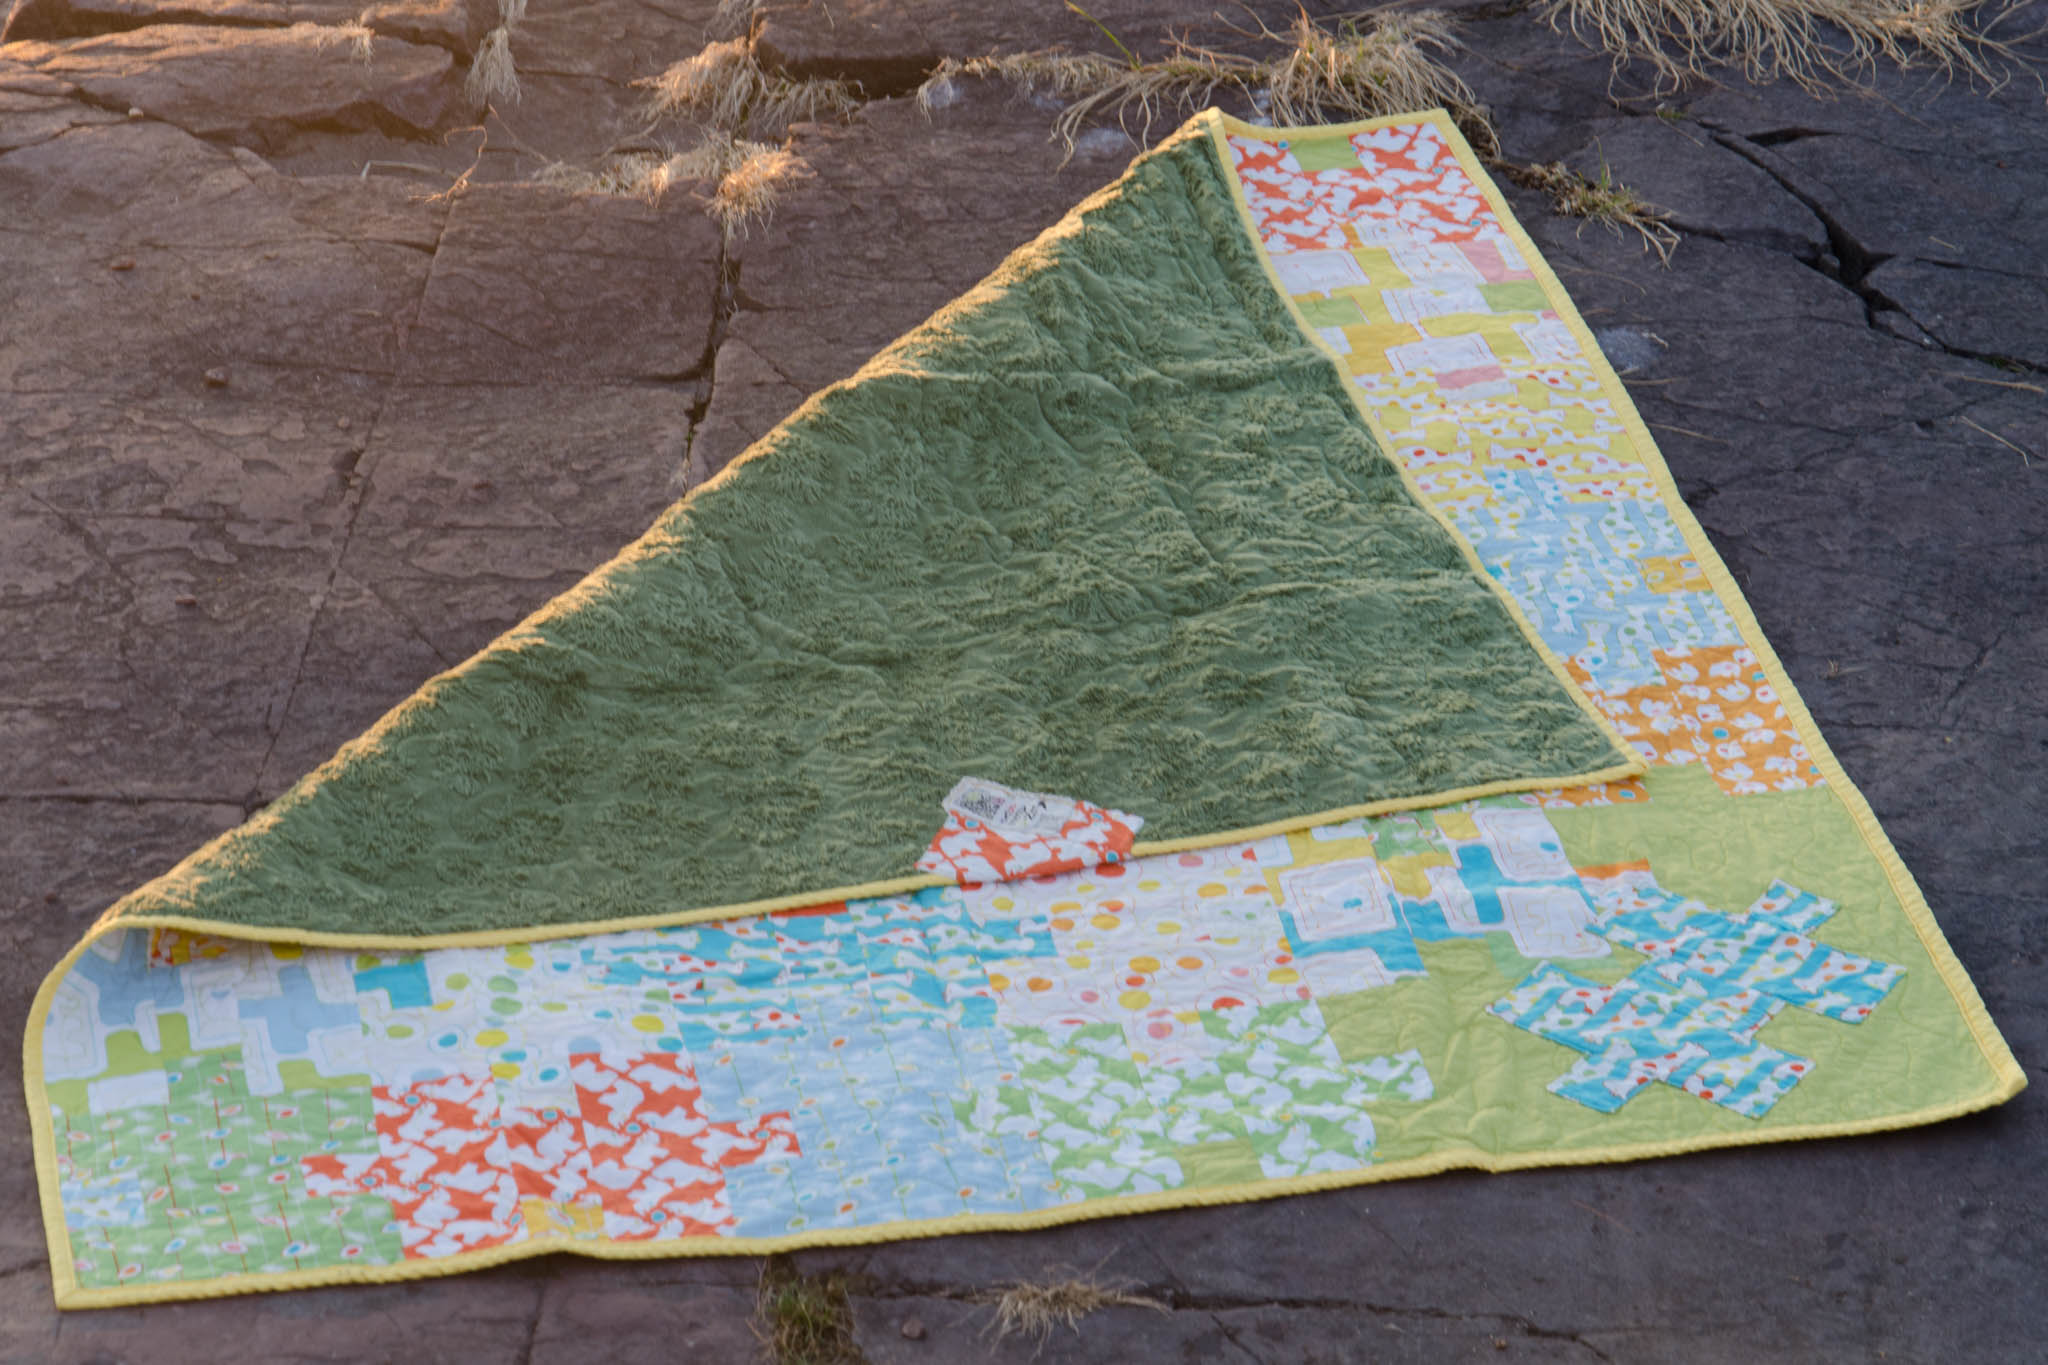
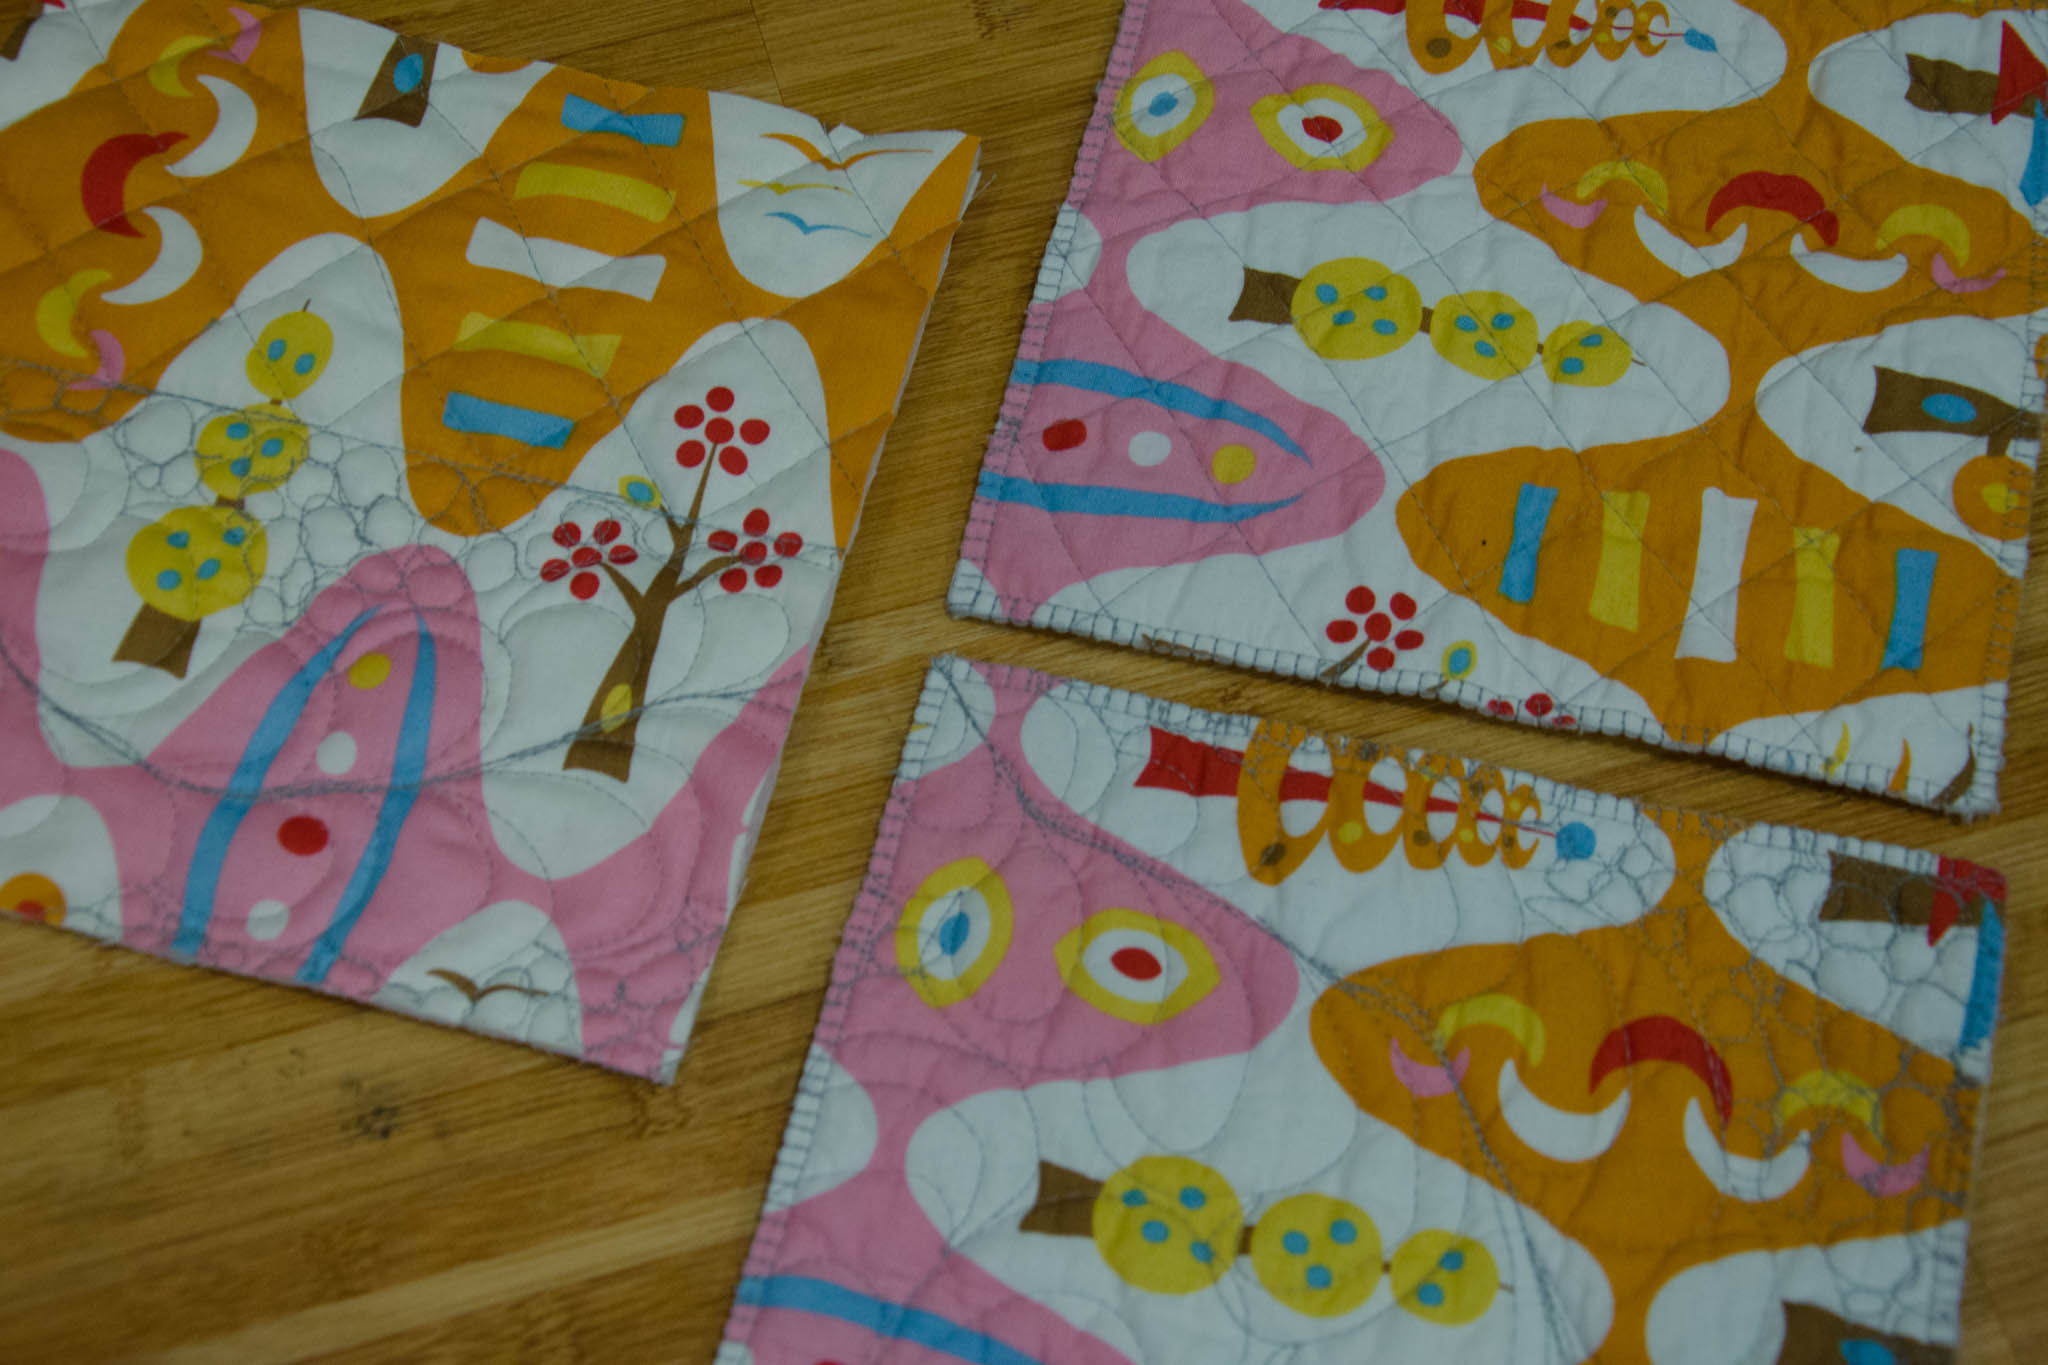
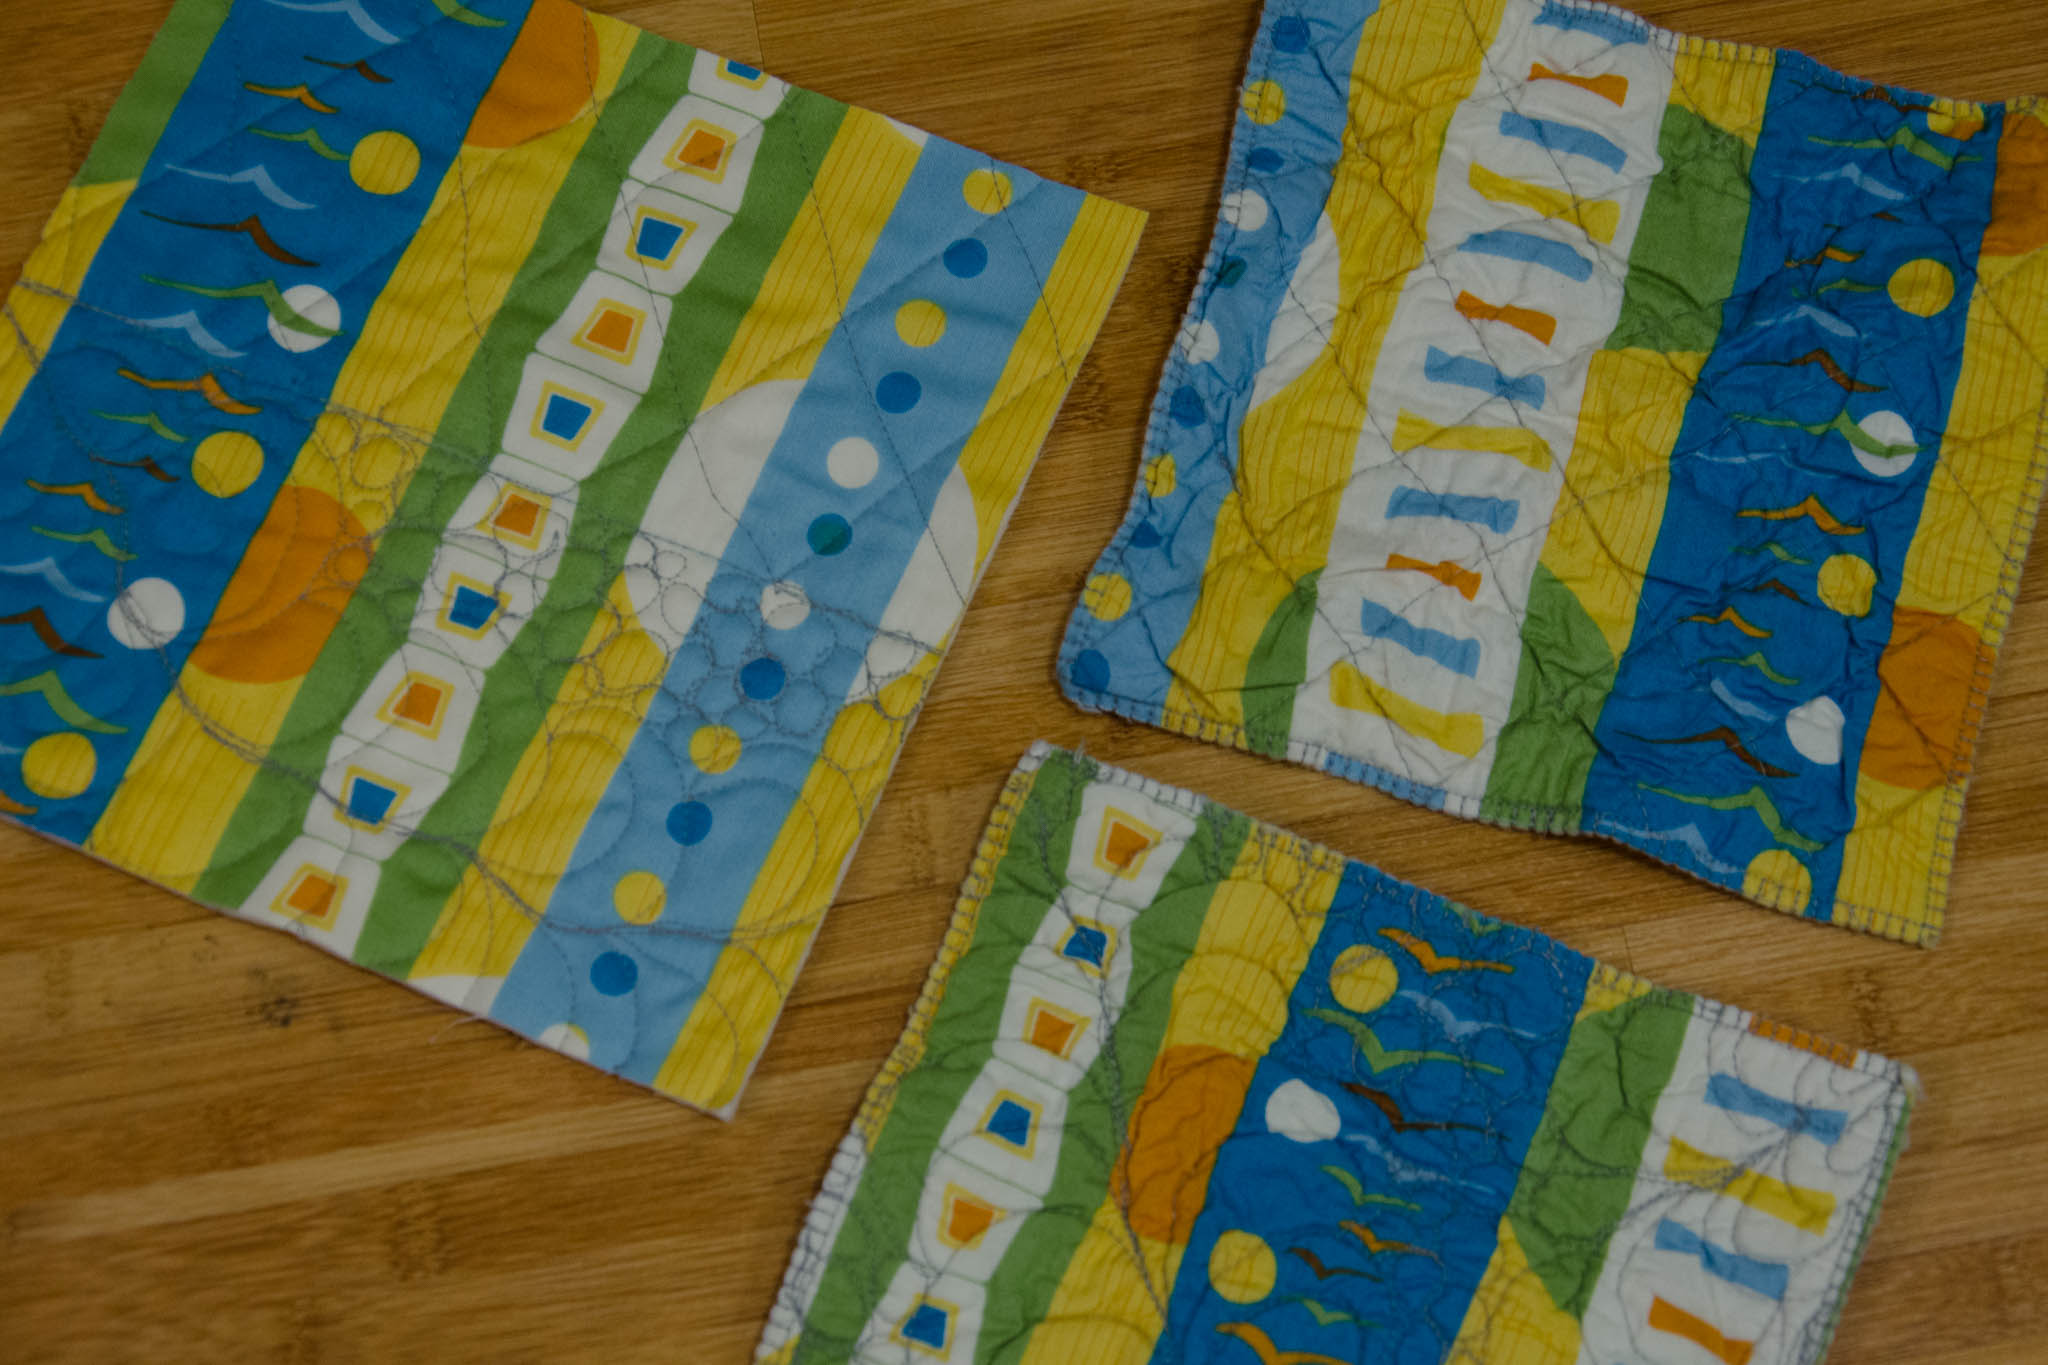
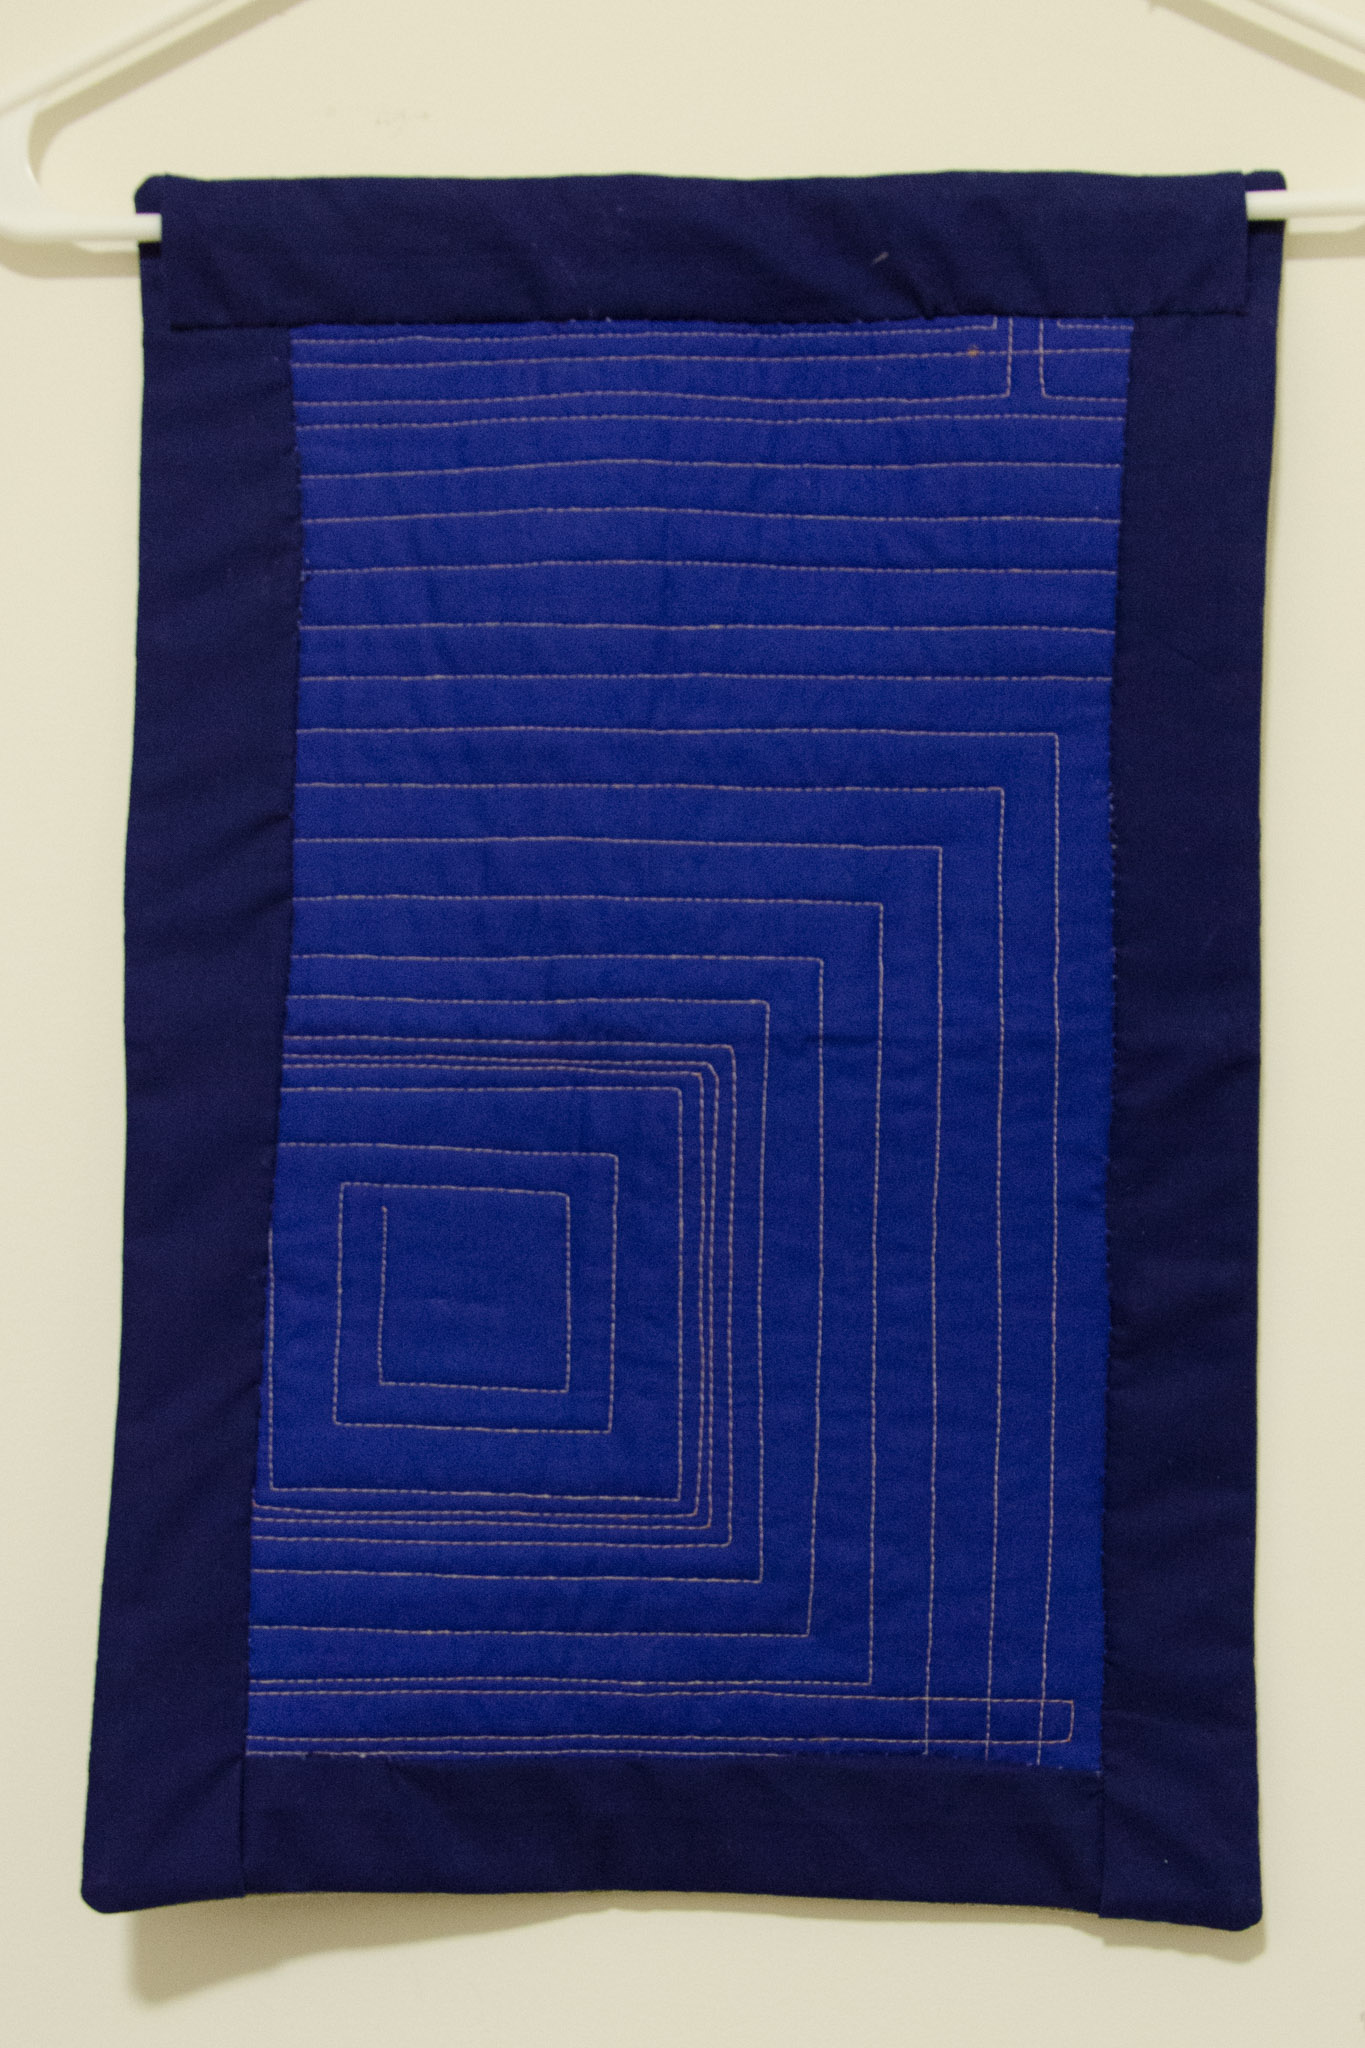
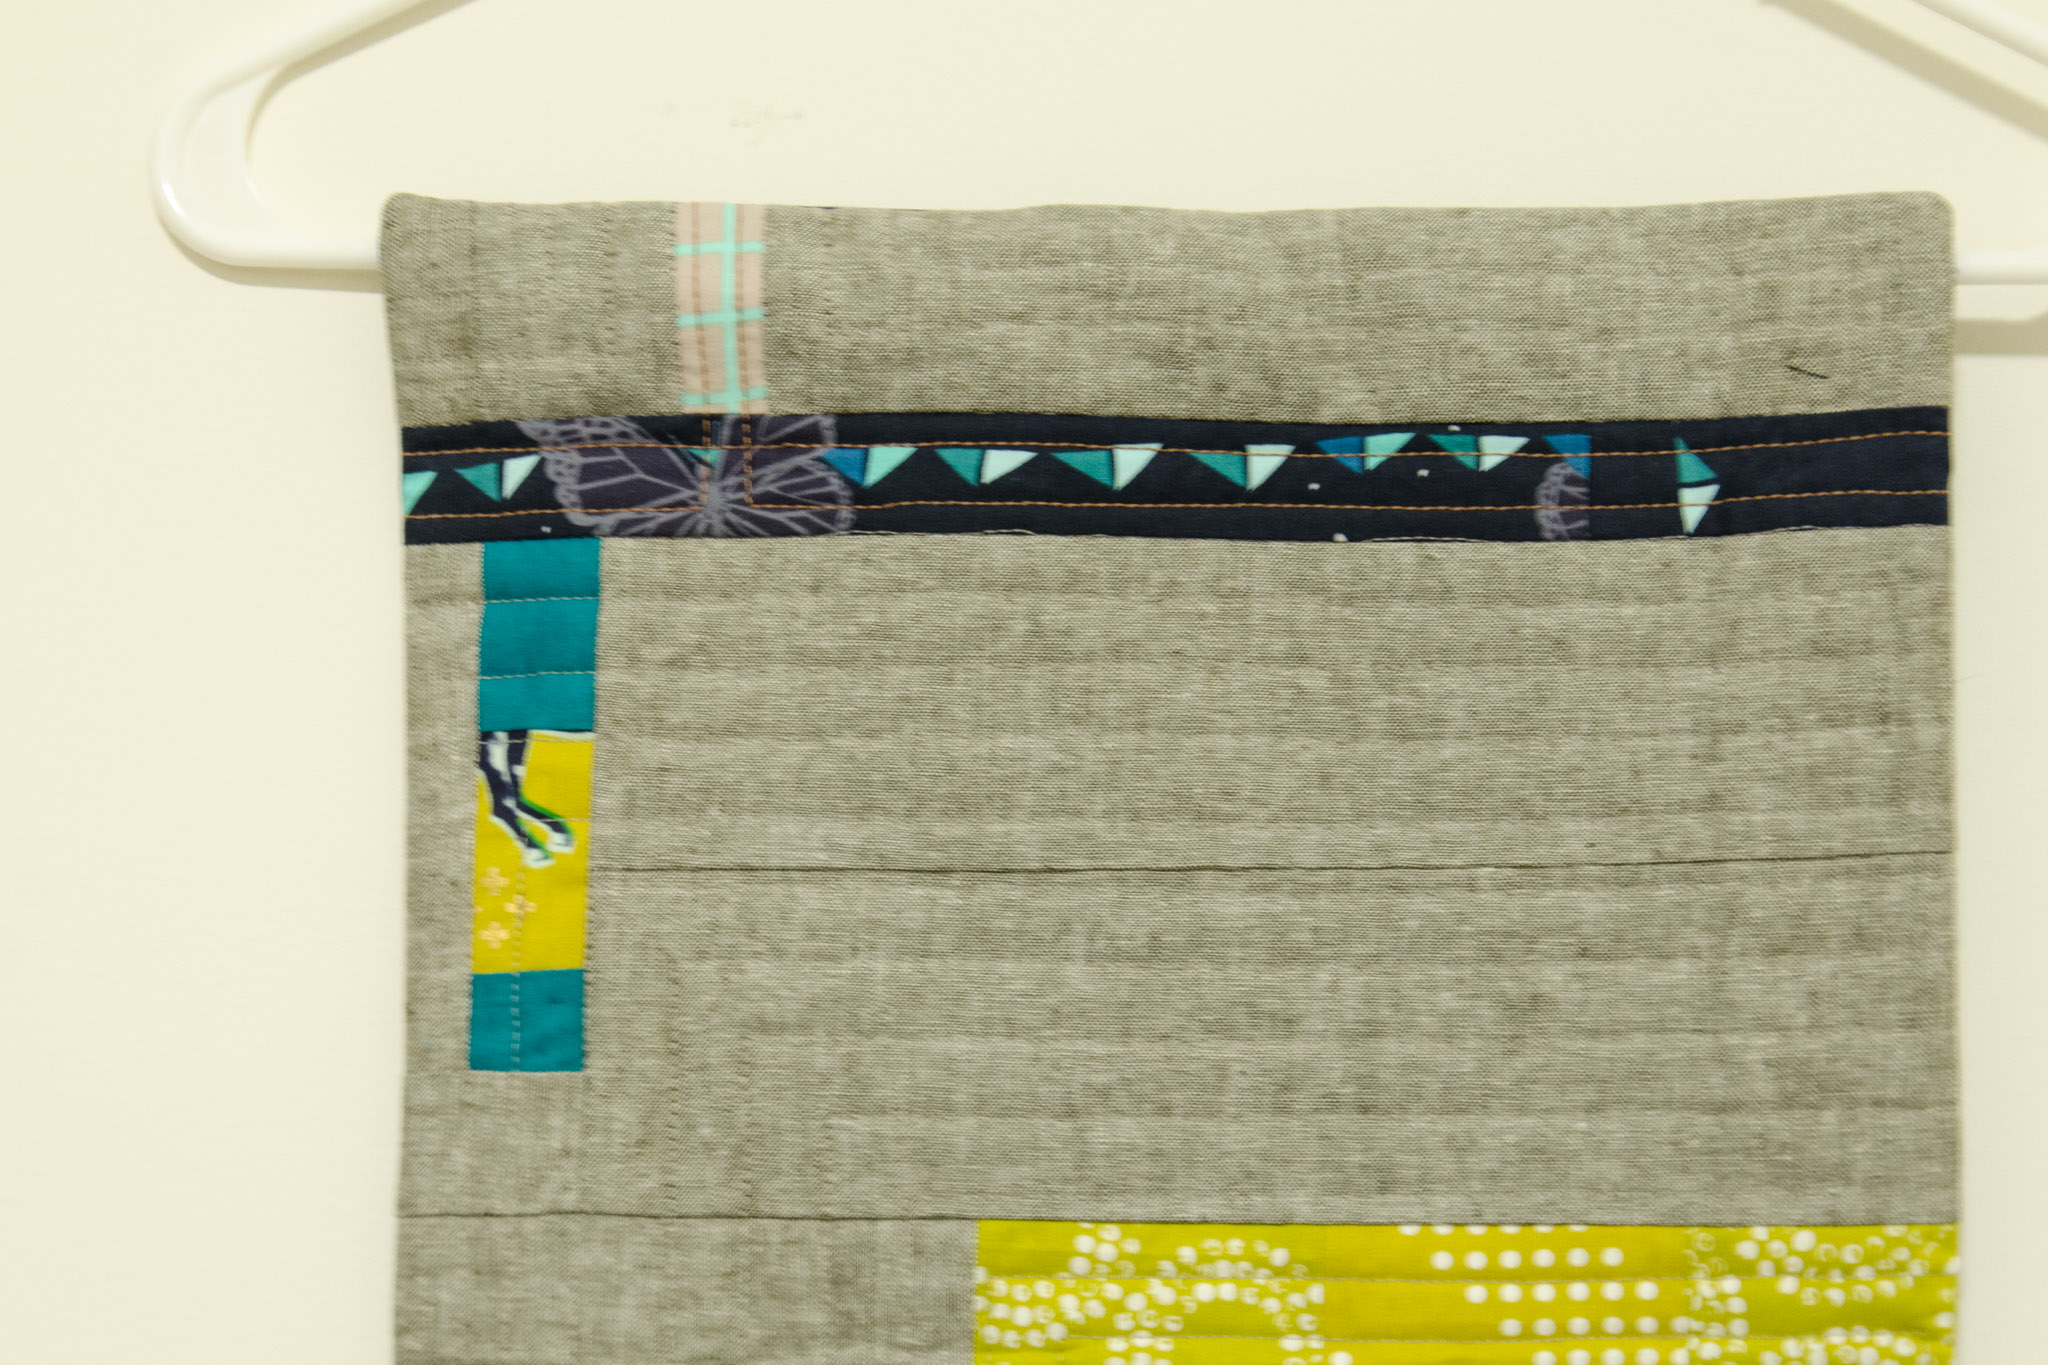
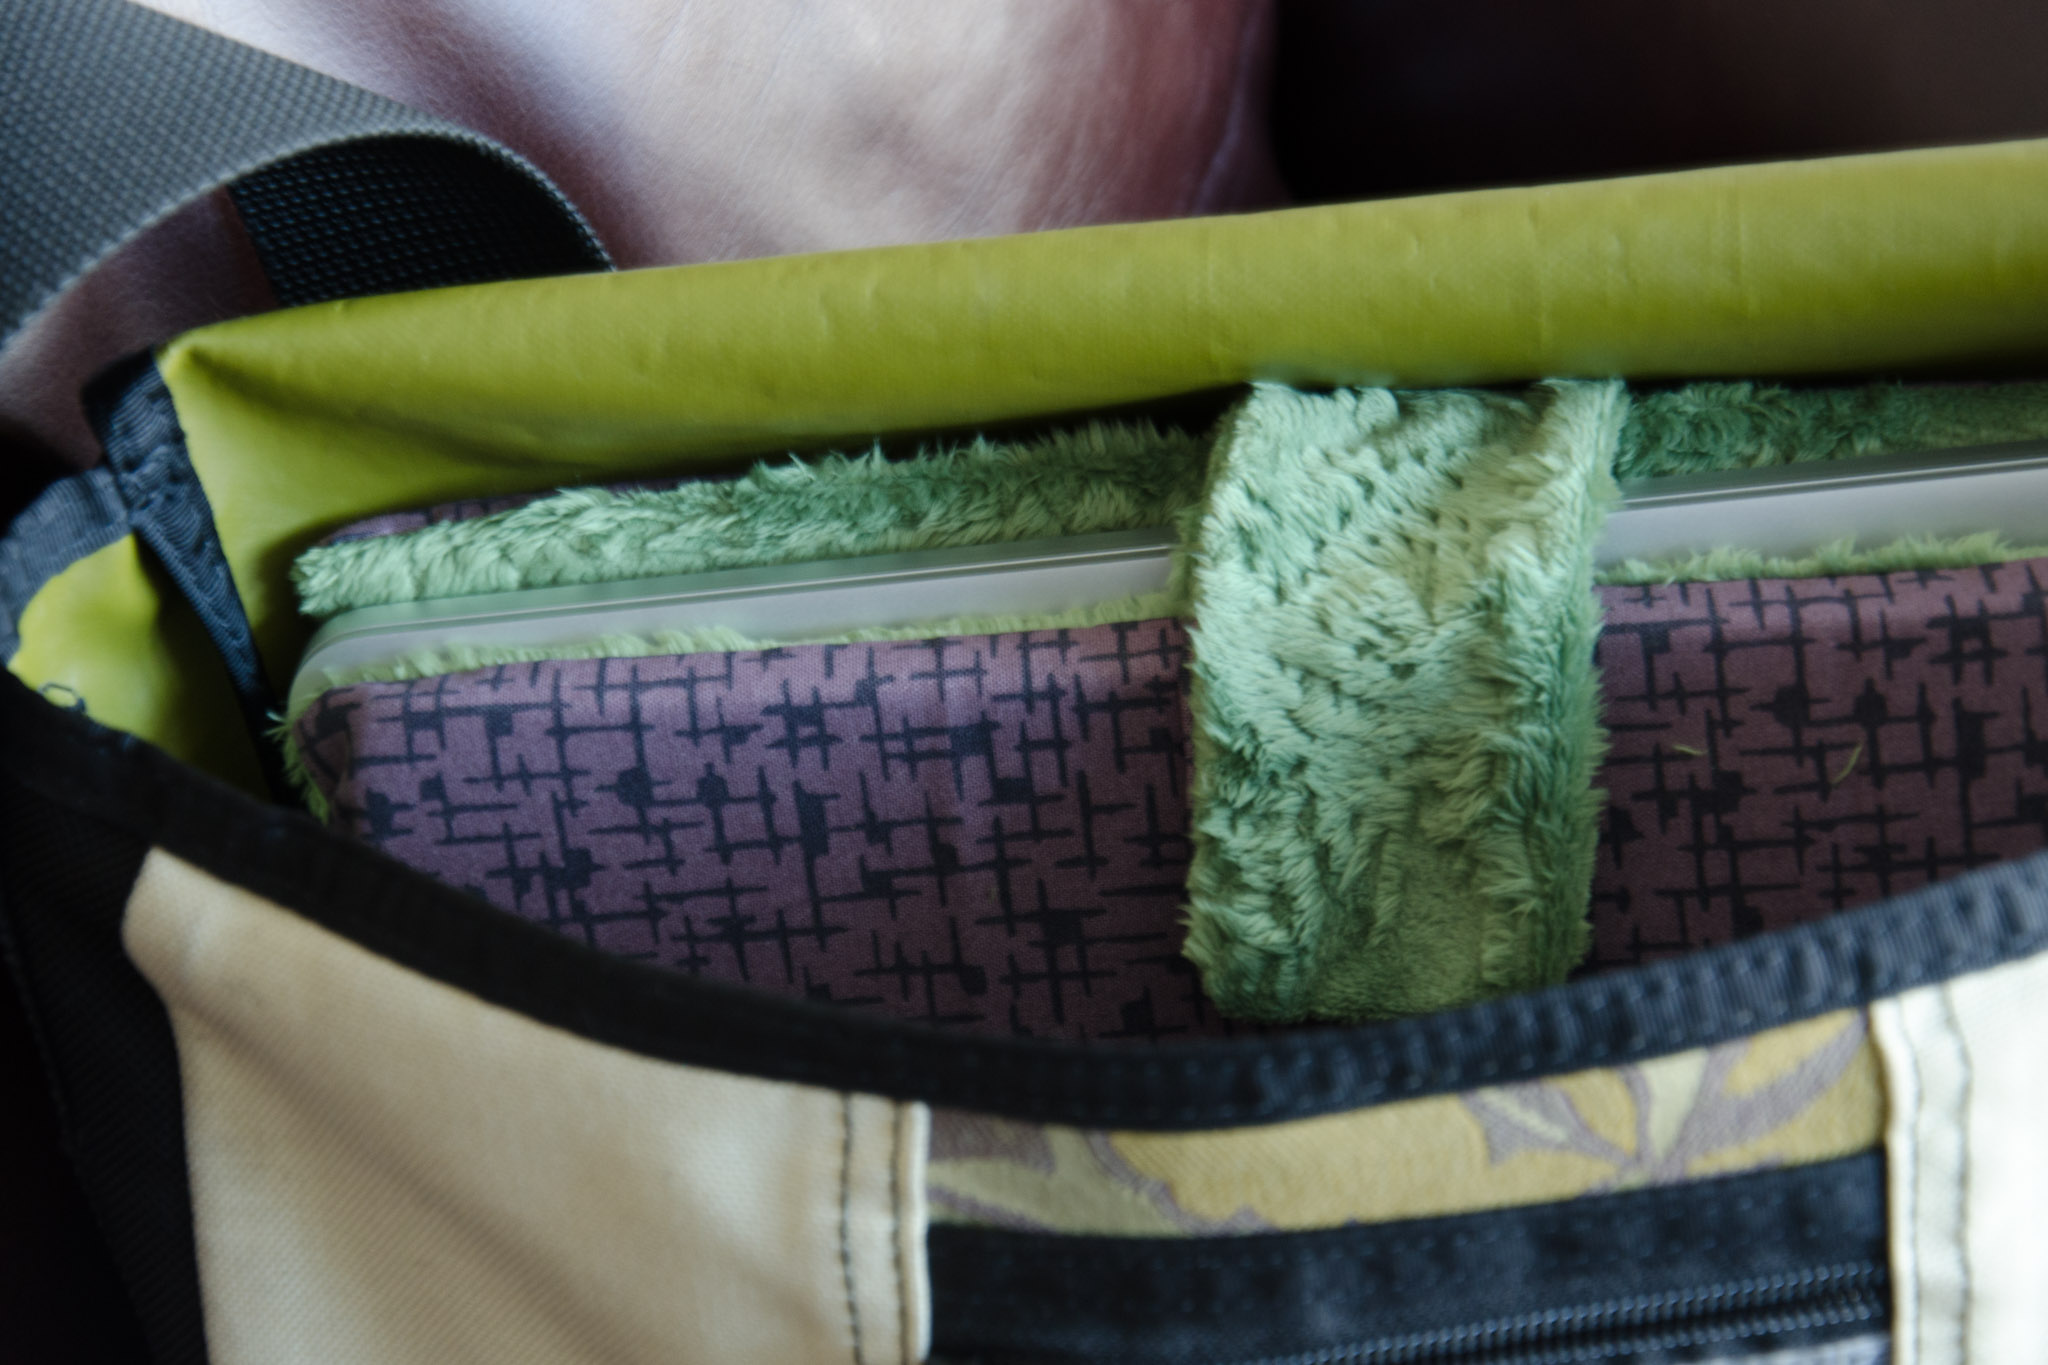
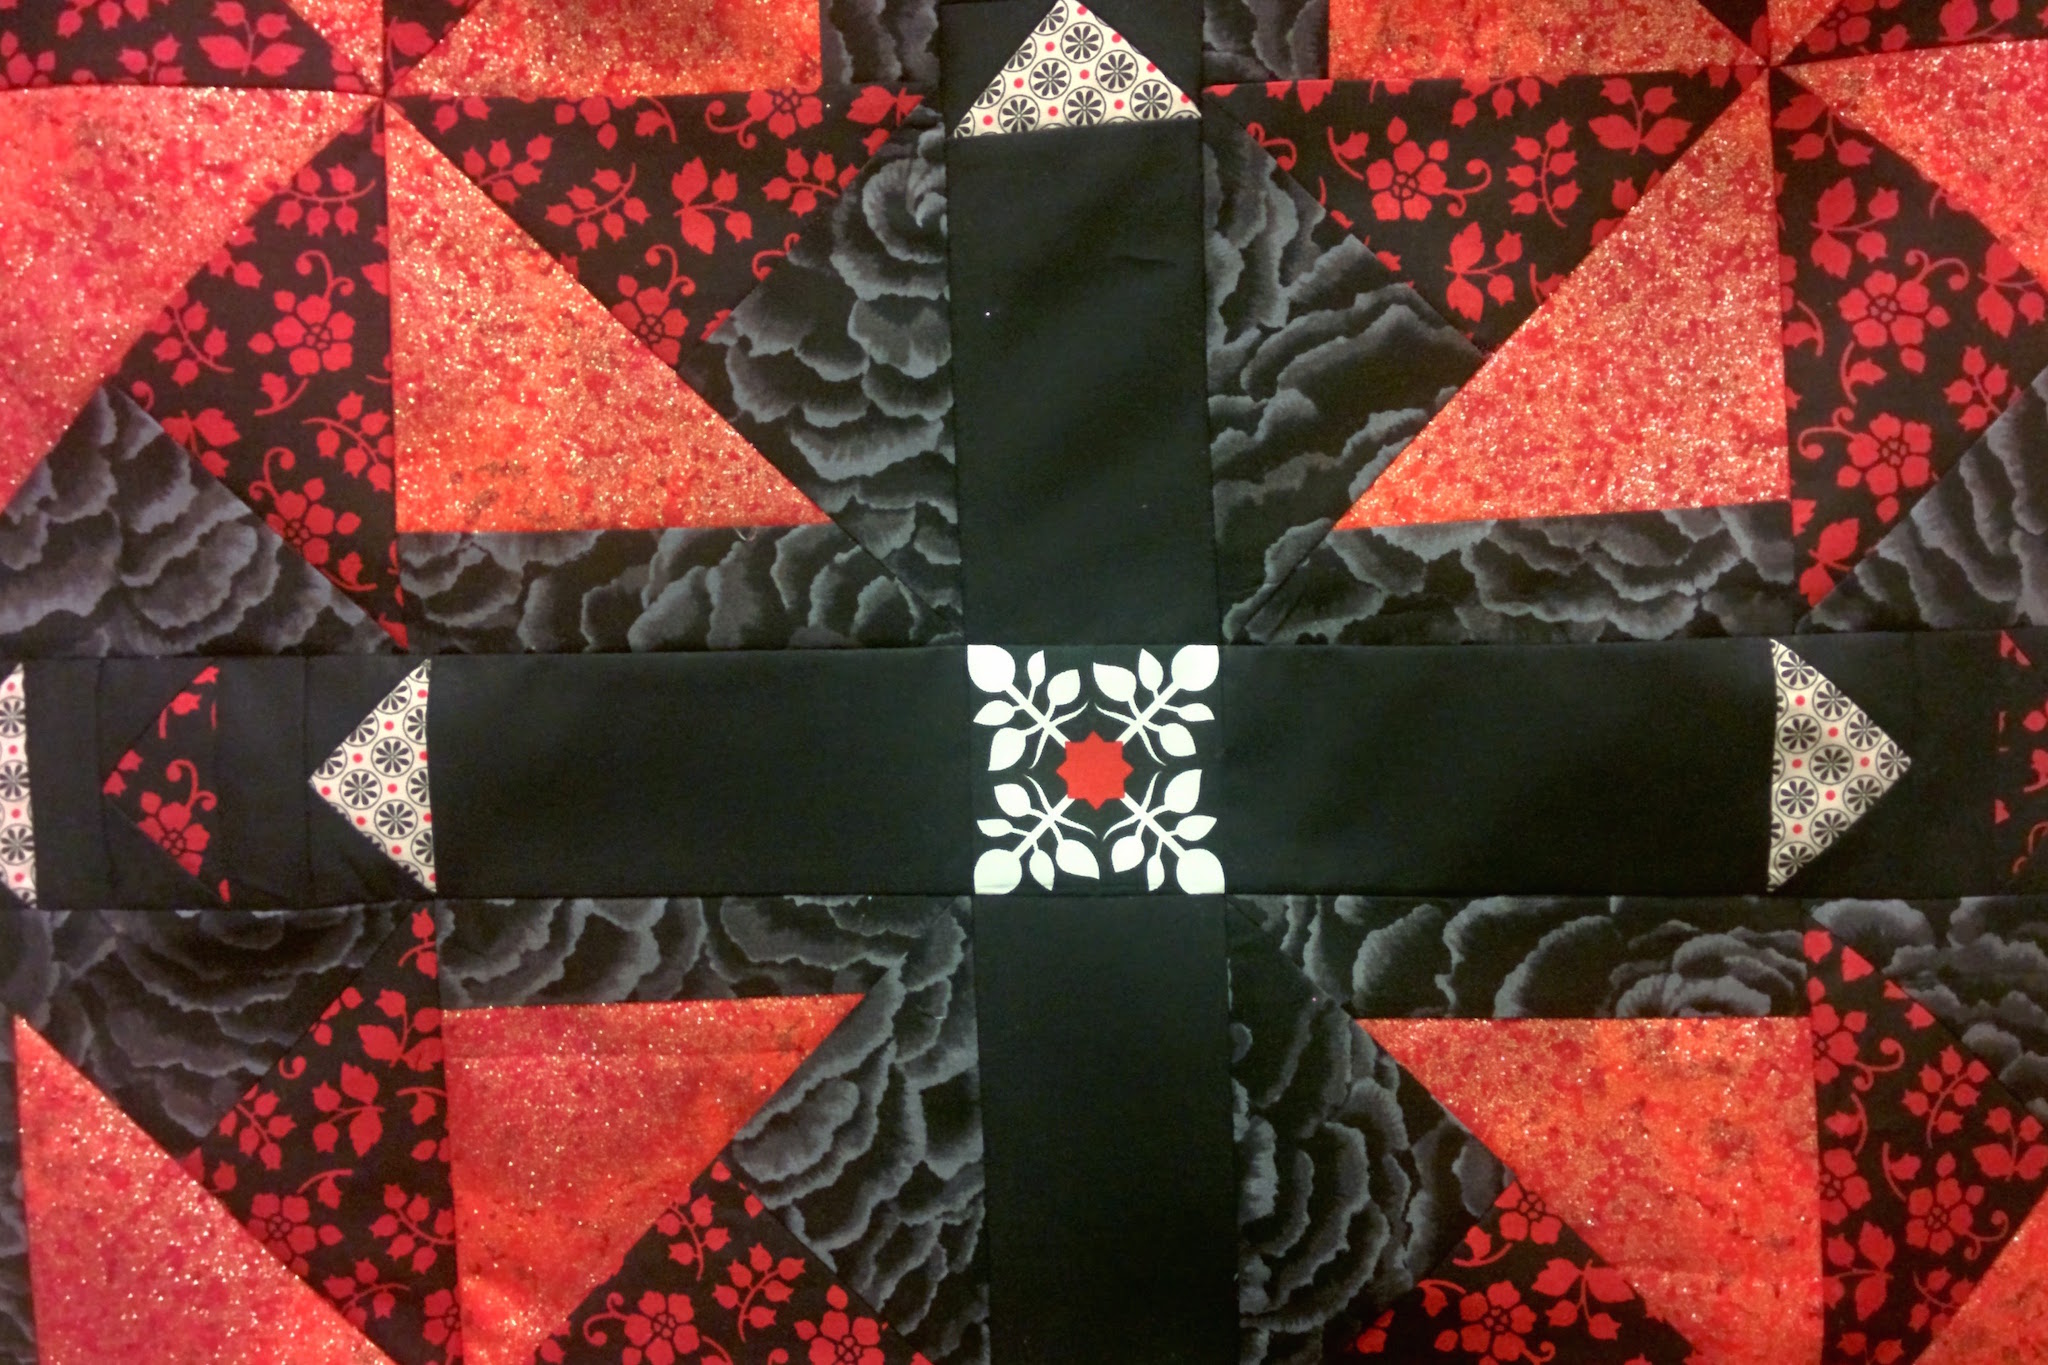
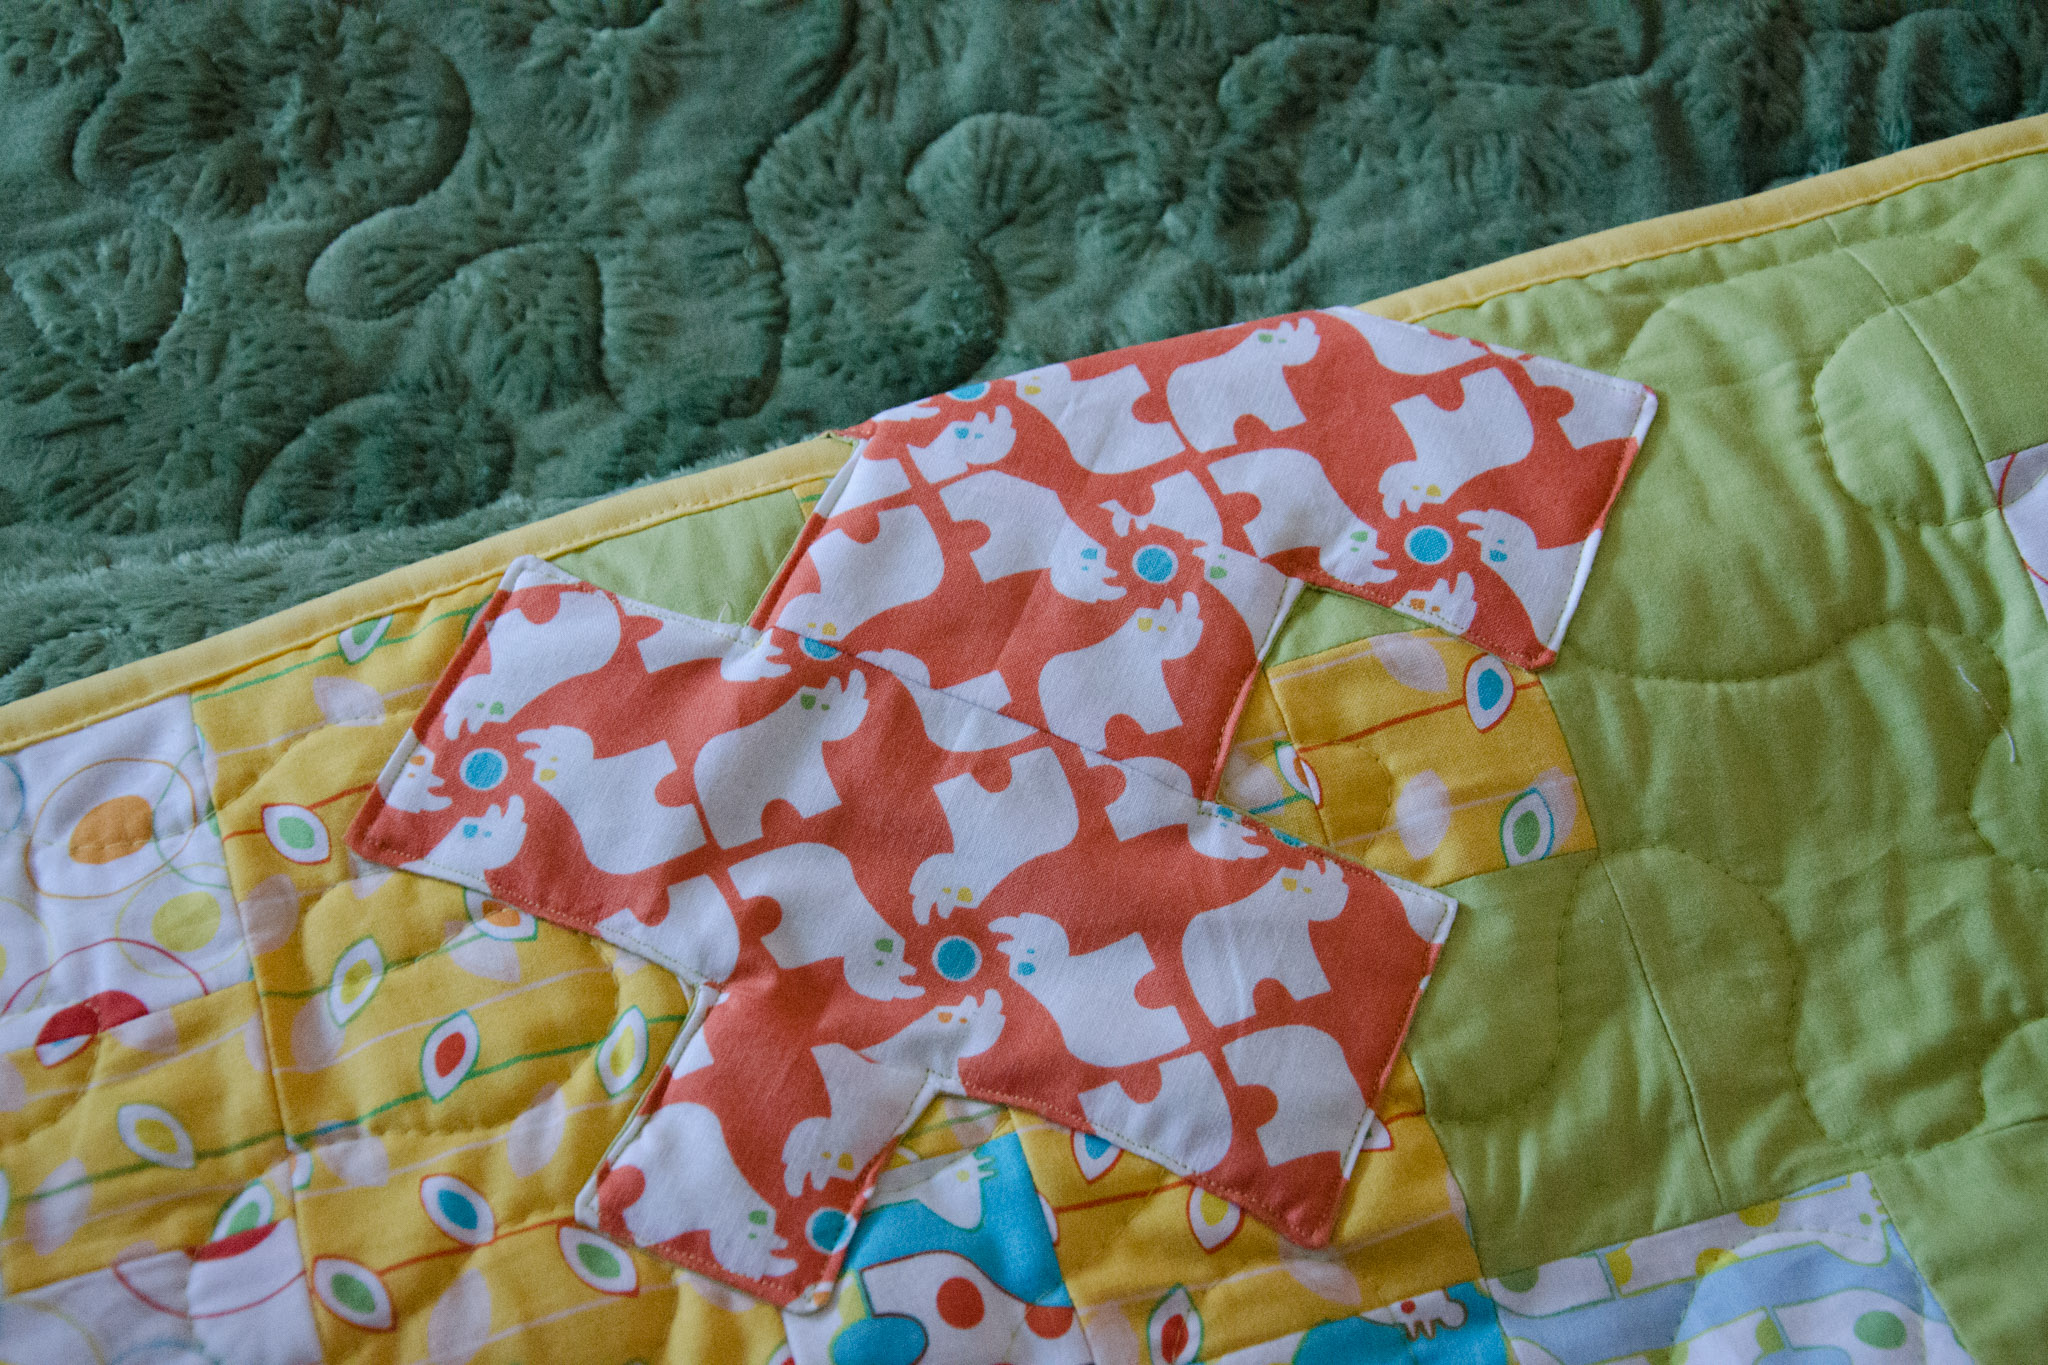
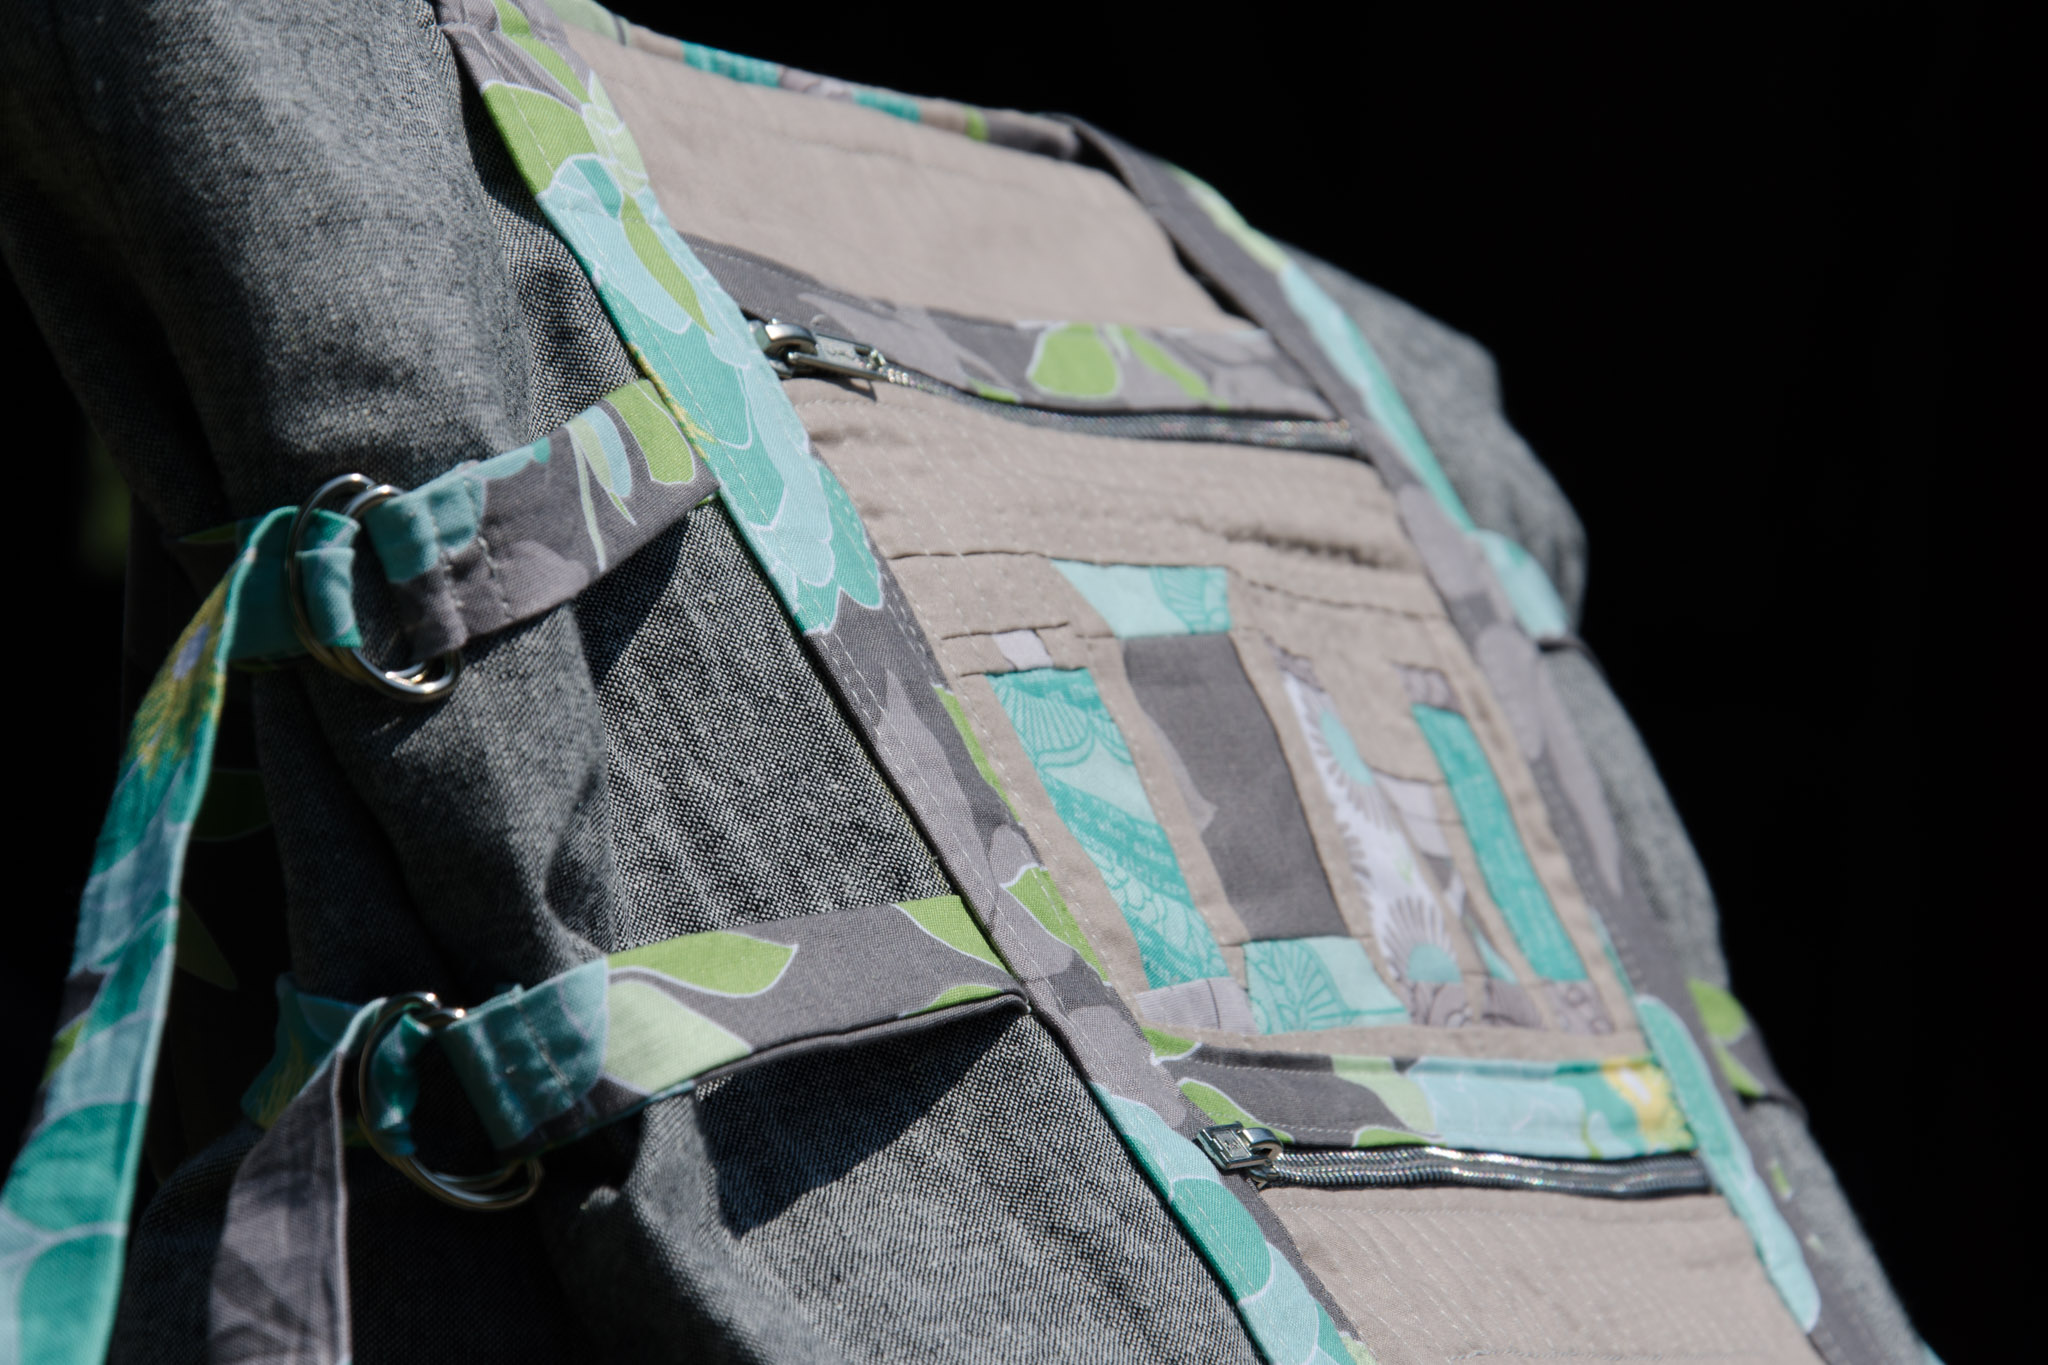
Although the pattern only calls for pockets on one side of the bag, I made a non-zippered one for the back. That way, I had an excuse for a center stripe of pewter on both sides of the bag and more opportunity to use the challenge prints. After making spools for one front pocket, I decided that I’d rather return to traditional piecing for the rest and made the back panel inspired by a quilt by Patty Sloniger of Beck and Lundy. Whether piecing 1″ half-square triangles was less painful than additional paper-piecing is still up for debate. I quilted all of the pocket fronts to flannel to keep them lightweight but structured (and quilted).

Art Student Tote back with extension panel

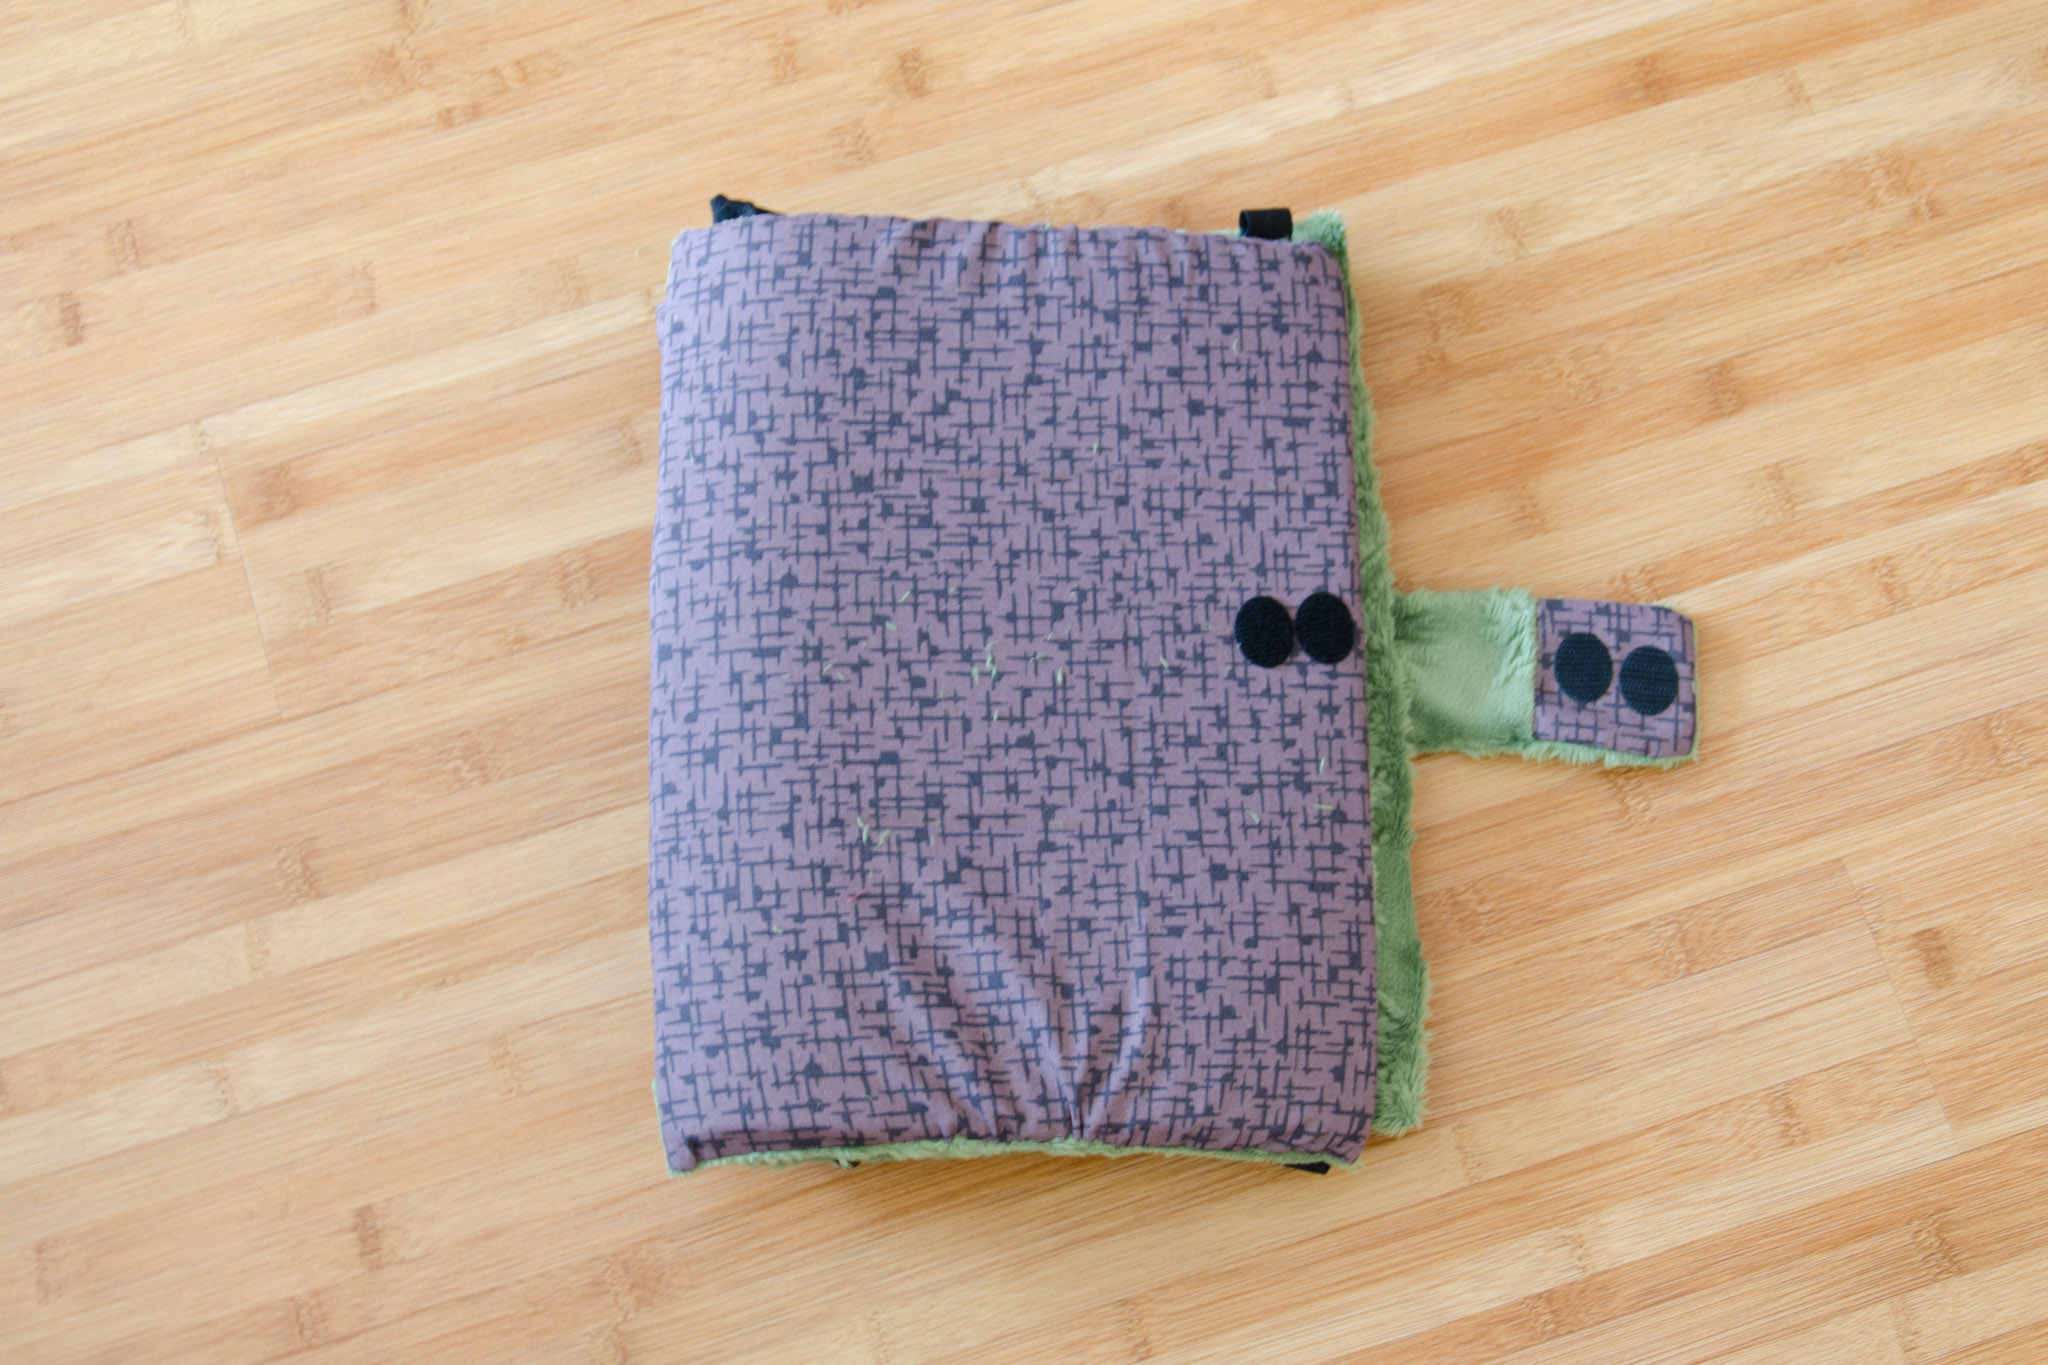
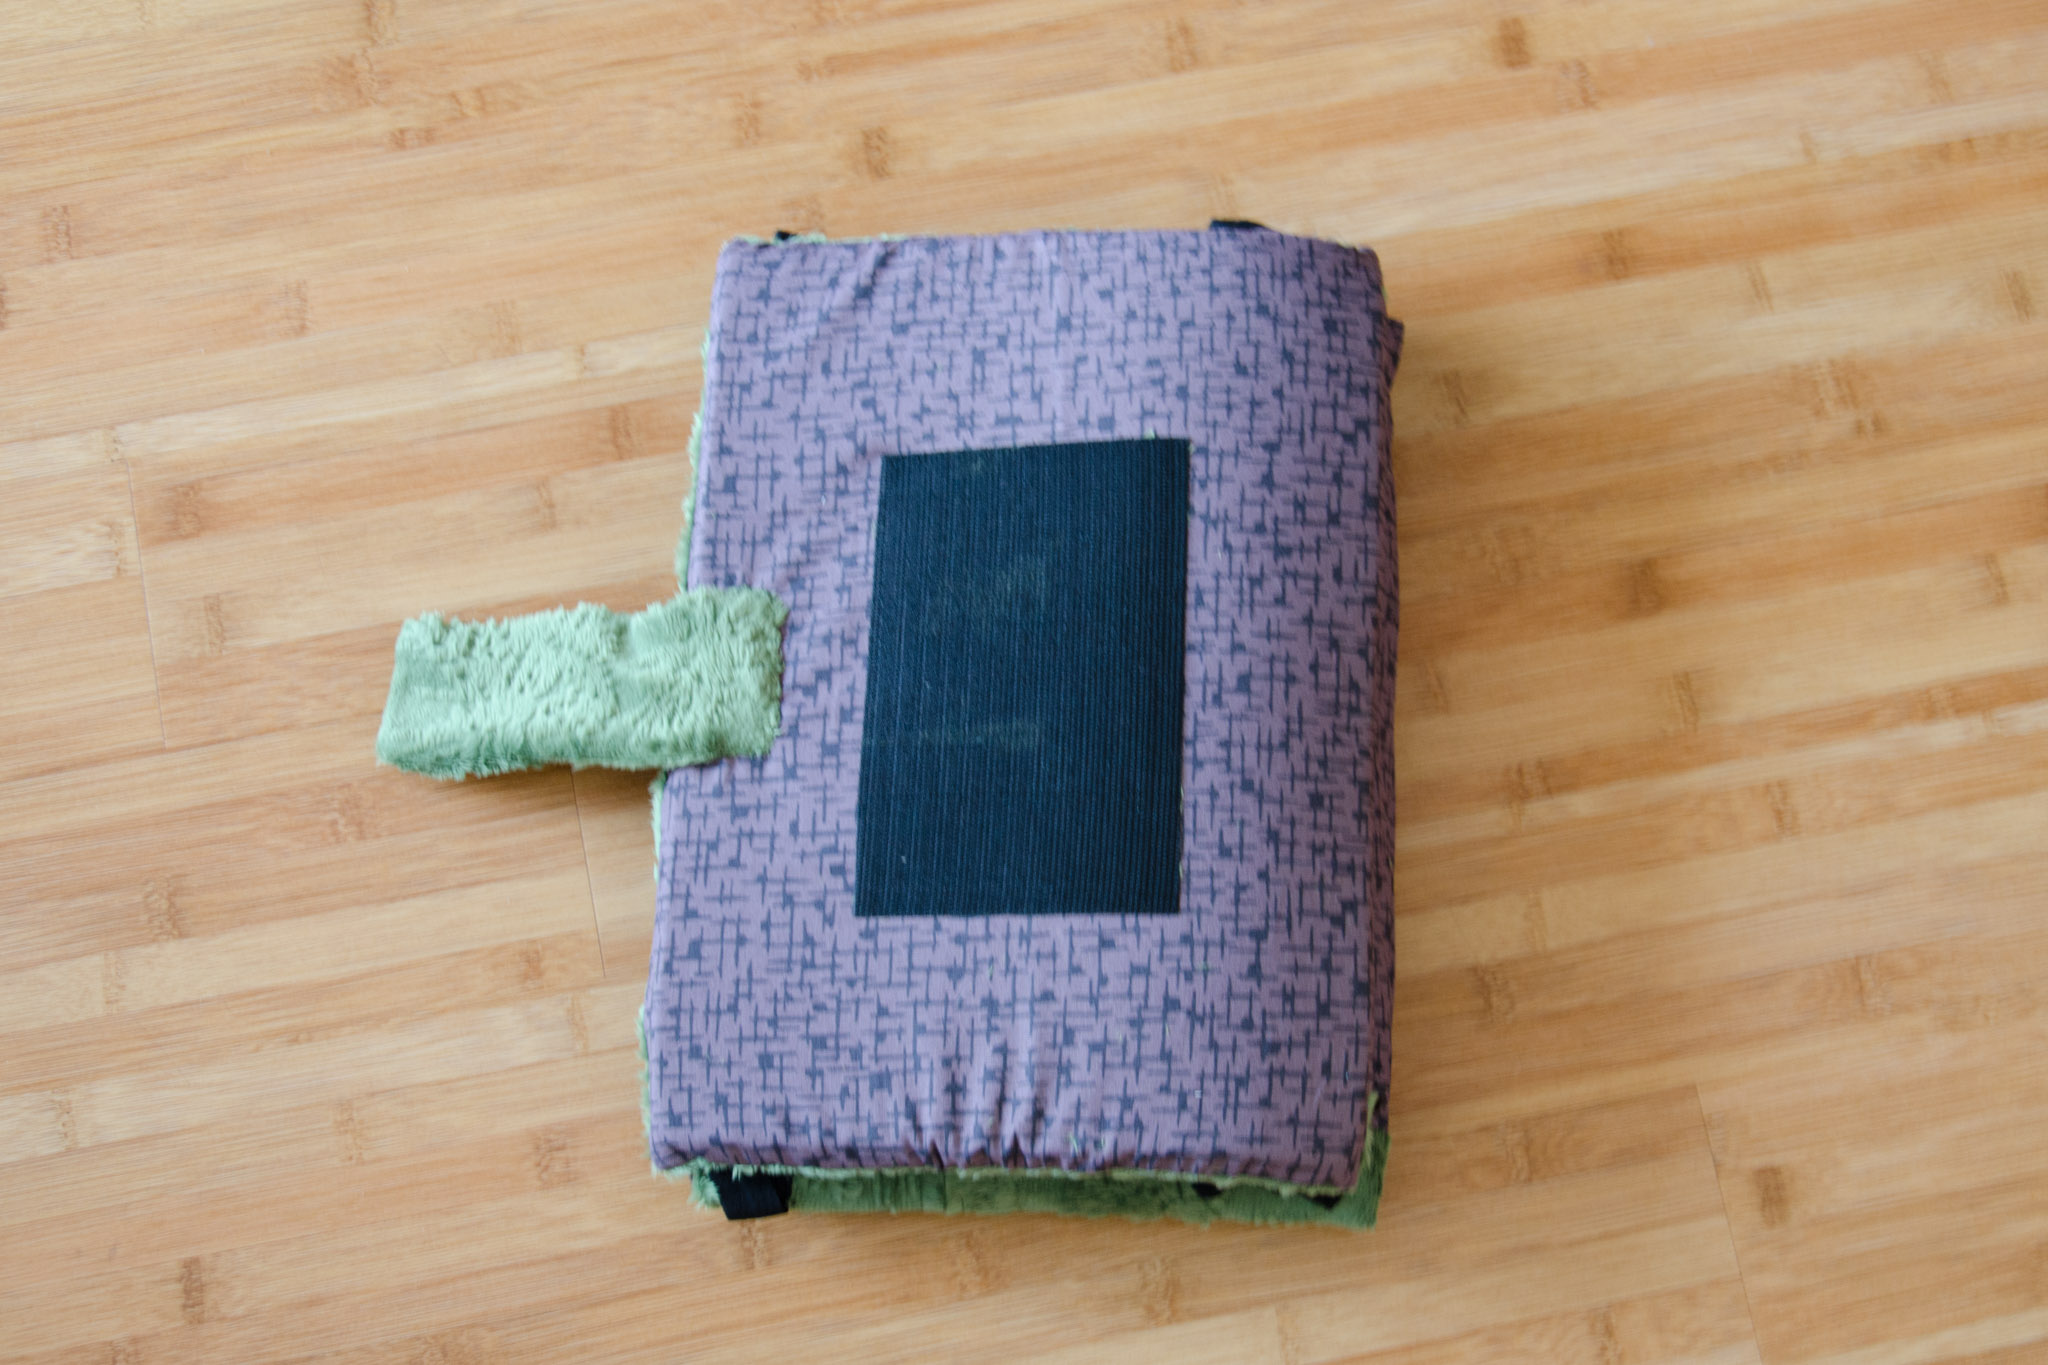
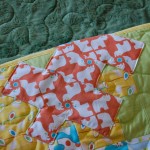
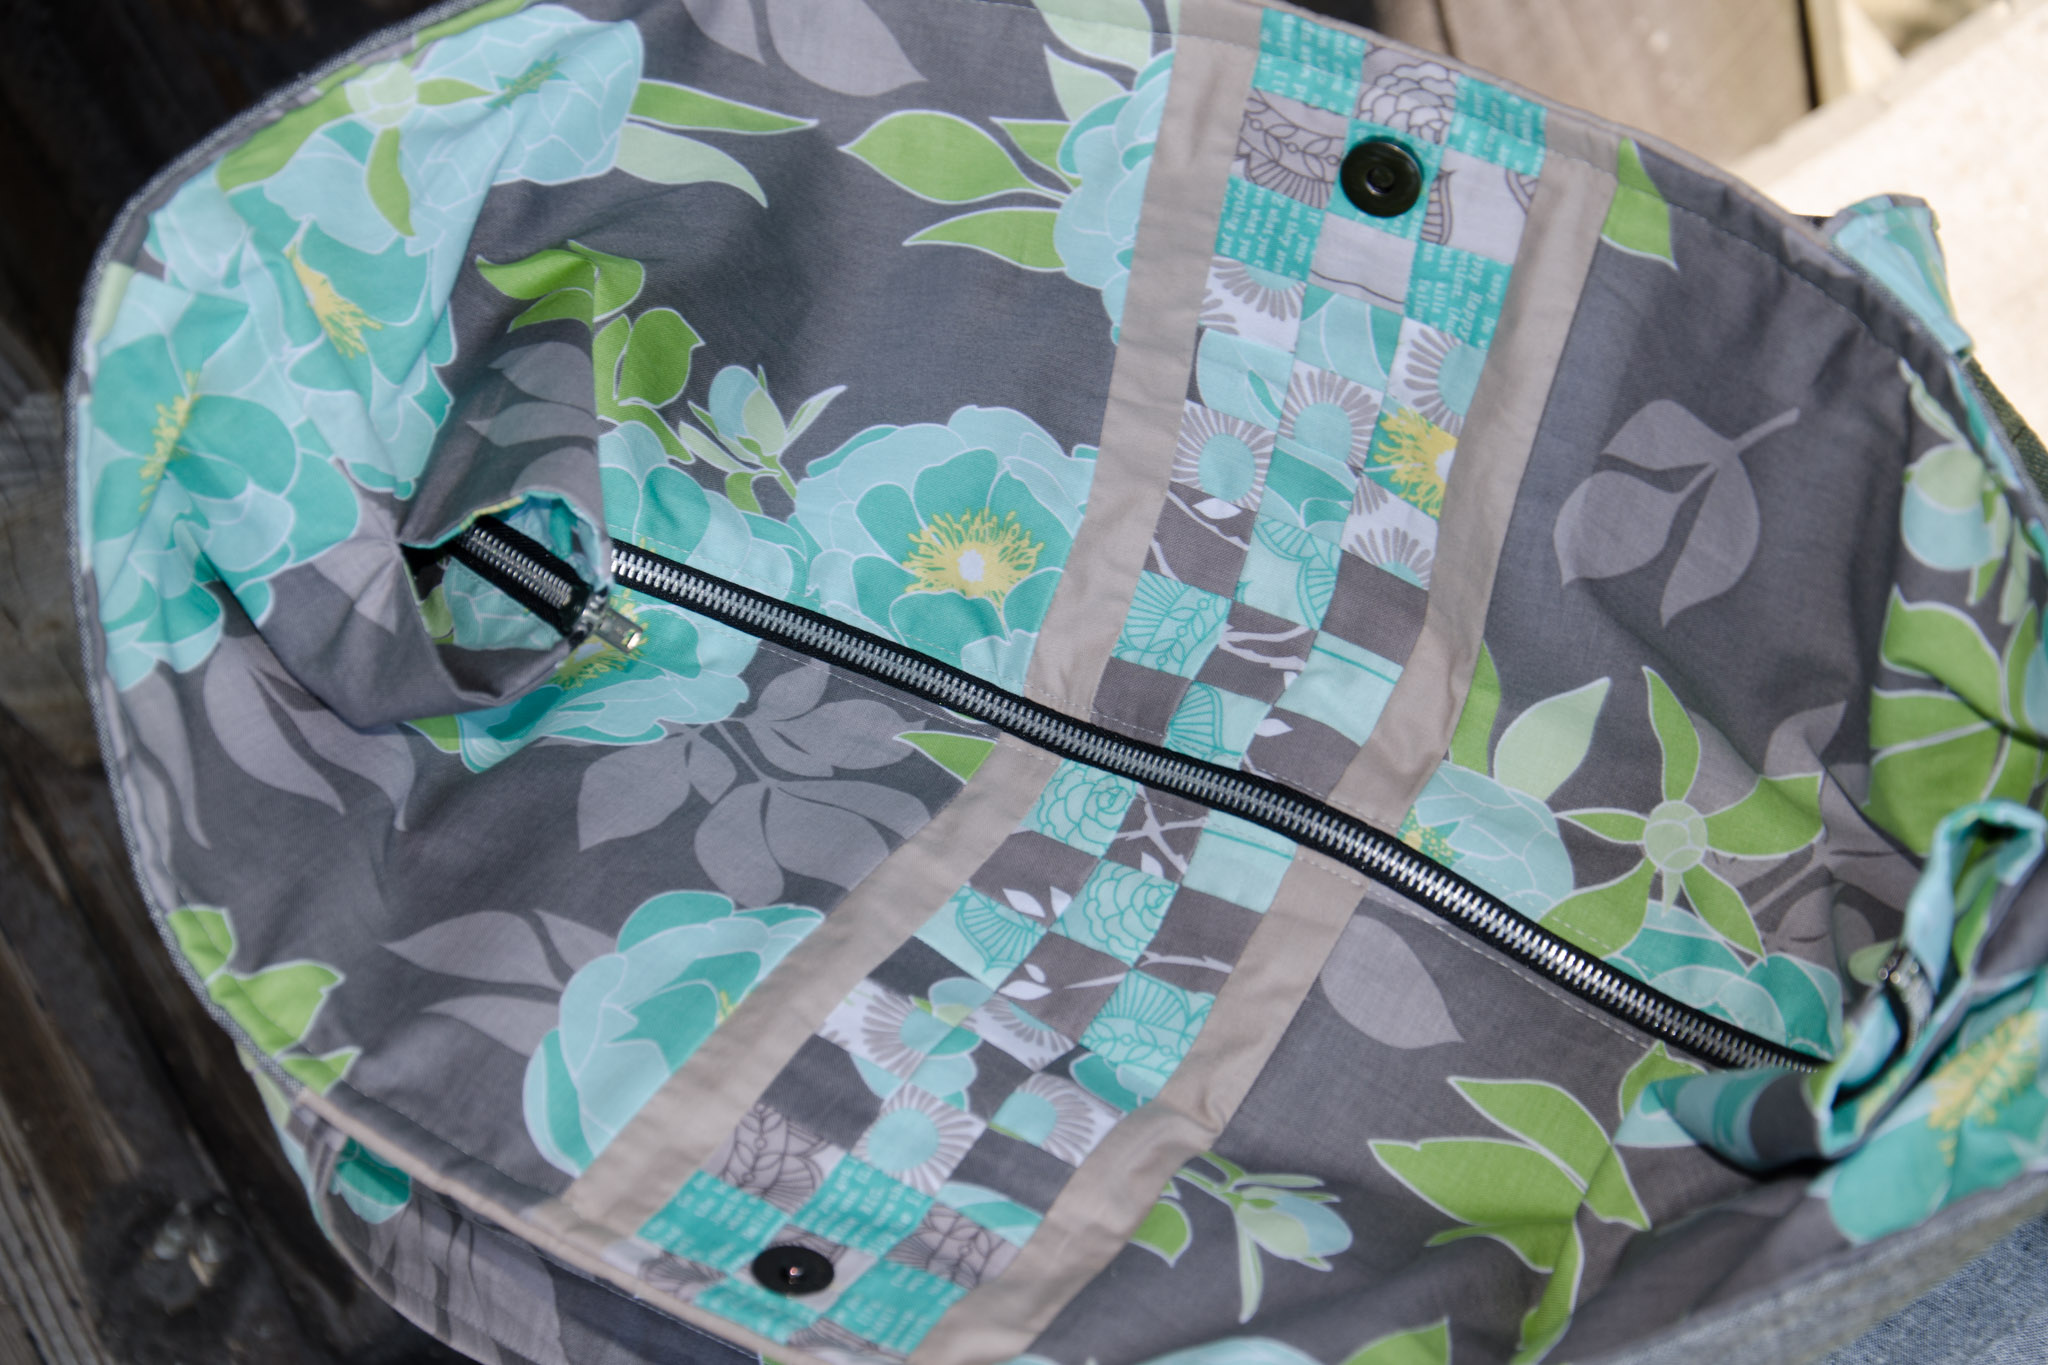
I made the version that includes an extension panel. Because I originally purchased the flower yardage for the lining only, I was about 3″ short when it came time to cut out the extensions. I saw it as one more opportunity to use the challenge fabrics, and pieced in a stripe of small nine-patches.

Art Student Tote exension panel detail

Not everything was rosy. I don’t know if it’s me or the directions, but I had a very hard time following along with the pattern. I had to re-read things a million times, and it still didn’t make a ton of sense in certain cases. The pattern also seems to be missing markings for start/stop stitching on the extension panel. It all turned out okay in the end, but was disappointing for a paid pattern.

Art Student Tote pocket detail

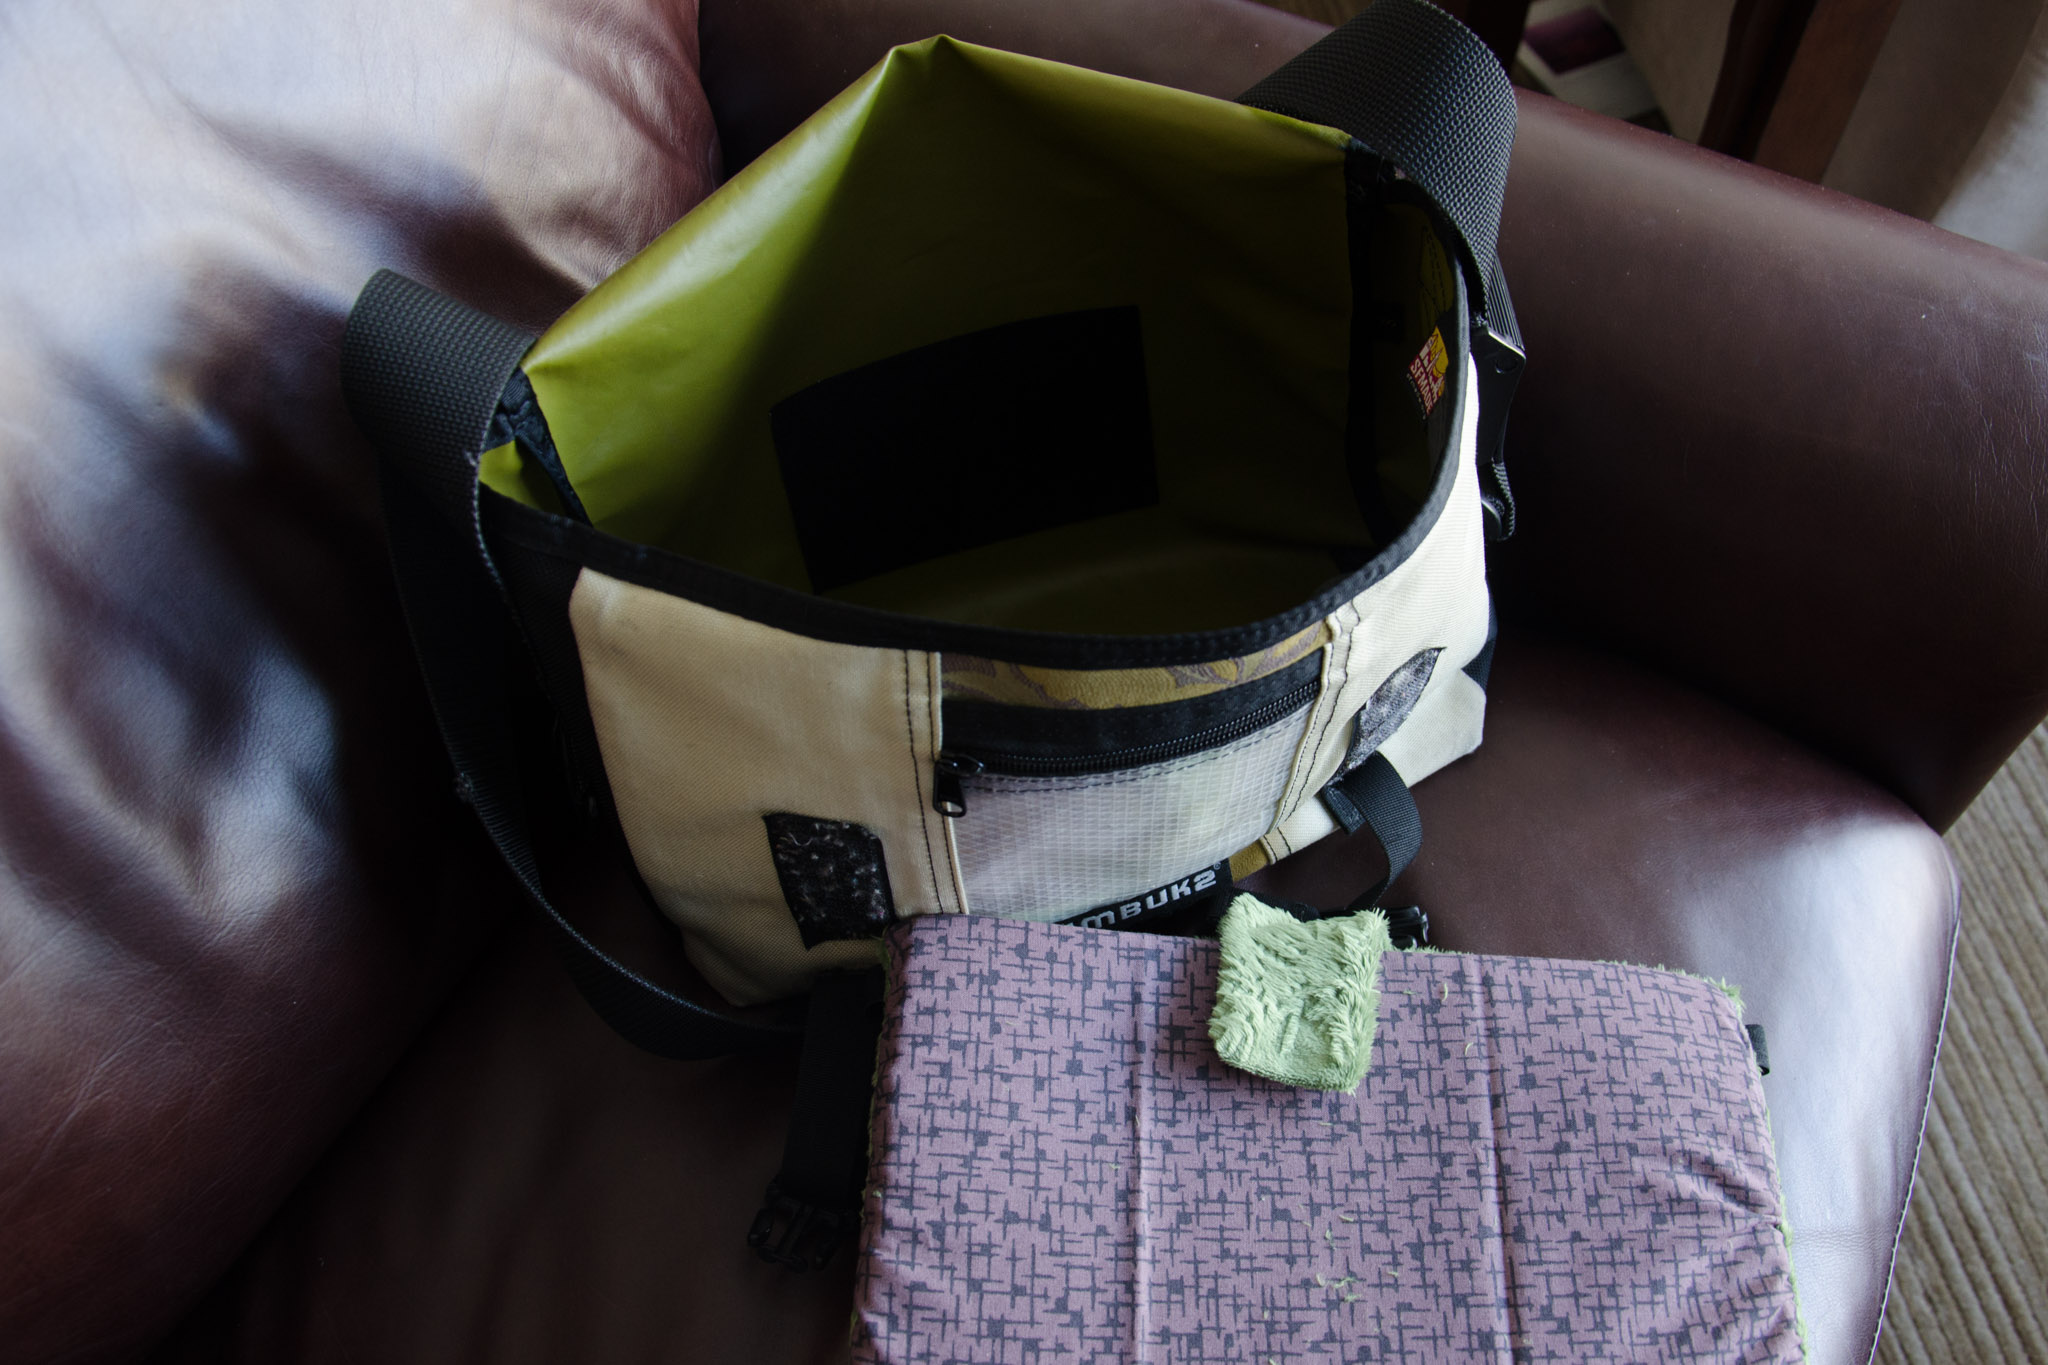
If I make it again (likely with less piecing!), I’ll leave off the extension panel. It may provide more room when you need it, but is a bit awkward when folded down inside the bag. Not to mention, the bag itself is already pretty large! I also need to find a way to hide the raw edges from my center stripe at the very top edge (my fault for lack of foresight when I modified the pattern that way).

Regardless, it seems perfect for toting around projects and quilts that need to be photographed. I’m looking forward to using it to carry stuff for a sew-in next weekend!

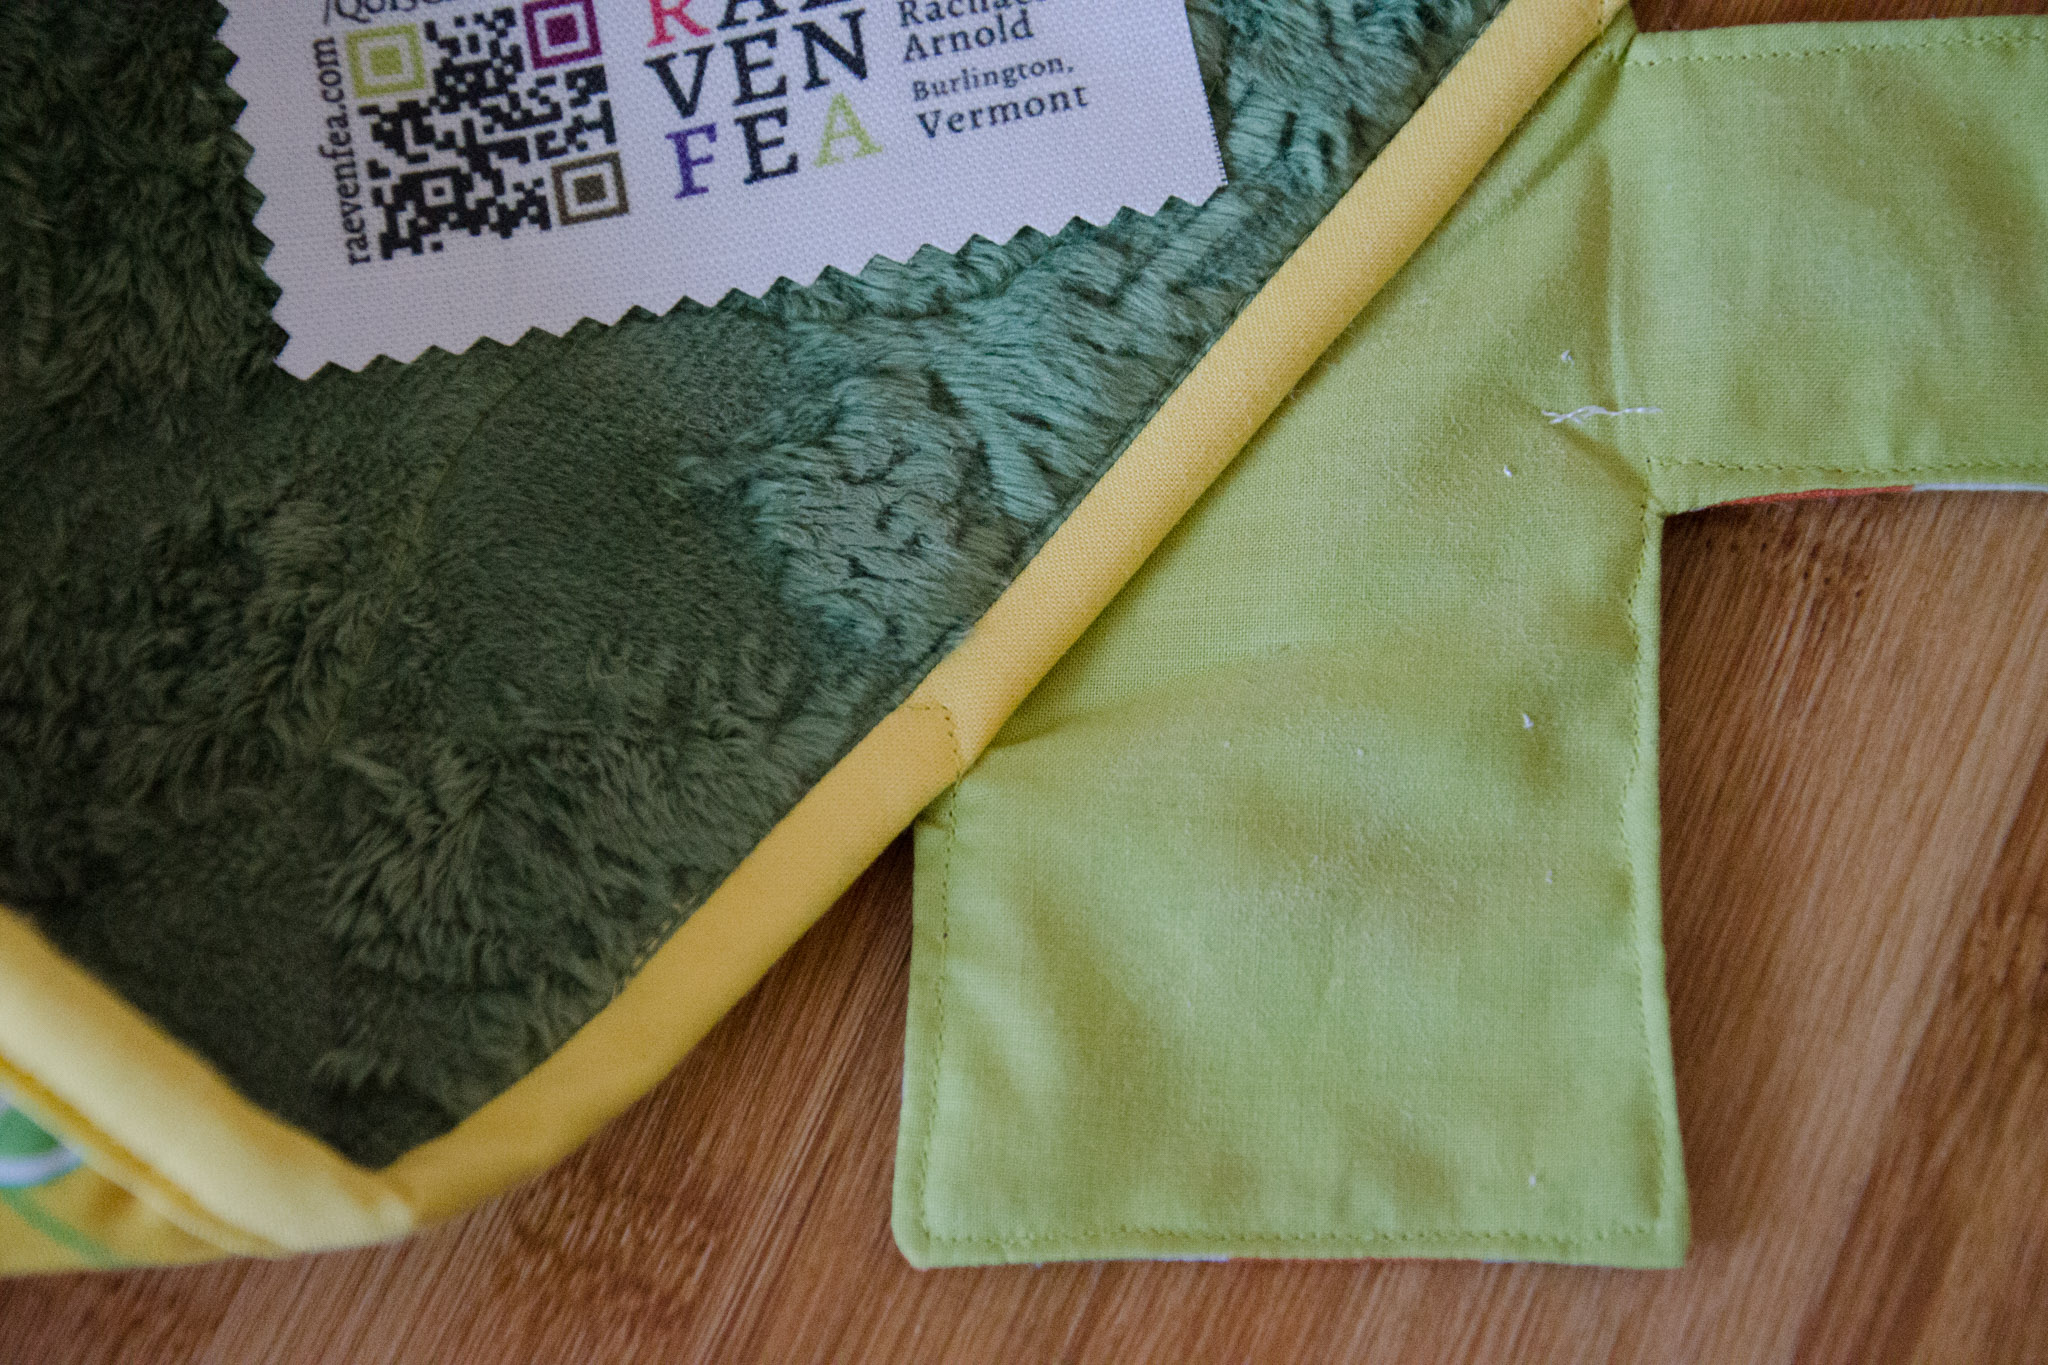
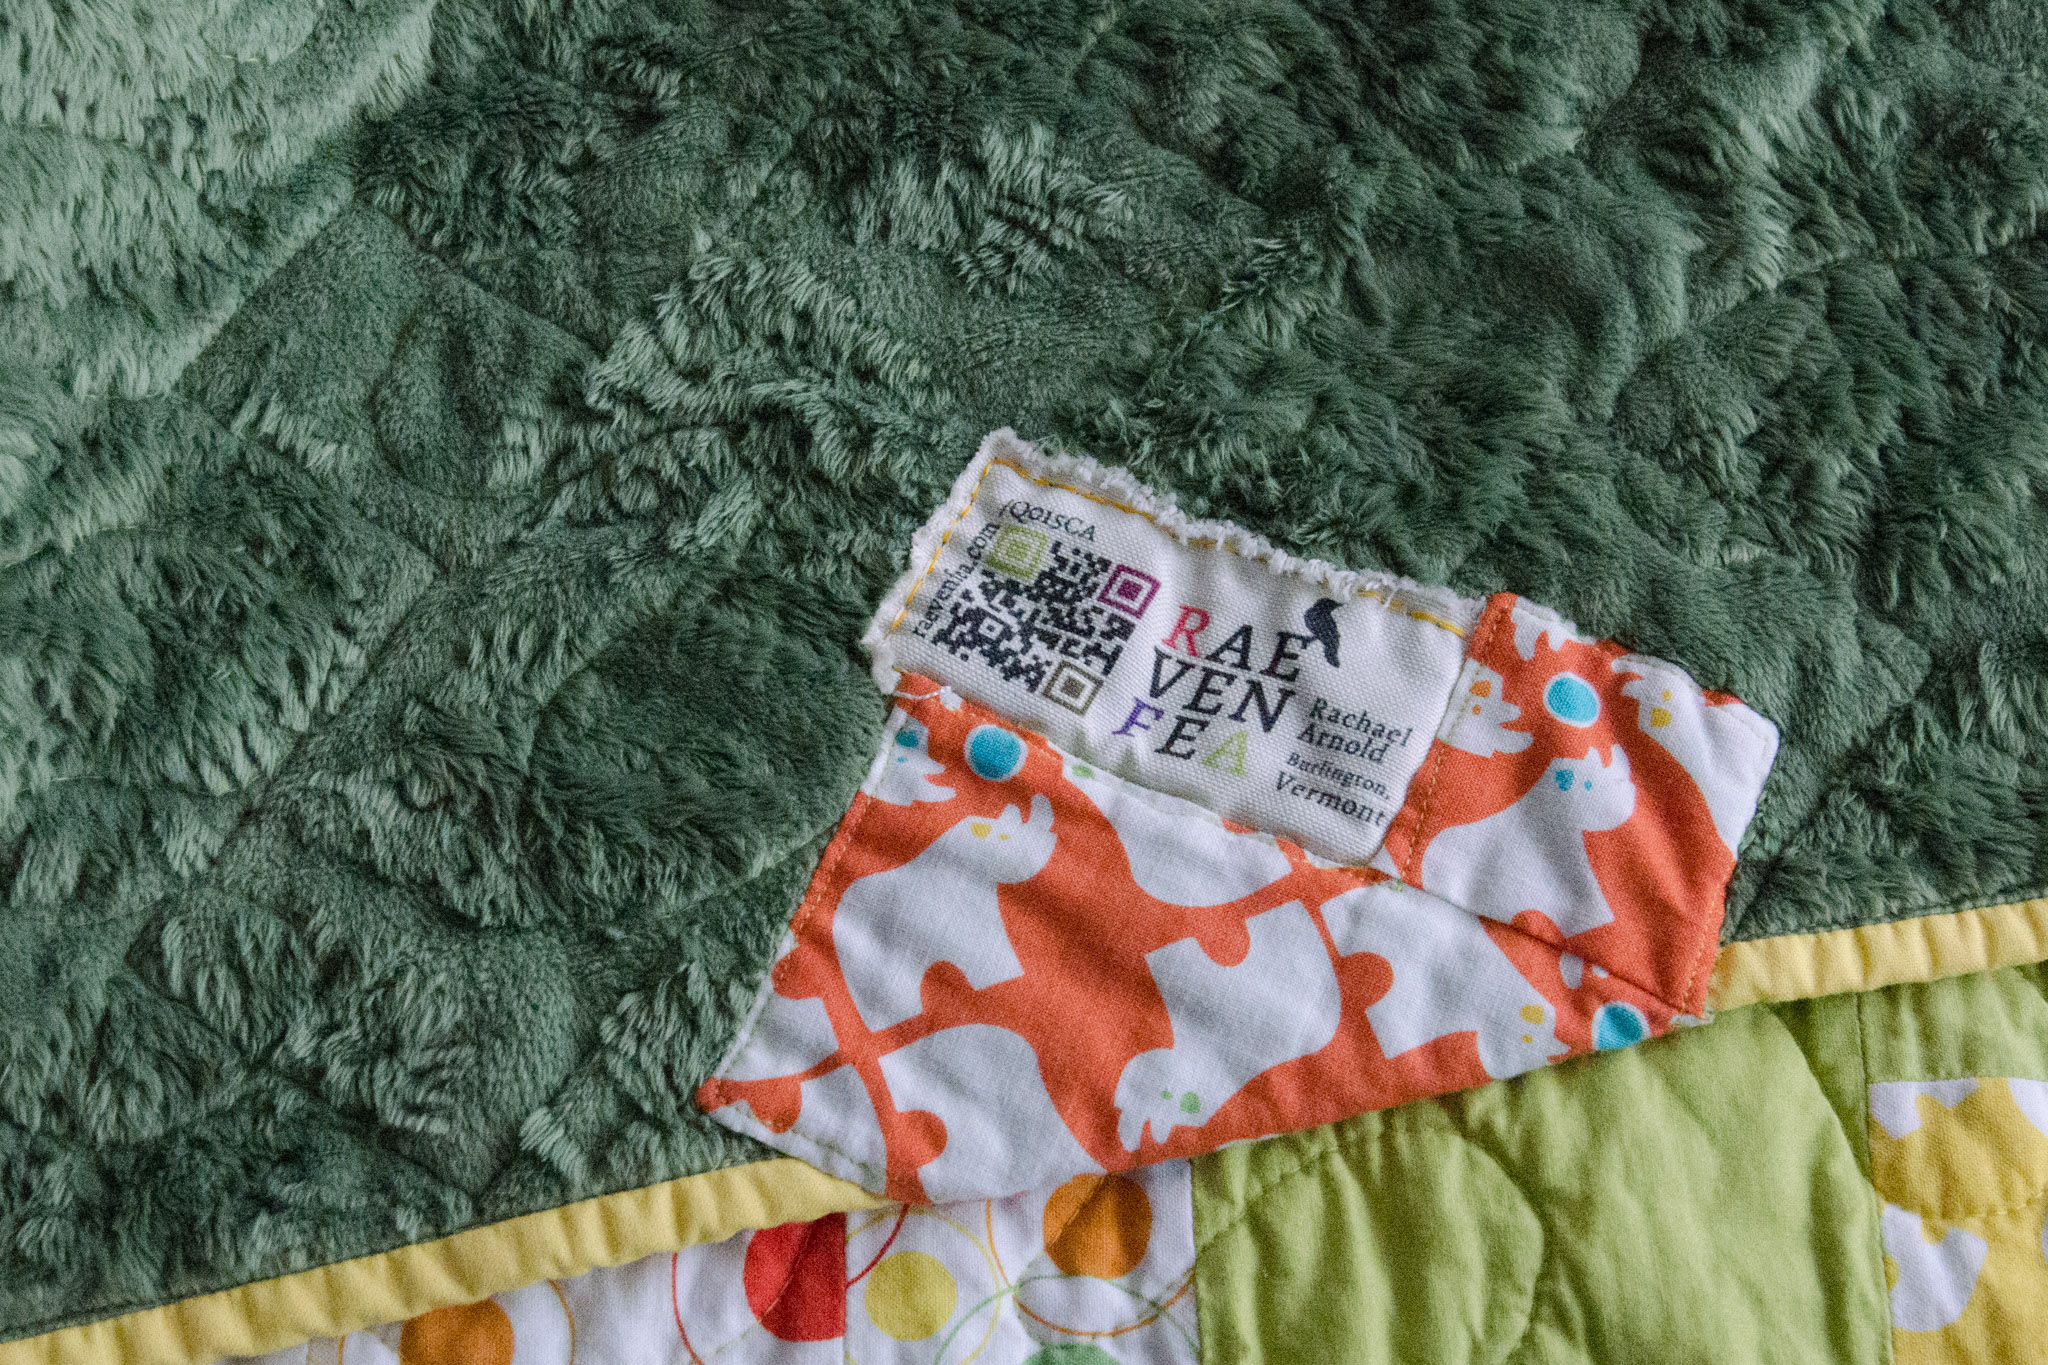
All photos by Carl Pfranger

July 11th, 2015

Puzzle Bop

Posted in Quilting

  • Applique
  • Baby quilts
  • Fabric Designer: Thomas Knauer
  • Fabric: Savannah Bop
  • Gifts
  • Q015CA

The embellished fabric bin I made two years ago has been taunting me to use the remaining fabric from Thomas Knauer’s Savannah Bop line that was sitting inside of it. Even after using strips to make the 1 + 1 = 4 charity quilts and the bin, I had about 1/3 yd. of each print in the line in my stash. Finally, the need for another baby quilt gave me reason to pull it out.

Puzzle Bop
“Puzzle Bop”, Rachael Arnold, February 2015, 48″x56″. Photo by Carl Pfranger.

I settled on the idea of a puzzle—because what is quilt pattern design if not a giant puzzle to solve? As tempted as I was to throw in solids and a yarn-dyed once again, I decided to use up most of the prints in the line and only added in the Michael Miller Kryptonite solid for a bit of contrast. (Here’s my tutorial on how to make the puzzle block.)

Puzzle Bop detail
“Puzzle Bop” (detail), Rachael Arnold, February 2015, 48″x56″. Photo by Carl Pfranger.

Then, because the design needed a little something more, I appliqued on a few extra puzzle pieces to fill in the negative space. I especially like the one on the top corner that wraps to the back of the quilt over the binding. (I posted a description of my process back in February.)

Puzzle Bop detail
“Puzzle Bop” (detail), Rachael Arnold, February 2015, 48″x56″. Photo by Carl Pfranger.

I free motion quilted this all over in a loose meandering pattern, using a Gutterman green that matches the Kryptonite. The back is Minky Cuddle Pine Ridge in Olive. I tried out Pellon’s Eco Batting this time, a 70/30 cotton/poly blend. It’s bound in Kona Sunflower.

Puzzle Bop detail
“Puzzle Bop” (detail), Rachael Arnold, February 2015, 48″x56″. Photo by Carl Pfranger.

This has been a slow year for me, quilting wise (at least considering I don’t have wedding planning to blame). I finished the quilt in February, but just now got around to photographing it and dropping it in the mail. It’s my only finish yet this year, but that should change soon.

Puzzle Bop back detail
“Puzzle Bop” (detail), Rachael Arnold, February 2015, 48″x56″. Photo by Carl Pfranger.

At least spring finally decided to grace Vermont!

Puzzle Bop detail
“Puzzle Bop” (detail), Rachael Arnold, February 2015, 48″x56″. Photo by Carl Pfranger.

May 8th, 2015

Batting Comparison

Posted in Quilting

  • Batting
  • Product review

I did a demo for VTMQG last week comparing different types of batting I’ve used. I volunteered for purely selfish reasons—I needed to clean out and organize my scraps, and also take stock of which ones I like, and which I might not care to buy again in the future.

The demo was very hands on and doesn’t translate well to the web, but here’s what I found.

The Process

I created three quilt sandwiches of each batting (large enough to cut down to 9″). I used fabric from the same manufacturer to try to keep things consistent, but used a different design for each for ease of visual comparison. The back is a solid. I quilted one of each set with a rough 1.5″-2″ grid, another with feathers and pebbles, and and the third with both.

I trimmed them all down, then overcast stitched the edges of the gridded and feathered squares to keep them from fraying in the wash.

Then, I washed the two overcasted blocks from each set (basic cotton wash, normal dry) to see how they ended up compared to the unwashed third block.

Dried and pressed
Stacked blocks after being dried and pressed

The Results

Batting choices can be very dependent on the project type, and this is certainly not an exhaustive list. I imagine different brands react differently even with the same fiber content. But, knowing how the batting will react to quilting and washing is helpful in making that choice.

Just out of the dryer
Stacked blocks right after being dried. Cotton content resulted in quite a bit of rumpling
Batting Comparison Chart
Fiber Demo Brand Shrink* Loft Max Gap Binder
*according to the manufacturer
Wool Hobbs Tuscany Collection minor medium 4″ resin
Polyester Soft n’ Crafty Extra Loft minor high 2″-4″ resin
50/50 Bamboo/Cotton Nature-fil major low 8″ resin
70/30 Cotton/Poly Pellon Eco Cotton minor low-med 8″-10″ scrim
80/20 Cotton/Poly Soft n’ Crafty 80/20 medium low 2″-4″ scrim
Cotton Warm & Natural medium low 10″ scrim
70/30 Cotton/Poly
80/20 Cotton/Poly
100% Cotton
50/50 Bamboo/Cotton
100% Poly
100% Wool

The least affected by washing and drying was the 100% poly. However, it was not much fun to quilt, and the loft is higher than I personally like.

Poly shank due to the fabric shrinking, but is otherwise unchanged

The most affected by washing and drying was the 50/50 Bamboo/Cotton. There was an extreme amount of shrinkage. A different wash type might reduce that, but be forewarned. It is gorgeous before washing, though.

Bamboo/Cotton shrank drastically

Personal Preferences

I’ve used all of these for various projects, but the two I use most often are 100% Cotton and an 80/20 Cotton/Poly blend. The former is great for all-cotton projects that I want to wash up all crinkly and soft, while the blend is perfect for baby quilts that I back with Minky, as the slight poly content reduces the shrinkage a bit.

What is your favorite batting type?

March 15th, 2015

Coral, Mint, Black, & White

Posted in Crafting

  • Fabric design

I’ve mentioned Spoonflower quite a few times, as I order all of my labels from there and used them to print the center medallion for the 1812 quilt. However, aside from those basic orders, I’ve never thought to try my hand at fabric design.

The VTMQG challenged us to create something this month using coral, mint, black, and white (and only those four colors) based on the Spoonflower Weekly Contest of the same theme. In honor of their inspiration, I decided to actually try to design something for the contest (plus, I knew sewing time would be sparse this month due to my work and teaching schedule).

So, decidedly unmodern as it is, here’s my attempt at designing fabric for the challenge. It seems very 1980s shabby chic farmhouse to me.

coral-mint-bw-design-web

You can see all of the entries (and vote for your favorites) here.

March 8th, 2015

The Sum of Scraps

Posted in Quilting

  • Fabric Designer: Melody Miller
  • Fabric Designer: Rashida Coleman-Hale
  • Fabric: Essex Linen
  • Quick project
  • Scrap projects
  • Wall hangings

When I make baby quilts, I typically whip up a doll quilt with the leftovers—a winning solution that adds another gift for the kid and eats up scraps. Mustang Summing isn’t a baby quilt, per se (or maybe it will be whenever I give it away), but I needed something that could be bound with facing for a quilt guild demo I gave in November, so I played with scraps and made a doll-quilt-sized wall hanging.

The Sum of Scraps wall hanging
“The Sum of Scraps” wall hanging, Rachael Arnold, November 2014, 12.5″x19″.

The top is just a couple hours of playing around, growing it out from the center of the log cabin block, sewing things together that seemed to work. Cut, sew, press, trim, cut, sew and on and on.

The Sum of Scraps wall hanging (detail)
“The Sum of Scraps” wall hanging (detail), Rachael Arnold, November 2014, 12.5″x19″.

I went simple with quilting, stitching out a square spiral in a gray thread that blends well with just about anything. In a few places, I added highlights using the heavier russet thread I used on Mustang Summing.

The Sum of Scraps wall hanging (back)
“The Sum of Scraps” wall hanging (back), Rachael Arnold, November 2014, 12.5″x19″.

Since it’s a wall hanging, I just used a solid from the stash on the back and finished it with facings using binding strips that were leftover from the other quilt.

This is the first time I’ve used this type of binding, but it seems to work well for this sort of application. I especially like that the top can double as a hanging sleeve. For shows, I imagine you’d have to increase the size of the facing piece to create a standard 4″ sleeve, but I wasn’t too concerned about that for something at home.

The Sum of Scraps wall hanging (detail)
“The Sum of Scraps” wall hanging (detail), Rachael Arnold, November 2014, 12.5″x19″.

It took me three months to sit down and take 30 minutes to sew the facings down by hand (and another two weeks to photograph it), and I still haven’t figured out where to hang it (not to mention that I need a better hanger)!

If you’re looking to learn this technique, I cobbled together my method from memories of various things I’ve read, so I can’t direct you to a specific tutorial for exactly how I made this (should have taken photos and made my own, huh?). Here’s one that seems similar: Super-Duper Easy Way to Face a Quilt (but doesn’t include the hanging sleeve). I know I read about turning the top into a hanging sleeve somewhere, but can’t find the article or blog post. Sorry!

What’s your favorite wall hanging finish?

February 23rd, 2015

Setting In a (Laptop) Sleeve

Posted in Crafting

  • Bags
  • Lifestyle
  • Technology

Eight years ago, after realizing I’d been going through a computer bag/backpack a year, I made my first “spend money on quality” purchase—a Timbuk2 bag that I picked up at their retail shop while working and living in the Bay Area for the summer. I had hoped to get a few good years out of it; I did not expect to still find it just as integral to my life now as it was in college—nor still in almost perfect shape (albeit a bit dingy).

MacBook Pro Laptop Insert

The one regret I’ve always had is that I bought a plain messenger bag rather than one with a laptop sleeve. I had a neoprene sleeve for the laptop I bought that same summer, but for some reason always found it awkward to use. Then, I was abusive to the laptop that replaced that one and never bothered with a sleeve.

Knowing that my new laptop deserves better, I scoured local shops and websites for a replacement bag, but couldn’t find anything I like better than my bag. So, I decided to retrofit my trusty friend.

MacBook Pro Laptop Insert

I bought a piece of .5″ tall foam (kismet—there was a scrap of the perfect size sitting forlornly in the foam-by-yard section), some elastic, and Velcro, and combined them with minky scraps and a stashed fat-quarter.

MacBook Pro Laptop Insert

I improvised the construction without a lot of forethought, so there are choices I’d have made differently a second time around—mainly securing the top flap and side elastic in the seams instead of hand-stitching them on later, and completely changing how the bottom is constructed.

MacBook Pro Laptop Insert

It’s secured to the bag interior with a huge strip of Velcro, and allows the laptop to slide in and out easily without having to fiddle with a zipper. Best of all, it’s perfectly fitted to the laptop.

MacBook Pro Laptop Insert

We’ll see if the bag and insert make it to laptop number four in a few years!

February 15th, 2015

Flamenco Quilt Teaser

Posted in Quilting

  • Project preview
  • Q015CB

When I last listed out my various works in progress, I specified that the list included only projects with something already cut out. I felt the need to add that qualification, mostly because the skeleton in my closet is this quilt I designed and bought fabric for in May 2011, which never even made it to the cutting table. When I stumbled across the design file for it while doing some digital organizing, I decided it was now or never—either make it in 2015 or get rid of the fabric.

Flamenco quilt teaser

The style of the quilt doesn’t speak to me like it once did, but there are a few techniques I designed in that I still wanted to try, so cutting and sewing has commenced. Stay tuned!

February 11th, 2015

Wrapping Applique Demo

Posted in Quilting

  • Applique
  • Demos
  • Q015CA

My latest quilt needed something more than piecing for me to love it, so I decided to add a few applique pieces to it after it had been quilted. Then, I decided to step it up a notch and wrap one of the appliques from the front to the back (full disclosure, I’ve been planning on doing something similar on one of my long-term works in progress, so it’s not a terribly new idea of mine).

Puzzle Bop Applique

The trick is that the applique was added after the quilt was otherwise finished. I sewed a backing to the applique piece, turned it right-side out through a slit in the middle of the backing (for clean edges), then topstiched along the edge to secure it to the quilt. When I reached the part that would wrap, I just kept topstitching without the quilt underneath, so that it looks the same as the top.

Puzzle Bop Applique

Once I was done, I wrapped the piece around, and used a ladder stitch to secure the piece to the back by hand.

Puzzle Bop Applique

It also served as a good place to put the label for this quit.

Puzzle Bop Applique

I’ll be back with more info about the completed quilt once it reaches its destination!

February 8th, 2015

All Cut Up… For Real This Time

Posted in Quilting

  • Q015CE
  • T-shirt quilt

Once I’d accumulated enough college tees, I took a pair of scissors to all the high school ones I’d toted north with me (or, I pressed my sisters into that service), planning to make a t-shirt quilt despite having no idea how to quilt. I was left with various half-shirt chunks, which were far less bulky to move around.

Surprisingly, most of those scraps made it through various moves (often as packing materials), and found their way into my sewing closet at the apartment. After decluttering a variety of other things over the long weekend last week, I decided it was past time to do something with the almost-rags.

Barstow t-shirt blocks

Now I have a pile of pressed, interfaced squares and rectangles awaiting piecing. I imagine these will sit in a box for a while yet as my college tee pieces did, but progress is progress.

In addition to eight t-shirts (some with printed backs), I finally cut up my hoodie and baseball jersey. There’s not enough for a decent-sized quilt with just those 17 pieces, so I played in Illustrator and came up with a design that adds in scraps from the jersey with a yard(ish) of purchased fabric.

T-shirt quilt planned layout

I may change my mind in the future, of course, but I rather like it right now.

January 24th, 2015

Puzzling Piecing

Posted in Quilting

  • Piecing
  • Q015CA

I’m working on a new baby quilt that looks like a very large, squared-off puzzle. It boils down to a bunch of 8″ blocks, but I haven’t yet found a way to batch process them—I have to make each one individually to make sure it has the right fabrics to match up with the next in line, as a piece of each block’s fabric needs to end up in two different adjoining blocks.

puzzle-detail1

But, I did sketch out the whole quilt with fabric placement, so it’s moving along steadily without too much ripping. Here’s a blueprint for the blocks.

Pieces (of each fabric):
2: 3.5″x8.5″ strips
1: 2.5″x 4.5″ strip
2: 2.5″x2.5″ squares

puzzle-block-diagram

As you can see, the 2.5″ square of each fabric get pieced into the adjoining blocks—either top and bottom or left and right.

puzzle-detail2

16 down, 26 to go for my 48×56″ quilt.

It’s a great block if you have reasonably-sized scraps and love to piece small chunks at a time!

January 14th, 2015

 Previous Posts
Newer Posts  

© 2008–2025 Raevenfea