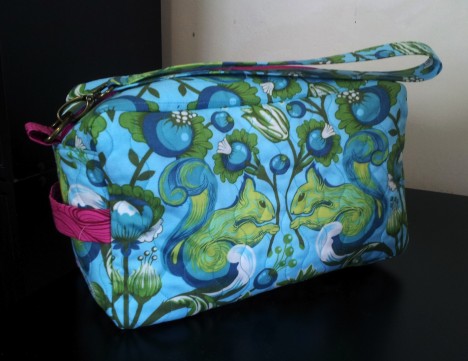
Raevenfea

Maker of various fabric things

This is a static export of a blog I put on ice many years ago, that still has personally relevant content. No promises can be made around linkrot, styles, or working functionality.

Posts tagged: Bags

Tea in the Park

Posted in Crafting

  • Bags
  • Fabric Designer: Elizabeth Olwen
  • Fabric: Essex Linen
  • Fabric: Kaffe Fasset Collective Shot Cotton
  • Fabric: Park Life
  • Gifts
  • Home decor
  • Machine embroidery

I bought far more fabric than I needed to make the bridal shower tea party bunting (half yard cuts of six prints, a yard of another), so the obvious thing to do was to use some as part of a shower gift for the bride and groom. I ended up with a suite of gifts perfect for a picnic at the park.
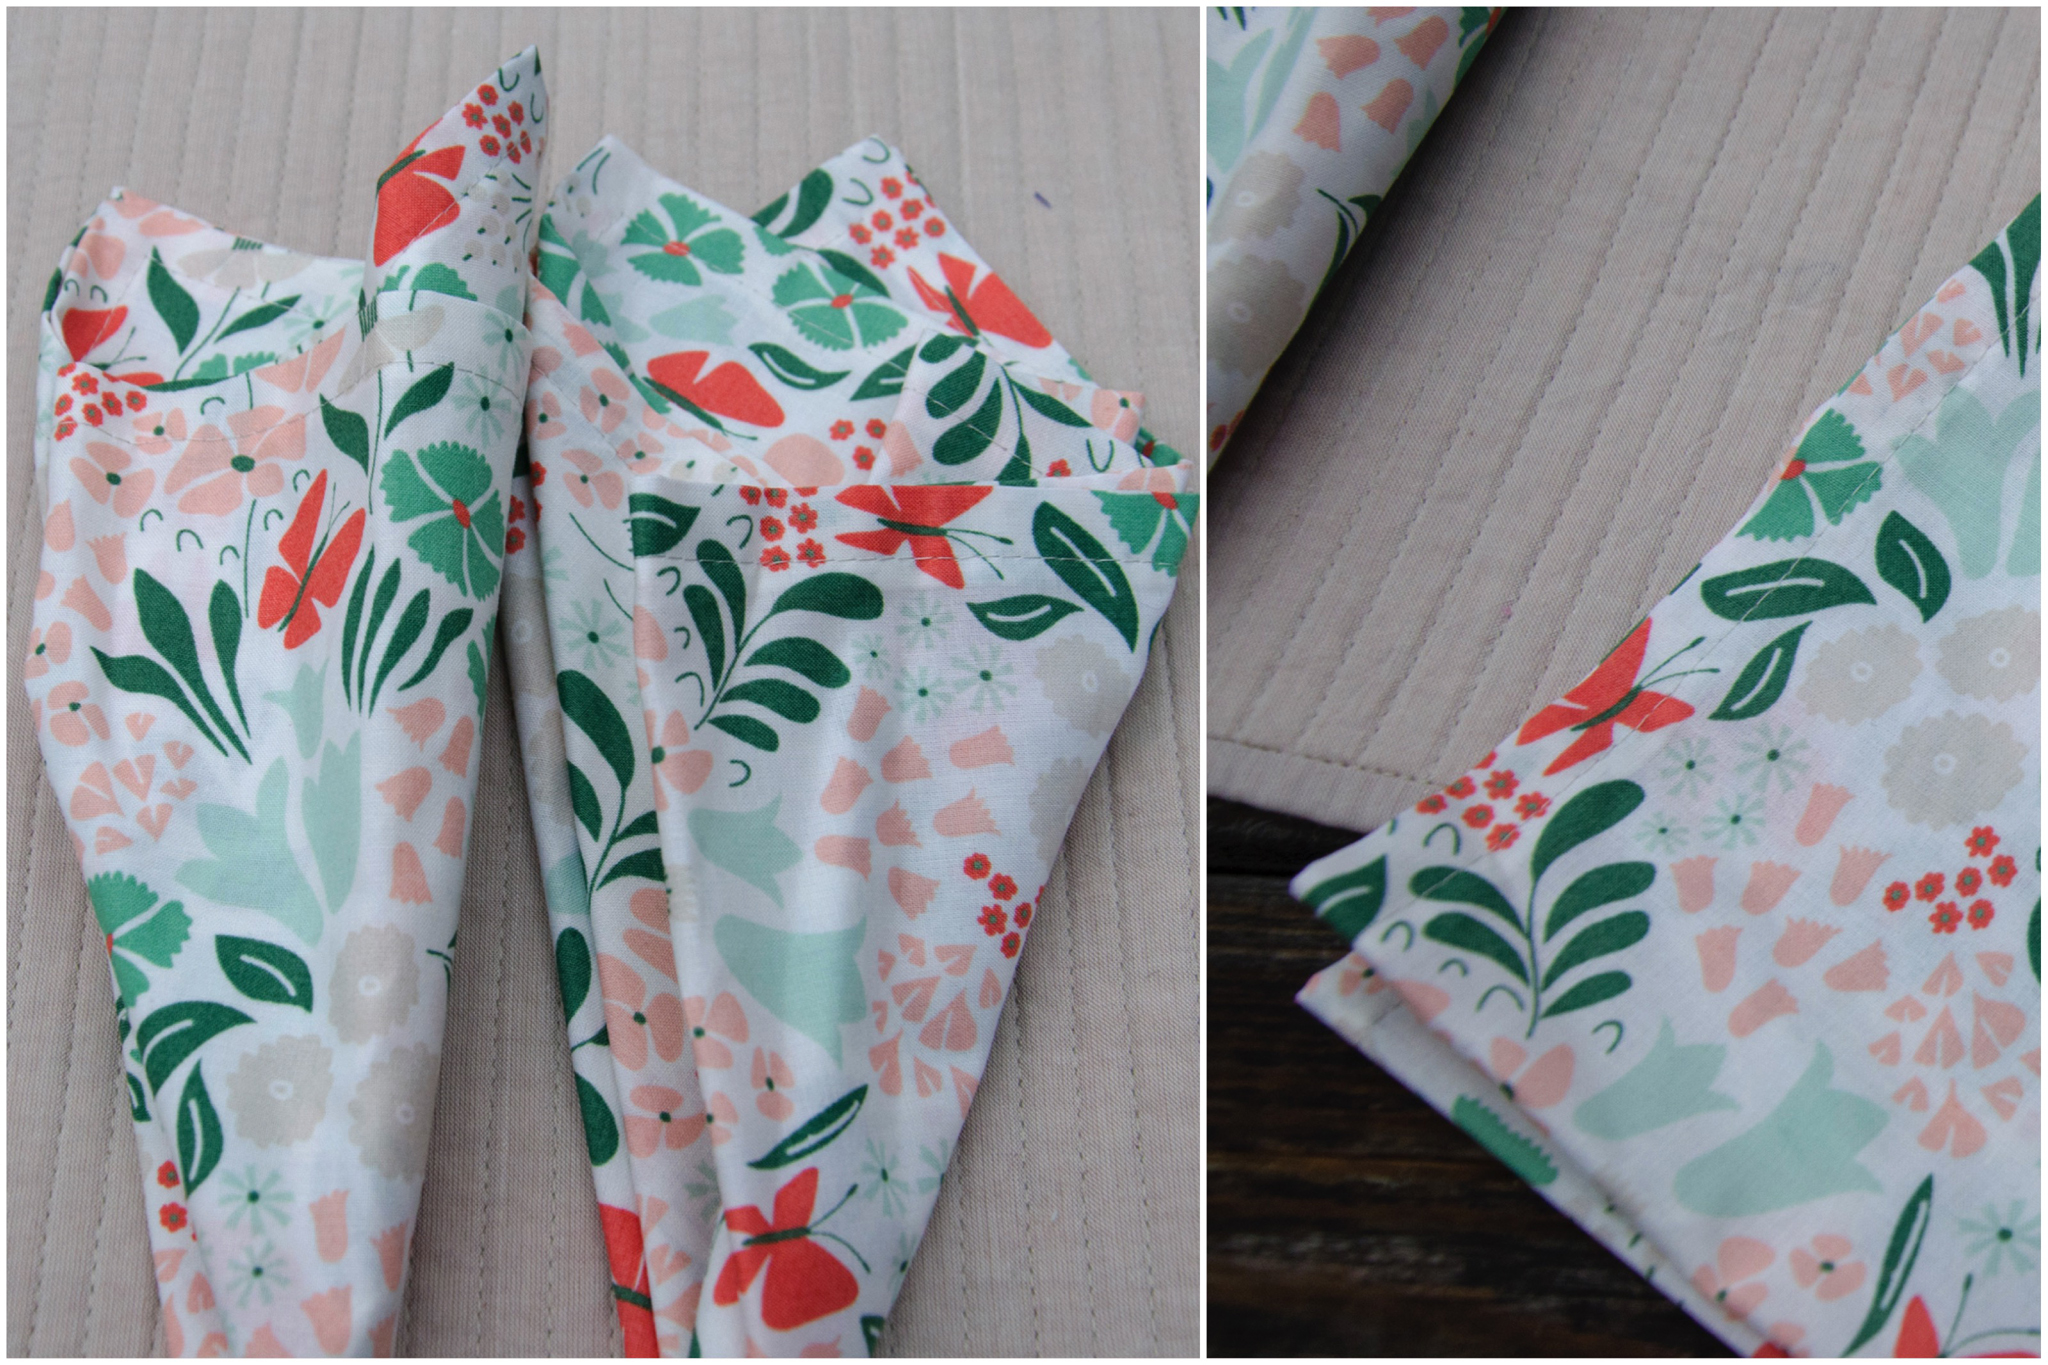
Tea in the Park Gift Set

Napkins

I made a pair of basic mitered-corner napkins using a half yard of fabric. They finished at 17″ square. There are many good mitered corner napkin tutorials online if you need one. I used this one from Purl Soho as a refresher for the corners because I can never recall how to do it properly. Here’s another one from Craftsy if you don’t want to be sold hard on buying more fabric.
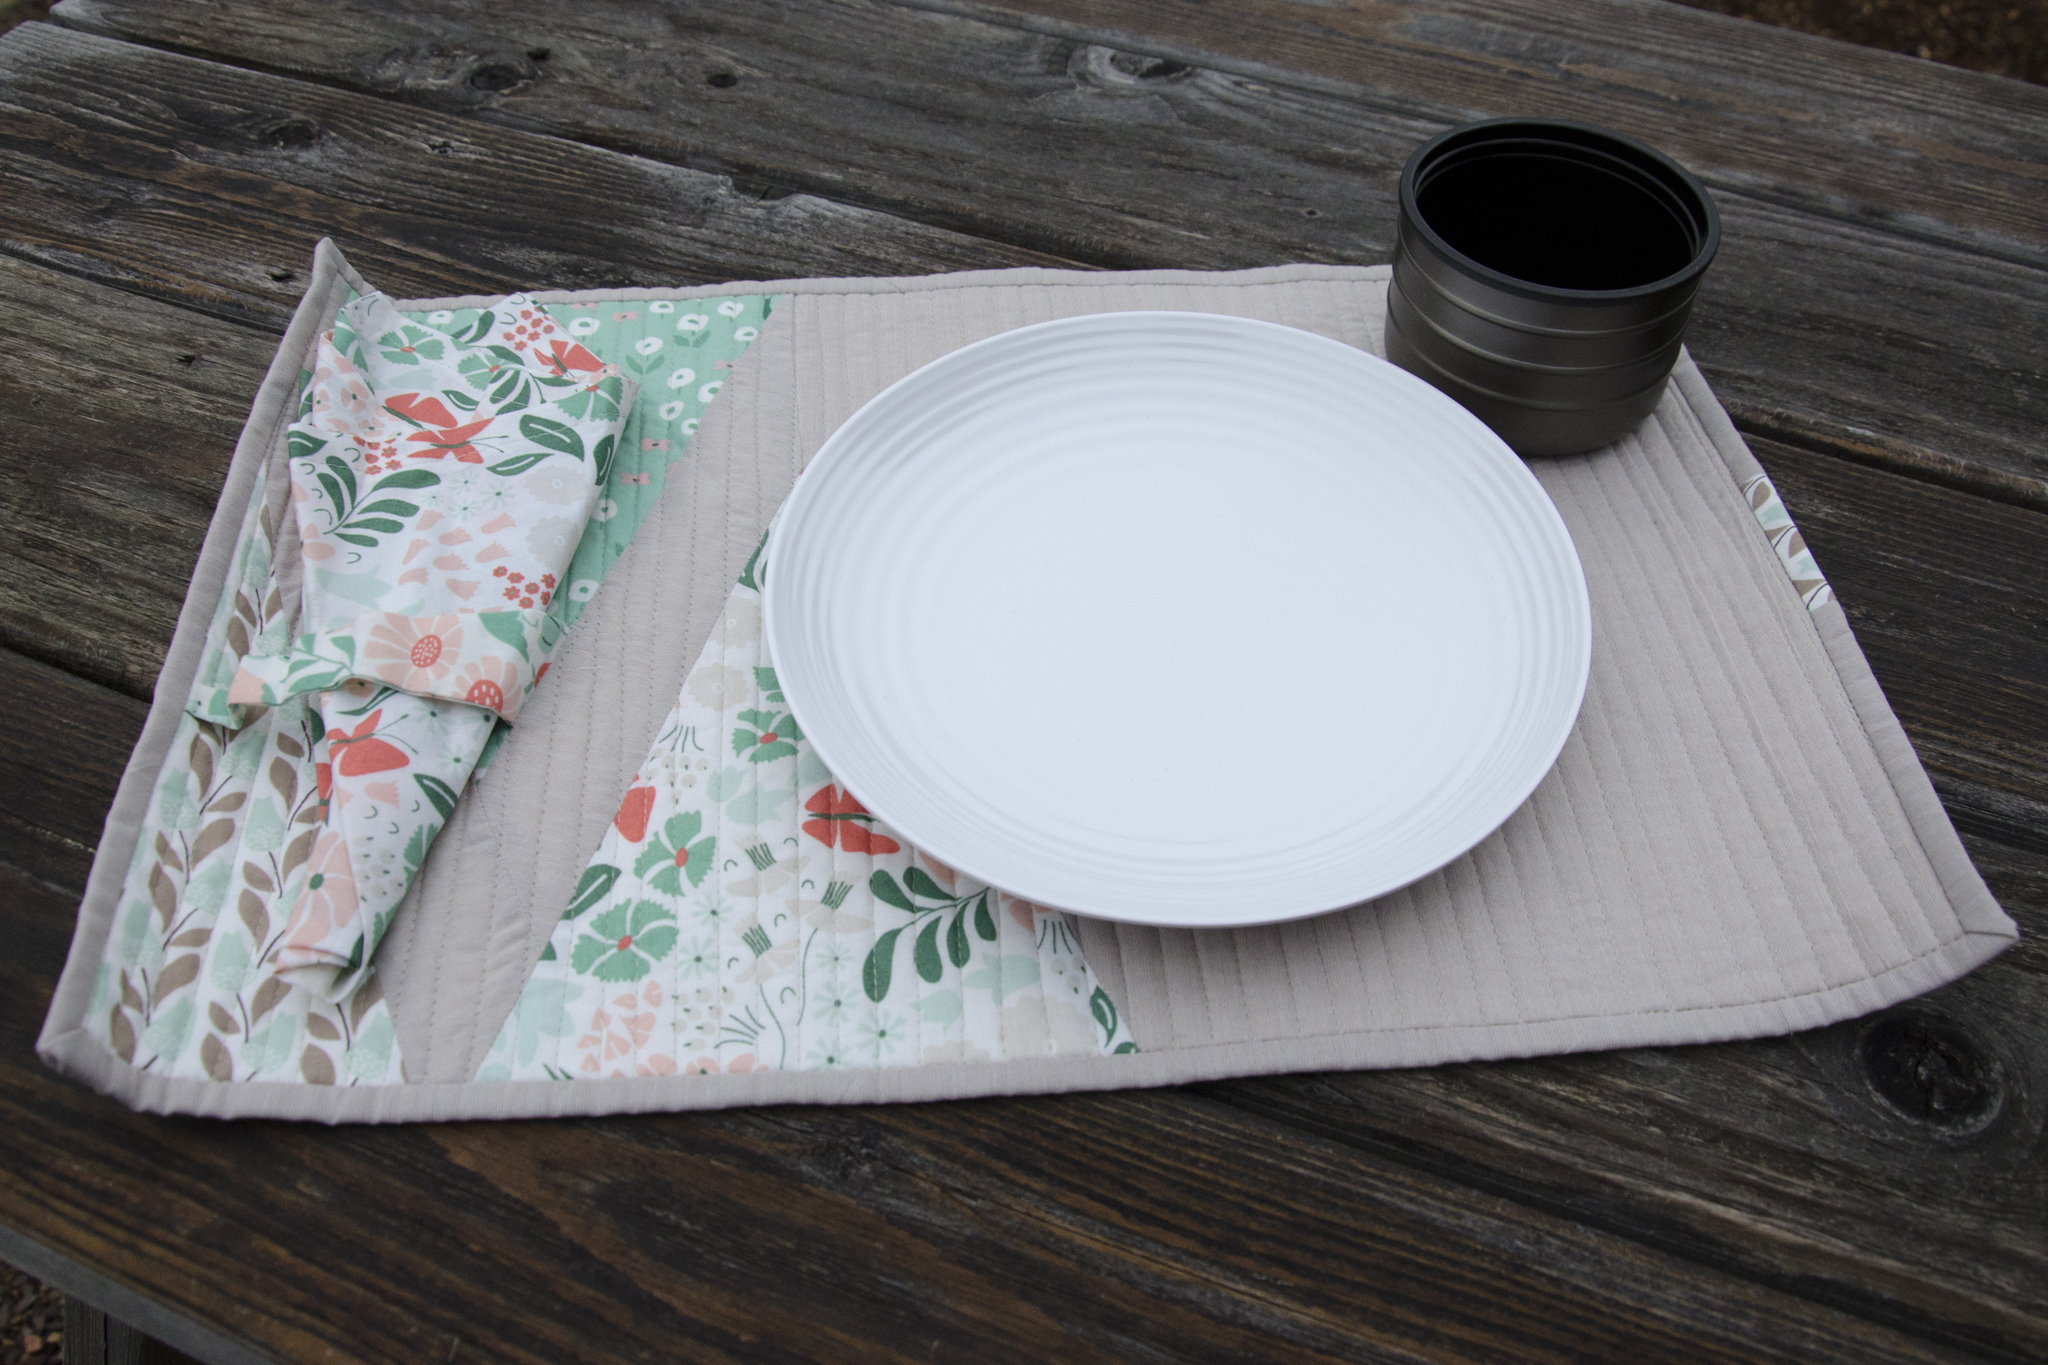
Tea in the Park Gift Set

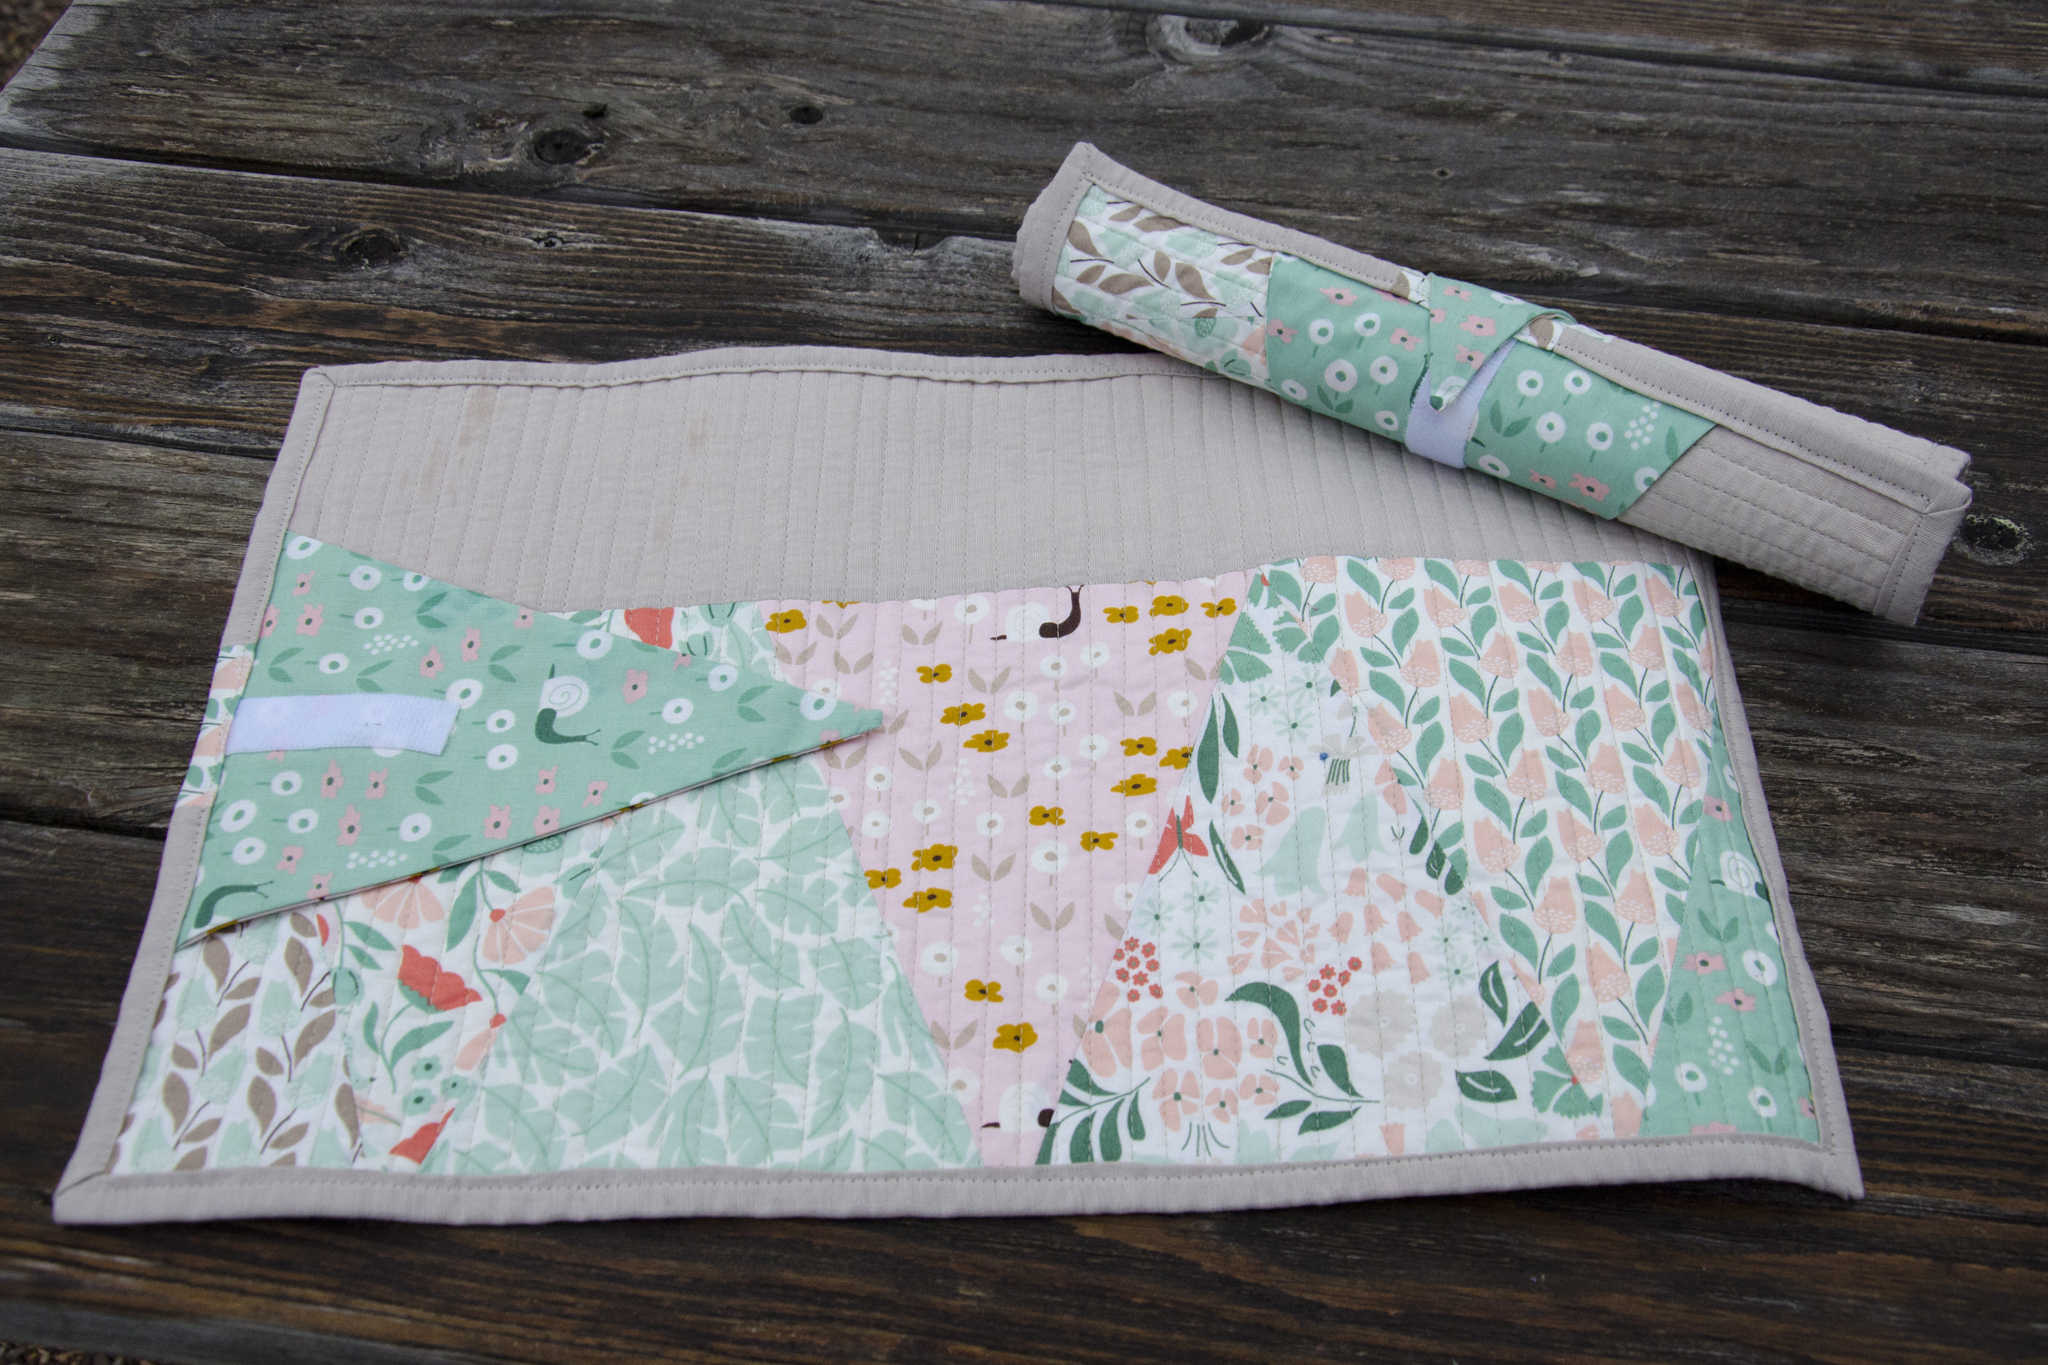
Roll-up Placemats

When I cut out bunting pieces, I ended up with extra triangles and end pieces since I simply sliced up a 9″ strip of each fabric. I wanted to use up those pieces in any piecing, so started putting together the placemat design with improvisational piecing taking cues from the triangles. I paired the Park Life prints with Kaffe Fasset Shot Cotton in Latte from my stash—slightly different than the solid gray I used in the bunting, but a better match for the colors in Park Life—it’s a slightly taupe-ish gray.
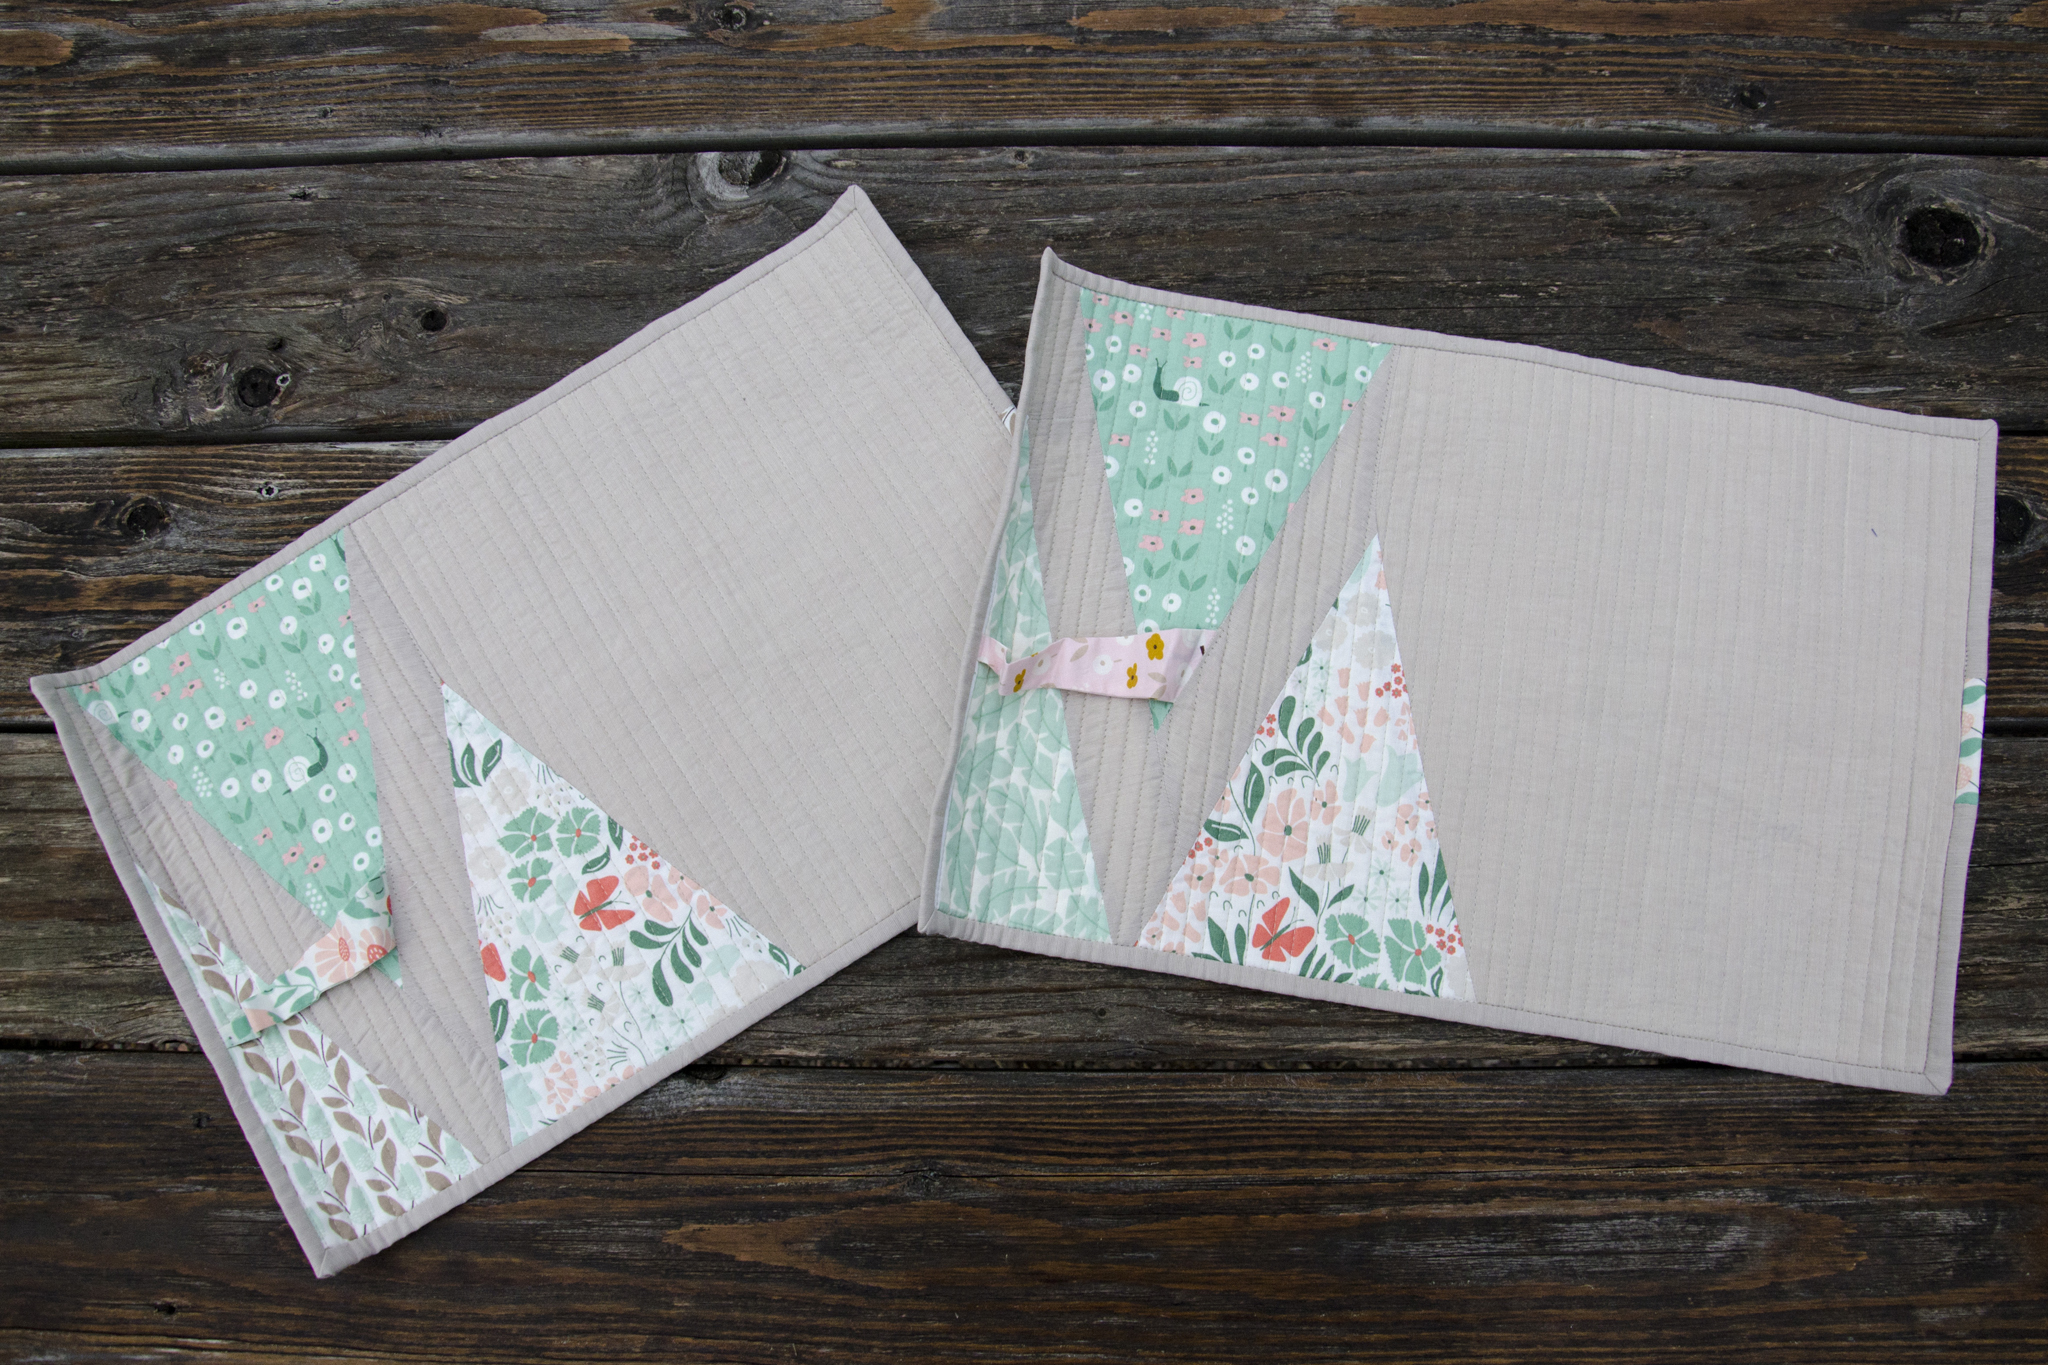
Tea in the Park Gift Set

The back is pieced from more triangles and a strip of the gray. After piecing, I inserted a strip between one piecing seam and the binding that acts as a napkin ring on the front. I quilted them in 1/4″ lines with a gray-taupe Aurifil, then bound them in the gray with one small scrap of print to give a bit of visual weight to the right side.
Tea in the Park Gift Set

Because the intent was that these are portable for a picnic, I tried to figure out a way to secure them while rolled up for easy transportation. Going back to the pile of leftover triangles, I made a pennant, slid it into the binding, and used a bit of Velcro to allow it to fasten flat to the back, or to itself if you roll up the placemat. It turned out to be my favorite feature.
Tea in the Park Bag

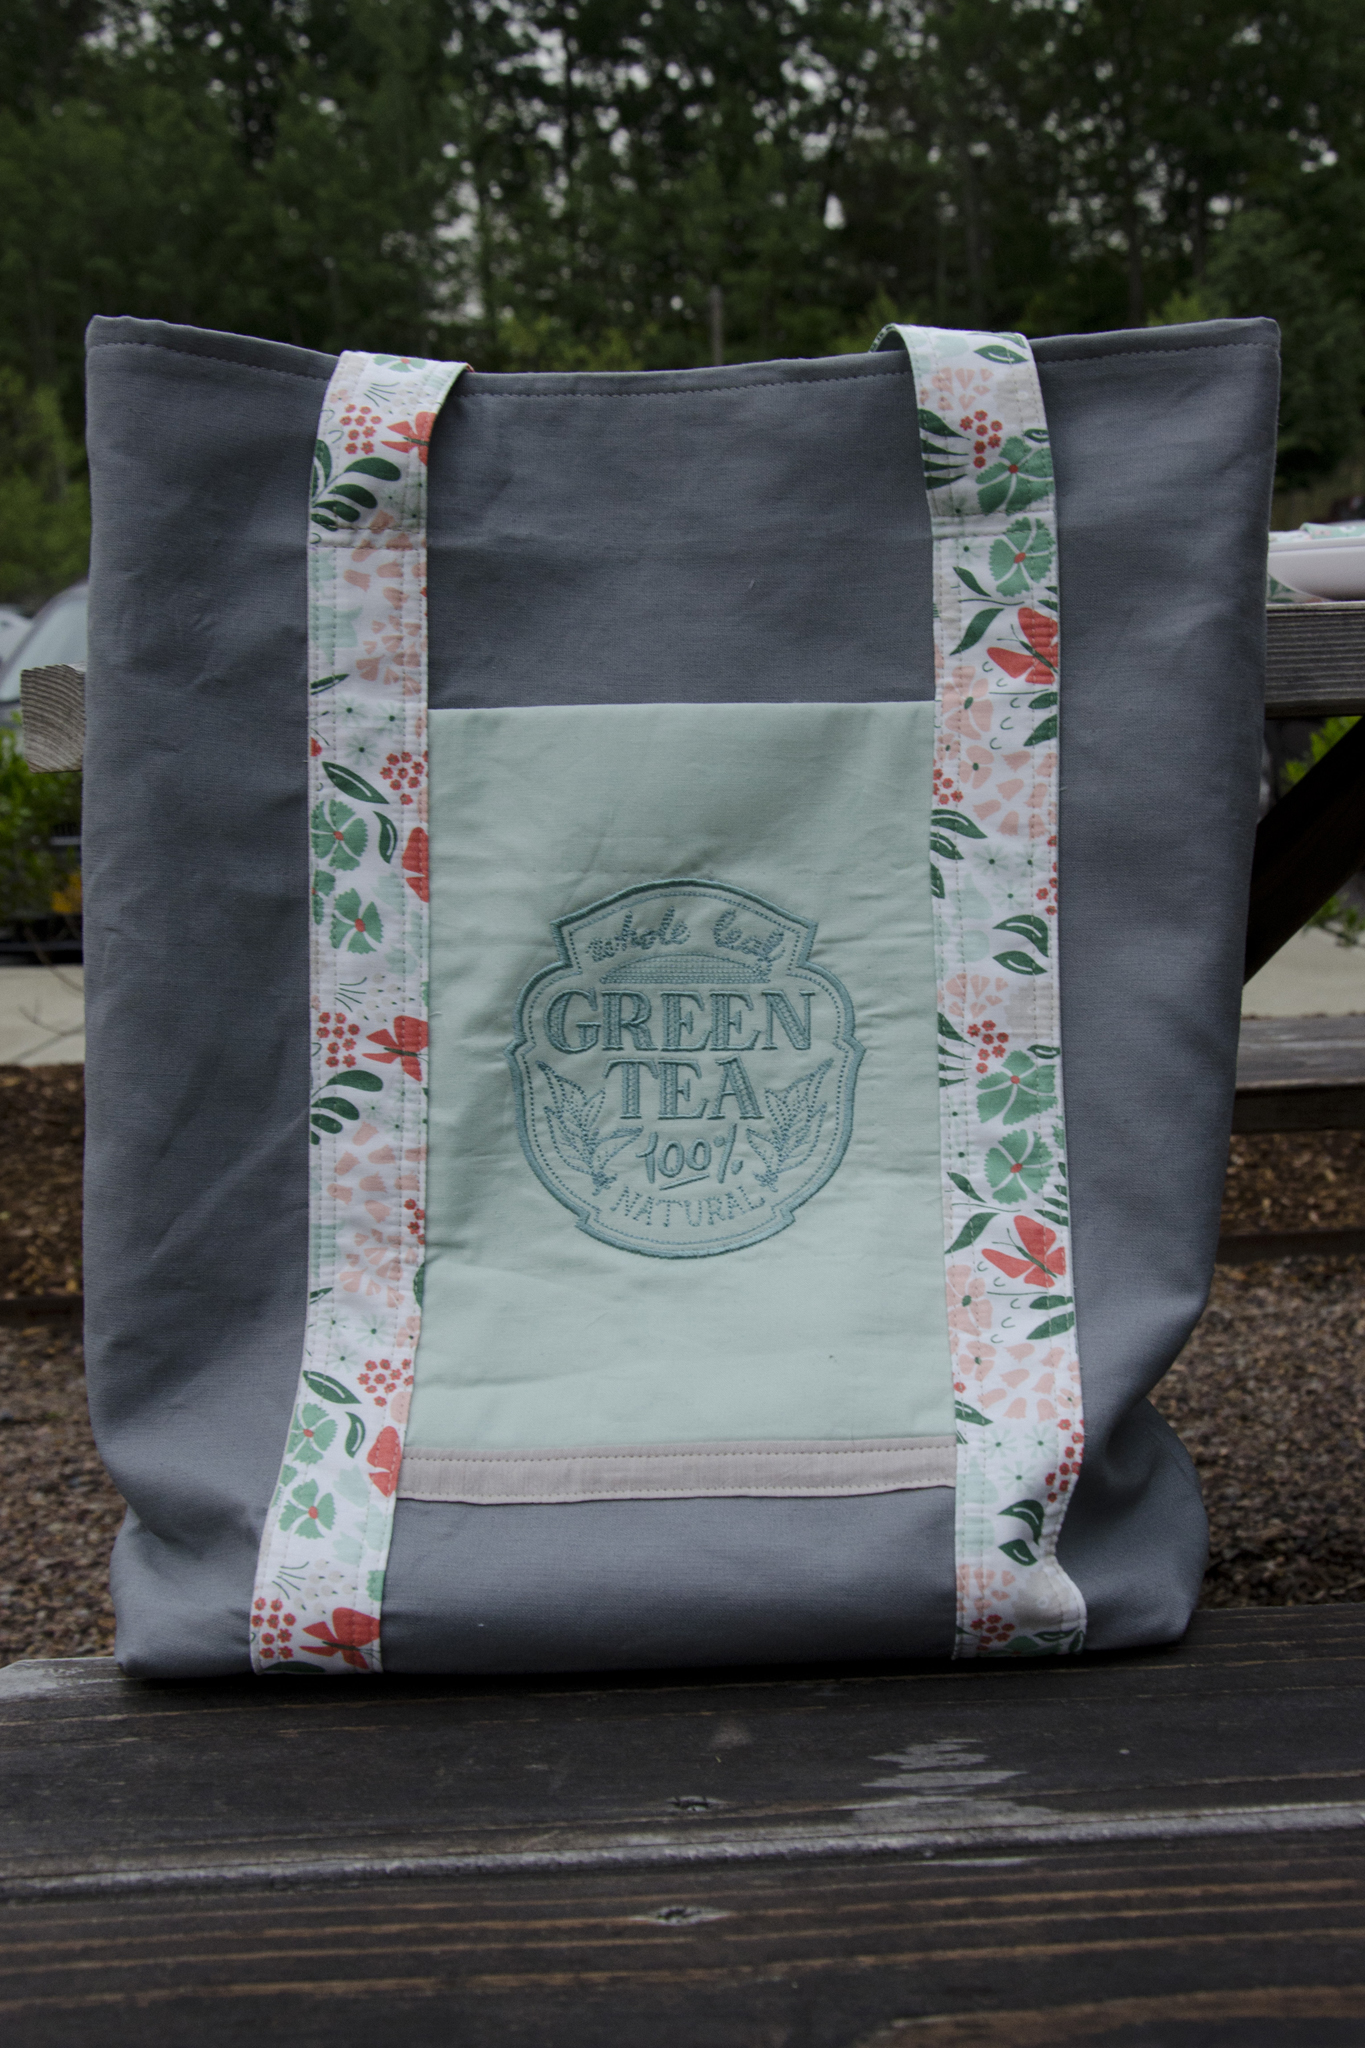
Tote Bag

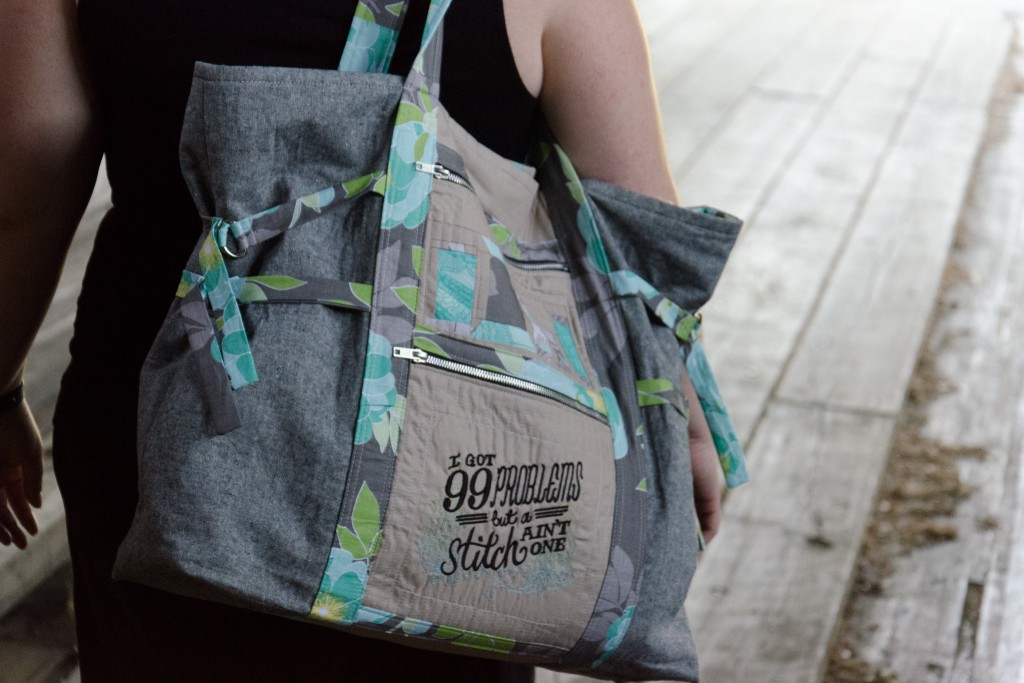
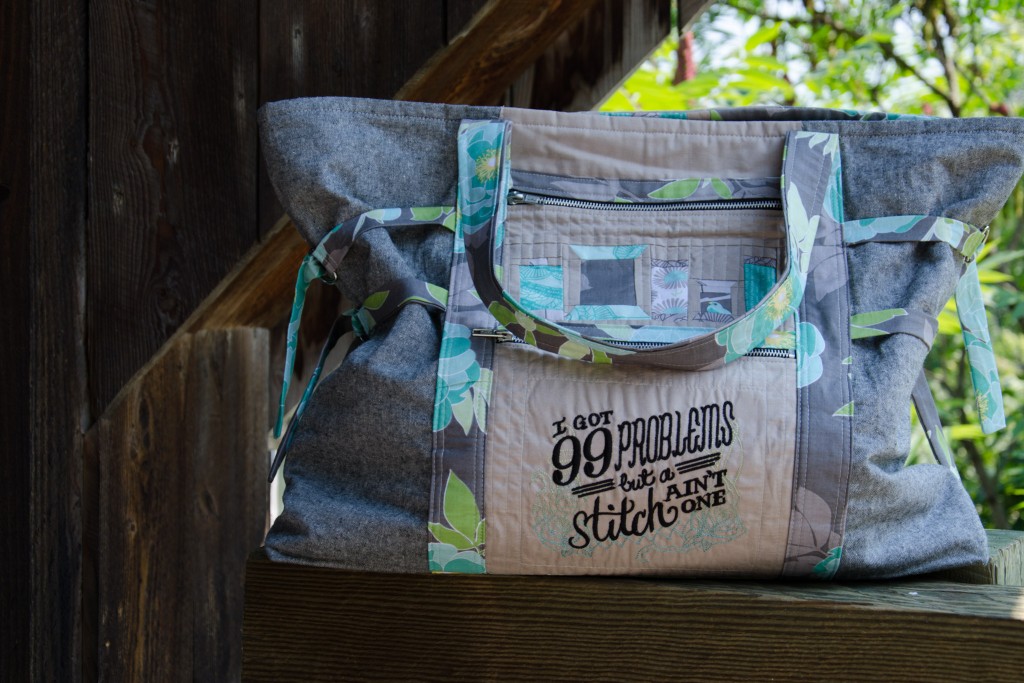
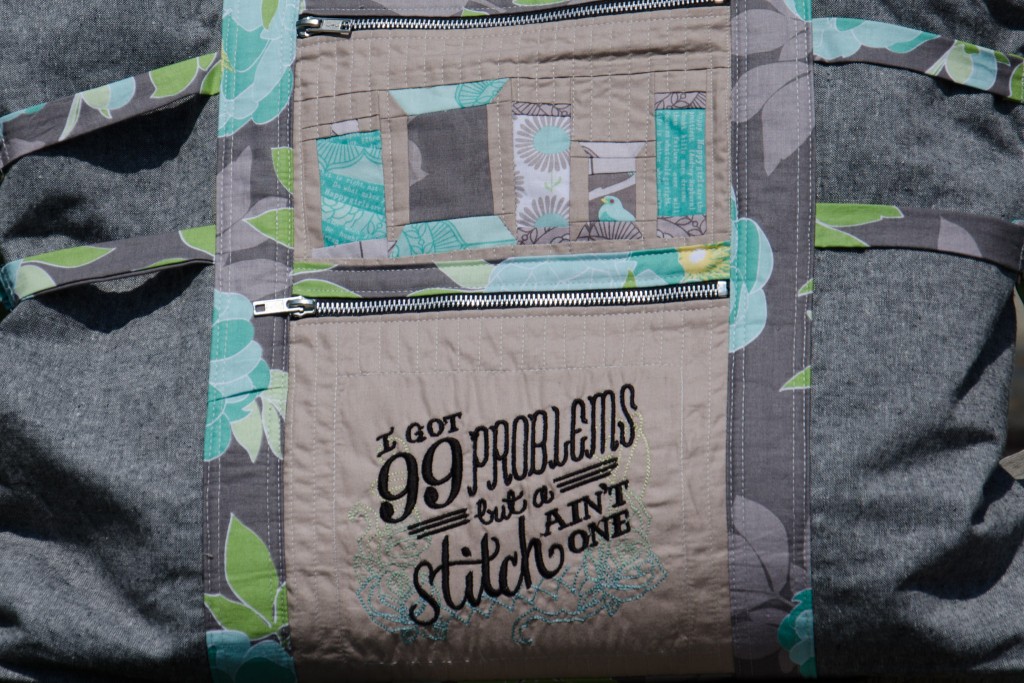
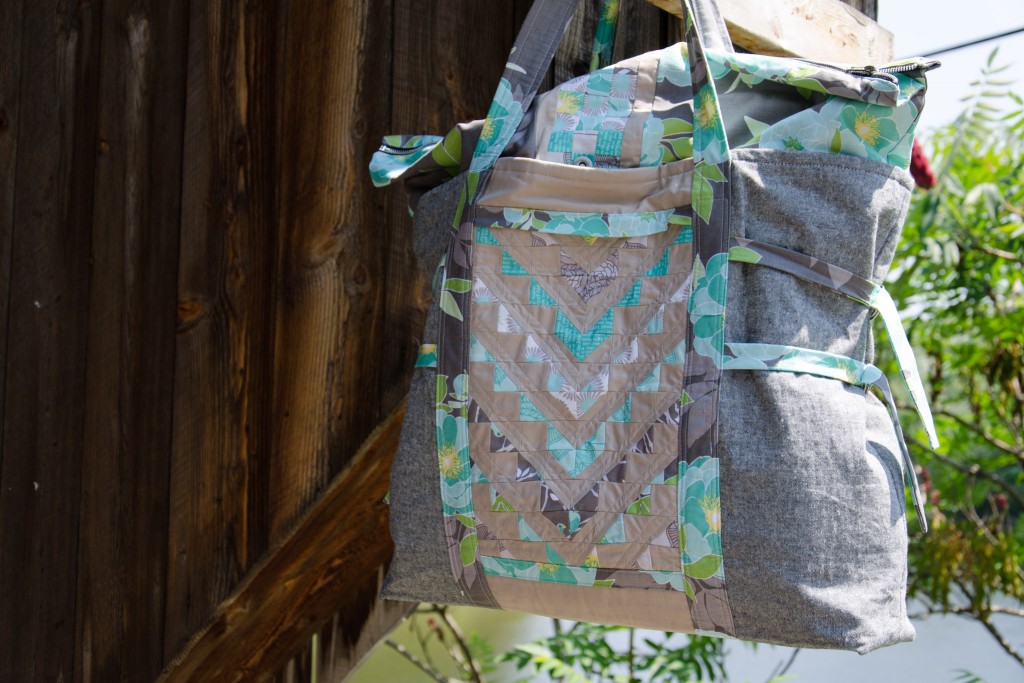
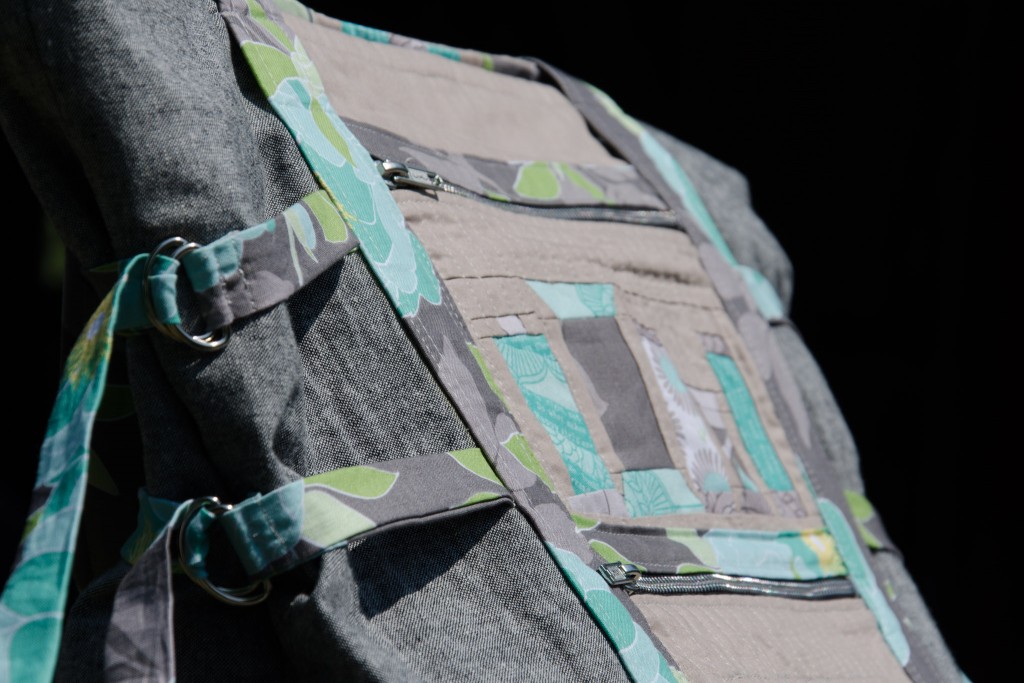
What good are traveling placemats and napkins if you’ve nothing to carry them in? Using the Art Student Tote as a general design guide, I pulled together a bag made of dark gray Essex Linen, straps in a Park Life print, and a machine embroidered pocket using a coordinating solid from my stash and one of the tea embroideries from the bunting.
Tea in the Park Bag detail

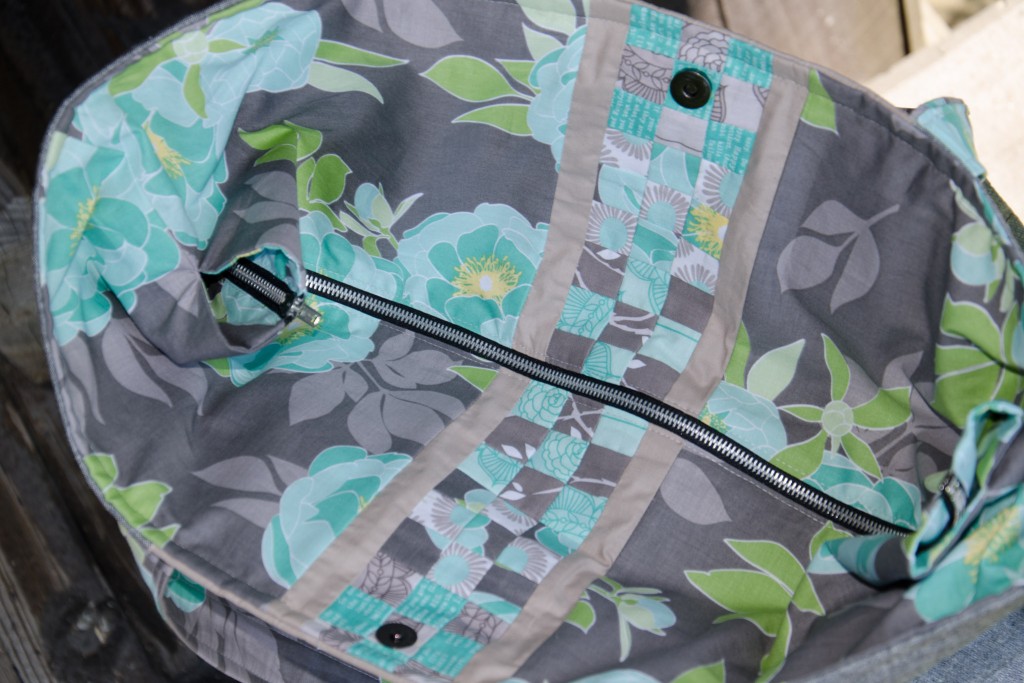
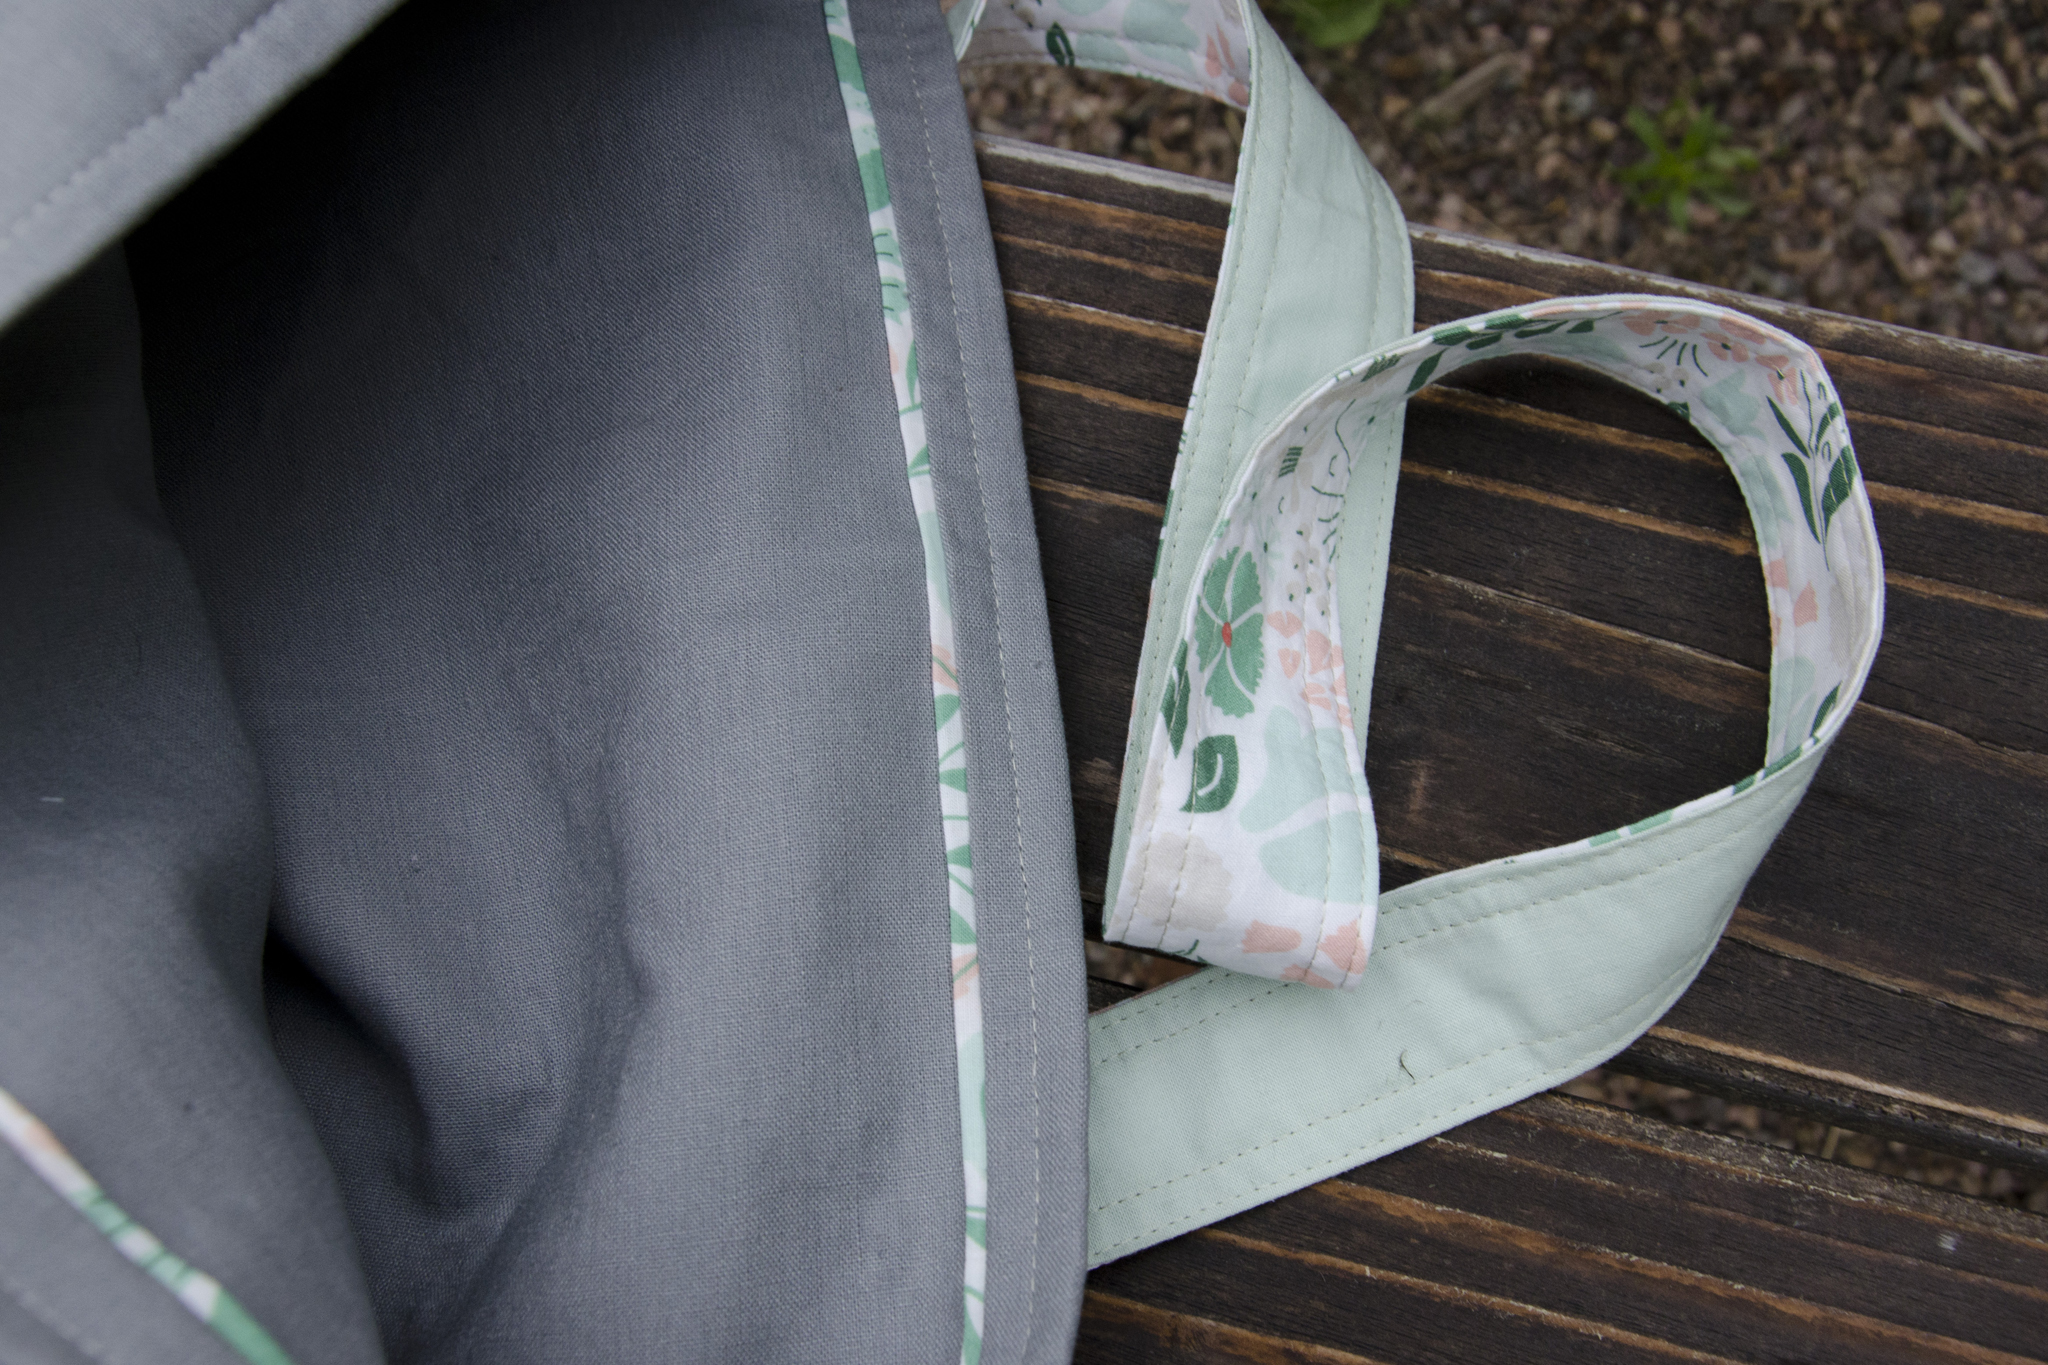
The bag is 13″x18″x4″—a hybrid of the two Art Student Tote sizes. I only added one pocket to the front, no closures, and no interior dividers/pockets. Since I lined it in the exterior linen, I modified the construction a little bit and added a flange for a pop of color around the top of the interior. Having learned from using my own Art Student Tote, I made sure to use a woven interfacing for the straps—mine are starting to stretch out and warp due to the medium-weight non-woven—and cut an extra strip to get the full suggested 128″ instead of the approximate three widths of fabric—mine are a smidgen short when the bag is loaded up. I also modified the strap construction to use two different fabrics (one on each side), as I didn’t have enough of any one fabric.

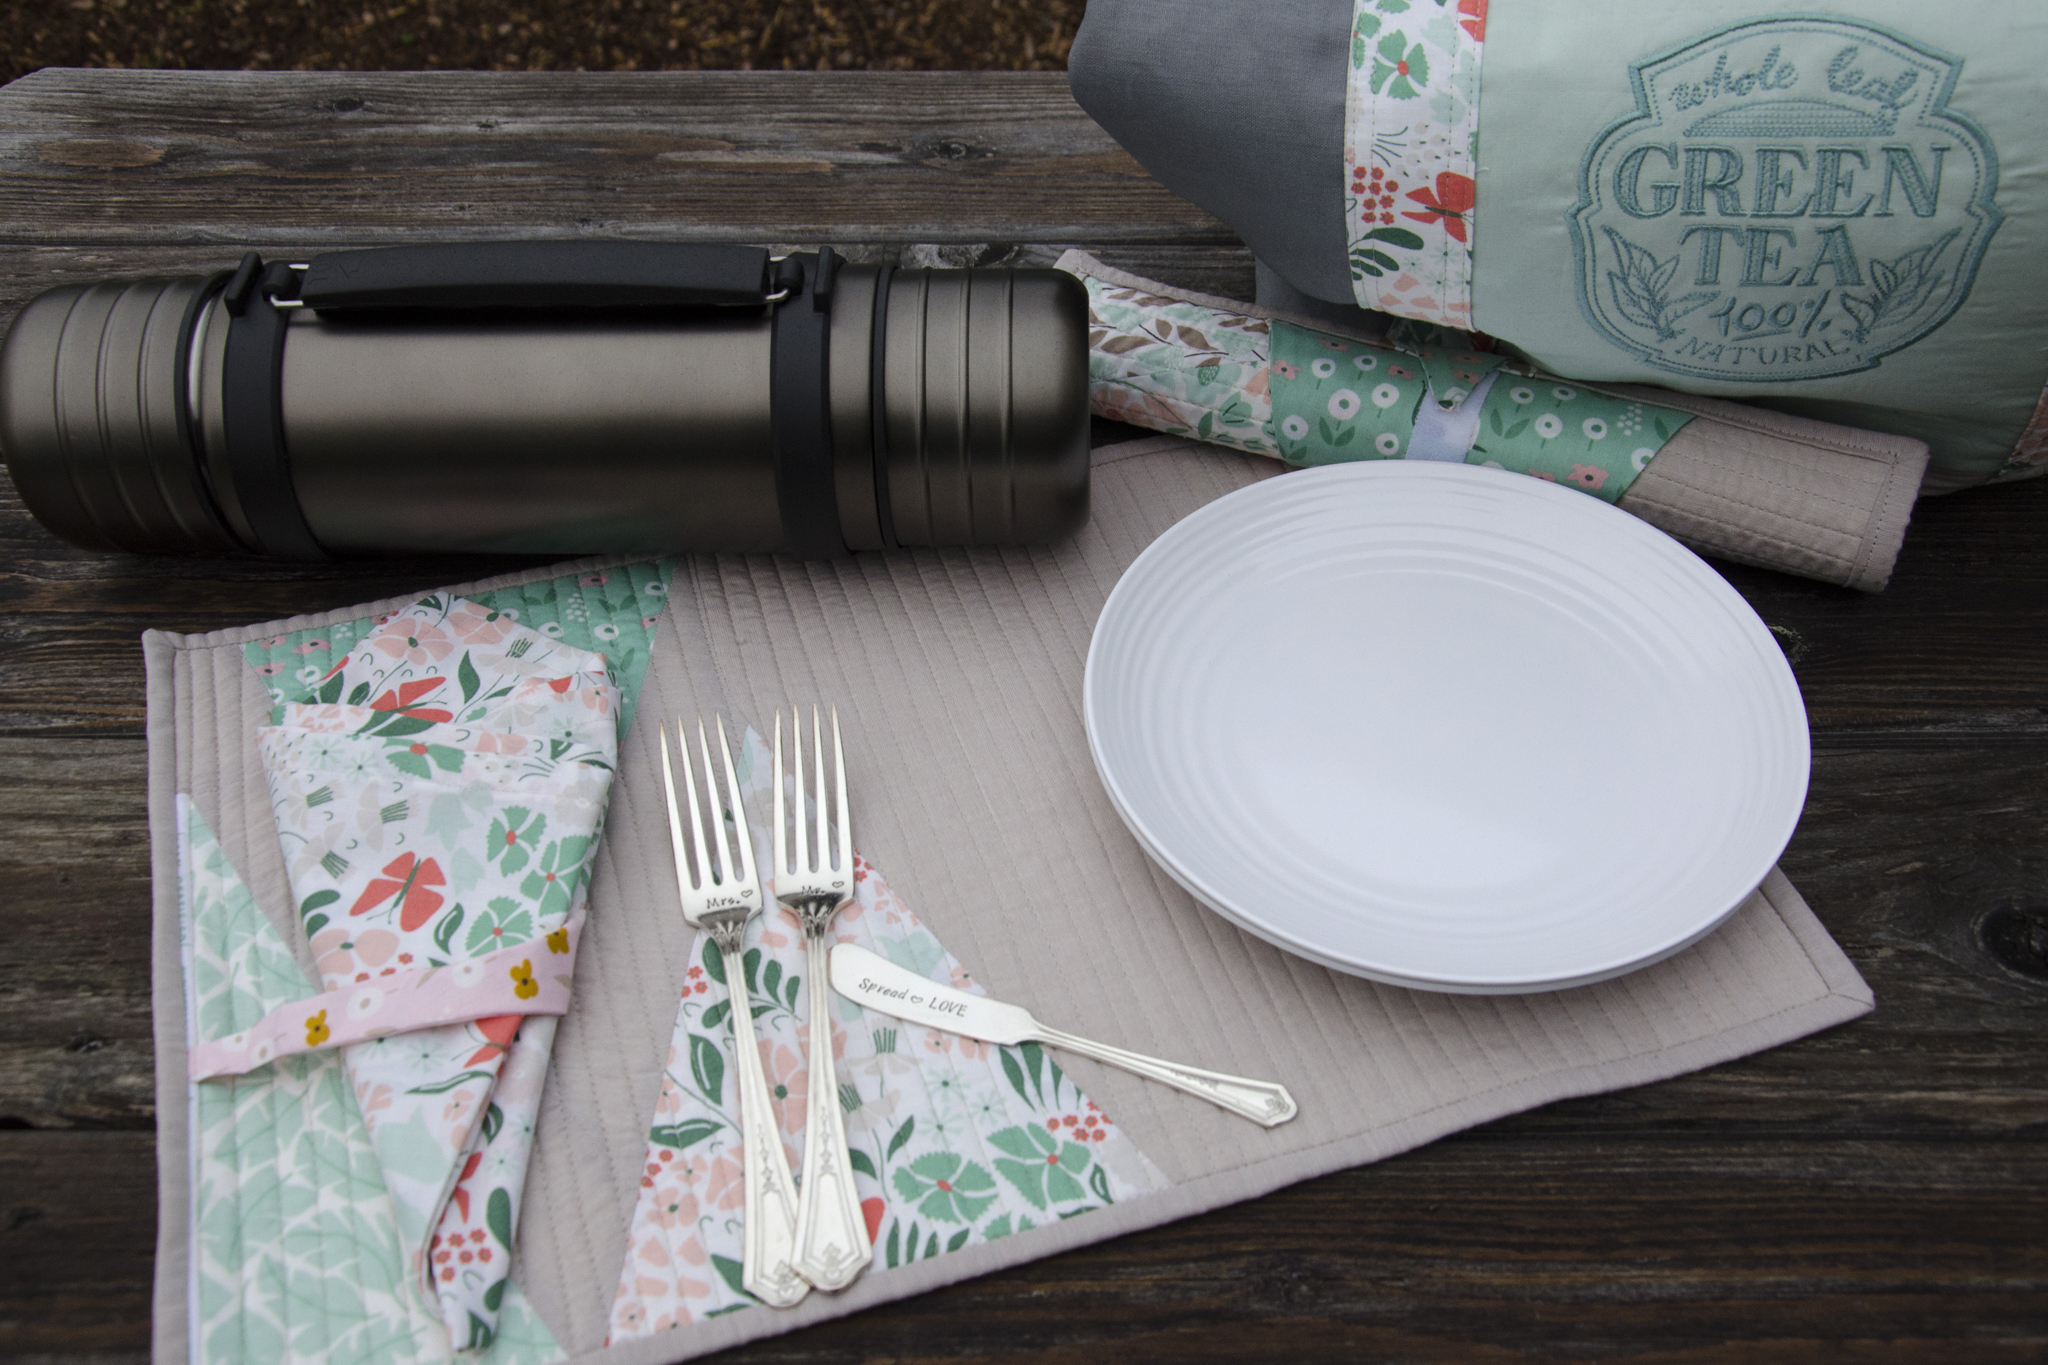
The Whole Package

To round out the picnic theme, I added a few store-bought gifts as well.
Tea in the Park Gift Set

It was a dreary, rainy day when I tried to take photos before shipping it off. I hope the couple has many sunny days in their future.

Even with this whole package, I still have a quarter yard of five of the prints—and a few more triangles—but for now I’ll retire that to the depths of my stash and move on to some other things!

June 30th, 2016

Makers Gonna Make Scrappy Pouches

Posted in Crafting

  • Bags
  • Fabric: Essex Yarn Dyed
  • Fabric: The Cottage Garden
  • Quick project
  • Zipper

Like many quilters, my scrap bin (boxes, cubes, bags…) is out of hand—unorganized, jumbled, and overflowing. This year, I’ve tried to be mindful of what is leftover from my projects and keep it organized in some way so that I don’t add to the existing problem. One solution has been offering up the leftover fabric to guild members—particularly when I’m “over” working with that line and there’s a substantial amount leftover. This especially made sense for my #mqgfabricchallenge scraps, since it meant another member may be able to enter. I already have more scraps than I think I’ll use in my life—particularly since I don’t make many scrappy things.

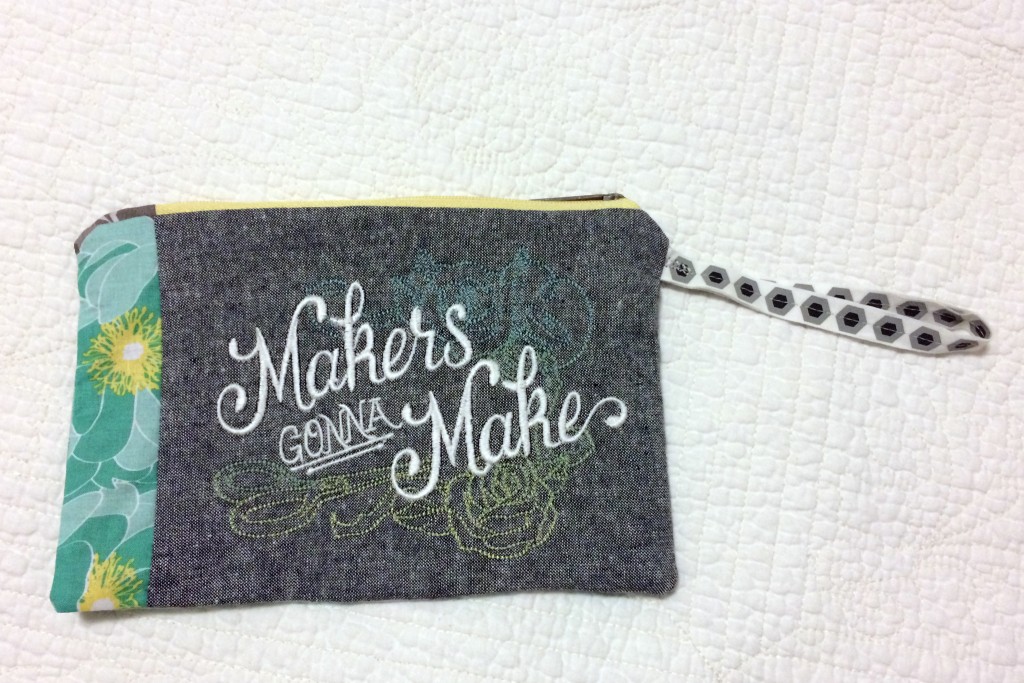
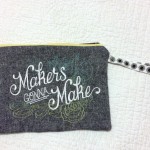
Makers Gonna Make Pouch Front

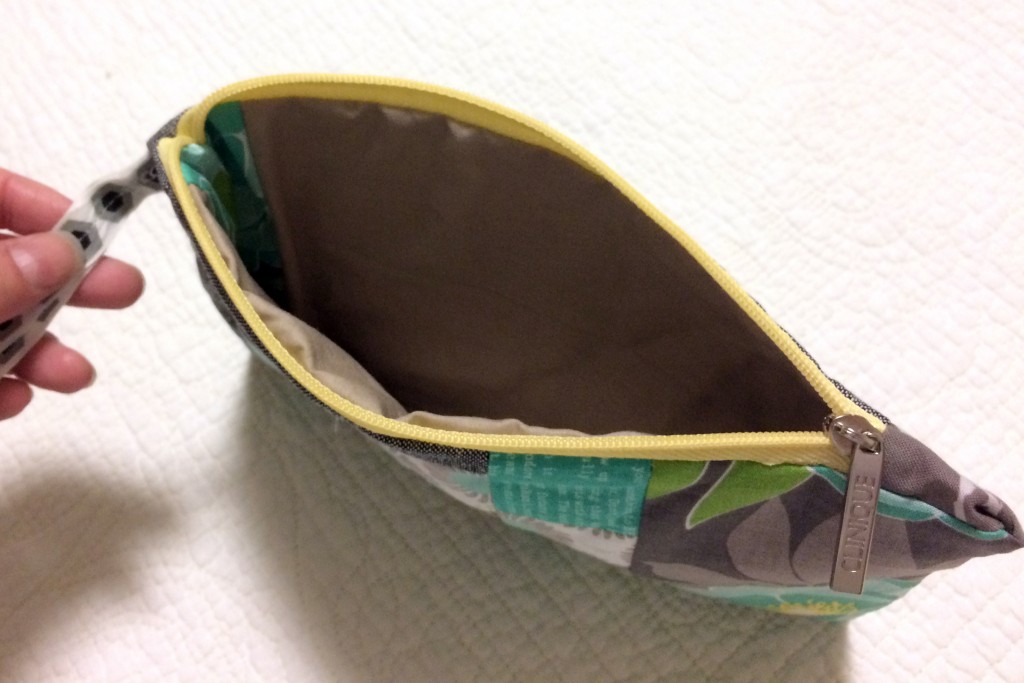
But, after packaging up my challenge scraps, I still had a few left that were already pieced together in various ways (cut-offs from piecing the bag). One thing I always appreciate having around are zip pouches—they’re handy for packaging up projects, carting things around, and organizing. So, I threw together a quick zip pouch from scraps, the ribbon from the fabric challenge bundle, another embroidery, and a recycled zipper from one of those free-gift-with-cosmetic-purchase vinyl pouches that always seem to clutter up my bathroom cabinets.

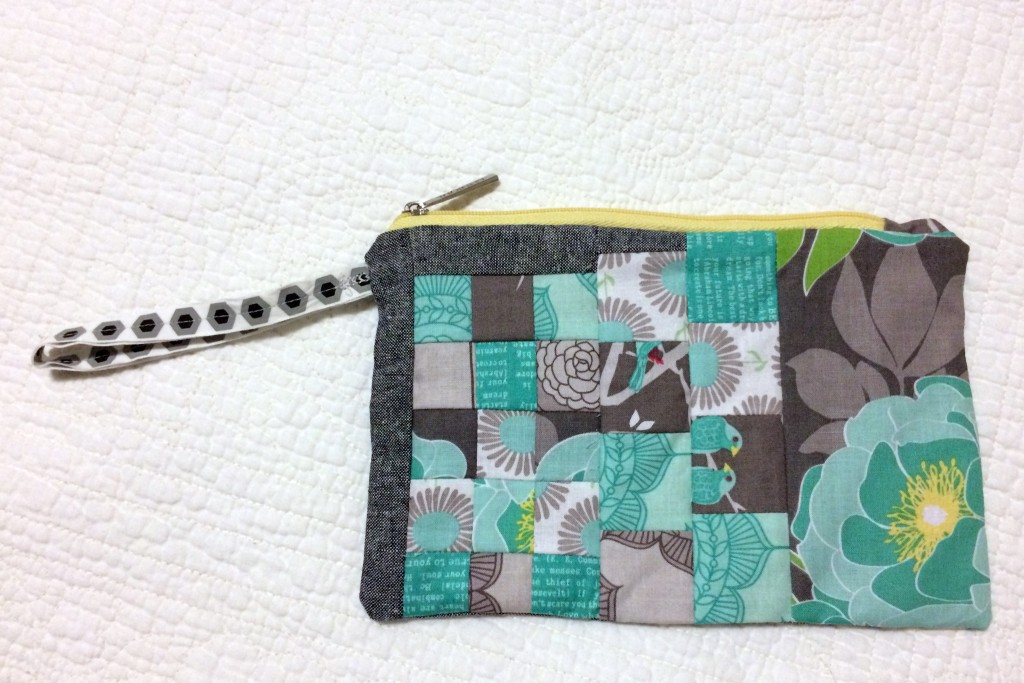
Makers Gonna Make Pouch Back

I didn’t spend much time on it, nor is the scrappy piecing the most aesthetically pleasing, but it’ll serve its purpose just fine.

Makers Gonna Make Pouch Open

What’s your favorite quick scrap busting project?

July 18th, 2015

The Art Student and the Cottage Garden

Posted in Quilting

  • Bags
  • Fabric Designer: Amanda Herring
  • Fabric: Essex Yarn Dyed
  • Fabric: The Cottage Garden
  • Zipper

“This Art Student visited the Cottage Garden, and what happened next was a real challenge!” I really couldn’t restrain myself from click-bait copywriting there. Sorrynotsorry.

Art Student Tote front

The MQG paired up with Riley Blake fabrics for a challenge this year. Those of us who were quick enough on the draw to score free fabric ended up with a pack of six fat eighths from the Cottage Garden line by Amanda Herring of the Quilted Fish.

The challenge rules:

  • Make something fantastic that is quilted.
  • Make something you’ve never done before.
  • Challenge yourself to learn something new.
  • Use only Riley Blake Cottage Garden fabrics and coordinating Riley Blake basics and solids.

While I was pondering what to make, bags my fellow guild members brought to our sew-in in May inspired a bit of an obsession with Anna Maria Horner patterns, including her Art Student Tote.

“…Quilted”? Well, I can quilt part of it, sure. “…Never done before”? I usually just make bags without a pattern to varying degrees of success. “…Learn something new”? Well, the VT guild challenged us to learn paper piecing too, and I missed the demo while I was on vacation, and I can add quilted piecing to the bag, right?

That was the long way of saying I decided to make the Art Student Tote for my challenge project and incorporate quilted panels.

Art Student Tote front

I may have forgotten and/or misread the whole “use only Riley Blake…solids” part of the instructions while shopping, so Kaufman Essex Yarn Dyed in black ended up being a substantial part of the bag. C’est la vie. So, I might not qualify for the challenge (although I’m not the only one who used other things, from what I can tell), but I do have a usable product that I’m excited about, and Riley Blake sold a few extra yards of their fabric.

Art Student Tote pocket detail

Choosing what design to use for the pieced section of the bag was difficult until I came across an Urban Threads embroidery that greatly amused me. Stitches need thread, so paper-pieced spools made complete sense. Ironically, my needle thread broke eight times while stitching out the embroidery.

Art Student Tote back detail

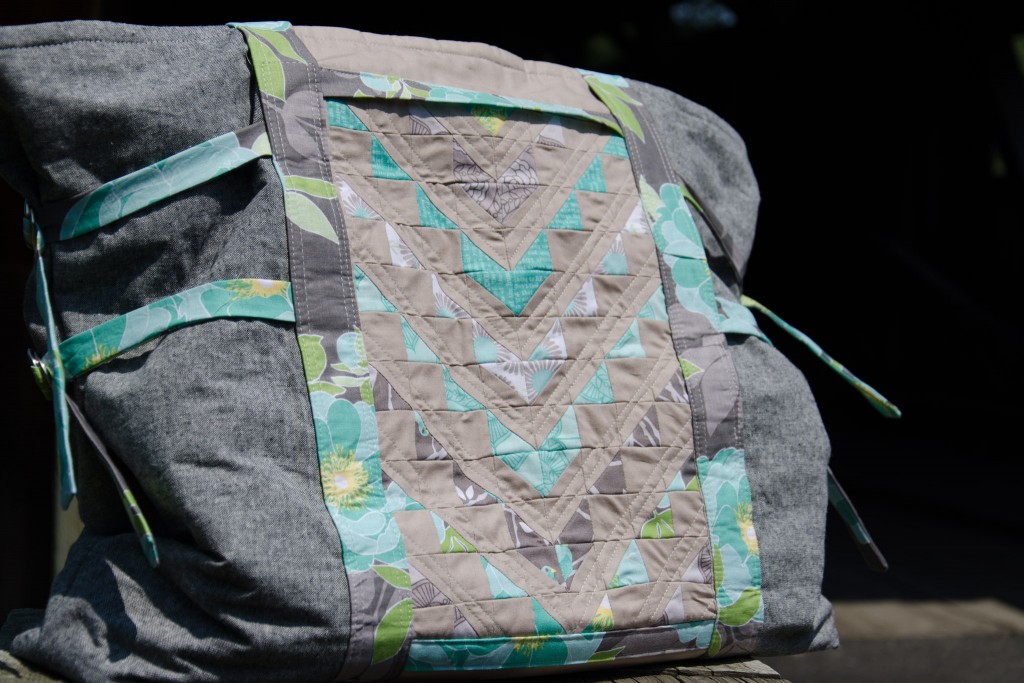
Although the pattern only calls for pockets on one side of the bag, I made a non-zippered one for the back. That way, I had an excuse for a center stripe of pewter on both sides of the bag and more opportunity to use the challenge prints. After making spools for one front pocket, I decided that I’d rather return to traditional piecing for the rest and made the back panel inspired by a quilt by Patty Sloniger of Beck and Lundy. Whether piecing 1″ half-square triangles was less painful than additional paper-piecing is still up for debate. I quilted all of the pocket fronts to flannel to keep them lightweight but structured (and quilted).

Art Student Tote back with extension panel

I made the version that includes an extension panel. Because I originally purchased the flower yardage for the lining only, I was about 3″ short when it came time to cut out the extensions. I saw it as one more opportunity to use the challenge fabrics, and pieced in a stripe of small nine-patches.

Art Student Tote exension panel detail

Not everything was rosy. I don’t know if it’s me or the directions, but I had a very hard time following along with the pattern. I had to re-read things a million times, and it still didn’t make a ton of sense in certain cases. The pattern also seems to be missing markings for start/stop stitching on the extension panel. It all turned out okay in the end, but was disappointing for a paid pattern.

Art Student Tote pocket detail

If I make it again (likely with less piecing!), I’ll leave off the extension panel. It may provide more room when you need it, but is a bit awkward when folded down inside the bag. Not to mention, the bag itself is already pretty large! I also need to find a way to hide the raw edges from my center stripe at the very top edge (my fault for lack of foresight when I modified the pattern that way).

Regardless, it seems perfect for toting around projects and quilts that need to be photographed. I’m looking forward to using it to carry stuff for a sew-in next weekend!

All photos by Carl Pfranger

July 11th, 2015

Setting In a (Laptop) Sleeve

Posted in Crafting

  • Bags
  • Lifestyle
  • Technology

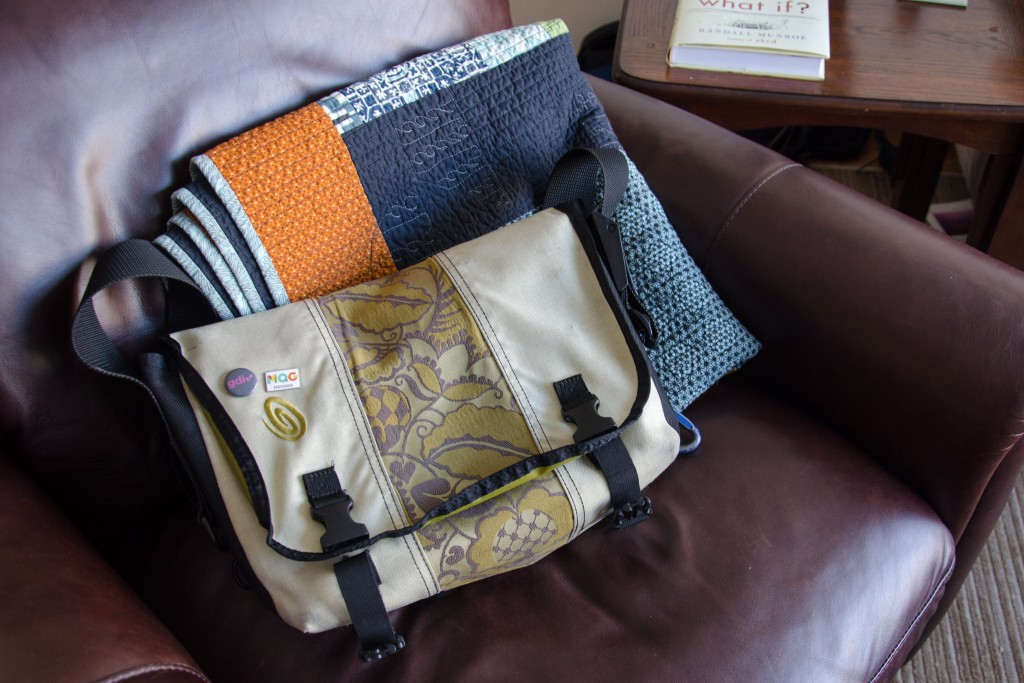
Eight years ago, after realizing I’d been going through a computer bag/backpack a year, I made my first “spend money on quality” purchase—a Timbuk2 bag that I picked up at their retail shop while working and living in the Bay Area for the summer. I had hoped to get a few good years out of it; I did not expect to still find it just as integral to my life now as it was in college—nor still in almost perfect shape (albeit a bit dingy).

MacBook Pro Laptop Insert

The one regret I’ve always had is that I bought a plain messenger bag rather than one with a laptop sleeve. I had a neoprene sleeve for the laptop I bought that same summer, but for some reason always found it awkward to use. Then, I was abusive to the laptop that replaced that one and never bothered with a sleeve.

Knowing that my new laptop deserves better, I scoured local shops and websites for a replacement bag, but couldn’t find anything I like better than my bag. So, I decided to retrofit my trusty friend.

MacBook Pro Laptop Insert

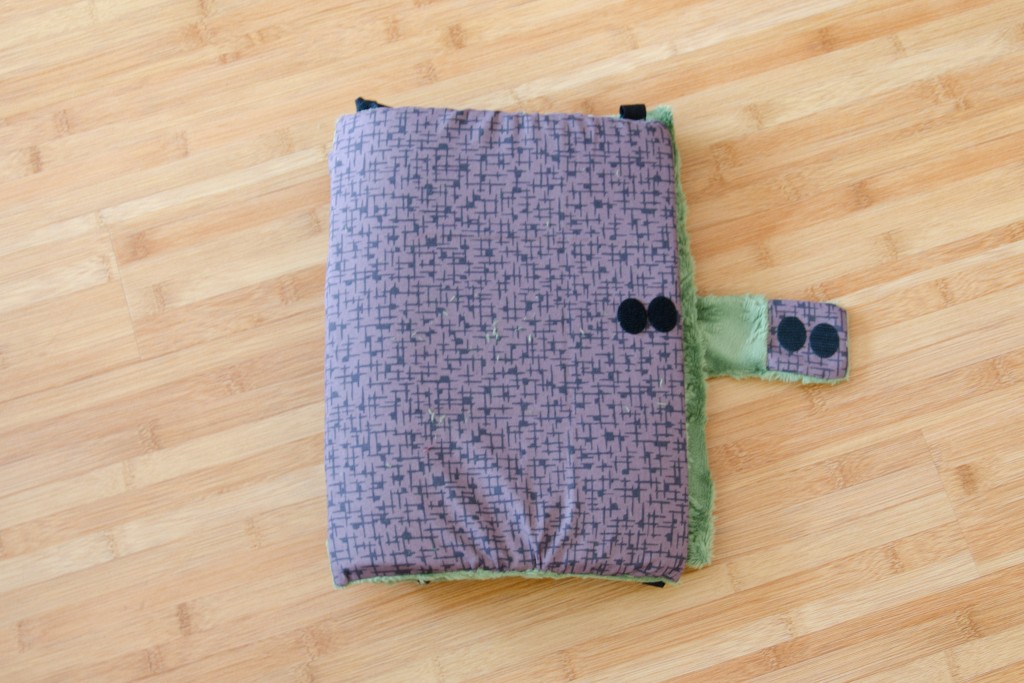
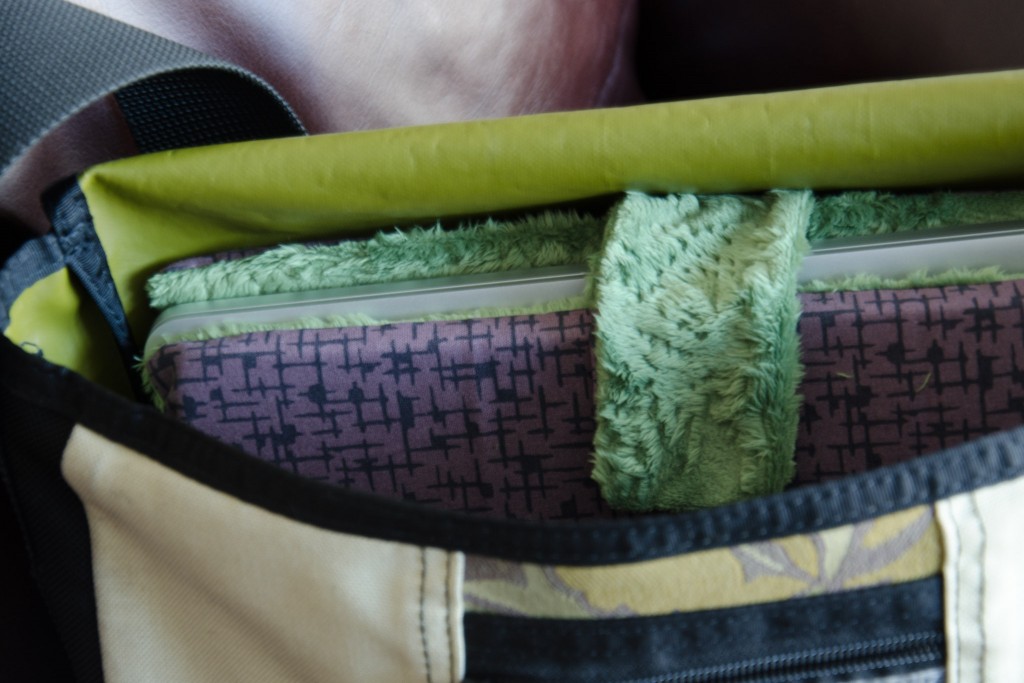
I bought a piece of .5″ tall foam (kismet—there was a scrap of the perfect size sitting forlornly in the foam-by-yard section), some elastic, and Velcro, and combined them with minky scraps and a stashed fat-quarter.

MacBook Pro Laptop Insert

I improvised the construction without a lot of forethought, so there are choices I’d have made differently a second time around—mainly securing the top flap and side elastic in the seams instead of hand-stitching them on later, and completely changing how the bottom is constructed.

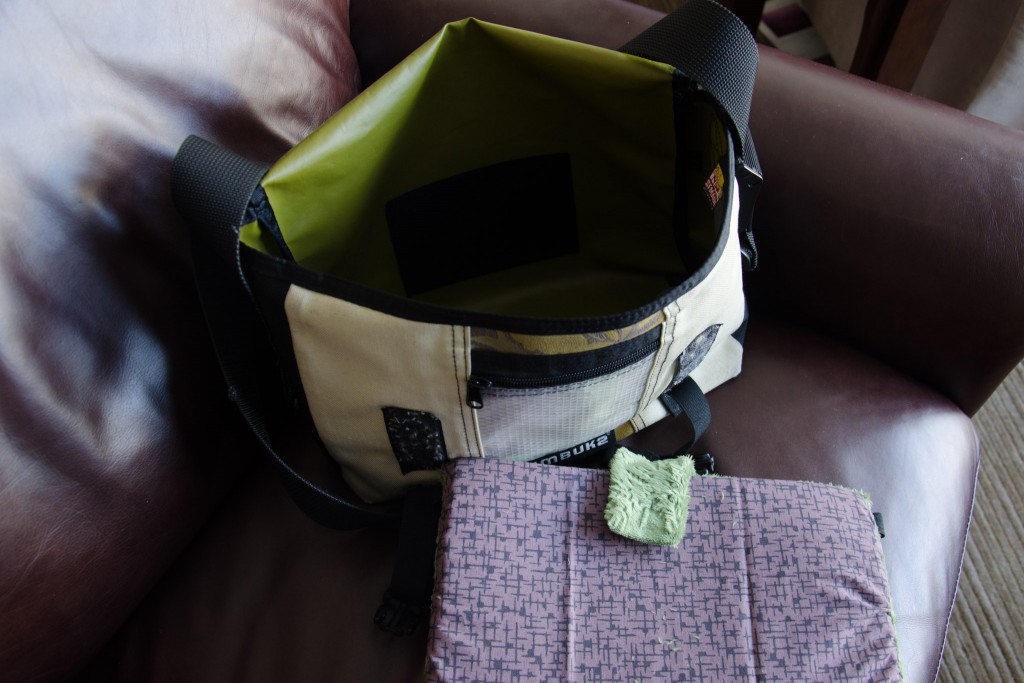
MacBook Pro Laptop Insert

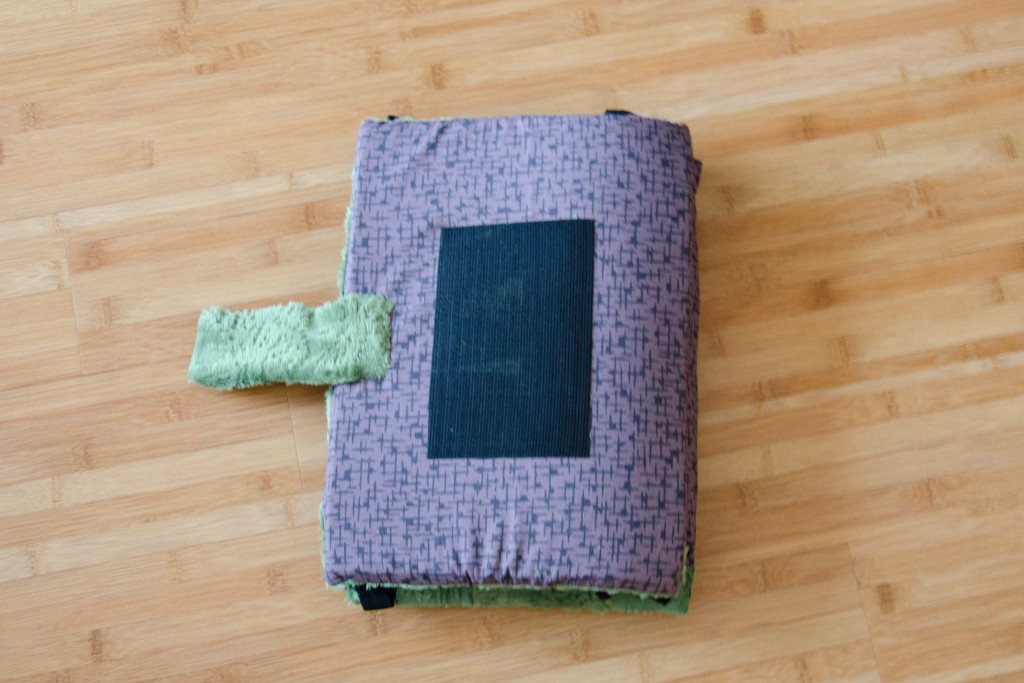
It’s secured to the bag interior with a huge strip of Velcro, and allows the laptop to slide in and out easily without having to fiddle with a zipper. Best of all, it’s perfectly fitted to the laptop.

MacBook Pro Laptop Insert

We’ll see if the bag and insert make it to laptop number four in a few years!
February 15th, 2015

Spring Traveling and Playing with Leather

Posted in Crafting

  • Bags
  • Gifts
  • Leather

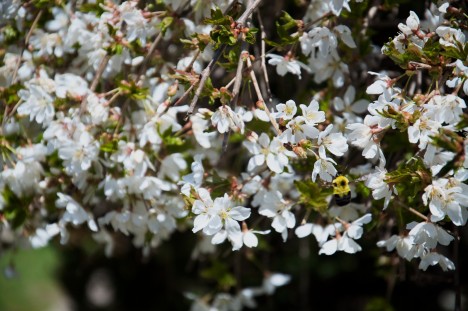
Spring is slow coming here in Vermont—it’s truly mud season rather than flowering wonderland—but we had the chance to see a few blooms when we traveled down to New Jersey for Easter with Carl’s family. Even the bees were out and about.

Spring bees

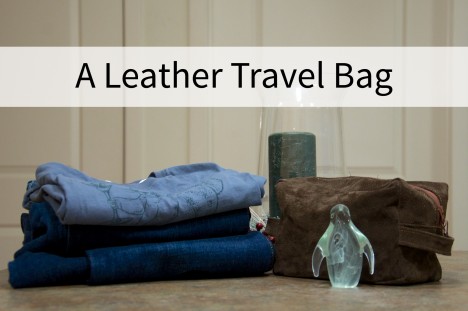
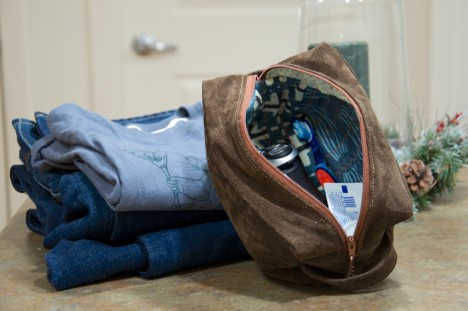
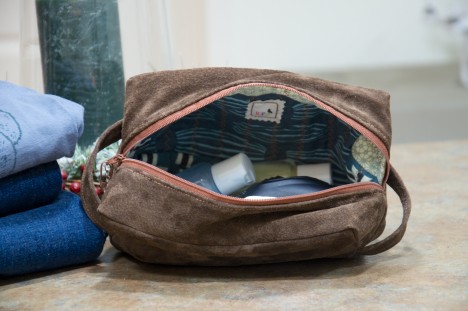
For the past few years, Carl’s been stuck having travel toiletries either mixed in with mine in a bright pink bag I received as a free gift with a cosmetics purchase or in a zip-lock baggie (required on planes, pretty lame by car), so I thought it high time that he have a toiletry bag of his own. Past time even, considering he’s been traveling back to Utica every other week for work since we moved up here last July.

Leather Travel Bag

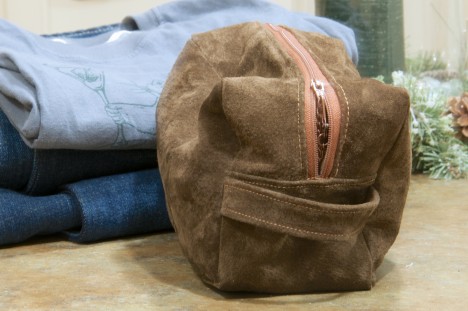
It’s a slightly smaller version of the cosmetics bags I’ve made over the past couple of years with squared-off corners and without the wrist strap. The fun part was making my first project out of leather. I picked up an unlined leather shirt/jacket at the thrift shop to play with and still have plenty of scraps leftover for more bags or whatever else I dream up.

spring-travel-12

Since the outside is leather, I quilted the lining to give the bag extra body. If I make another, I may try to stick to heavyweight interfacing instead, as the batting gives the lining too little drape. The bag doesn’t keep its shape perfectly, but it does stand on its own, even when empty.

spring-travel-8

The lining is made from the scraps of his quilt. No one print was large enough for the whole bag, but I was able to limit it to three different ones. I stitched it all with a heavy duty thread, but still have learning to do about proper top-stitching length on leather. Overall, I’d say my machine handled it just fine.

spring-travel-7

It worked out well for our weekend trip, and I hope it serves him well with the various travels we’re sure to do this year. I also hope spring finally comes to Vermont—traveling is much more pleasant in gorgeous weather like we saw this past weekend.

spring-travel-10

April 21st, 2014

C++

Posted in Quilting

  • Bags
  • C++ Quilt
  • Finished projects
  • Gifts
  • Q013AF

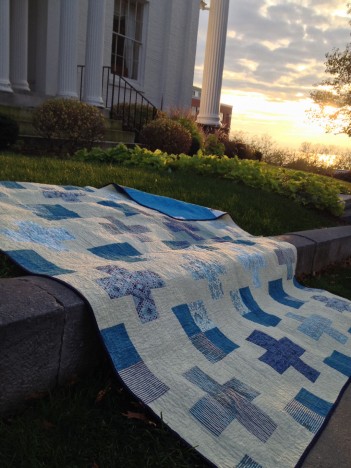
I’ll spare you a lengthy essay on the quilt title, but the tl;dr of my stream of consciousness was something like “for CCC / double plus / C++? / cout C++ front

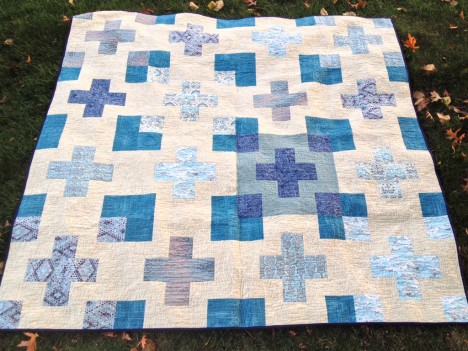
“C++”, Rachael Arnold, finished October 2013, 70″×70″. Photo by Carl Pfranger

But as the start of that stream of consciousness reads, this quilt is for my sister Courtney, also known by her initials as CCC or Triple C, and the quilt was inspired by one titled ā€œDouble Plus.ā€ She’s been waiting patiently for a quilt since I made the ones for our mom and other sister back in May 2011 (plus the other fabric things I’ve made Kaite), so I’m glad inspiration finally hit!
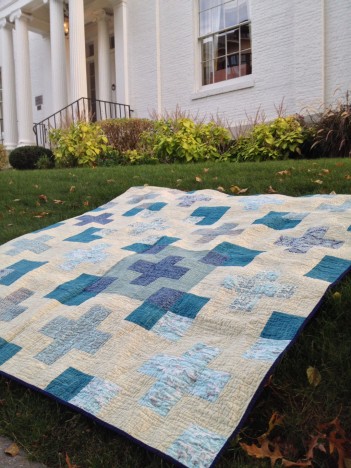
C++ detail
“C++”, Rachael Arnold, finished October 2013, 70″×70″. Photo by Carl Pfranger

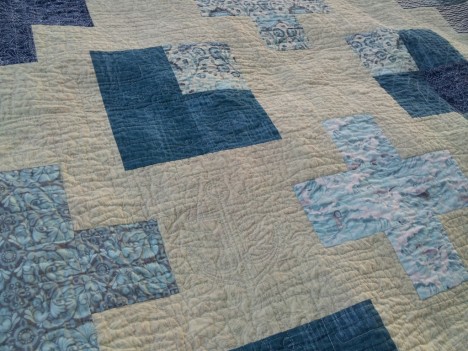
It all started with a six-pack of FQs from Tula Pink’s Salt Water line. I threw in a bit of shot cotton (maybe a Moda Cross Weave?) and Kona Nautical as binding from my stash. Rounding out the fabric choices are yardage of another Salt Water print for the background and Laura Gunn Painter’s Canvas for most of the block corners.

C++ Detail
“C++” detail, Rachael Arnold, finished October 2013, 70″×70″. Photo by Carl Pfranger

Ideas floated around in the ether for a bit, always coming back to plus quilts, so when I saw ā€œDouble Plusā€, the idea took shape. A few rounds of digital sketching later, I had the plan to execute in 70″ square form.

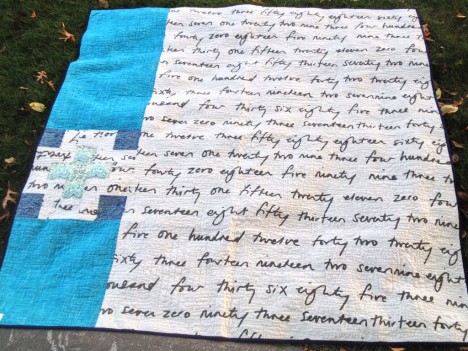
C++ Back
“C++” back, Rachael Arnold, finished October 2013, 70″×70″. Photo by Carl Pfranger

This yardage from IKEA has always been slated for the back of Courtney’s quilt, even before there was an idea for the quilt front. My brain decided it, and so it is. The piecing was less about intention and more about making the fabric I had work for the back—particularly without another trip to the store. The blue is a textured linen-like cotton that has been in my stash for a while, previously seen in Carl’s bag. Had I remembered it was there, it likely would have ended up on the front as well instead of the Painter’s Canvas. Case in point: I need stash organizing, stat.

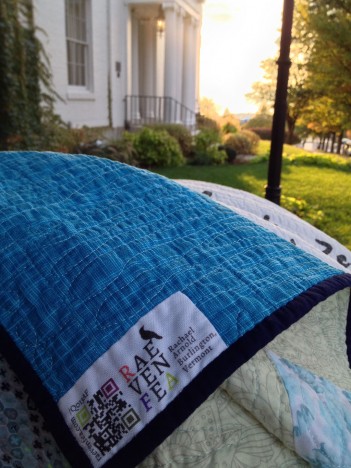
C++ label detail
“C++” detail, Rachael Arnold, finished October 2013, 70″×70″. Photo by Carl Pfranger

I picked up a spool of Isocord thread to quilt with and I really like the results, but had to battle a fair number of tension issues. This also isn’t my best quilting because I tackled it all with my free-motion foot—even the straight and stitch-in-the-ditch parts. I need much more practice with doing straight lines that way, but now that it is washed, all the little mistakes aren’t obvious.

C++ anchor quilting detail
“C++” quilting detail, Rachael Arnold, finished October 2013, 70″×70″

Tula paired up with Urban threads to offer some embroidery motifs that pair with the line, including a quilting one, so I mixed it in with my FMQ. I planned to do more, but those tensions issues made me modify that plan. There are still a few anchors mixed in the quilting.

The final wavy texture is amazing and it drapes beautifully. It’s hard to part with, but nothing but the best for my very favorite oldest younger sister who is infinitely patient.

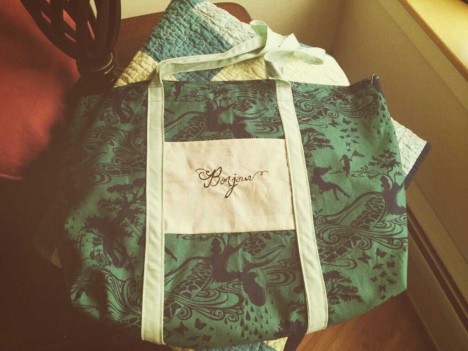
Bonjour bag

To top it off, I threw together a quick tote bag from another bit of Tula Pink—the Turtle Bay print from Prince Charming—paired with a stashed solid (I’m not sure what), another embroidery from Urban Threads, and lined in the Ikea text print. I made her a zippered cosmetic bag from this same print earlier in the year (but never photographed), so it all ties together pretty well.

That’s three quilts in three months. Can I keep up the trend?

October 20th, 2013

Christmas in June

Posted in Crafting

  • Bags
  • Gifts
  • Organizing

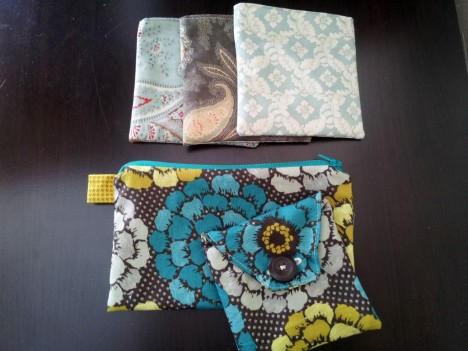
My mom’s Christmas gift was a matching set composed of a quilted cosmetic bag, eyeglasses sleeve, and curling iron sleeve. Unfortunately, I may not have photographed it. I also promised to make a matching zippered bag for her purse, but didn’t finish it in time for Christmas. It’s suddenly the end of June, but now it’s made!

Zipps and Velcro

I was in the groove, and made a few more small storage pouches for myself; they’ve been on my to-do list for a while. I wrote a tutorial about the first ones I made over a year ago.

Since I still had fabric to match my mom’s set, I made one for her too. Because I used the last of my Velcro on mine, I improvised by adding a flap that closes with a button. There’s also an inner divider in hers using up the last of the yellow contrast fabric.

Not bad for about an hour and a half of sewing time!


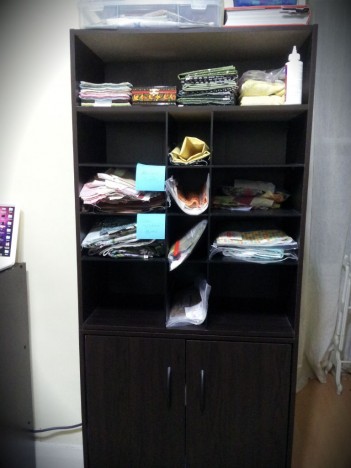
I don’t want to sound prideful, but I’m proud of myself—I’ve made a good dent in my WIP storage lately. This photo is from Sunday:

storage-cubbies

At the beginning of the month, all twelve cubbies were full. Since the photo, I’ve also cleared out a small one that held Mom’s fabric; cut apart the pieces for my Miniatures Nine-Patch (one of the post-it marked ones); and migrated my EPP stuff to its new home in my new bag. Damn, it feels good to be a gangstaĀ WIP finisher. Granted, that’s not my only WIP storage, but it’s a good feeling to have finished some projects, made progress on others, and organized even more.

Did you make any resolutions to tackle WIPs this year?

June 20th, 2013

Make that Thursday’s Wall—May 2

Posted in Crafting

  • Bags
  • Wall hangings

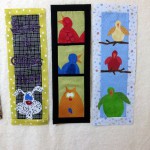
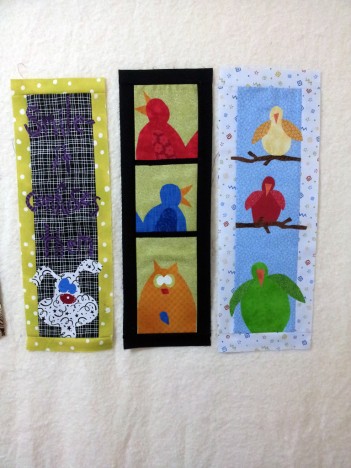
Last weekend, three shops in my area held a Shop Hop, and each gave away a pattern from Bloomin Minds along with a kit for the top. Intrigued by the prospect of a somewhat quick project, and willing to procrastinate on things I should be doing, I went ahead and did the piecing and fusing part of all three.

wednesday-wall-4

There’s a lot of sewing and embroidery left for all of them, but that’s where they stand now. I’m not sure what to do about the dog one… the kit had fabric for letters that just doesn’t have contrast with the background. I hope that white stitching will help it stand out more. I’m going to try to finish them up this month to donate to my guild’s boutique for our quilt show, but I do plan on making up at least one of the patterns in fabrics that will better match my house at some point.

As for things I should have been doing, and am working on this week:

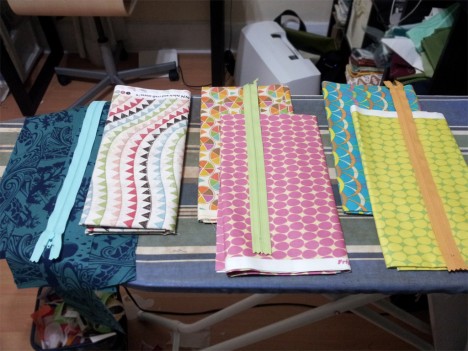
wednesday-wall-4-plans

These fabric pairs and zippers need to become samples for a class I’m teaching Saturday. None of them need to be fully finished, but I want to have visual examples of the different steps through construction. Oh, and I still need to write the instructions! So, back to that!

May 2nd, 2013

Salvage Into Small Bag

Posted in Crafting

  • Bags
  • Gifts
  • Quick project
  • Upcycling

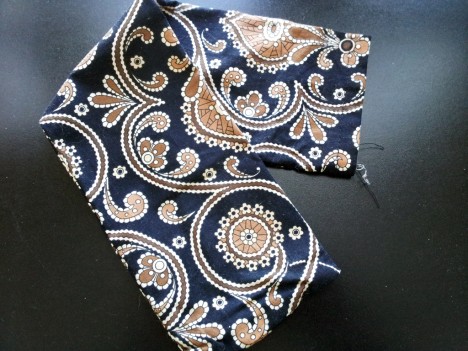
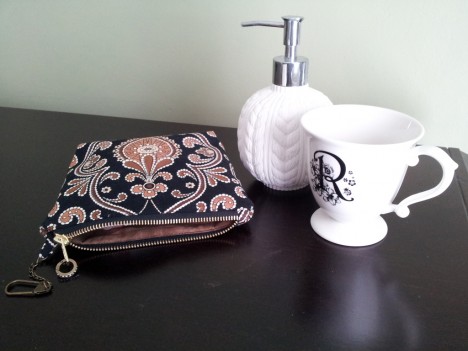
Every project has a story, but this one is more dear to me than most. It starts with a sewn tube of fabric that once contained cardboard, used to stiffen the base of a Vera Bradley bag.

vb-small-zip-fabric

Said bag was a gift to my youngest sister (Kaite) from our grandmother, who passed away last summer. It came into my possession via our other sister over Christmas—it was the only part of the bag that survived the fire that destroyed most of their possessions right before Thanksgiving.

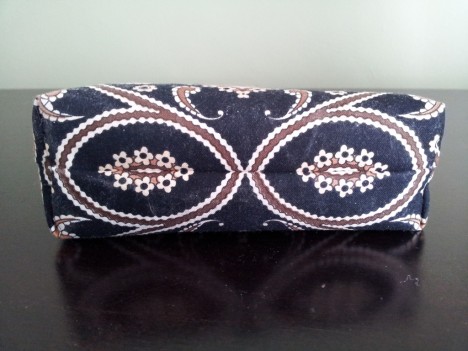
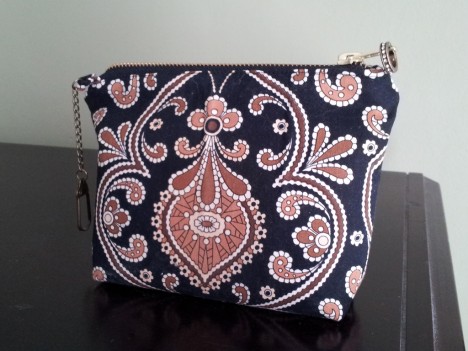
Unpicked, it measured about 8.5″×16″, and miraculously had two full centered repeats of the main pattern. Perfect for a small zip bag with a boxed bottom, when paired with a mottled brown lining fabric from my stash and a couple of hardware pieces.

vb-small-zip

The dumb luck of the repeats meant that I was able to cut a matching front and back, making awesome matching patterns in the seams. I struggle to do this when I have a lot of fabric to work with—I’m still in awe that I managed with such a small amount of fabric.

vb-small-zip-bottom

It’s hard to imagine that this bag’s fabric started life as an odd little flat insert in another bag, but I hope its new life suits Kaite well.

vb-small-zip-front

I’ll find out soon… I’m on my way to pick her up from the airport as this post goes live!

March 13th, 2013

Foto Freitag

Posted in Crafting

  • Bags
  • Foto Freitag
  • Sewing space

It’s February. Wow! January flew by and I accomplished less than half of what I hoped.

I hope to get back to posting more often now, but I still have a to-do list a mile long from January. Not to mention that my studio is in disarray thanks to an electrical problem that leaves me one (non-grounded) outlet. For reference, today’s photo is a Christmas present for 2012 that I finished this morning before work.

Having made six of these bags now, I think I have all the kinks worked out. Now I just have to figure out how to condense the time frame (it takes me about 3 hours to cut, quilt, and construct) into a two hour class. Good thing I have until May to figure it all out!

Enjoy your weekend!

February 1st, 2013

Ā 

© 2008–2025 Raevenfea