Raevenfea

Maker of various fabric things

This is a static export of a blog I put on ice many years ago, that still has personally relevant content. No promises can be made around linkrot, styles, or working functionality.

Posts tagged: Blocks

Making it Modern—A Pixelated Churn Dash

Posted in Quilting

  • Blocks
  • Education
  • Modern Quilt Guild
  • Modern quilting

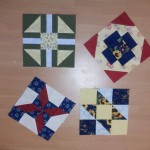
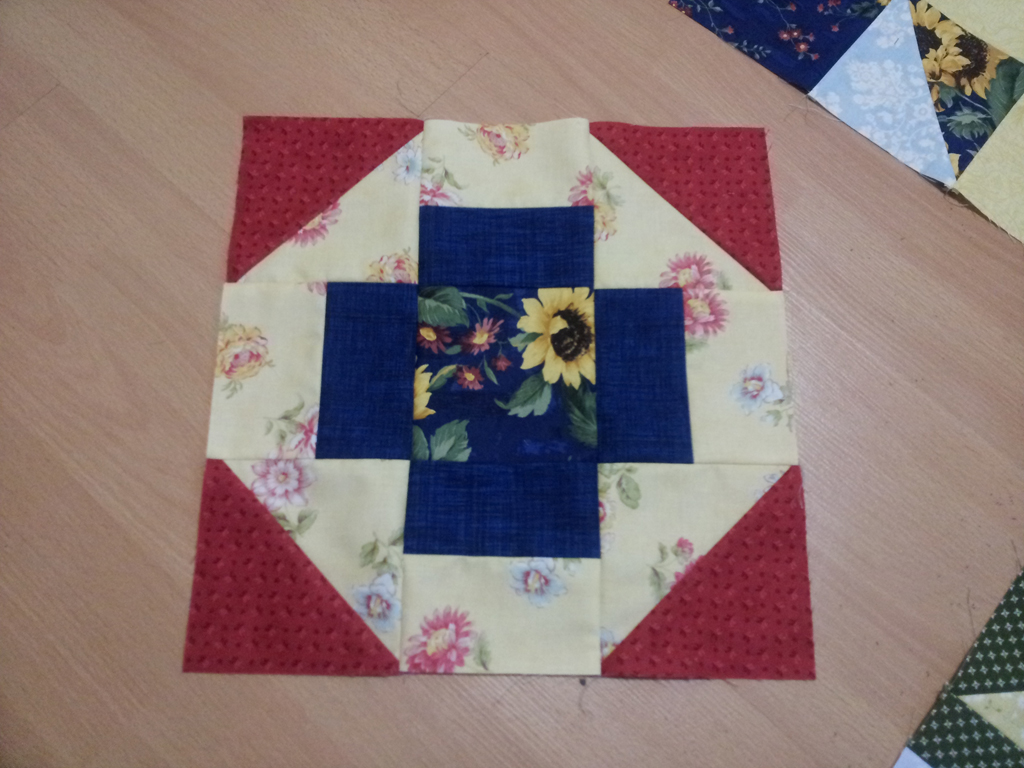
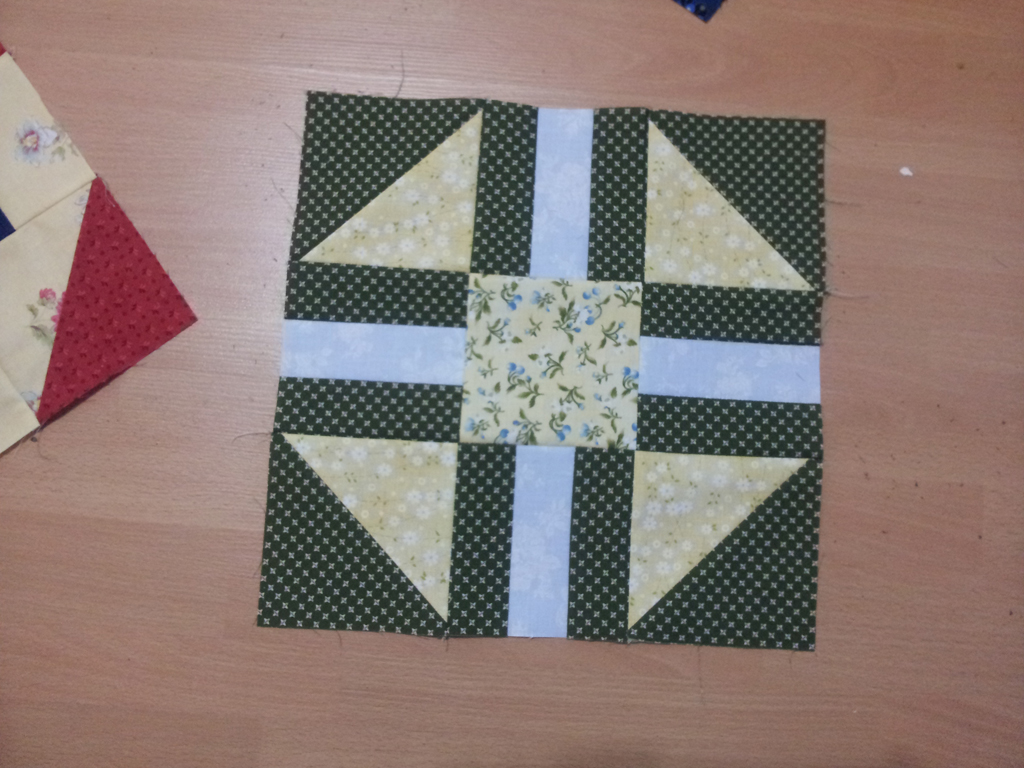
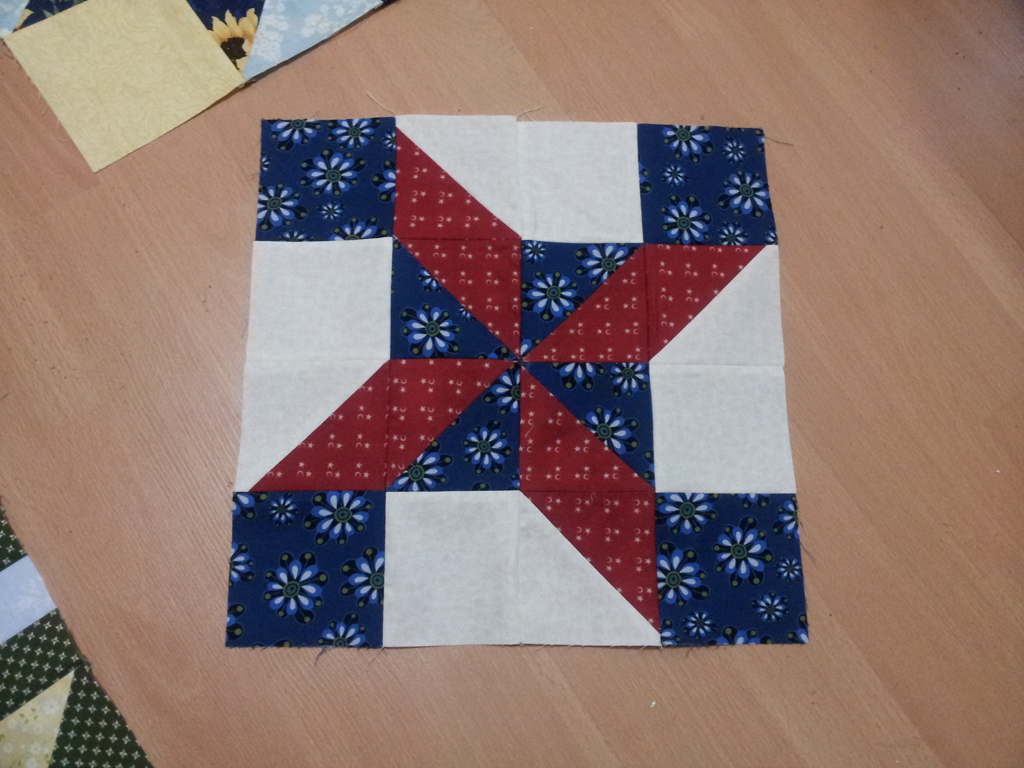
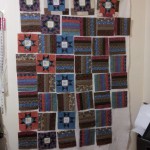
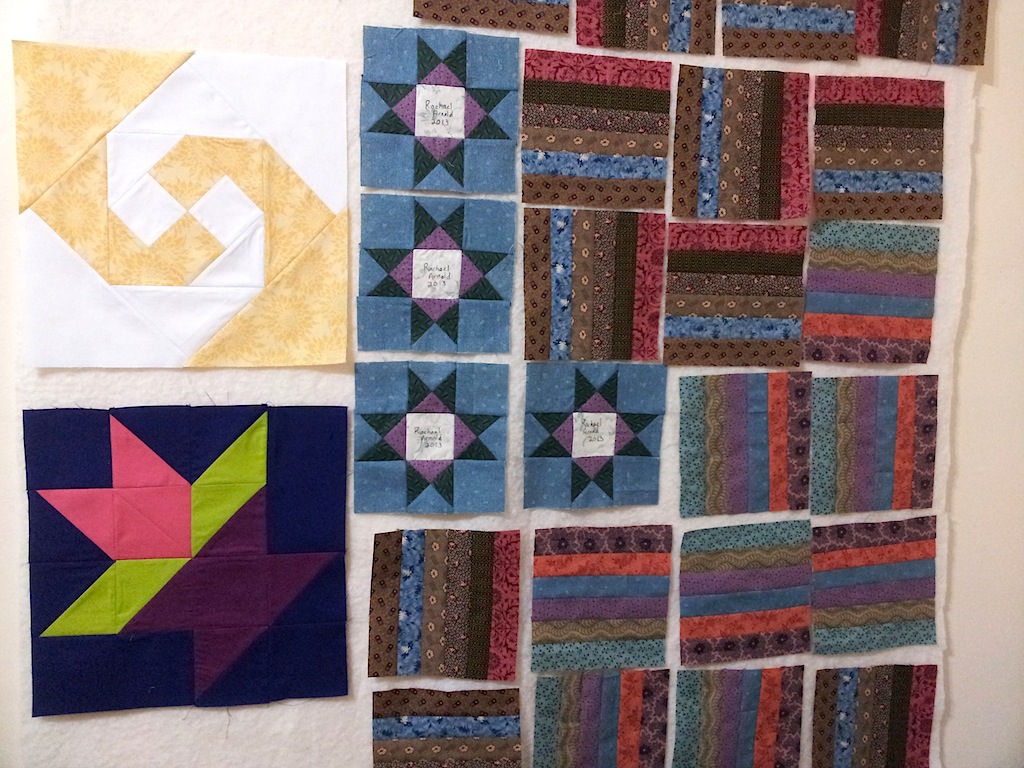
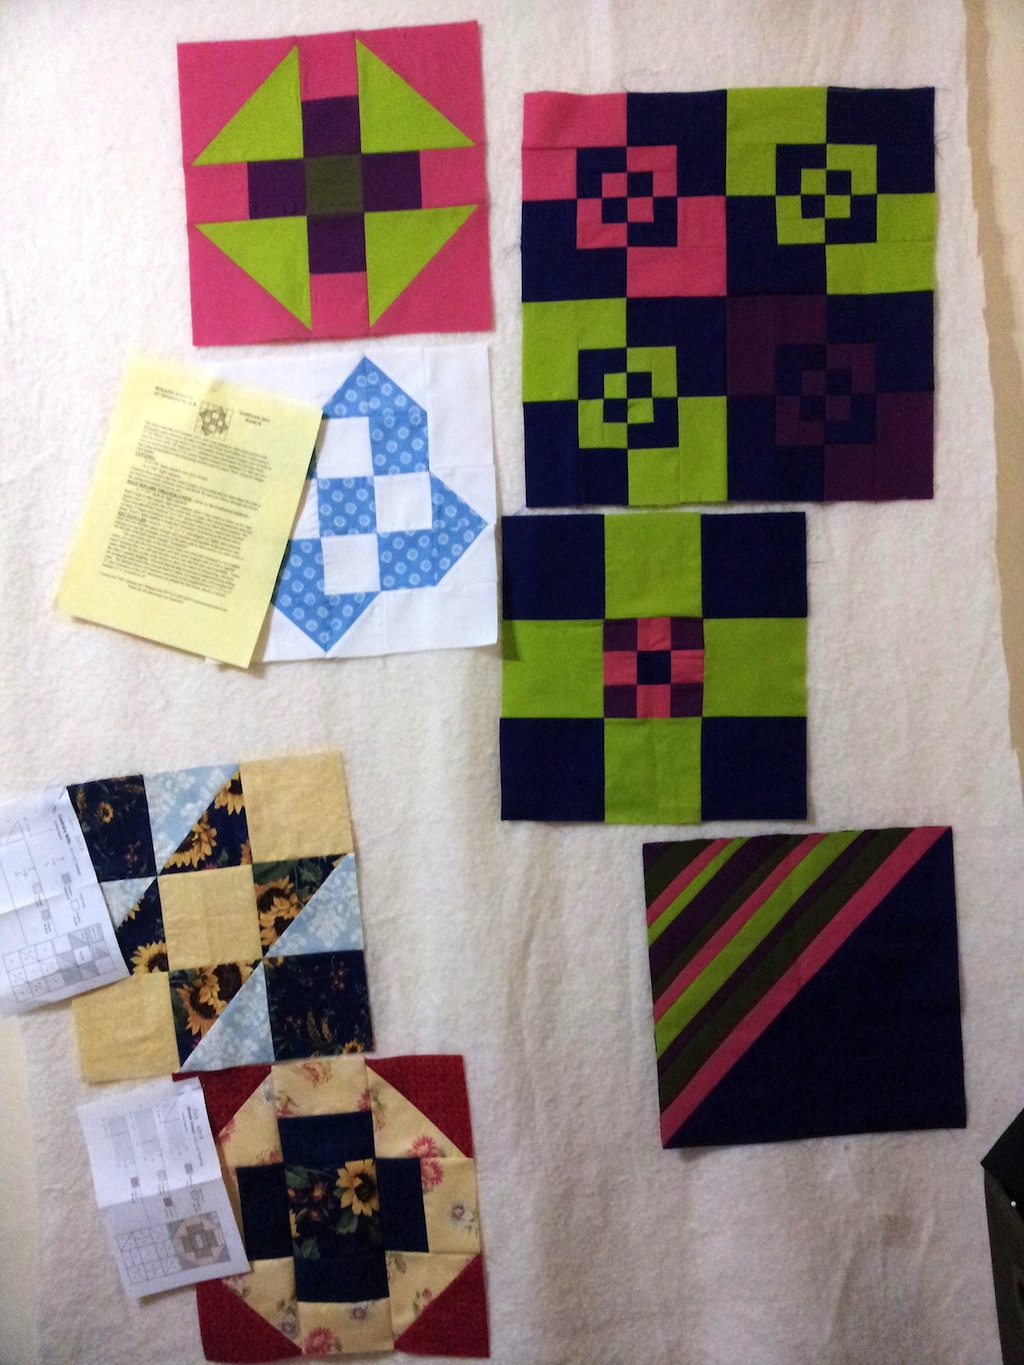
In an effort to create tools for education and promotion of modern quilting, my guild started a challenge series (of sorts) a while back that we call “Make it Modern”. Members are encouraged to take a traditional block, make it up in an 18″ quilted square, then make a second one “modern”. The goal is to explore some of the aesthetic differences that exist between modern and more traditional quilting when it comes to fabric selection, quilting, and styling of a block. We have a collection of the blocks now that we are able to take to demonstrations and talks, as well as providing a quick programming bit at our meetings when a member presents their block pair.

Make it Modern Churn Dashes

After giving and organizing a few talks for local traditional guilds about modern quilting, I noticed that we were missing a good example of pixelation, which has been a trend in modern quilting. Since I’d signed up (many months in advance) to do a Churn Dash block, I decided to play around in Illustrator to see if I could come up with something that evoked the look of the traditional block, but allowed for me to piece ‘pixels’ that weren’t too incredibly small for an 18″ mini.

Make it Modern Churn Dashes: Traditional Churn Dash

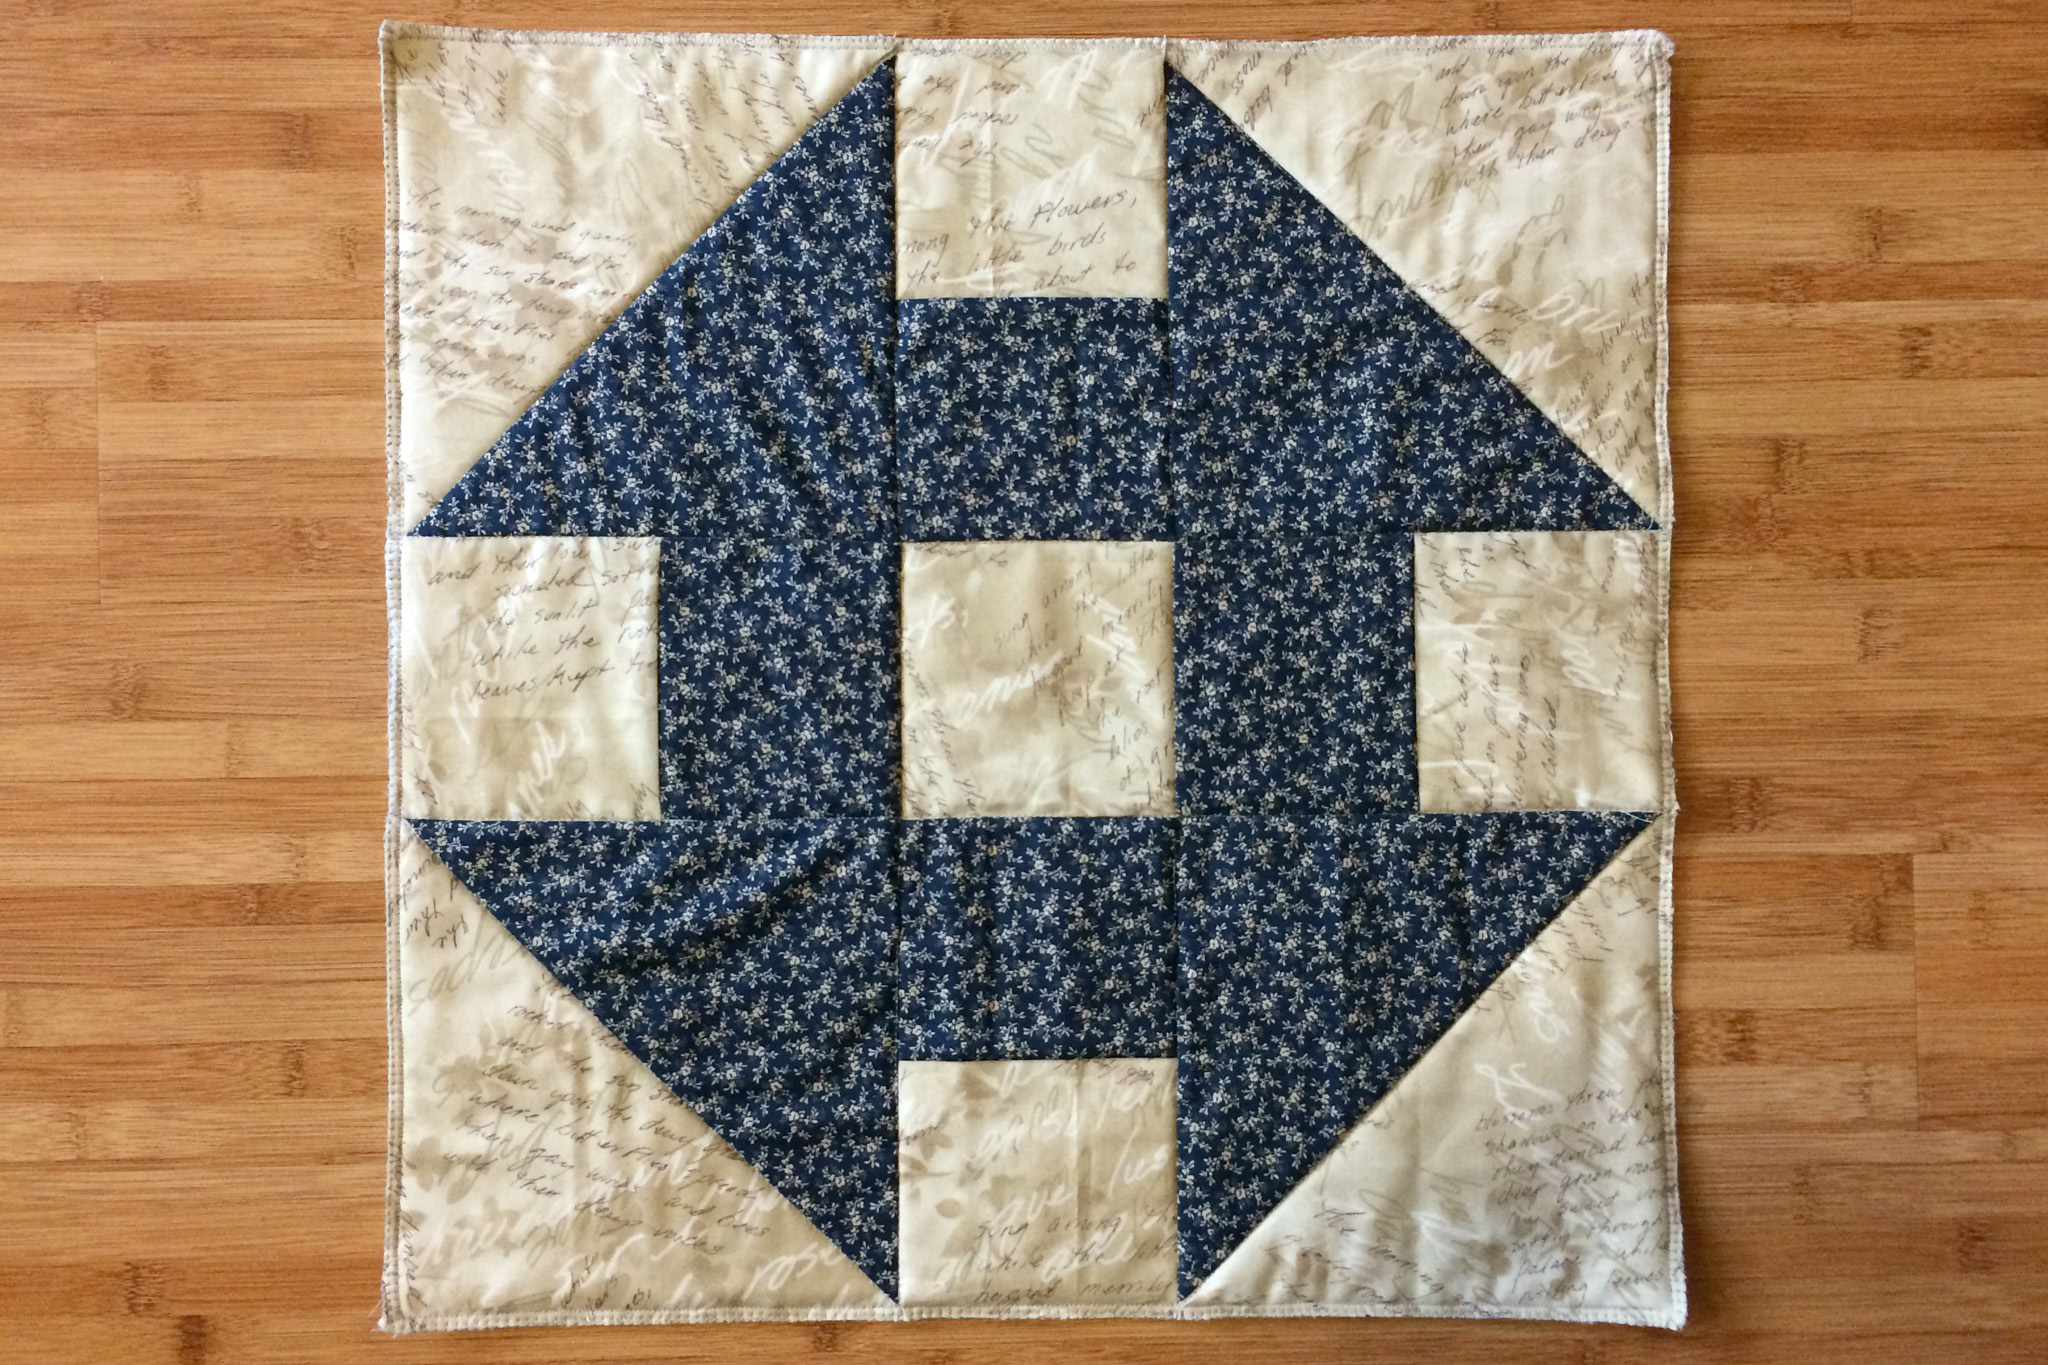
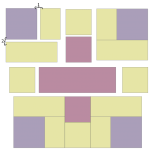
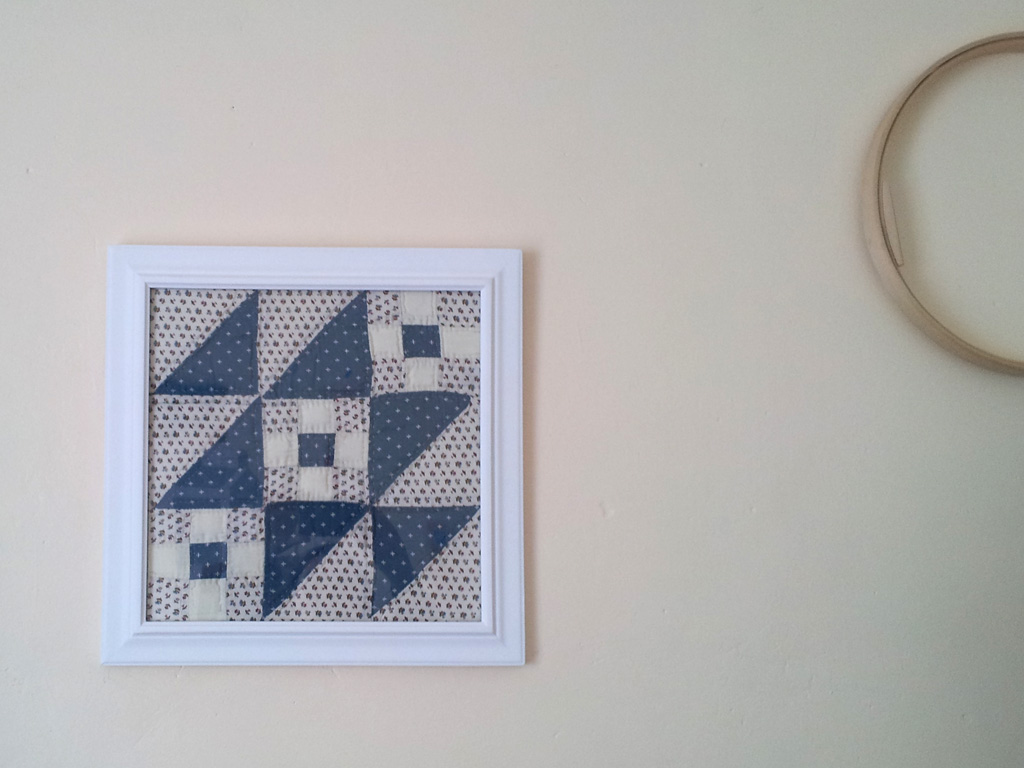
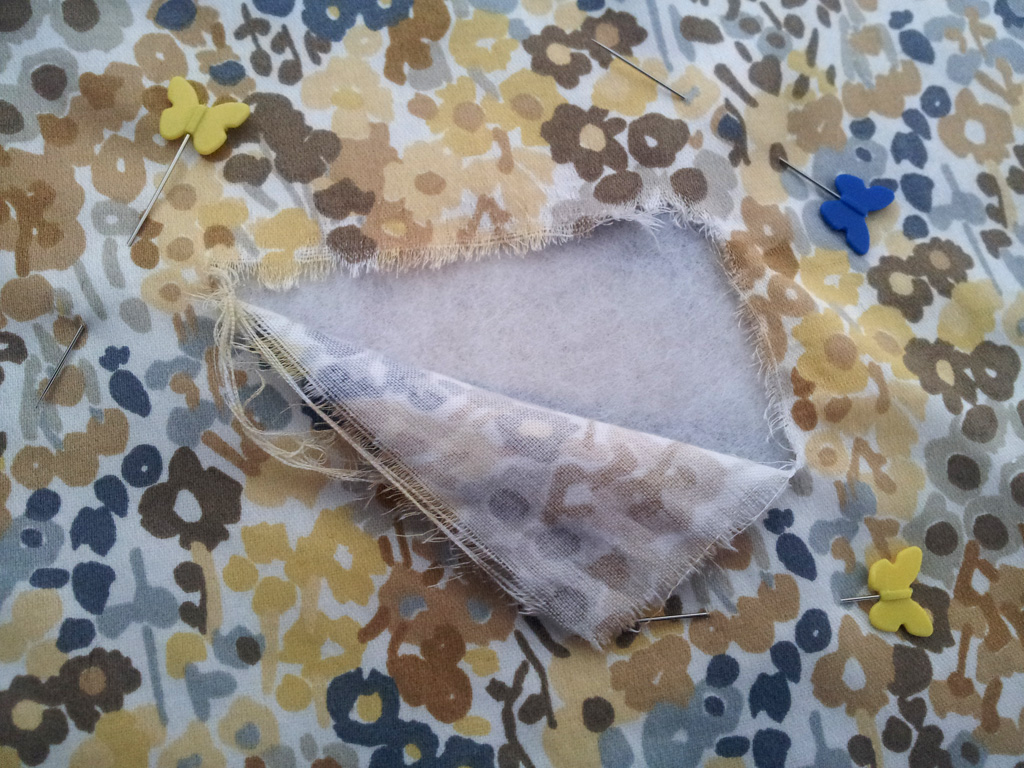
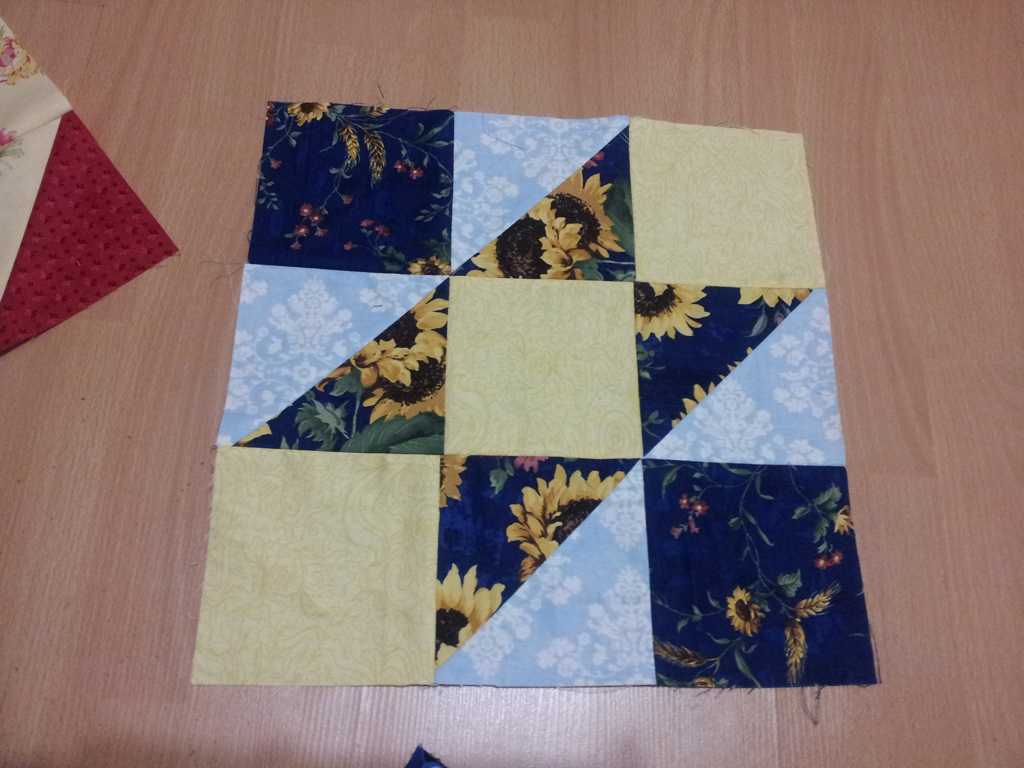
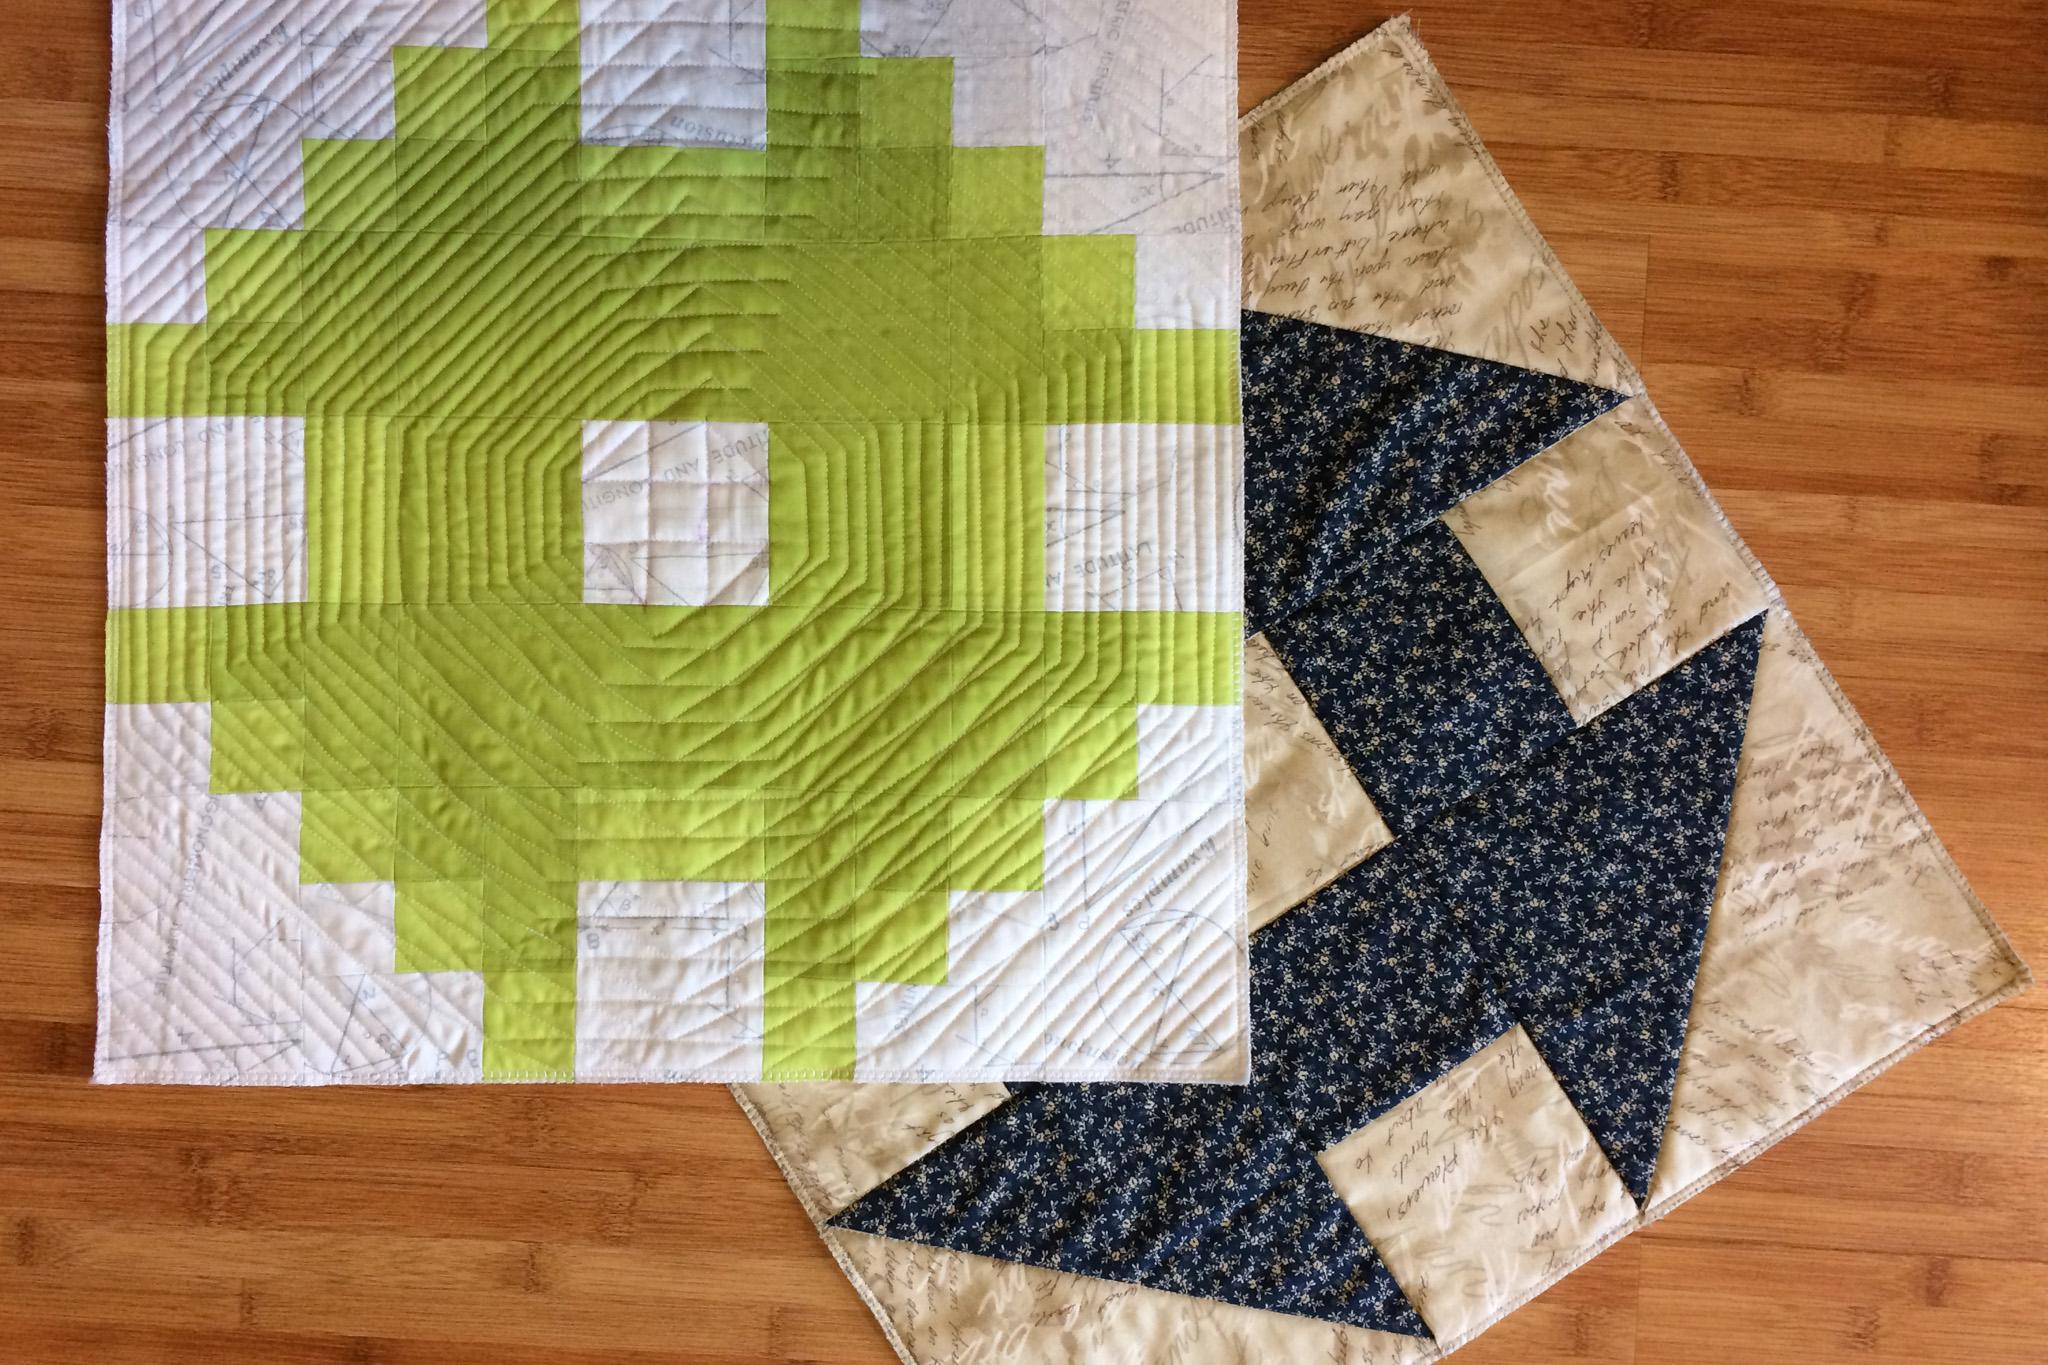
The traditional churn dash is straightforward—four half square triangles, a center square, and side rectangles, made from fabric I purchased early in my quilting journey. The more traditional text print is a great foil to the more modern, low-volume math print used in the other block. I stitched in the ditch to quilt it, because I didn’t feel like FMQ at the time for something more advanced.

Make it Modern Churn Dashes: Modern Pixelated 'Churn Dash'

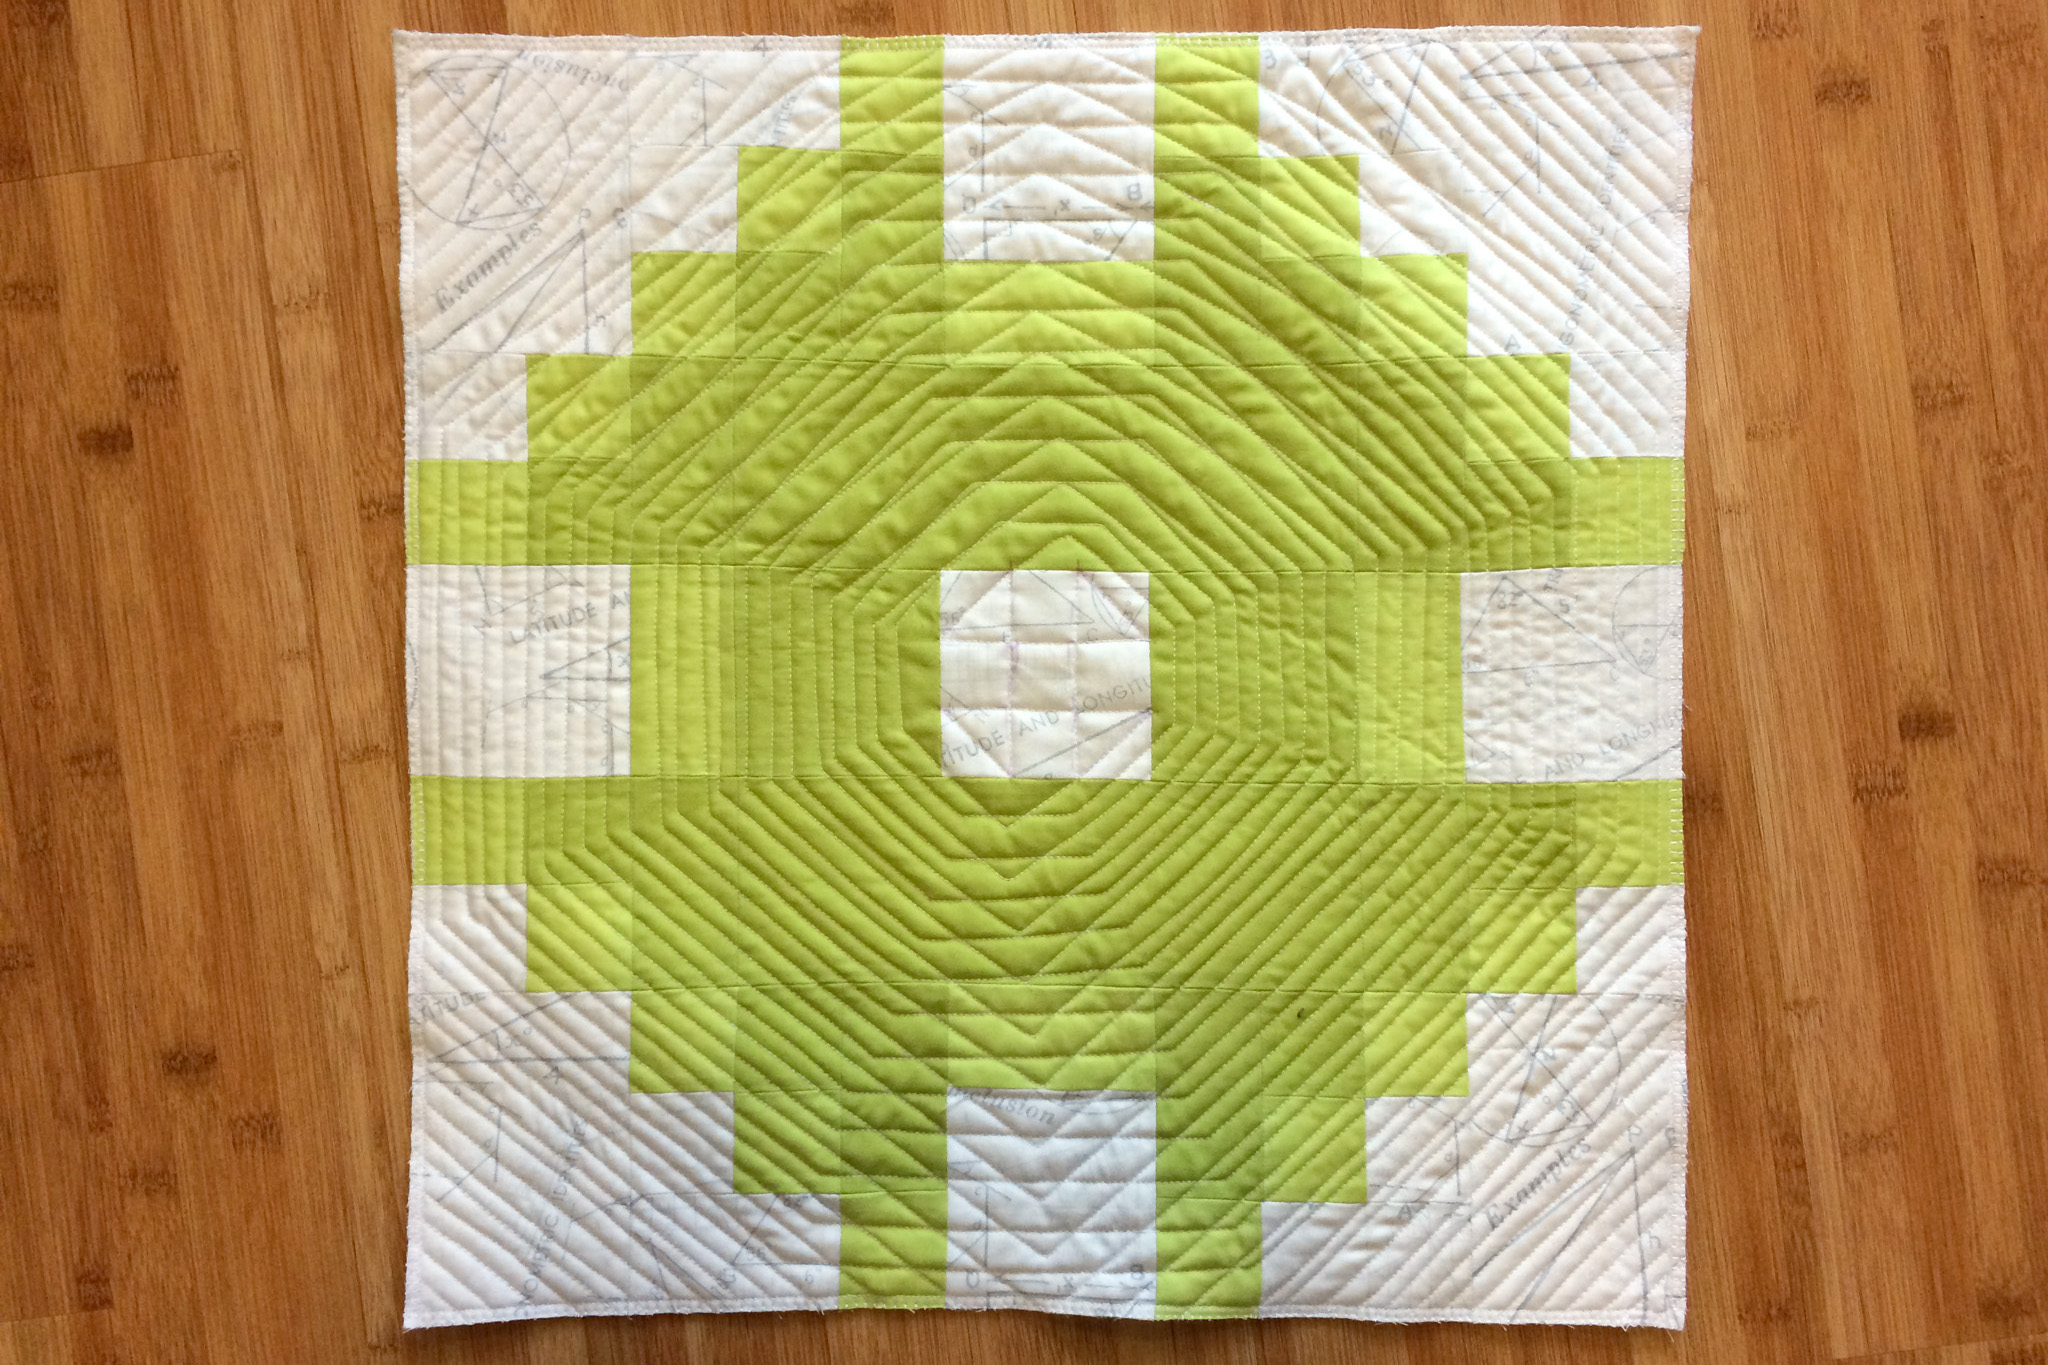
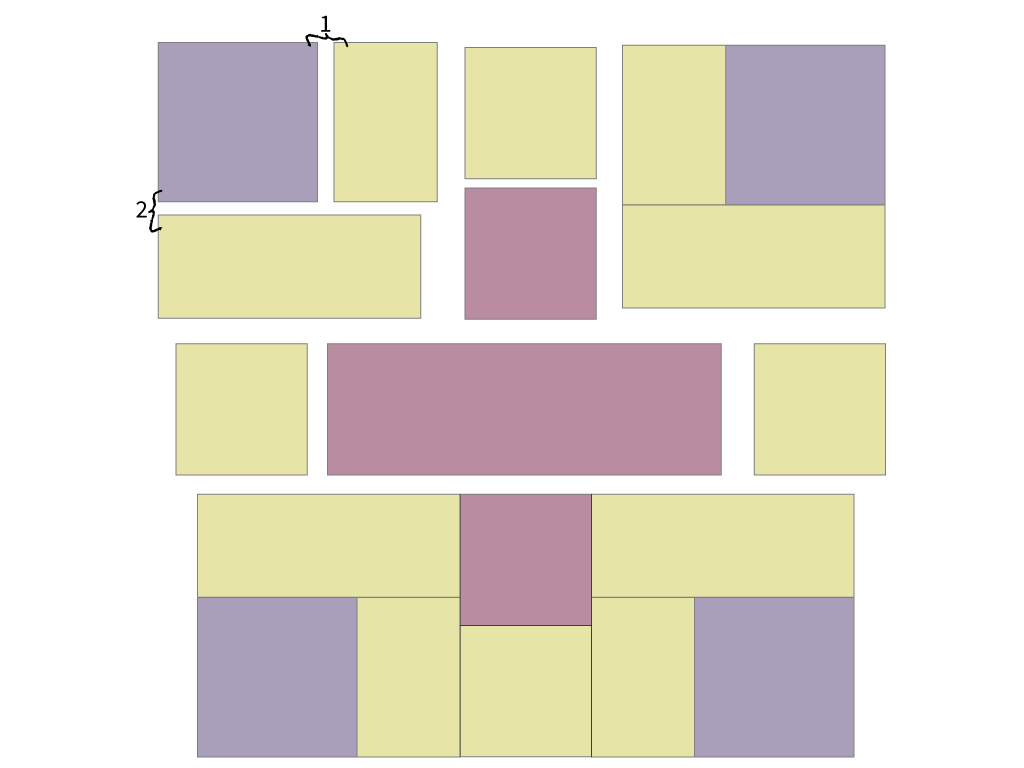
The super technical details modern details: I drew a vector churn dash, shrank it to 0.15″, rasterized it, then blew it back up to 18″. I played around with different sizes prior to rasterizing, but this was the best combination of “still looks like a churn dash if you squint” and “has big enough pieces (1.5″) that I won’t hate making it” I found.

Make it Modern Pixelated Blocking Structure

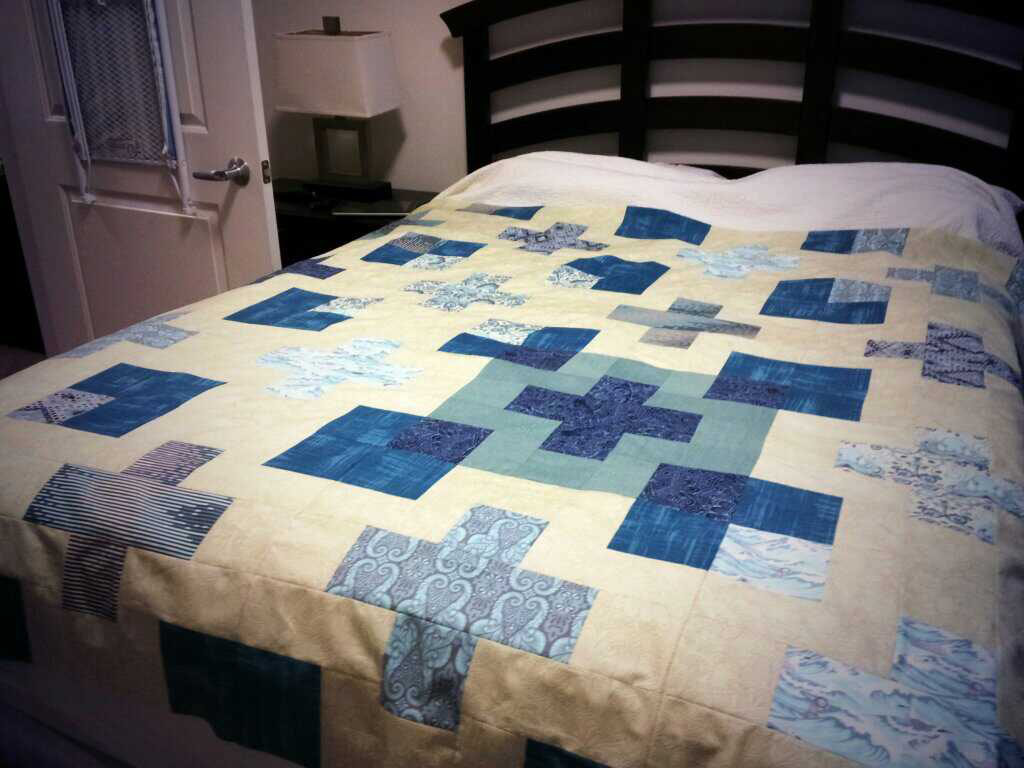
The more quilty modern details: after I had my design, I broke it up into blocks that let me piece as few 1.5″ squares together as possible (but, I was winging it, so there could be even more efficiencies I didn’t think of). I used a low-volume white math/text print from the stash as background, and two greens (Kona Peapod and Kona Limelight) that are just a little different so that you really get the pixelated blend from far away (that is, the farther away you are, the more it looks like it’s a normal (perhaps fuzzy) churn dash). I quilted it in geometric spirals, starting with a churn dash shape as a nod to the original block.

Make it Modern Churn Dash

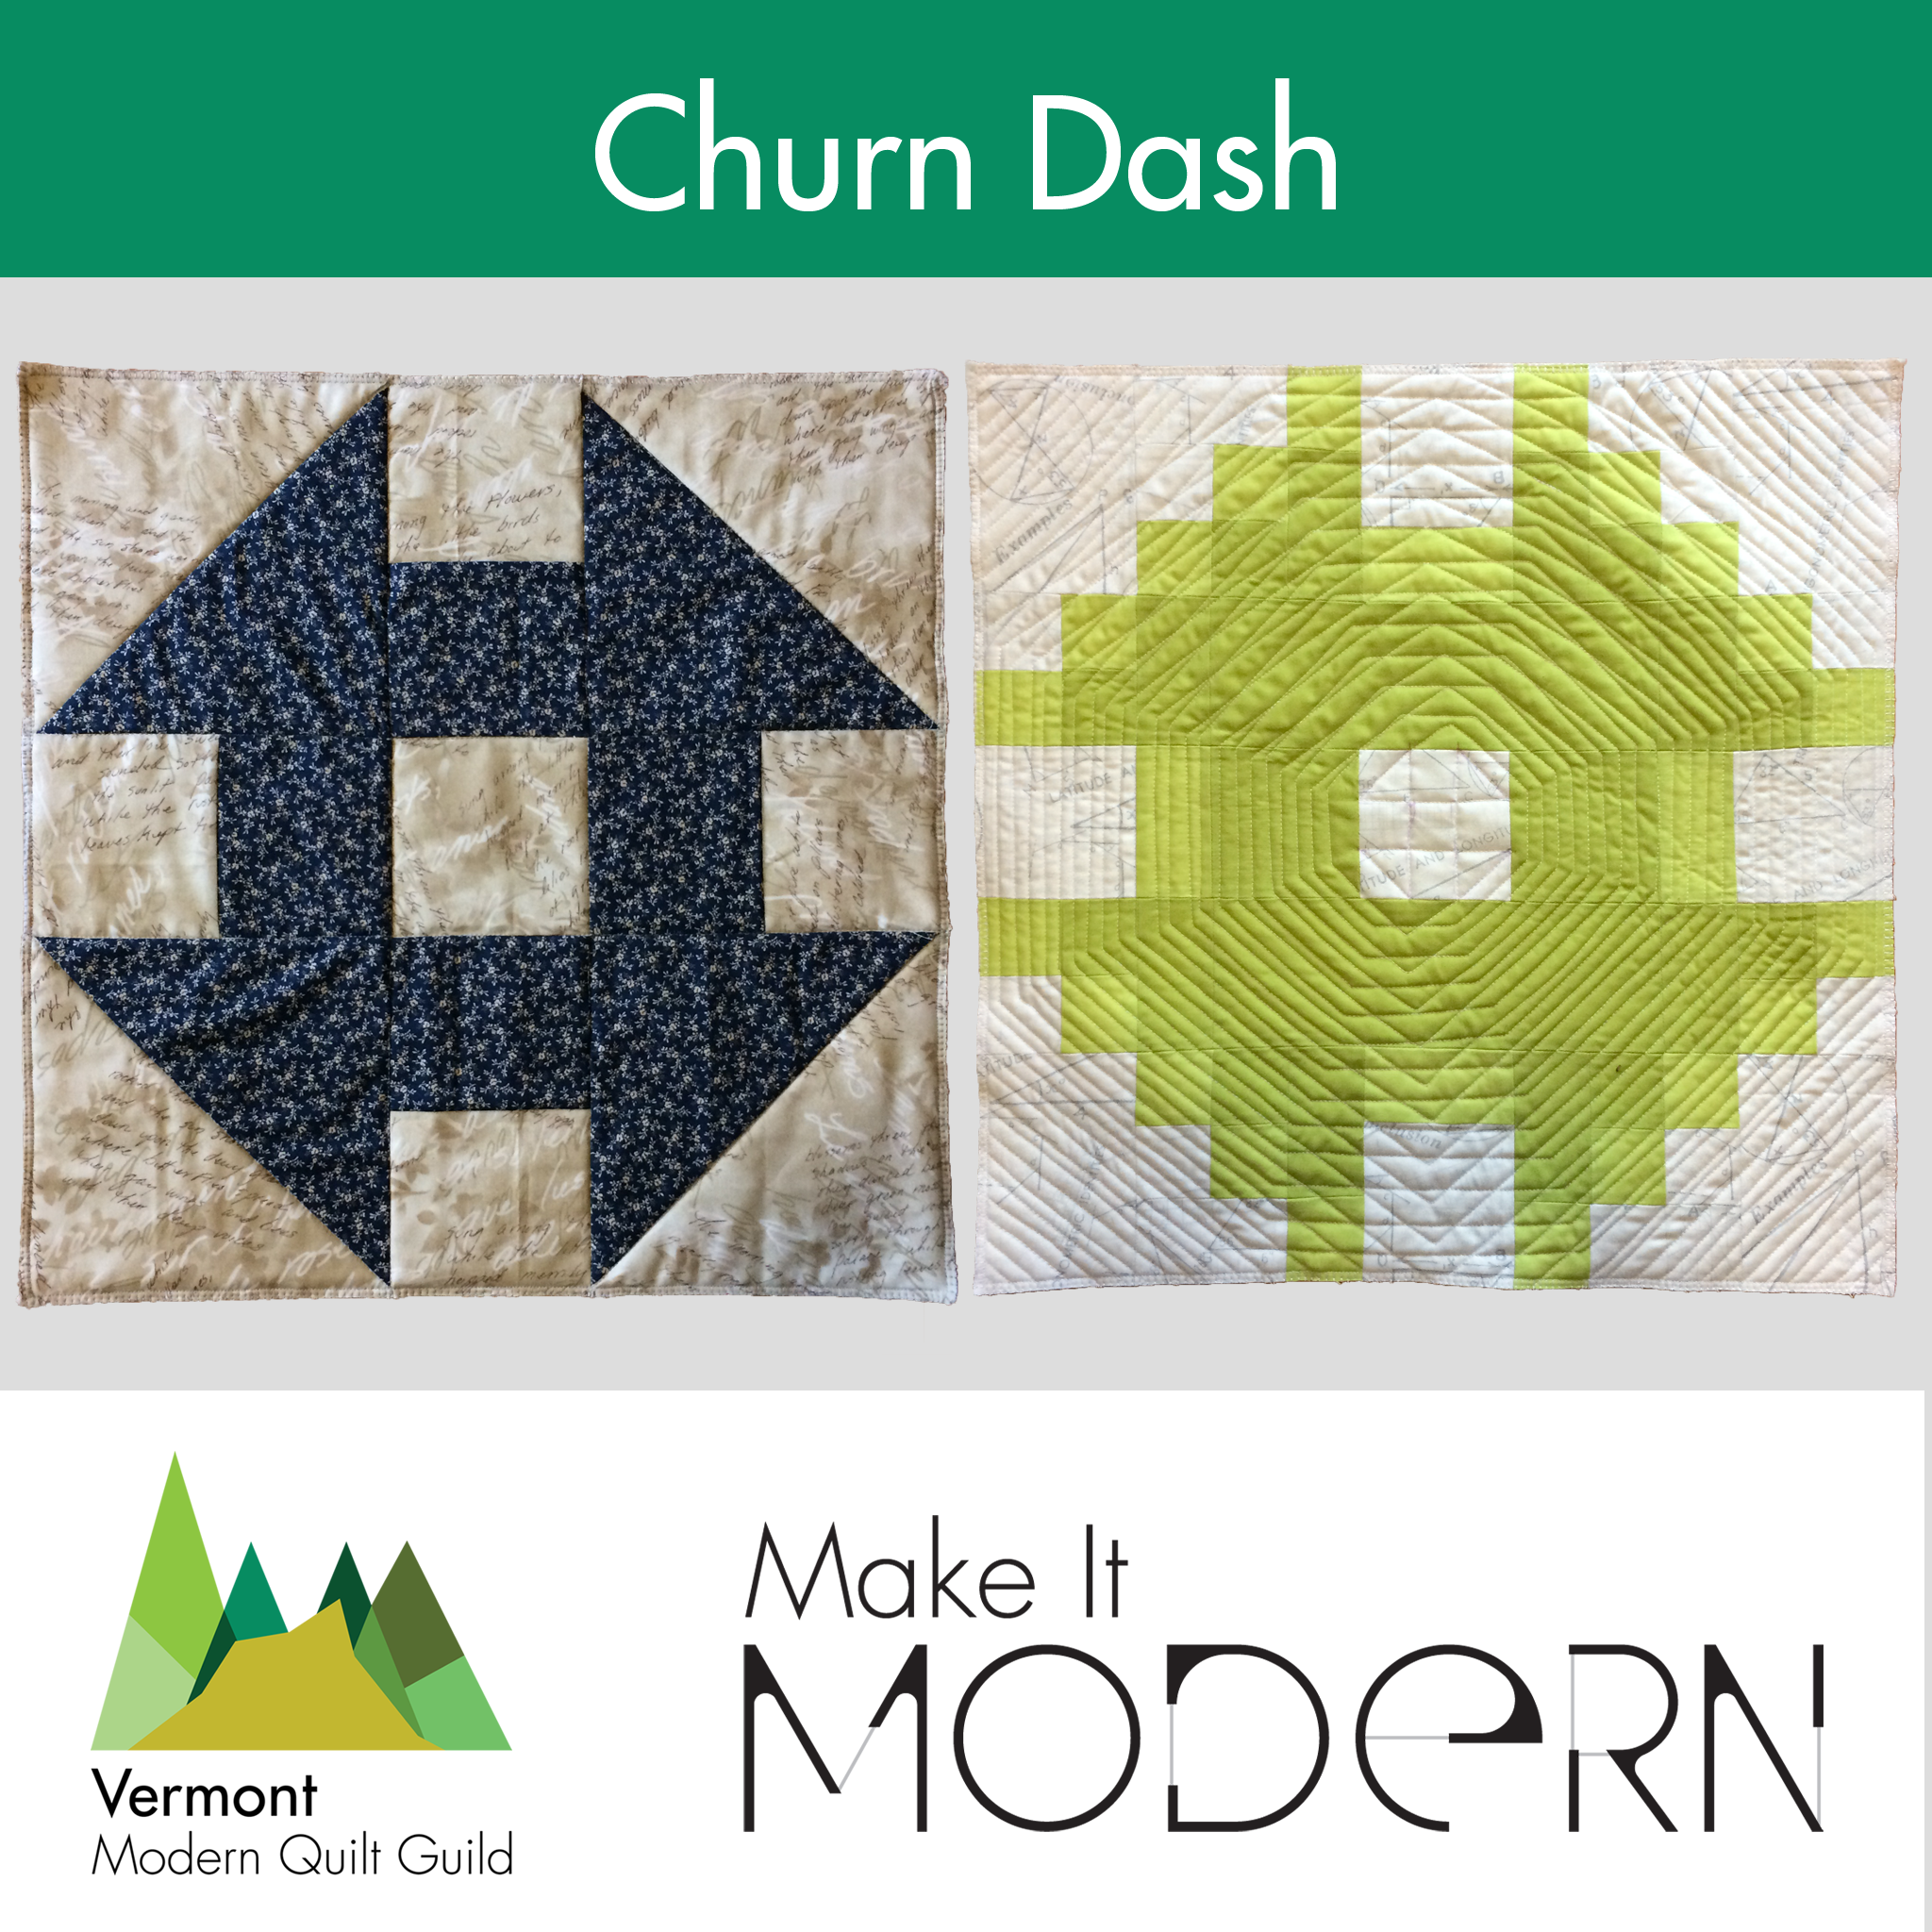
And here’s what it looks like once we take photos and drop it in a template to publish on Instagram and Facebook for the guild. I love the way this project has encouraged me to think about the different ways modern quilting can be expressed, and it’s been amazing to see the creativity of my fellow guild members in how they approach their own make it modern blocks.

April 11th, 2017

Slow Crossing

Posted in Quilting

  • Blocks
  • English paper piecing

The last time I mentioned my english paper piecing project (blocks from Lucy Boston: Patchwork of the Crosses), I’d sewn together about fifteen pieces—not even half a block. That was two years ago. Unlike many of my once-mentioned (even twice-mentioned) projects, I have continued to work on this one, albeit unhurriedly.

Farmer’s Crossing piecing detail, a Lucy Boston Cross block partially finished
English paper piecing blocks, Rachael Arnold, October 2014.

I go through phases where I’m content basting the individual pieces to their paper foundations, and make a bit of progress that way.

Farmer’s Crossing piecing detail, a Lucy Boston Cross block partially finished
English paper piecing blocks, Rachael Arnold, October 2014.

Then, I go through phases of piecing some together, building blocks a bit at a time.

Farmer’s Crossing piecing detail, a Lucy Boston Cross block partially finished
English paper piecing blocks, Rachael Arnold, October 2014.

This is where it stands after a bit more work while we traveled to New Jersey to see family last weekend.

Farmer’s Crossing piecing detail, a Lucy Boston Cross block partially finished
English paper piecing blocks, Rachael Arnold, October 2014.

In another two years or so, I may even finish an entire block.

October 17th, 2014

Off-grid Giant Plus Block Tutorial

Posted in Quilting

  • Blocks
  • C++ Quilt
  • Piecing
  • Q013AF
  • Tutorials

My latest project is a quilt composed of plus blocks that are a bit different from the typical standard-grid plusses. It looks tricky, but once it’s broken down into components it’s not a difficult block to make. Here are the measurements and a diagram to make one like mine, which finishes at 17.5″ (yes, a very large block!).

cplusplus-block

Cutting

Fabric 1 ( Corners)
Four 4.75″ squares

Fabric 2 (Background)
Four 4″ squares
Four 3.25″ x 4.75″ rectangles
Four 3.25″ x 7.5″ rectangles

Note: the more obviously patterned the background fabric is, the more obvious your seams will be without fussy pattern matching, so keep that in mind when selecting fabric.

Fabric 3 (Plus)
Two 4″ squares
One 4″ x 11″ rectangle

Piecing

By considering it an irregular nine-patch, you can see how the sections all fit together without requiring any Y-seams. You can easily string piece the sections, but pay attention to the mirrored placement for the corner components.

cplusplus-block-diagram

If you’re looking for a similar pattern that provides all the details for a full quilt, I recommend this Double Plus pattern. While the proportions of the block may not be exact, I drew my inspiration from it when figuring out my own design.

September 8th, 2013

Adding Another WIP to the Queue

Posted in Quilting

  • Blocks
  • Organizing
  • Q014BG

This may not be a new WIP, per se, as I’ve been thinking about it for as long as I’ve been quilting and had the ā€œfabricā€ for longer, but it’s now made it to the cutting table: College t-shirt squares for a t-shirt quilt.

college-tshirts
I’m not sure if Moof was protecting the blocks, trying to claim he helped, or just excited that things were on the floor…

I got tired of the storage bag taking up space in my closet (I’m not much of a patterned t-shirt wearer these days), and cut the shirts all apart the other day. The blocks will probably stay in this state for quite some time, but at least they take up a lot less space now.

I didn’t count, but I think there were around 20 shirts, some with front and back printed, some with just front, some with smaller logos on the front and full back, etc.

Part of the reason I don’t want to piece this yet is that one notable shirt is missing. I probably wouldn’t care, if not for the fact that I designed it. At some point we had two, because Carl also had one, but neither are to be found, either in my bag of shirts or our dressers. I have no idea how both disappeared! I know those two weren’t donated at any point. Maybe one’ll pop up sometime soon.

But, I have plenty of other projects to work on anyway and am very happy to reclaim the closet space!

Tips

Fuse on the interfacing before you cut. Interfacing is a must, even just a light-weight one. Cut it larger than your planned squares, fuse, then cut. It makes life much easier.

Pick block sizes that work together, especially if you don’t have a final layout planned. My shirts were mostly men’s smalls and mediums, with a few women’s larges thrown in. I was able to get a 12.5″ square from each very easily (which was great, because I have a square ruler that size). Some shirts had smaller motifs on the front, so I also cut 6.5″×12.5″ and 6.5″×6.5″ pieces, which will all work together well.

Unless there is something printed on the side seam, cut up each side, all the way through the bottom of the sleeve. This will let you open up the shirt and lay it flat, while keeping as much fabric in place to position your interfacing and ruler.

Have you ever made a t-shirt quilt? I’m kind of making up this process as I go along…

June 22nd, 2013

Finished Amish Sampler

Posted in Quilting

  • Amish Quilting
  • Blocks
  • Finished projects
  • q013ac

I described this quilt pretty thoroughly in my last post, so I’ll skip the long paragraphs and just show you the finished, post-wash photos.

Amish Sampler Front
ā€œSYWTQ ā€˜Amish’ Samplerā€, Rachael Arnold, June 2013, 43″×54″

All of the Regal sections are feathered, most of the seams are stitched in the ditch, with the light fabrics free of quilting.

Amish Sampler Detail
ā€œSYWTQ ā€˜Amish’ Samplerā€ (Front Detail), Rachael Arnold, June 2013, 43″×54″

The strip block needed just a little something more, so I changed thread colors to give the large triangle a bit more color.

Amish Sampler Detail Pink
ā€œSYWTQ ā€˜Amish’ Samplerā€ (Front Detail), Rachael Arnold, June 2013, 43″×54″

Now that it is washed, my feather stitching messiness isn’t quite as noticeable.

Amish Sampler Back
ā€œSYWTQ ā€˜Amish’ Samplerā€ (Back), Rachael Arnold, June 2013, 43″×54″

I’m not very happy with how the binding turned out. It is very limp. I made it so wide and un-mitered as a nod to Amish quilting, but I should have found a way to pad it. By the time I got to the binding, I was so done with this quilt, so I machine sewed the binding on. It worked pretty well with the serpentine stitch.

Amish Sampler Label
ā€œSYWTQ ā€˜Amish’ Samplerā€ (Back Detail), Rachael Arnold, June 2013, 43″×54″

So, that’s that. Now I just have to decide which of Carl’s nieces is getting it. 2013 finish number three!

June 9th, 2013

A Different Wall This Wednesday

Posted in Crafting

  • Blocks
  • Mending
  • Organizing

… or Mini Mid-Week Montage. Whatever alliterative title floats your boat.

It’s not my design wall, this time, but another one:

gma-karen-framed-block

This hand-pieced and hand-quilted variant of Contrary Wife or Steps to the Alter is another block done by my grandma. Because it is quilted already (I don’t know if she was trying out a technique, or learning QAYG, or what), I didn’t want to keep it for use in a future project. A 12″×12″ picture frame turned out to be the perfect solution. I don’t know if I’m sold on the white frame, but it seems to just be primed—easily paintable in the future.

My focus continues to be cleaning and organizing, lately. I did start up my sewing machine the other night though.

See what my dog did to our brand new guest-room sheets?

sheet-prefixed

A bit of stabilizer and my machine’s built-in darning stitches later, and it’s fixed—in the other three places too!

sheet-fixed

Yes, trimming his nails would also be good. We’re working on that one.

Speaking of this cleaning spree, have you ever had fabric go missing? In theory, I should have a whole stack of quarter yards from this one fabric line. I cut a couple of strips off of each at one point, and know where those are, but I cannot find the remaining pieces of yardage anywhere! I am positive I didn’t give it away, but it’s nowhere in my sewing room.

So, back I go to cleaning and organizing…

May 29th, 2013

2013 Saturday Sampler Group One

Posted in Quilting

  • Blocks
  • Piecing
  • Tiger Lily Saturday Sampler 2013

Because I’m doing more than one Saturday Sampler this year, missed last month’s meet up for this, and we met a week early this month, I decided to update every four months instead of quarterly this year. So, here’s the first of three updates for one of the shops. All blocks finish at 12″ square.

January’s block was Contrary Wife.

Tiger Lily Saturday Sampler: Contrary Wife

In February, we made Greek Cross.

Tiger Lily Saturday Sampler: Greek Cross

March brought Friendship Block (one of many with that name). I really think a quilt full of these could be very interesting.

Tiger Lily Saturday Sampler: Friendship Block

And this month was Clay’s Choice, a block named after Henry Clay, but also known as Star of the West once Clay faded from public memory.

Tiger Lily Saturday Sampler: Clay’s Choice

Instead of the whole quilt being a surprise as it was last year, this year they have the top completed and on display already. I’m trying to decide if I want to follow their setting style or not, so there’s still an element of personal choice. I can’t decide if I’m warm or cool about the quilt’s fabrics.

There’s still eight more blocks to help me make up my mind.

April 23rd, 2013

Wednesday’s Wall — April 17

Posted in Quilting

  • Block swaps
  • Blocks
  • Equipment
  • Q013AD

I did a bit of sartorial sewing over the weekend, but I haven’t yet managed photos. In the mean time, I’ve been plugging away on additional signature and piano key blocks. They’re quickly filling the design wall. All of the signature blocks are complete; the three that will be in my quilt are at the top of the wall, framed with scraps from my other blocks to build them out into 8″ finishing squares to mix in with the uneven nine patch blocks. I stil have another set of 12 piano keys to finish up, but then I’ll be done.

wednesday-wall-3

A note on the design wall

I received an email asking about my design wall. Mine is very low-tech—a scrap of batting (currently what is left from a queen pre-cut after two baby quilts, something around 50″×80″ or so) hanging from Command hooks with safety pins.

wednesday-wall-3-detail

I do want a better solution in the long run, but this actually works very well—and I can swap out batting scraps as needed. I know most people swear by flannel or felt for their design walls, but I much prefer batting. It seems to hold on to the blocks much better, and can be purchased much cheaper than flannel if you pay attention to sales (assuming you want something wider than 45″). I also like that it’s not on a rigid board—this way, I can roll it up if I want, preserving the layout on it, and hang up another scrap for another project as needed.

What is your favorite design wall setup?

April 17th, 2013

Wednesday’s Wall — April 10

Posted in Quilting

  • Amish Quilting
  • Block swaps
  • Blocks
  • Cottons Etc. Sampler
  • Piecing
  • Q013AD
  • Sew You Want to Quilt
  • Solids

Aside from the baby quilt I finished earlier this week, I’ve spent most of my sewing time lately on the various samplers and block swaps I’m currently involved in. My sewing space is a mess, but my design wall is rather colorful at the moment.

wednesday-wall-2-detail

The final swap for this round of my bi-monthly LQS block swap is a 6″ Ohio Star signature block for each member (10) and however many sets of three 6″ piano key blocks we want to use for our final layout. I’ve finished four of the signature blocks and 20 piano key blocks (out of 44 that I plan to make at this point). My other stars will use different fabrics from the four completed ones (seen in the blue/purple/green/orange piano key set), while the other piano keys will be made mostly of the same fabrics used in the previous swap blocks.

wednesday-wall-2

Rounding out the wall this week is another block for the Modern LQS sampler, and another for the SYWTQ Amish-esque block. Because we traveled over Easter weekend, I didn’t make it to the other sampler meeting, so I should have two to finish next month.

April 10th, 2013

Wednesday’s Wall

Posted in Quilting

  • Amish Quilting
  • Blocks
  • Cottons Etc. Sampler
  • Piecing
  • q013ac
  • Sew You Want to Quilt
  • Solids
  • Tiger Lily Saturday Sampler
Samplers on the wall

I’m currently working on three different sampler quilts (not to mention last year’s, which I still need to piece), and I oddly have the blocks up on the design wall for some reason (I’m usually good about putting them into their proper locations), so I took a (bad) photo.

One is with the Sew You Want to Quilt group, focusing on Amish blocks (I use the term loosely, based on research) in our own choice of colors. I have a few of those done, although I am still behind on one block from early February.

The other two are monthly Saturday Samplers (well, one is on Thursday nights) at the two closest LQSs. For those unfamiliar with the Saturday Sampler concept: you pay a registration fee ($10-15 seems standard) which covers a kit of the fabric for your first block at the first meeting. From there, if you continue to bring your completed block from the previous month to the next meeting, you continue to get the kit for the current month free of charge. If you can’t make it to the meeting, you typically have to purchase the missed month’s kit. Some shops give you a discount on the first kit you miss, some give you one free pass, some give you an incentive to finish the top before the next cycle starts, etc. Some give you all the individual pieces cut out, some give you strips and squares to cut and chain piece, some just give you chunks of fabric to cut everything out yourself. My two shops each have their own quirks, and sometimes the rules and procedures even change year to year.

Even though I’m not absolutely in love with the fabric choices and styles of either, I do greatly enjoy the social aspect—an hour each month to meet up with other local quilters, learn what the shops have to offer in the coming month, and see the creativity of everyone in what they bring to show and share.

I’m going to have to get creative with layouts for 12″ blocks though, that’s for sure!

March 20th, 2013

Ā Previous Posts

© 2008–2025 Raevenfea