Raevenfea

Maker of various fabric things

This is a static export of a blog I put on ice many years ago, that still has personally relevant content. No promises can be made around linkrot, styles, or working functionality.

Posts tagged: Fabric: Essex Yarn Dyed

A Yarn-Dyed Bionic Gear Bag

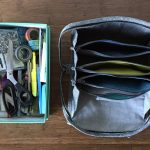
Bionic Gear Bag and what can fit in

Posted in Crafting

  • Bag
  • Fabric: Essex Linen
  • Fabric: Essex Yarn Dyed
  • From a published pattern
  • Notions

A few years ago, two sewing kit bag patterns were making the rounds online—the Bionic Gear Bag and the Sew Together Bag. While I wanted to make one (either one), I never managed to prioritize it amongst other projects. Events this year have sparked that desire again, and when I found myself tossing all of my tools and notions into a cardboard box to tote down to GA, making one quickly jumped toward the top of my project list.
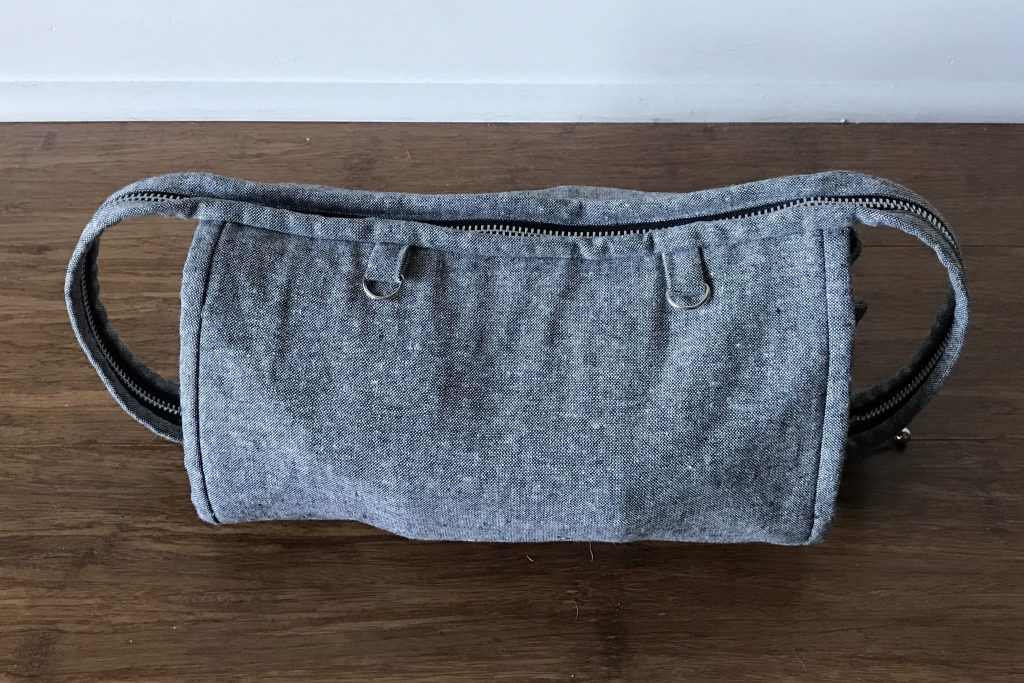
Bionic Gear Bag loaded and ready to travel

First, a confession: I hate buying patterns for quilts and bags. If I’m going to pay for something, I want to learn something, and so many patterns don’t introduce any new ideas or skills. In other words, I can do addition and geometry; teach me the out-of-the-box, or simpler, or more couture, or more resilient way of making the thing. If not for the fact that I’ve never made a bag with interior divider pocket/zips like this, I would never have used this pattern. It was so chatty, unpolished, poorly photographed, and needlessly long. So, caveat emptor if, like me, you’re a bit behind the bandwagon on this.
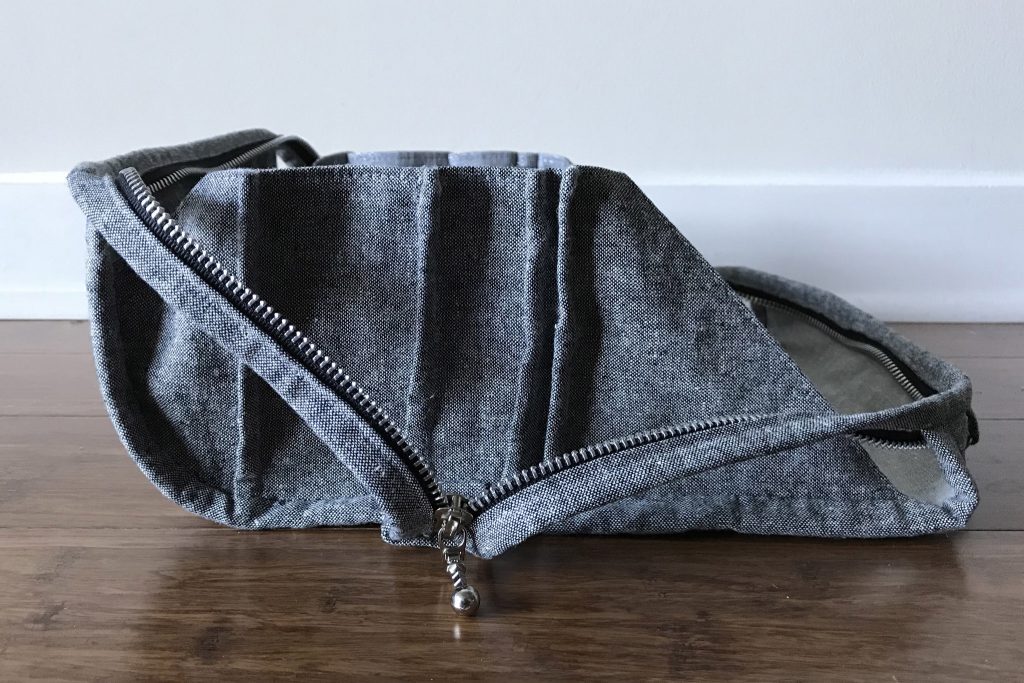
Bionic Gear Bag detail

I chose the Bionic Gear Bag over the other for two reasons. First, I was able to see the product in person; three fellow guild members brought theirs to our spring retreat. Second, I like that the front becomes a tray when open, which gave me a place to modify the pattern with d-rings to hook a thread catcher bag onto (another long-term non-prioritized want). I don’t have any criticisms of the final product the pattern produces, just the pattern itself.
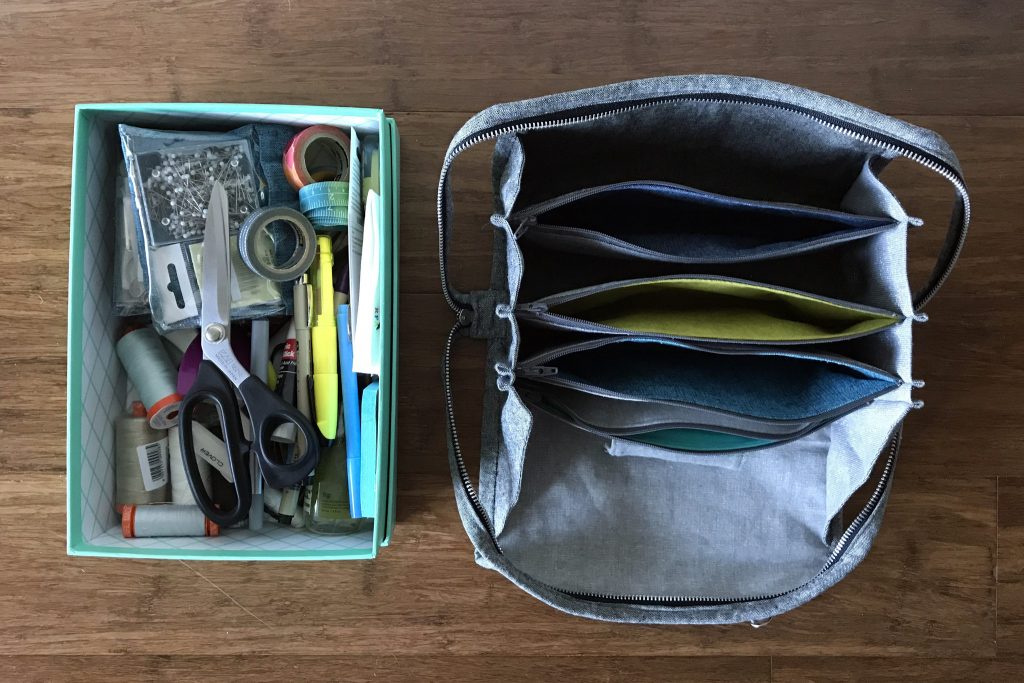
Bionic Gear Bag and what can fit in

I did very little in the way of modifications. I chose to leave off the snaps and not make the fabric dish (another 36 pages of instructions!). I added a needle minder to the front pocket (made from a couple of batting scraps and fabric). And I added the aforementioned d-rings to the binding that becomes the front of the tray, so that I can attach a small Open Wide Pouch (modified with swivel hooks attached and a cutting error that makes it deeper than it should be) that acts as a thread/scrap catcher.
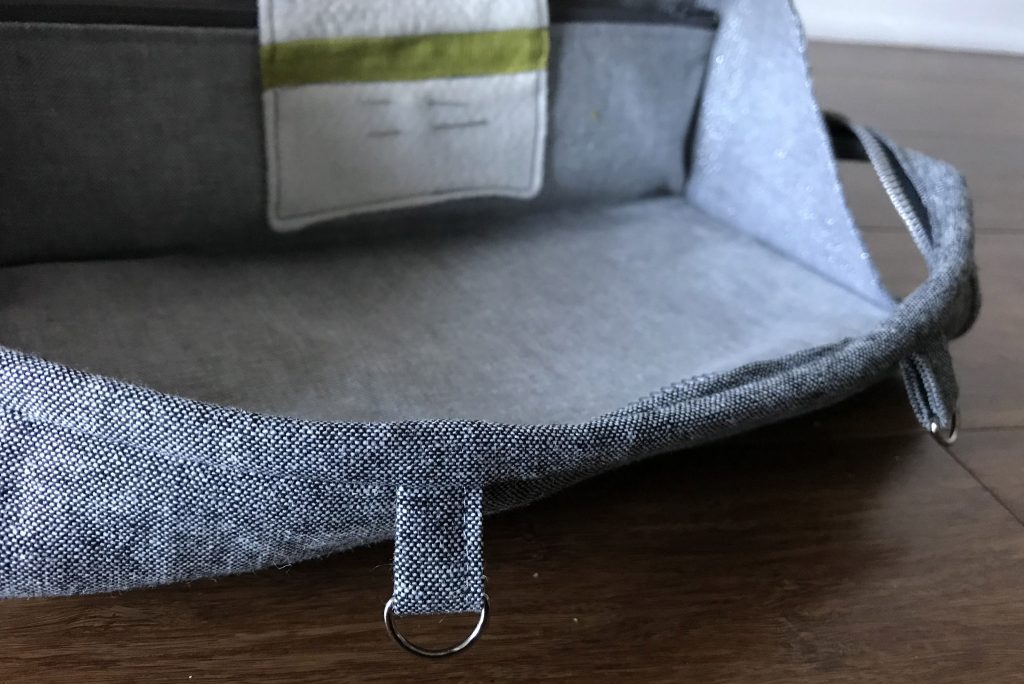
Bionic Gear Bag detail

I also went pretty basic with fabric on this; there is no fussy cutting, printed patterns, or decoration to be found. All of the fabrics are Essex Linen Blends, mostly yarn dyed. The interior is made of shades of gray; the zippered pouch interiors are the only pops of (solid) color. I did order a slightly fancy metal zipper for the exterior with an interesting zipper pull. I love the overall minimalism of the bag and am looking forward to making a machine cover in the same fabrics.
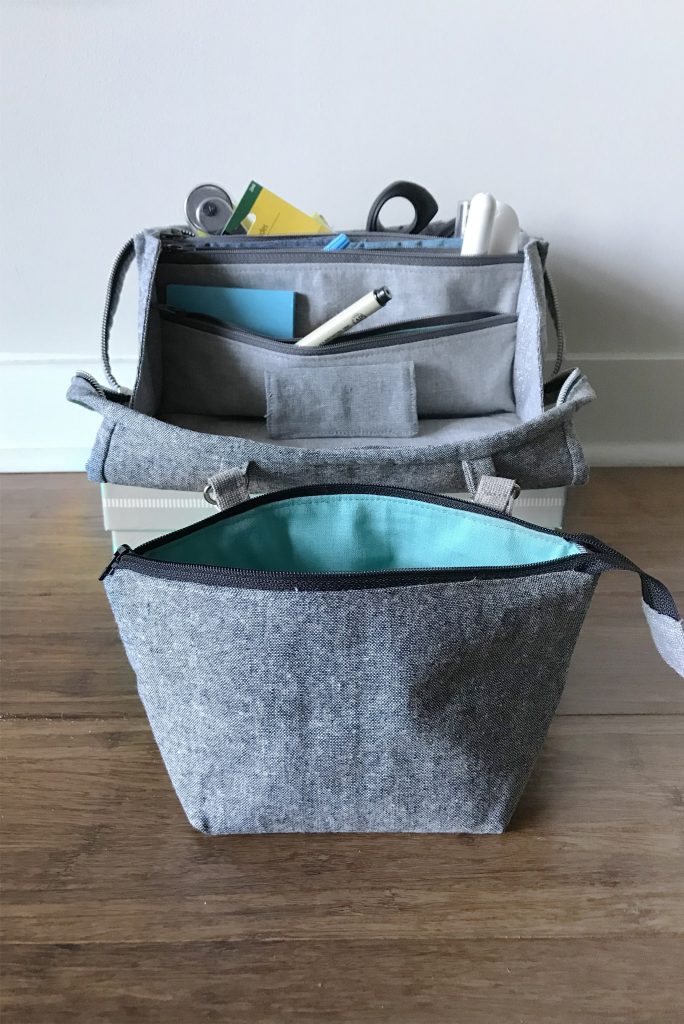
Bionic Gear Bag loaded and ready to work

I can’t wait to travel with this. I’m signed up for a couple of classes locally and am heading back to VT for a few days later this month, conveniently at the same time as one of my guilds’ fall retreats, so I have ample occasions to use it. And it certainly fits a ton of stuff. Almost everything I stuffed into this box when traveling to GA fit into the bag (or, in the case of zippers, became part of the bag)!
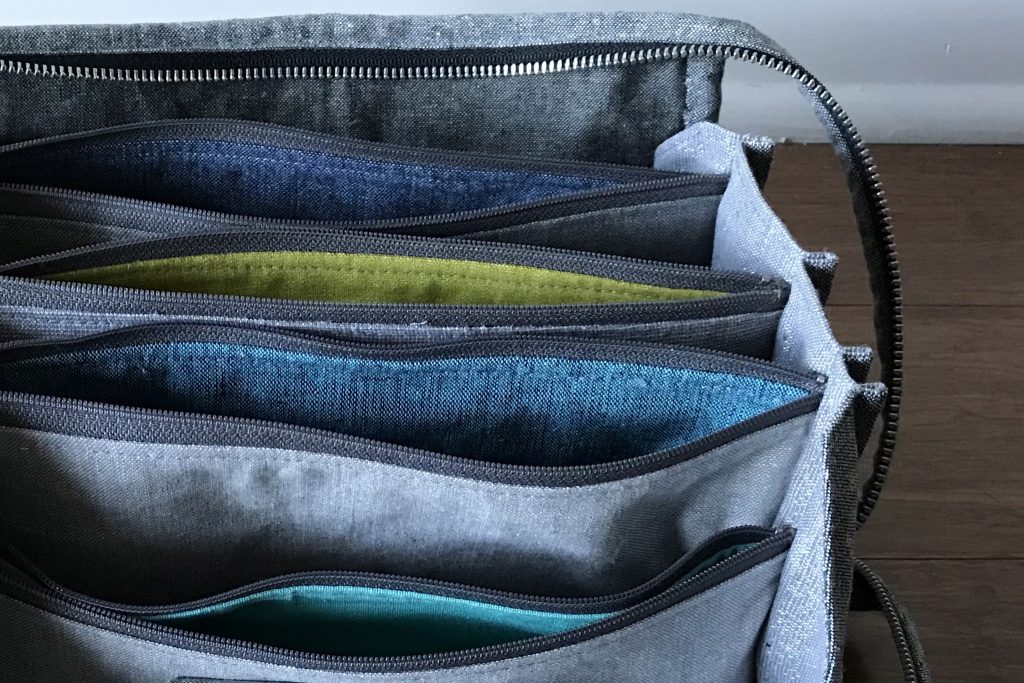
Bionic Gear Bag detail

September 15th, 2018

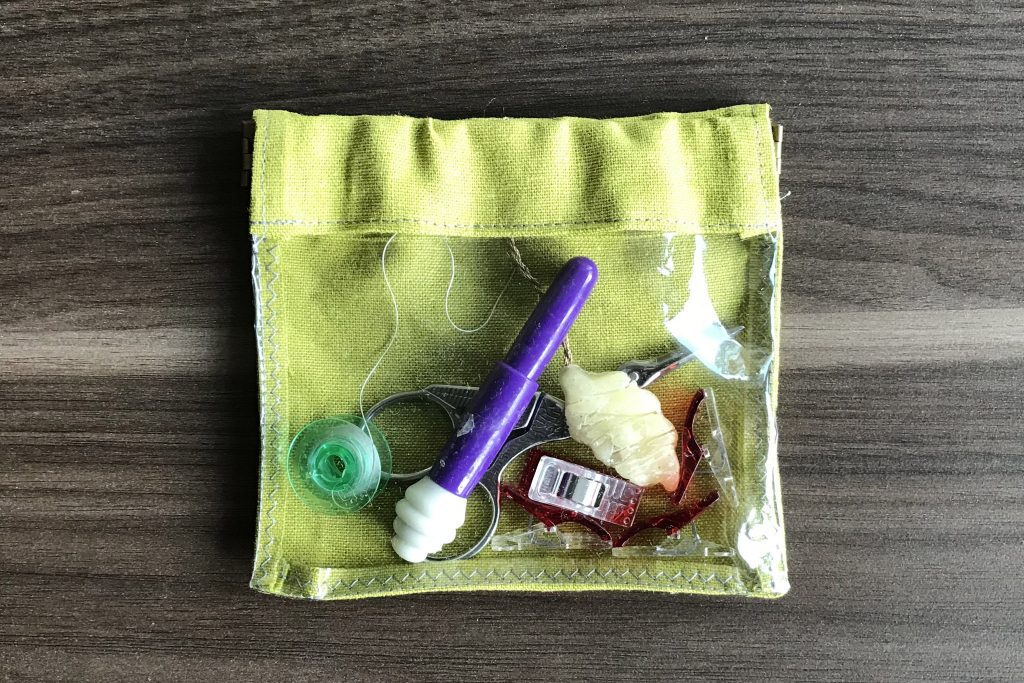
Half-vinyl Flex-frame Pouches

Posted in Crafting

  • Fabric: Essex Yarn Dyed
  • Hardware
  • Quick project

At each of the VTMQG’s retreats, we have optional “Sip and Stitch” projects in the evenings. They’re meant to be quick-ish projects that people can do as a break from what they brought to the retreat, preferably while chatting and sipping on their beverage of choice. They often involve learning how to use a new notion or component that many haven’t seen before. Last spring, one of the projects was making vinyl flex-frame pouches, an experience new to most of us.

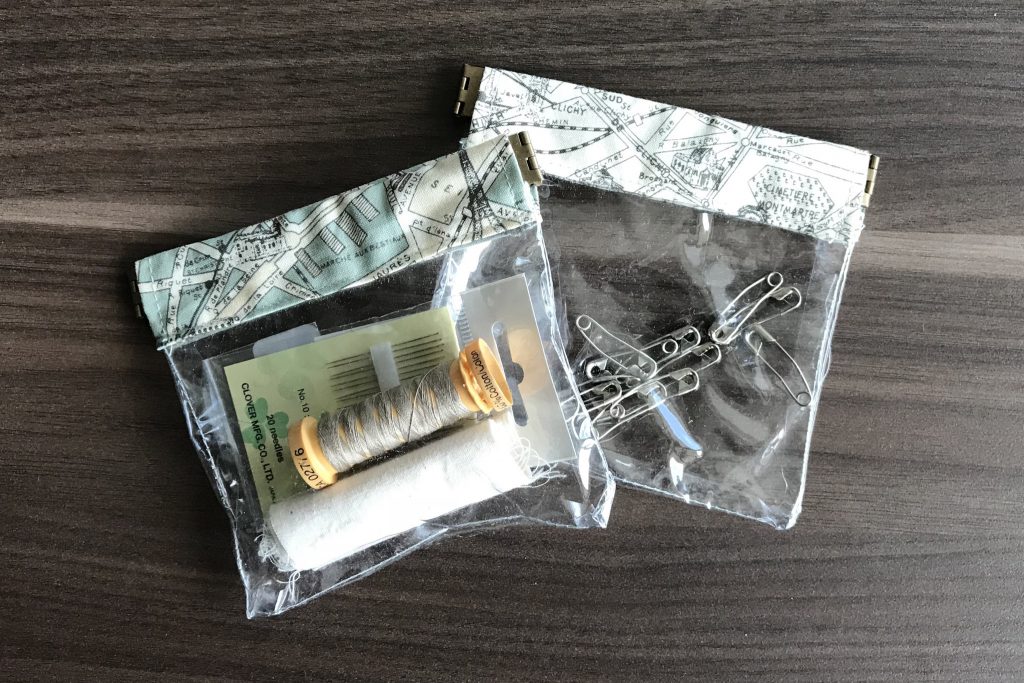
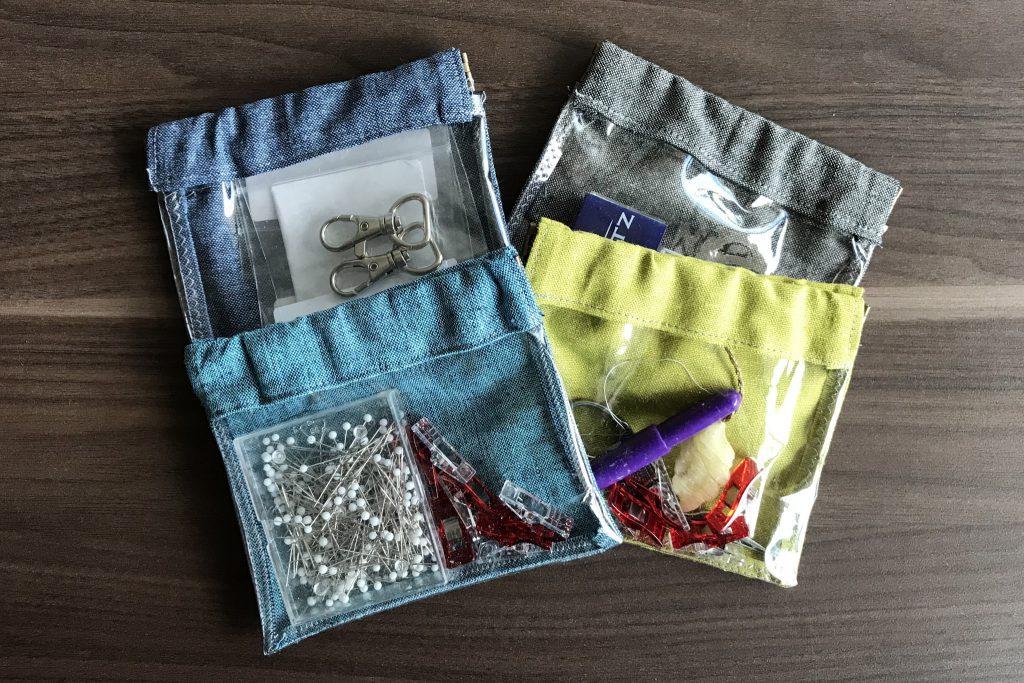
I purchased a few extra flex frames at the retreat, so after finishing a Bionic Gear Bag, I decided to make more pouches that match the bag, as they’re the perfect size to slip into the bag for even more organized storage. Due to having a limited amount of vinyl on hand, I decided to construct these new ones with only one vinyl side. While I could have used the same instructions as before, I thought I’d try something new and cut the back flex frame channel as one with the back fabric piece. In case you’re interested in the same, here’s how I modified Bonjour Quilt’s tutorial.

Supplies

  • 1 4.75ā€ (12 cm) flex frame (source)
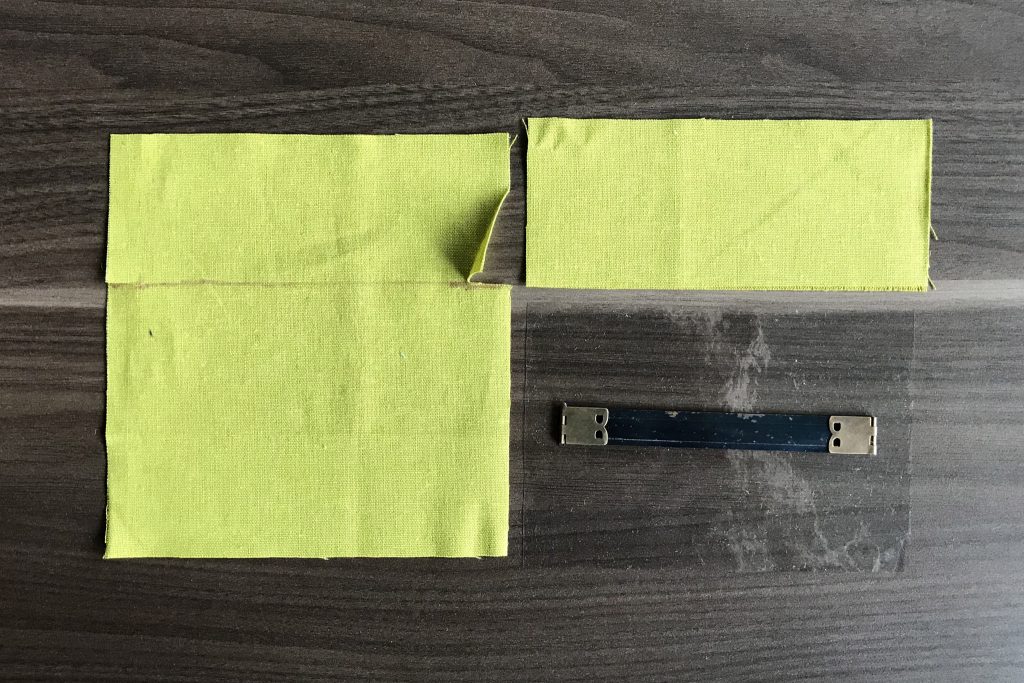
  • 1 5.75×4″* piece vinyl
  • 1 5.75×6″* piece fabric
  • 1 5.75×2.5″ piece fabric

* if you want to make your pouches deeper, cut your vinyl longer than 4″ and add the same amount of extra length to the 5.75×6″ fabric piece.

Steps

Tip for sewing with vinyl: sew with the vinyl side facing up (have the fabric touching your machine); use a teflon foot if you have one, or a walking foot. If things are getting sticky, use foundation paper or copy paper over the vinyl to keep your foot from sticking. You may also want to increase your stitch length slightly to keep from perforating the vinyl too much.

First, you’ll need to make two cuts in your back piece in order to prep it for a flex frame channel. Measure 2.25″ down from the top and mark a line all the way across on the wrong side of the fabric. Then, measure in 1/2″ from each side and place a dot on the line. Cut from the edge in to each dot—this will give you two little flaps to fold in on either side.

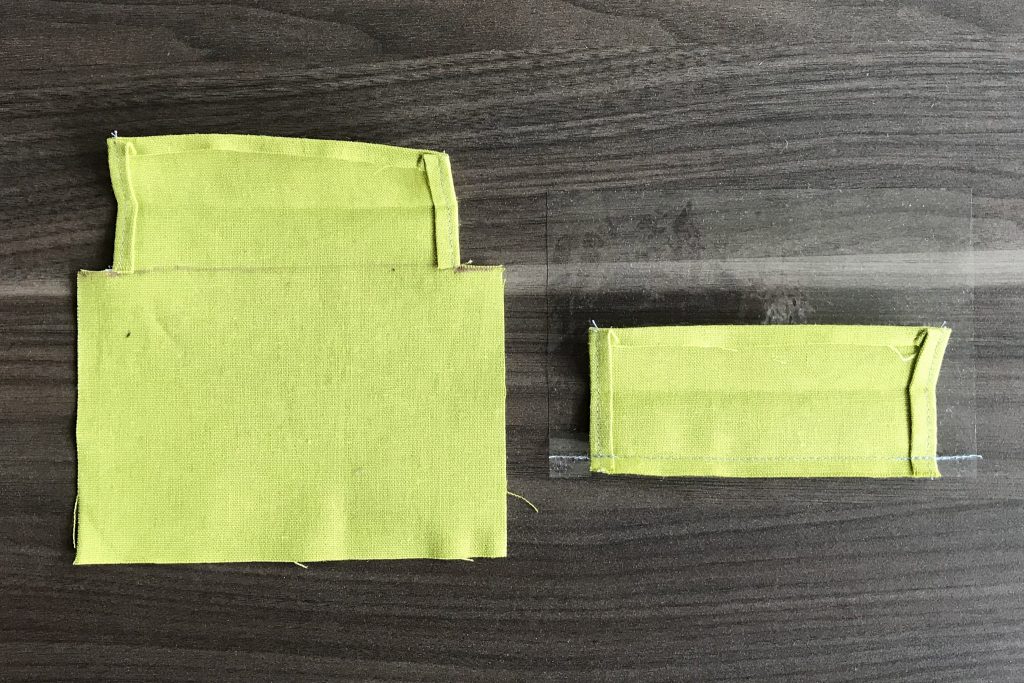
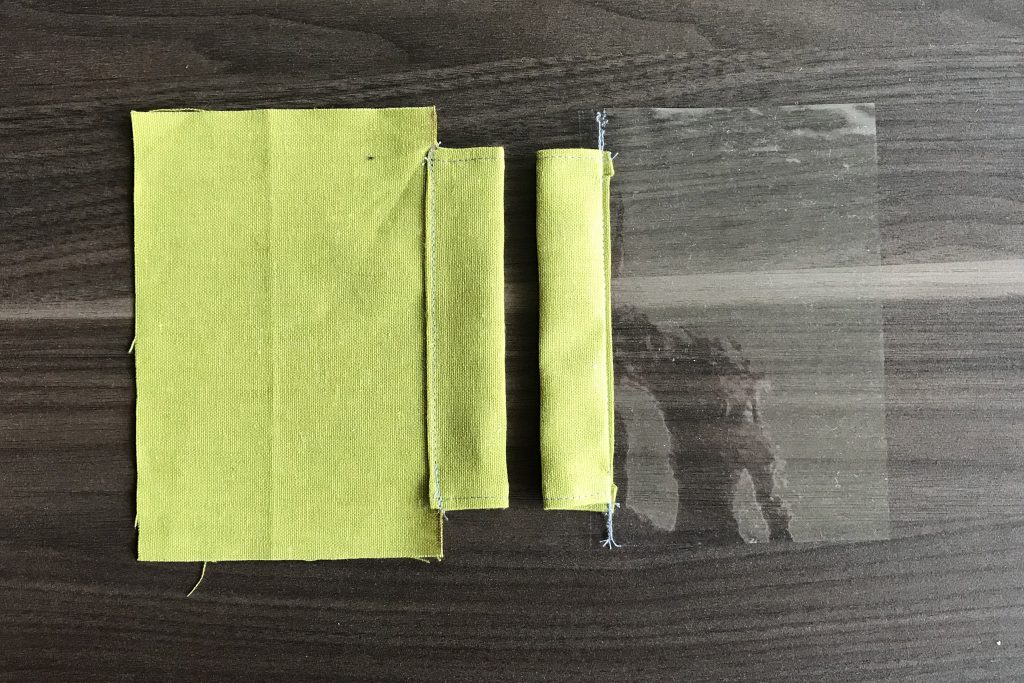
Fold each short flap in by 1/4″ and press. Fold down the top of your piece by 1/4″ and press. Then, fold the flap sides in another 1/4″ and topstitch on each side to hold, backstitching on either end for security.

Prep your front channel piece by folding and pressing the short ends in by 1/4″, doing the same for one long end, then folding and pressing the short ends in one more time. Topstitch the short ends. Sew the unfolded long edge to your vinyl with a 1/4ā€ seam allowance, then fold over to the right side and topstitch the other long end down just below the seam. The Bonjour Quilt tutorial shows a different method that is arguably stronger due to sewing only a single line of stitching through the vinyl, but I’m not too worried about mine, and I prefer the finish.

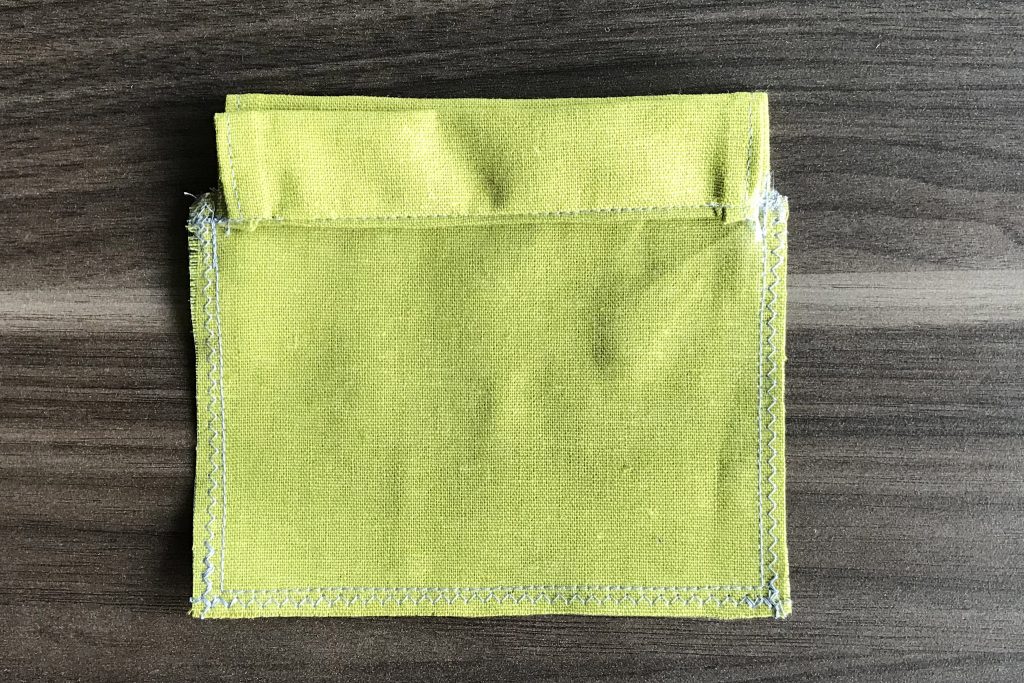
Using a hera maker, mark a stitching line down each side of the pouch where the channel pieces end. Sew down the sides and across the bottom (1/4″ seam allowance), backstitching to secure your stitches at the top side of the pouch.

Trim the seam allowance down to 1/4″ on all sides of the pouch body, then finish the edges by sewing an overcast stitch or zigzag within the seam allowance to keep your fabric from raveling. You could also use pinking shears instead (alas, mine are in VT).

Turn your pouch right-side out, and finger press the edges.

Insert your flex-frame hardware into the channels, add the closing pin, and admire your work!

For more detailed instructions with photos for the later steps, check out the tutorial from Bonjour Quilts.

Good luck with your organizing!

September 8th, 2018

Triangle Rainbows

Bag to match "Triangle Rainbows"

Posted in Quilting

  • Baby quilts
  • Fabric: Cloud9 Cirrus Solids
  • Fabric: Essex Yarn Dyed
  • Gifts
  • Q017EE

I hope you’re all having wonderful holidays. I was hoping to get 100% caught up on blogging my 2017 finishes… we’ll see. So far, I’ve done a lot of nothing productive on my days off work.

This is another quilt that I finished months ago—September to be precise. I finished everything but the binding at my guild’s fall retreat with the deadline of a baby shower looming the following weekend. Life had other plans, and we had to fly back to MO that weekend due to the funeral of my step-mother. I finished the binding a couple weeks later and still gifted it well before my friend’s baby girl came into the world. My friend seemed a little unwilling to share the quilt with her baby though (at least, when I gifted the quilt)—a true compliment!


I really love it when I stumble upon my motivation trifecta: a spark of design inspiration, a stack of fabric that calls to me, and a (somewhat loose, but looming) deadline. That happened here, and sparked off the creation of one of my favorite finishes yet.

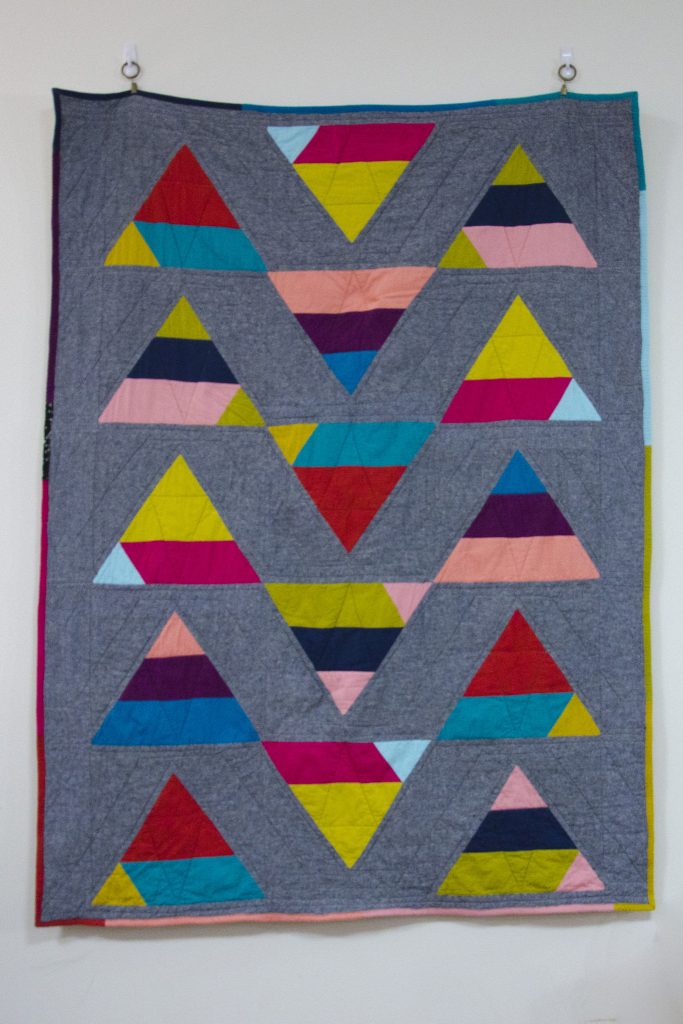
The design inspiration came from a rug I found online. Something about the triangle designs and arrangement really caught my eye. The fabric inspiration came from a stack of fat quarters of the full range of colors in Cloud9’s Cirrus Solids collection. I think I’ve talked about their solids before, but I love, love, love them. They are yarn dyed (but with the same color weft and warp), and have much more depth than your typical solid. The rainbow of colors kept drawing my eye as it sat on my shelf, and seemed perfect for this project.

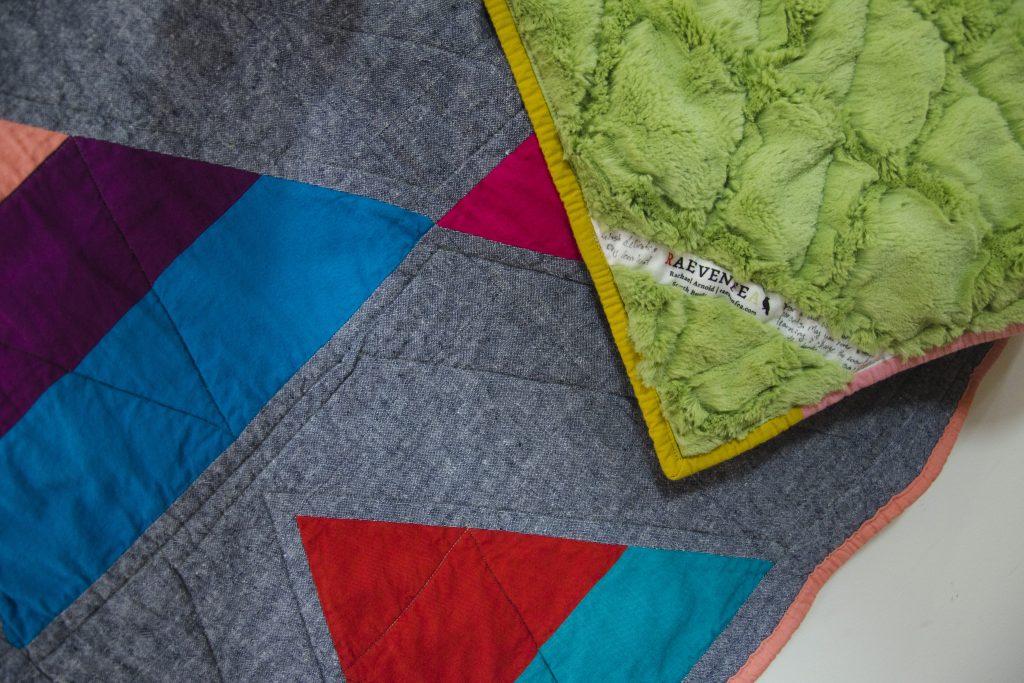
ā€œTriangle Rainbowsā€, Rachael Arnold, September 2017, ~42″x56″.

Finally, the reason to make the quilt: the upcoming birth of a good friend’s first baby, gender unknown. This friend is a constant source of inspiration to me in our quest to get more women involved in tech, and is artistic herself, so I was happy to have everything click in place to come up with a design and finished quilt that I’m proud of and that I think she’ll really dig (and hopefully her small new human will too).

At first, I had triangles that were drawn a little more free-form, with varying sizes of stripes, and planned to paper piece them. I was inspired by a trunk show that Amy Friend gave my guild, along with her book Improv Paper Piecing: A Modern Approach to Quilt Design. But, paper piecing—especially at the scale of these triangles—just doesn’t seem to click for me, so I fell back on basic piecing and simplified my triangles into pieces that were straight-forward to calculate (or, in the case of the angles, to put a strip of tape on a ruler for consistency).

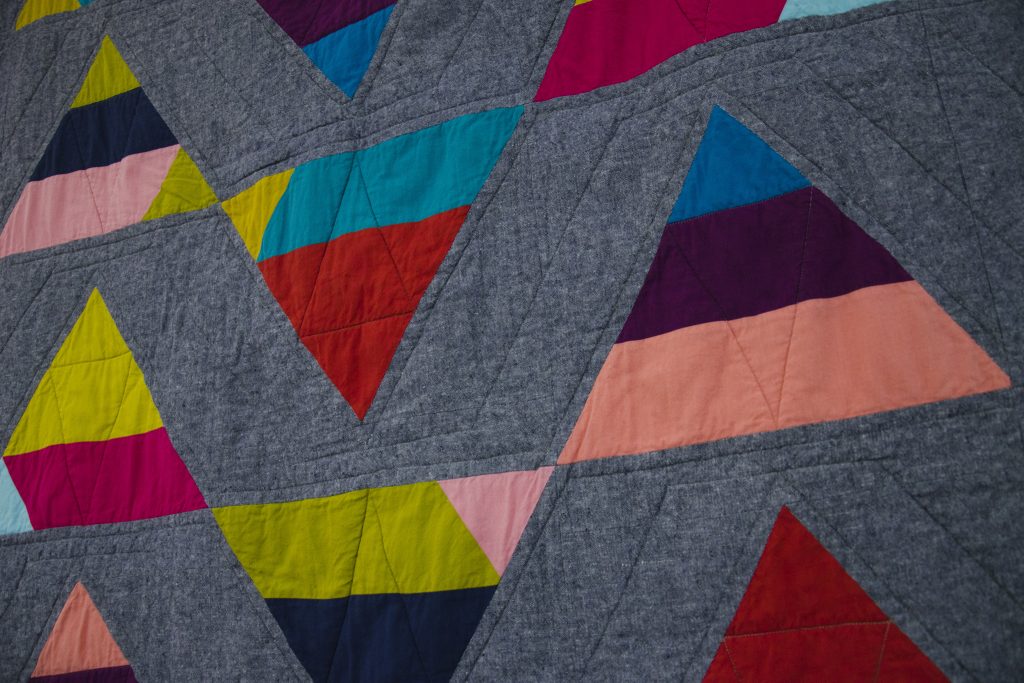
ā€œTriangle Rainbowsā€ (detail), Rachael Arnold, September 2017, ~42″x56″.

I paired the Cloud9 solids with about two yards of Essex Yarn Dyed (Indigo, if I remember correctly). For her registry, my friend focused on greens and grays, so paired with the rainbow of solids, this read as a good neutral gray. On the back is a solid swath of green Minky that has a tile texture. I used Quilter’s Dream low-loft cotton batting, and bound it in a rainbow of scraps from the front, plus a little bit of a black and white print to get enough length.

ā€œTriangle Rainbowsā€ (detail), Rachael Arnold, September 2017, ~42″x56″.

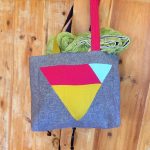
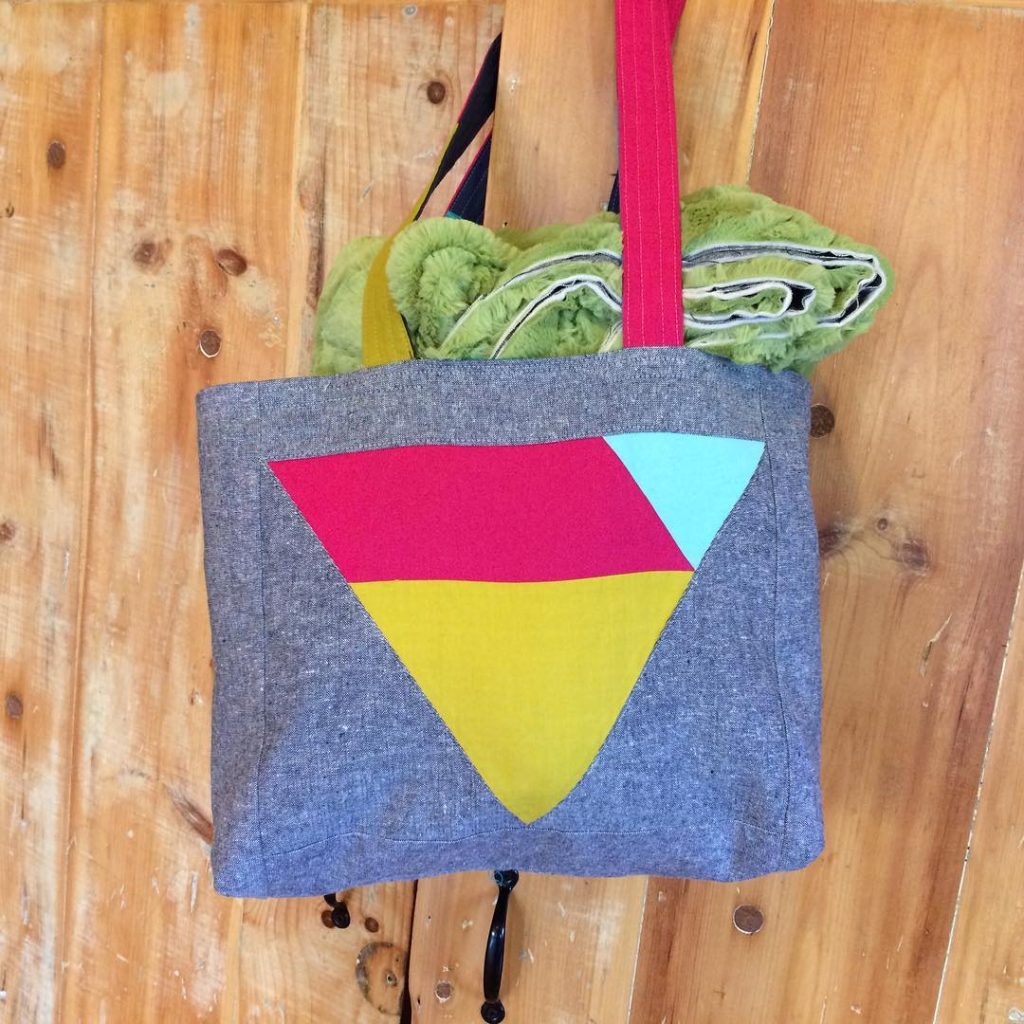
I ended up with a spare triangle that I miscut, which inspired me to whip up a gift bag to go along with the quilt (or, as something for mom to carry around?). The lining is pieced of strips of a few of the colored solids, and the straps are also scrappy, making use of the fabric I had left of the fat quarters. I didn’t work from a pattern from the bag, just memory of making similar ones—it finished at around 14x16x2″, and I used Pellon 101 to interface the outer fabric.

Bag to match "Triangle Rainbows"
Bag to match “Triangle Rainbows”

From a technical standpoint, this isn’t my best quilt—some points are missing due to in-progress design decisions and bad math, and the binding just didn’t want to go on all that well, in part because the Minky had different pile lengths. But, it still ranks high on my list of favorite designs.

December 28th, 2017

Makers Gonna Make Scrappy Pouches

Posted in Crafting

  • Bags
  • Fabric: Essex Yarn Dyed
  • Fabric: The Cottage Garden
  • Quick project
  • Zipper

Like many quilters, my scrap bin (boxes, cubes, bags…) is out of hand—unorganized, jumbled, and overflowing. This year, I’ve tried to be mindful of what is leftover from my projects and keep it organized in some way so that I don’t add to the existing problem. One solution has been offering up the leftover fabric to guild members—particularly when I’m “over” working with that line and there’s a substantial amount leftover. This especially made sense for my #mqgfabricchallenge scraps, since it meant another member may be able to enter. I already have more scraps than I think I’ll use in my life—particularly since I don’t make many scrappy things.

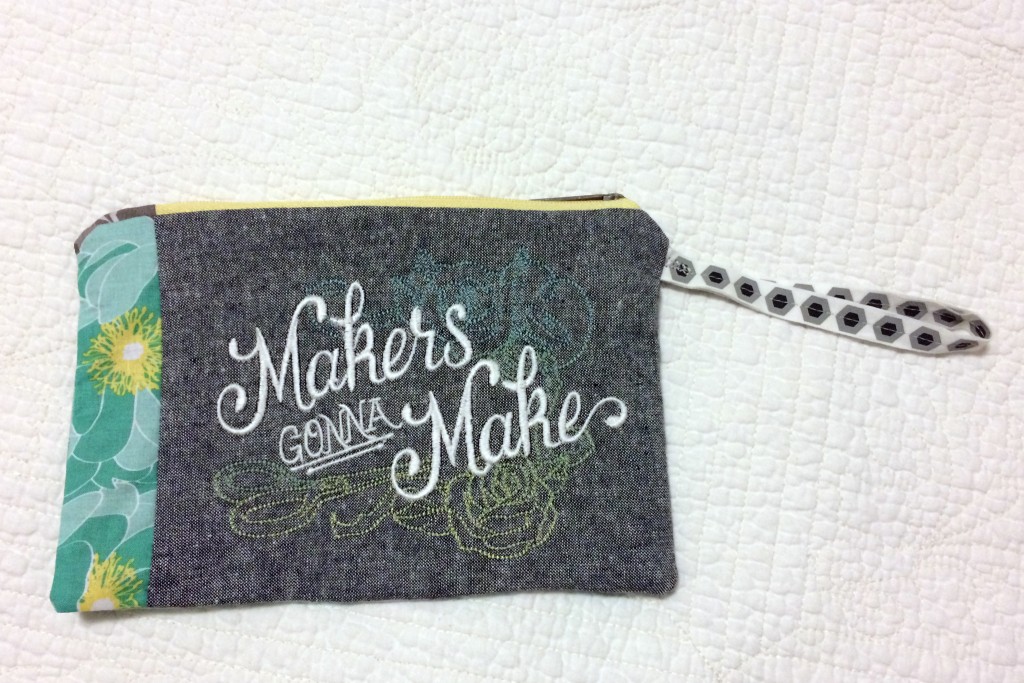
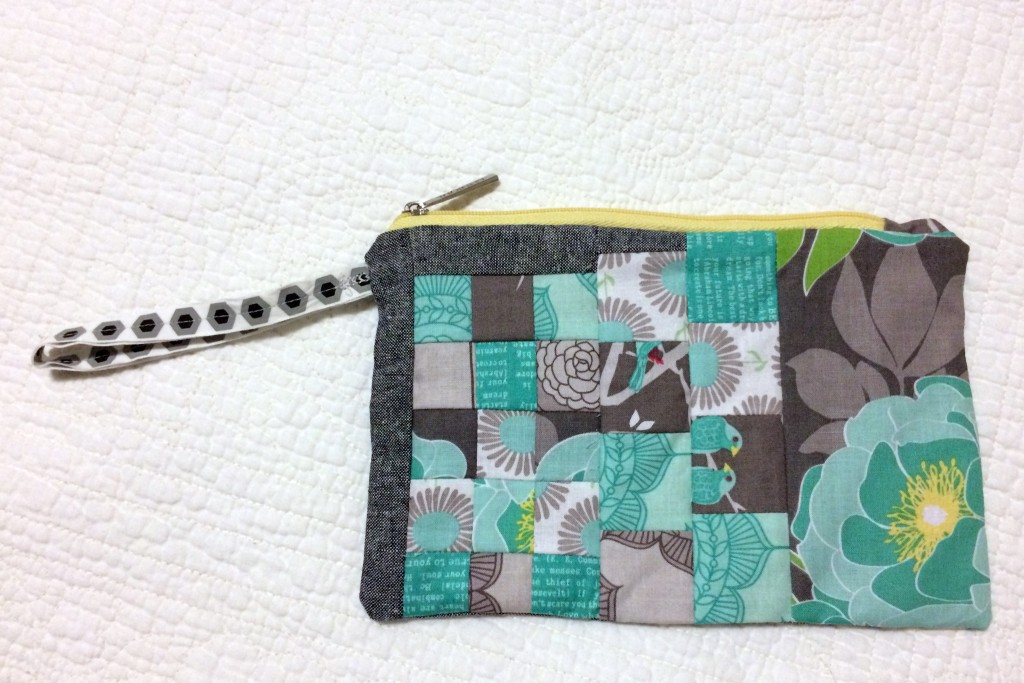
Makers Gonna Make Pouch Front

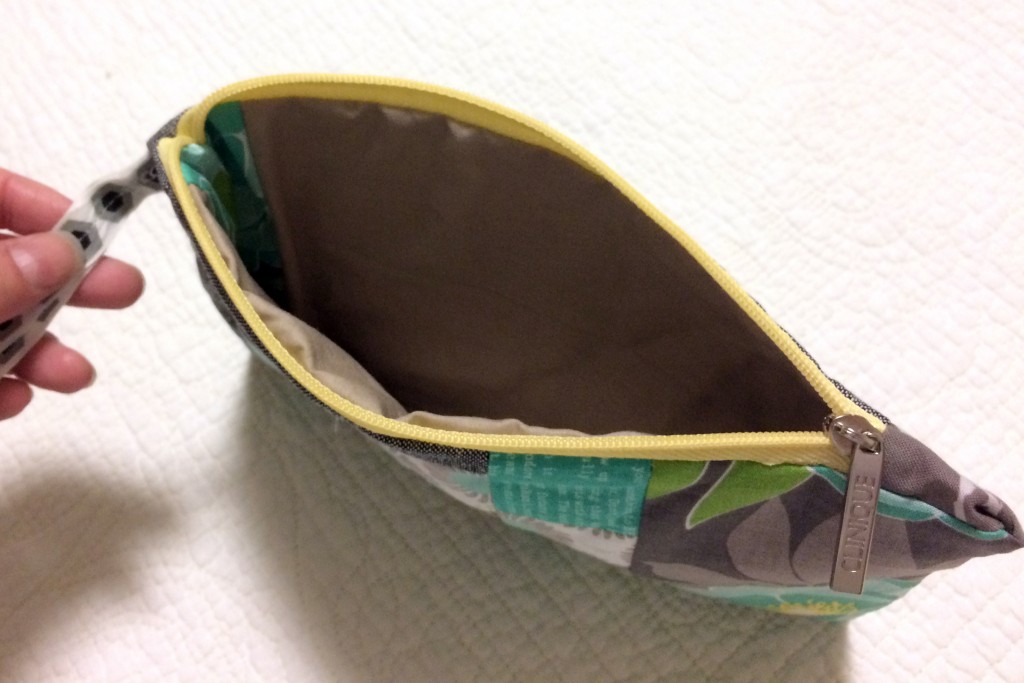
But, after packaging up my challenge scraps, I still had a few left that were already pieced together in various ways (cut-offs from piecing the bag). One thing I always appreciate having around are zip pouches—they’re handy for packaging up projects, carting things around, and organizing. So, I threw together a quick zip pouch from scraps, the ribbon from the fabric challenge bundle, another embroidery, and a recycled zipper from one of those free-gift-with-cosmetic-purchase vinyl pouches that always seem to clutter up my bathroom cabinets.

Makers Gonna Make Pouch Back

I didn’t spend much time on it, nor is the scrappy piecing the most aesthetically pleasing, but it’ll serve its purpose just fine.

Makers Gonna Make Pouch Open

What’s your favorite quick scrap busting project?

July 18th, 2015

The Art Student and the Cottage Garden

Posted in Quilting

  • Bags
  • Fabric Designer: Amanda Herring
  • Fabric: Essex Yarn Dyed
  • Fabric: The Cottage Garden
  • Zipper

“This Art Student visited the Cottage Garden, and what happened next was a real challenge!” I really couldn’t restrain myself from click-bait copywriting there. Sorrynotsorry.

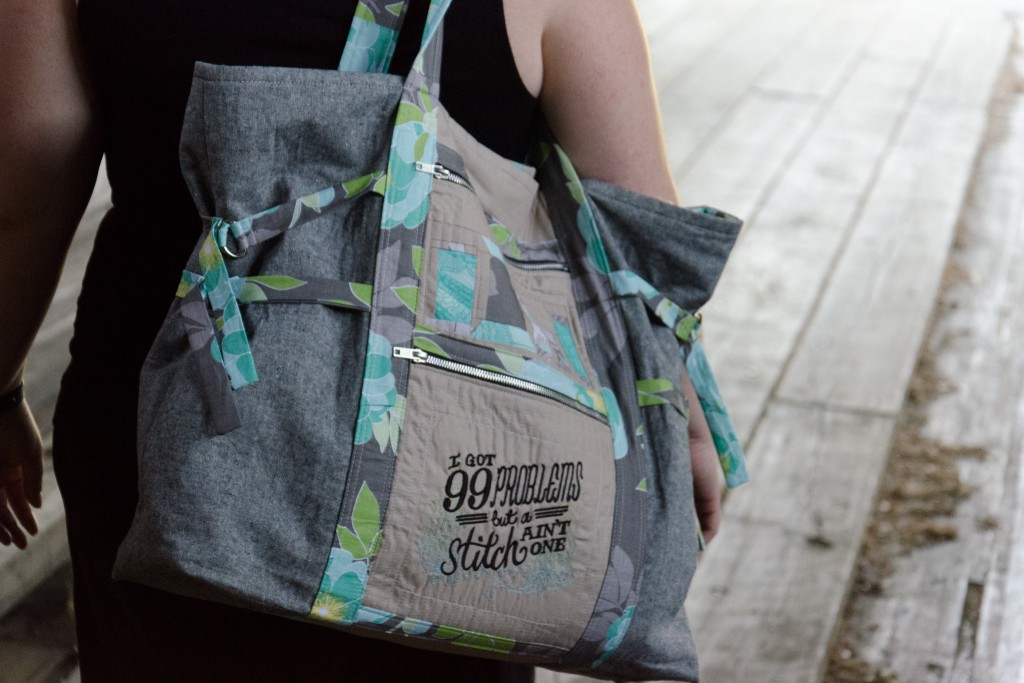
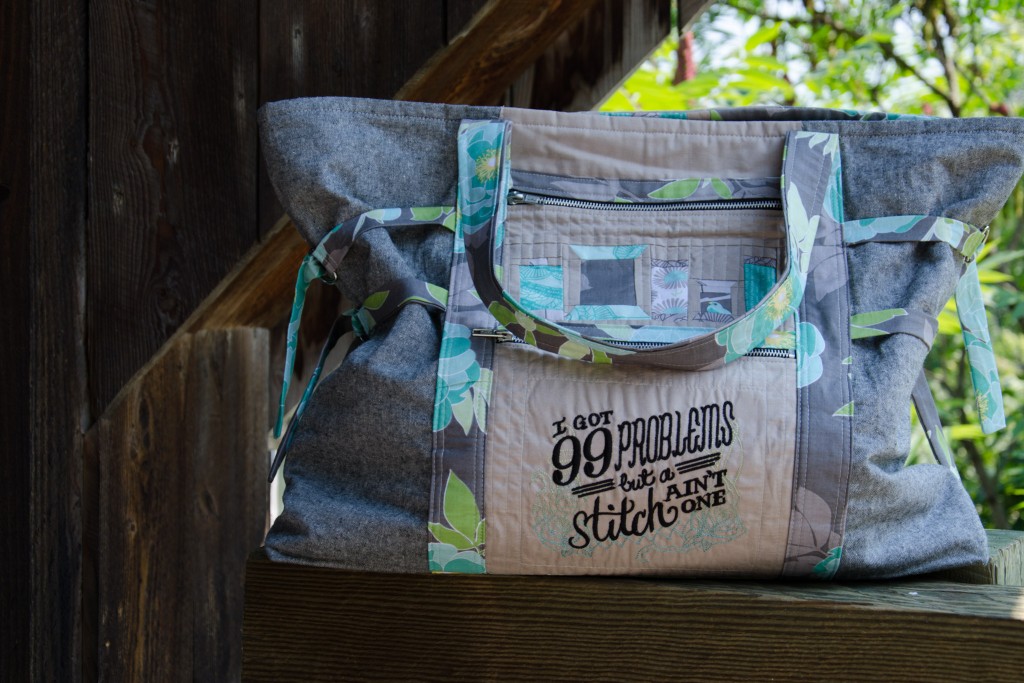
Art Student Tote front

The MQG paired up with Riley Blake fabrics for a challenge this year. Those of us who were quick enough on the draw to score free fabric ended up with a pack of six fat eighths from the Cottage Garden line by Amanda Herring of the Quilted Fish.

The challenge rules:

  • Make something fantastic that is quilted.
  • Make something you’ve never done before.
  • Challenge yourself to learn something new.
  • Use only Riley Blake Cottage Garden fabrics and coordinating Riley Blake basics and solids.

While I was pondering what to make, bags my fellow guild members brought to our sew-in in May inspired a bit of an obsession with Anna Maria Horner patterns, including her Art Student Tote.

“…Quilted”? Well, I can quilt part of it, sure. “…Never done before”? I usually just make bags without a pattern to varying degrees of success. “…Learn something new”? Well, the VT guild challenged us to learn paper piecing too, and I missed the demo while I was on vacation, and I can add quilted piecing to the bag, right?

That was the long way of saying I decided to make the Art Student Tote for my challenge project and incorporate quilted panels.

Art Student Tote front

I may have forgotten and/or misread the whole “use only Riley Blake…solids” part of the instructions while shopping, so Kaufman Essex Yarn Dyed in black ended up being a substantial part of the bag. C’est la vie. So, I might not qualify for the challenge (although I’m not the only one who used other things, from what I can tell), but I do have a usable product that I’m excited about, and Riley Blake sold a few extra yards of their fabric.

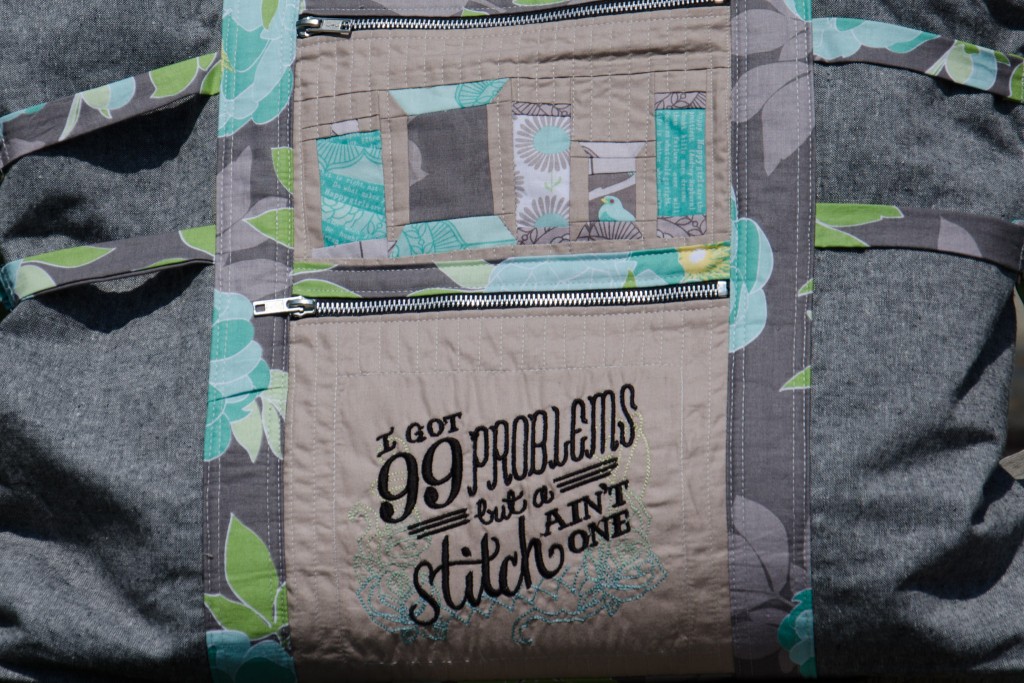
Art Student Tote pocket detail

Choosing what design to use for the pieced section of the bag was difficult until I came across an Urban Threads embroidery that greatly amused me. Stitches need thread, so paper-pieced spools made complete sense. Ironically, my needle thread broke eight times while stitching out the embroidery.

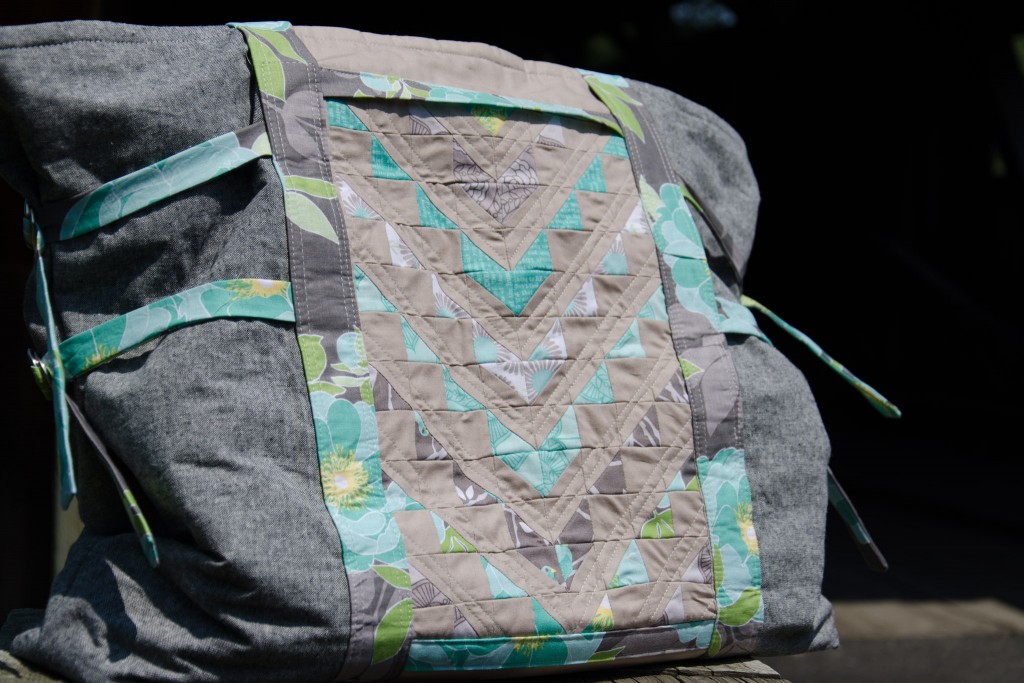
Art Student Tote back detail

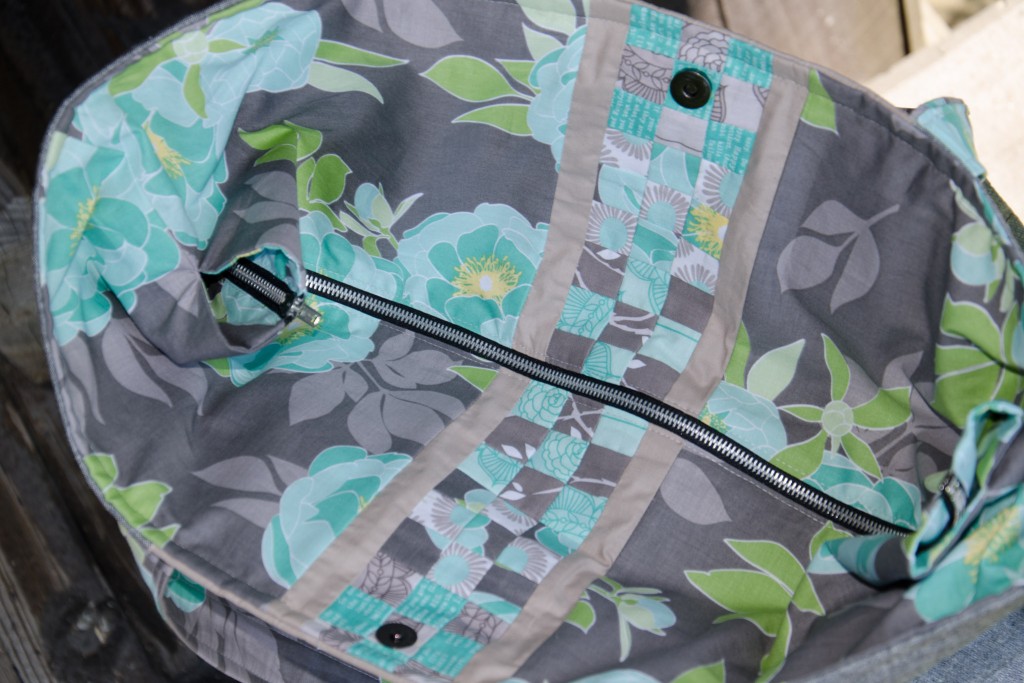
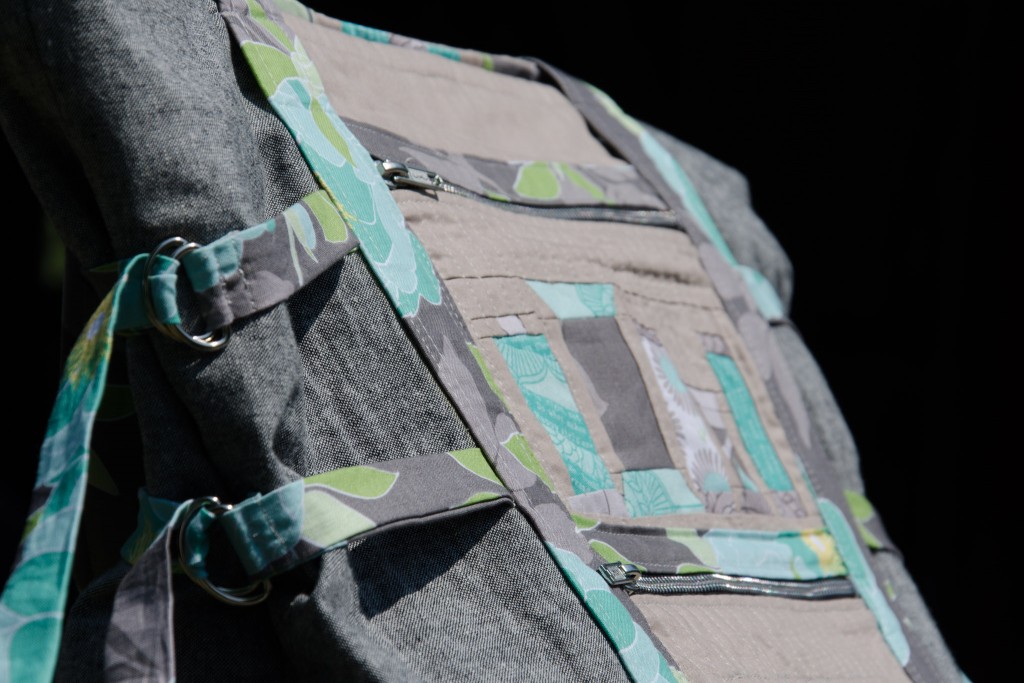
Although the pattern only calls for pockets on one side of the bag, I made a non-zippered one for the back. That way, I had an excuse for a center stripe of pewter on both sides of the bag and more opportunity to use the challenge prints. After making spools for one front pocket, I decided that I’d rather return to traditional piecing for the rest and made the back panel inspired by a quilt by Patty Sloniger of Beck and Lundy. Whether piecing 1″ half-square triangles was less painful than additional paper-piecing is still up for debate. I quilted all of the pocket fronts to flannel to keep them lightweight but structured (and quilted).

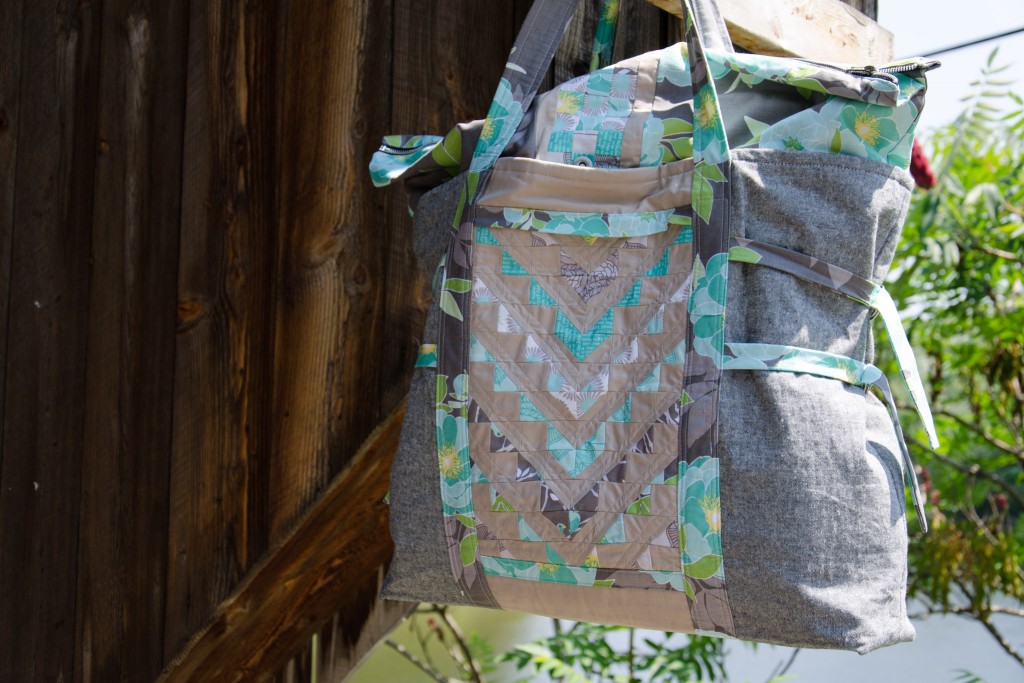
Art Student Tote back with extension panel

I made the version that includes an extension panel. Because I originally purchased the flower yardage for the lining only, I was about 3″ short when it came time to cut out the extensions. I saw it as one more opportunity to use the challenge fabrics, and pieced in a stripe of small nine-patches.

Art Student Tote exension panel detail

Not everything was rosy. I don’t know if it’s me or the directions, but I had a very hard time following along with the pattern. I had to re-read things a million times, and it still didn’t make a ton of sense in certain cases. The pattern also seems to be missing markings for start/stop stitching on the extension panel. It all turned out okay in the end, but was disappointing for a paid pattern.

Art Student Tote pocket detail

If I make it again (likely with less piecing!), I’ll leave off the extension panel. It may provide more room when you need it, but is a bit awkward when folded down inside the bag. Not to mention, the bag itself is already pretty large! I also need to find a way to hide the raw edges from my center stripe at the very top edge (my fault for lack of foresight when I modified the pattern that way).

Regardless, it seems perfect for toting around projects and quilts that need to be photographed. I’m looking forward to using it to carry stuff for a sew-in next weekend!

All photos by Carl Pfranger

July 11th, 2015

Ā 

© 2008–2025 Raevenfea