Raevenfea

Maker of various fabric things

This is a static export of a blog I put on ice many years ago, that still has personally relevant content. No promises can be made around linkrot, styles, or working functionality.

Posts tagged: Piecing

1+1=4: Piecing Setup

Posted in Quilting

  • 1+1=4
  • Charity
  • Piecing

1+1=4: 1 roll + 1 yard = 4 quilts for charity 
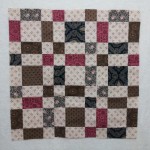
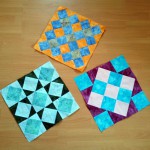
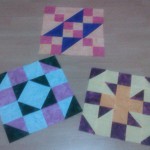
The premise of this week is simple: I’ll show you how to make four small cuddle quilts out of a single roll of 2.5″ strips and a yard of cuddle fabric or fleece. The final quilts measure 18″×24″, so these are meant for comfort more than sleeping under. Today, we’ll start piecing. If you’re just joining in, you may want to hop over to all posts tagged 1+1=4 or start from the beginning of the series.


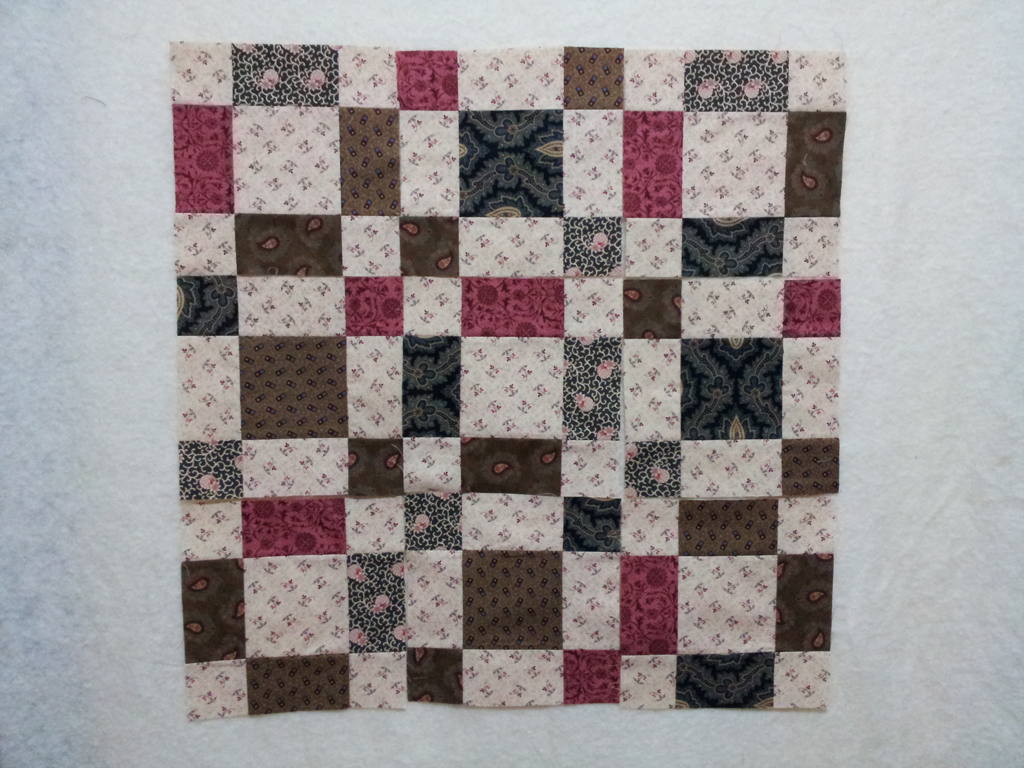
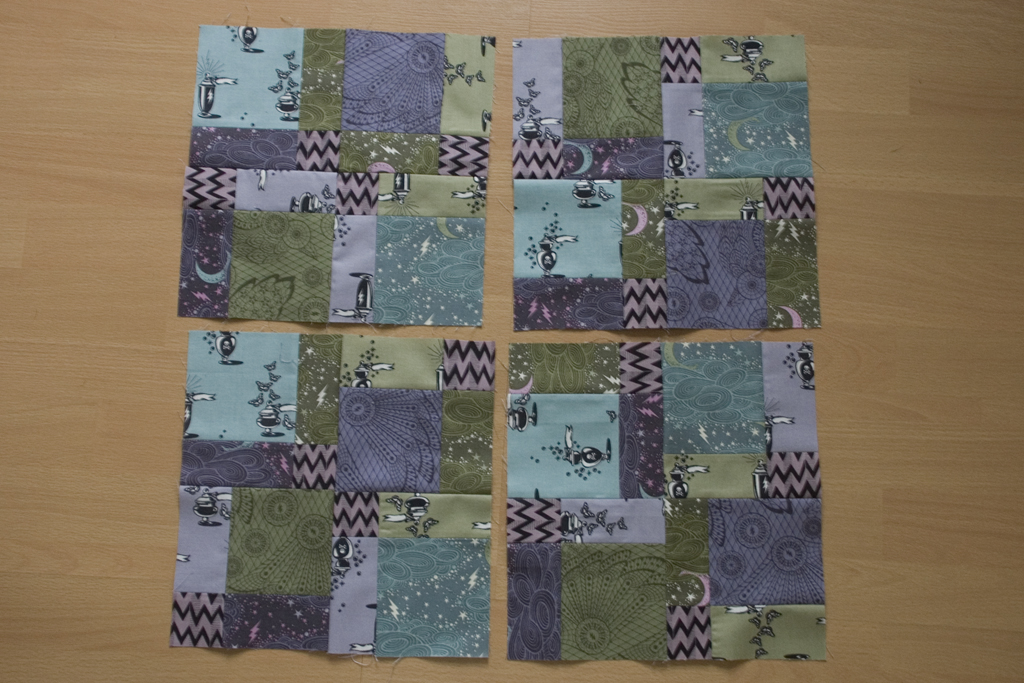
All four quilt tops are easily constructed by strip-piecing. If you’re unfamiliar with it, strip piecing speeds up the proces of piecing blocks by allowing you to sew larger strips together, and then cut chunks off the pieced rectangles, giving you larger building blocks with which to create your individual blocks (this surely beats sewing tons of 2.5″ squares together, if you ask me).

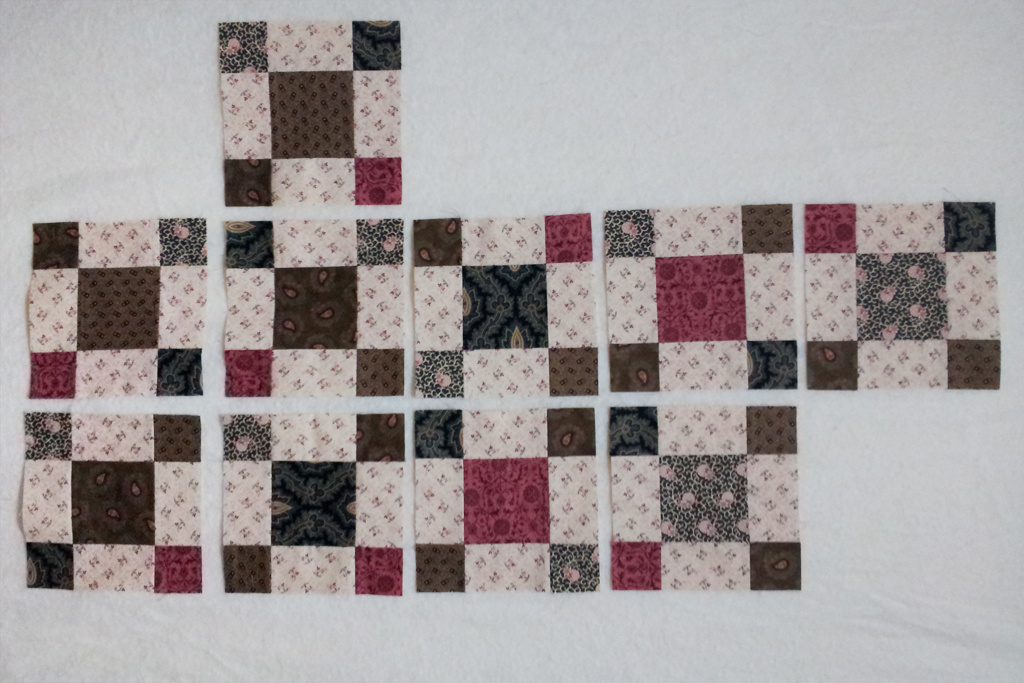
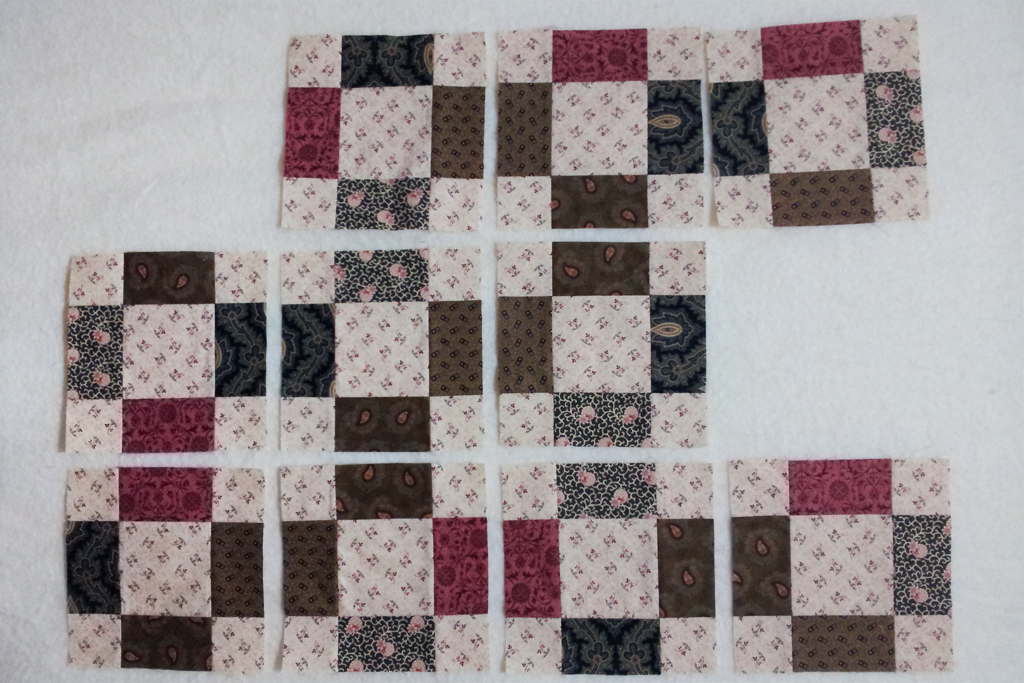
So, today: sew eight strip sets of three strips each.

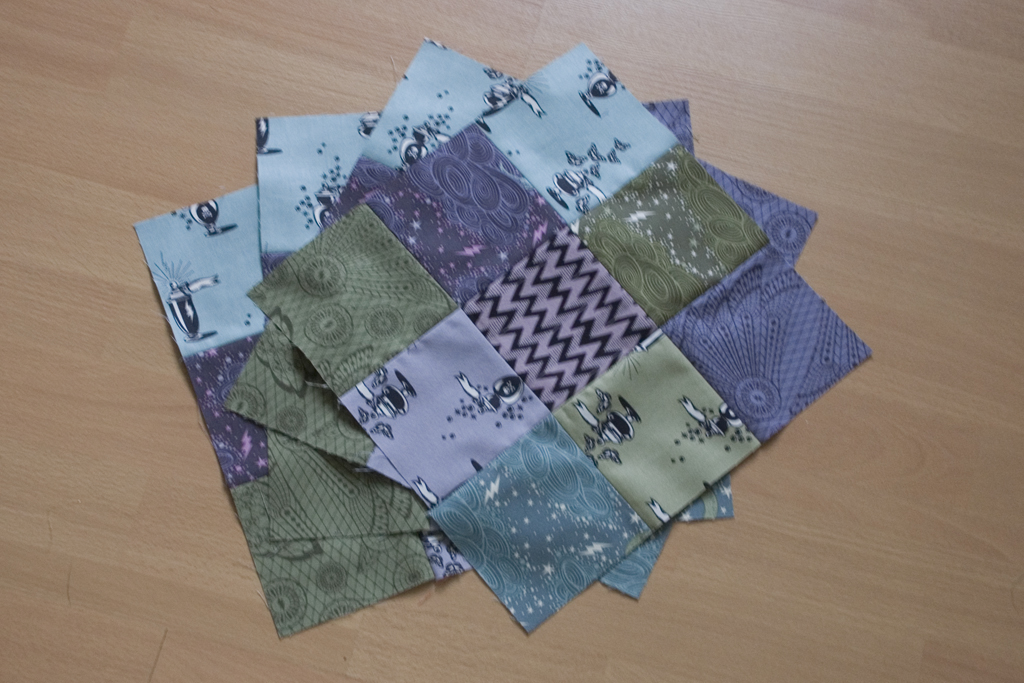
For those of you who are fine with scrappy and arbitrary: just divide your strips into sets of three, caring only to make sure that no strip ā€œreadsā€ the same as one touching it (most generally, that means don’t sew a strip of one color to another of the same color, but you can also keep individual prints separate, etc).

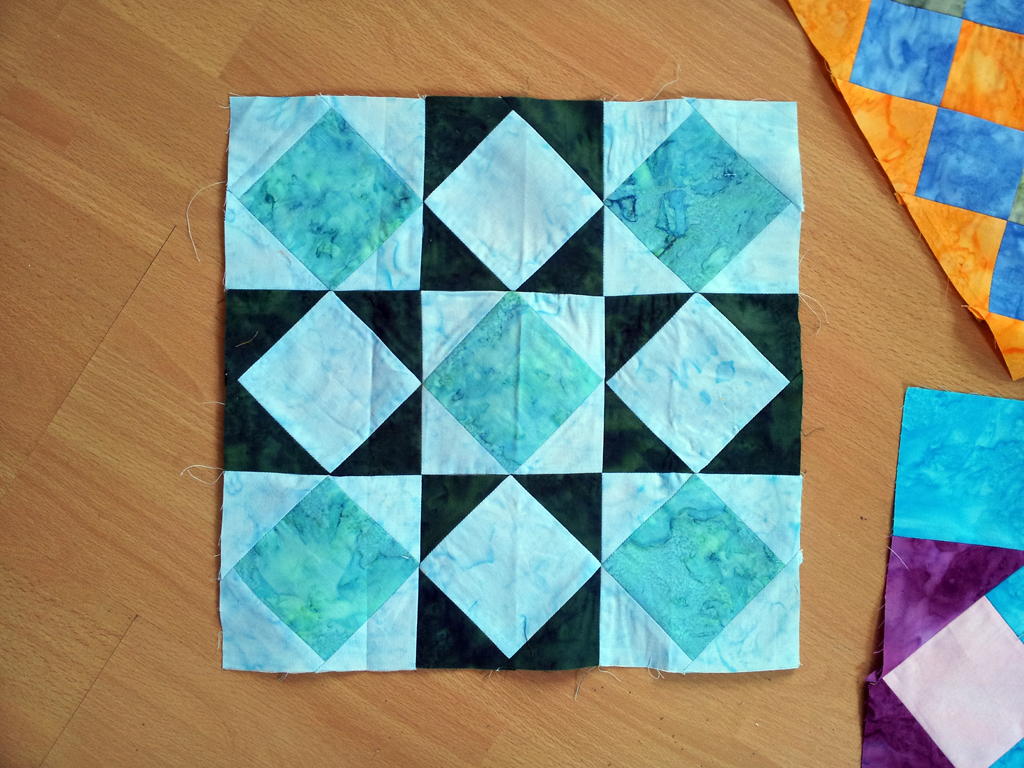
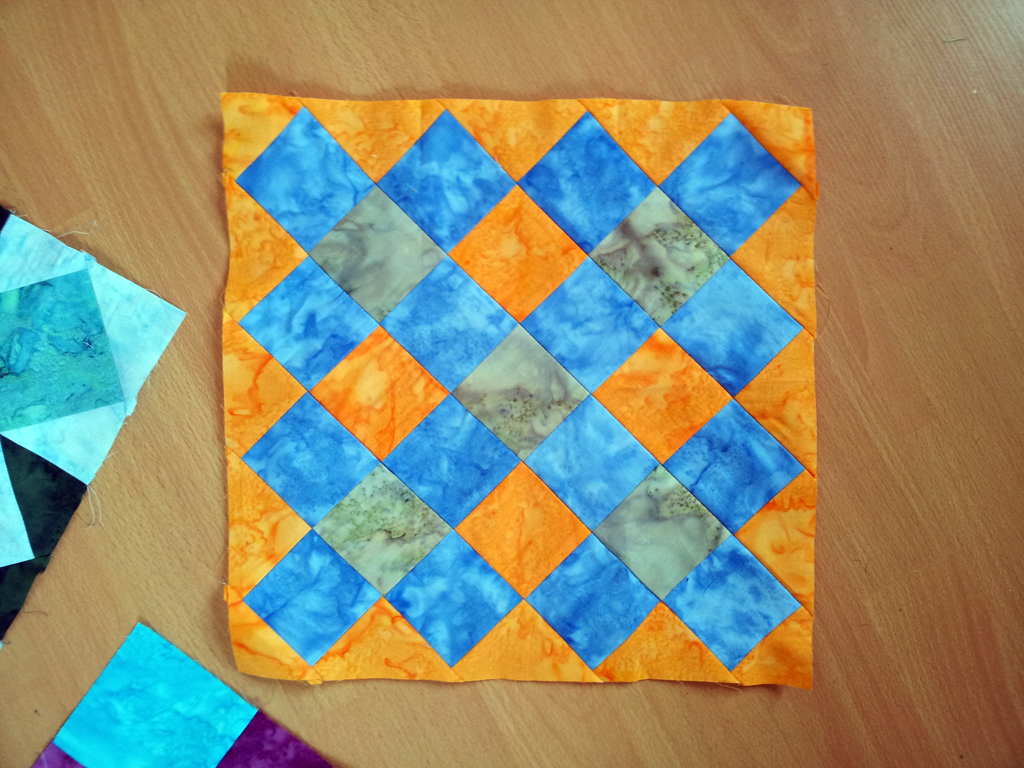
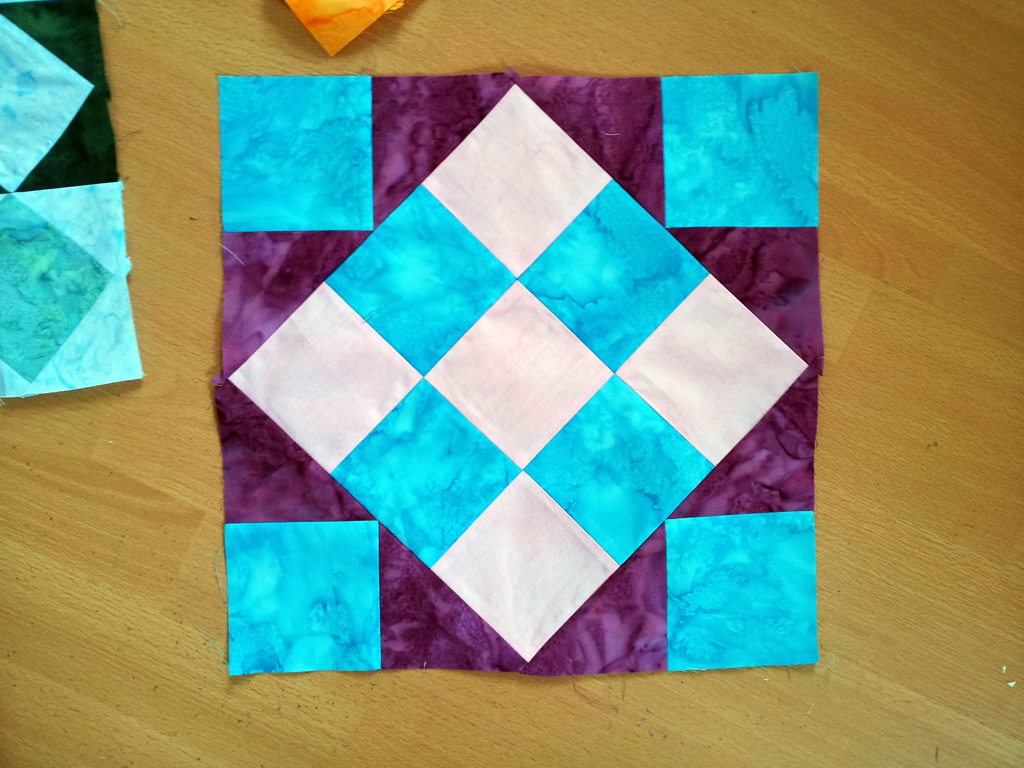
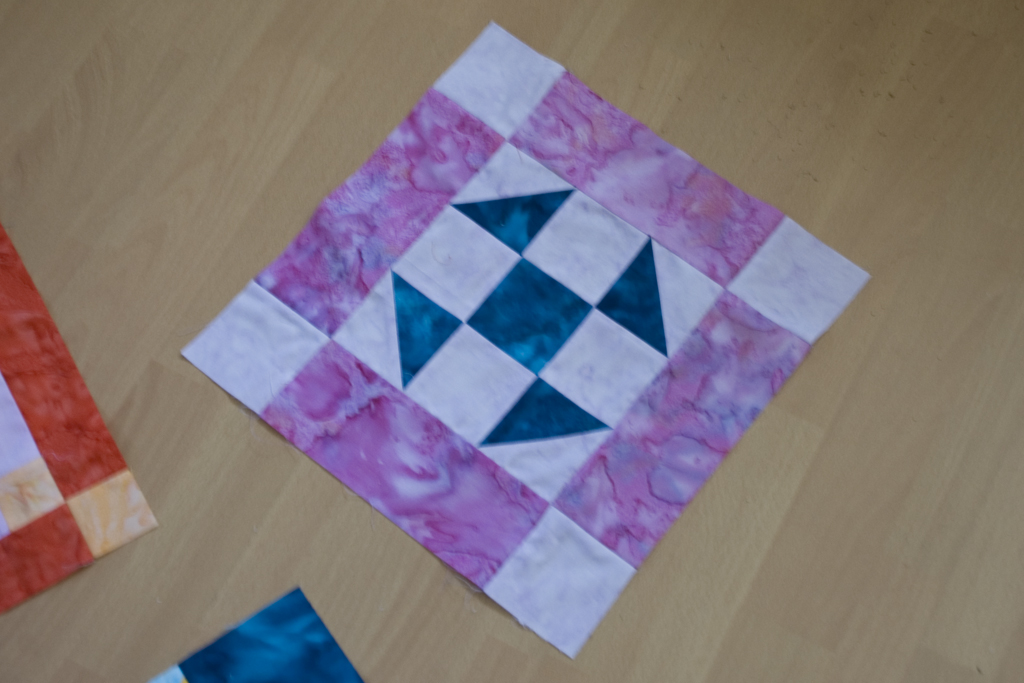
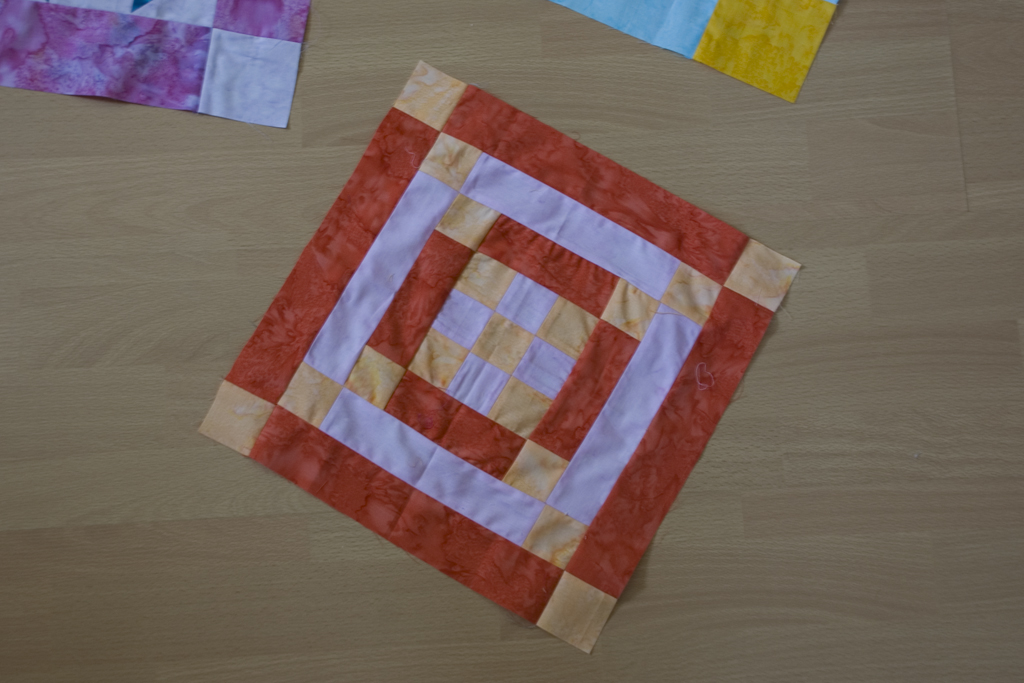
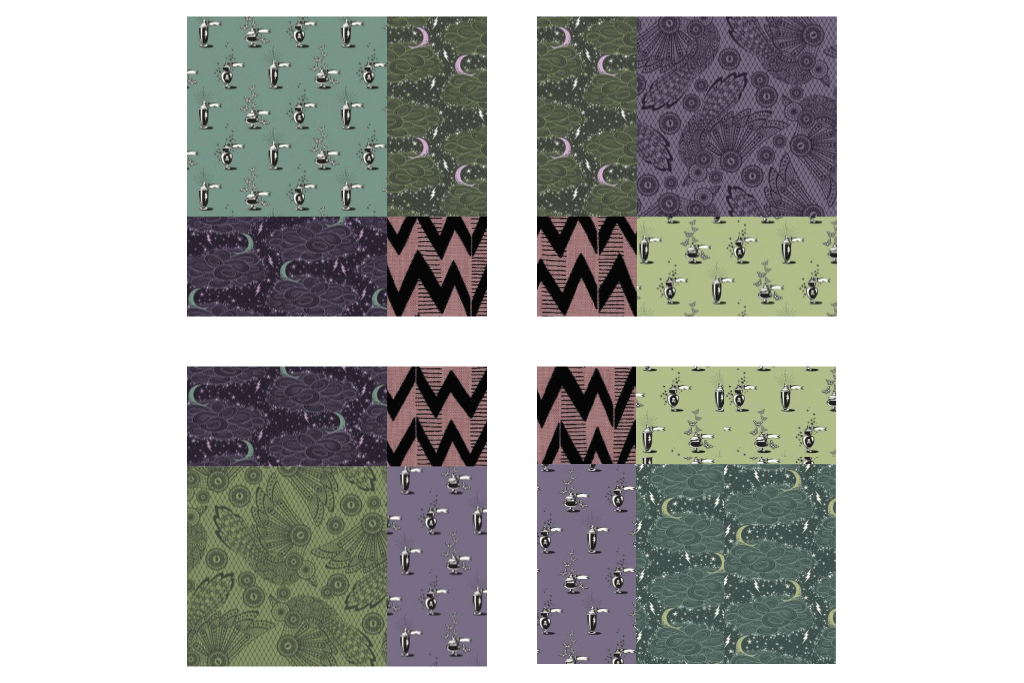
If you want a little more structure, you can coordinate your strip sets to some degree. The easiest way to do this is to divide your strips in half by grouping them in lights and darks, then creating two strip set types: one type with two dark strips sandwiching a light strip in the middle (dark-dominant), and one type with two light strips sandwiching a dark strip in the middle (light-dominant). In my examples, my ā€œlightsā€ are actually the multi-directional animal prints, and the ā€œdarksā€ are all the other prints. Be creative, and see what happens!

If you want to go even further—perhaps separating out color ways—you can create your strip sets in the groups that comprise each top.

Group one*: four coordinating strip sets—two light-dominant and two dark-dominant—that will make Top One & Top Three.

Group two: two coordinating strip sets that will make Top Two. There’s no need for particular attention to value dominance.

Group three: two coordinating strip sets—a light– and dark-dominant—that will make Top Four.

* I will give alternate instructions in case someone wants to make multiple copies of a top instead of one of the others, which requires altering the cutting instructions. In that case, you don’t need four coordinating strip sets and can make four groups of two sets instead.

Finally, trim the selvages off of one side of each strip set. Be extremely judicious—you will need as much of your fabric as possible, so cut as close to the edge of the selvage as you can. Leave the other selvages on for now.

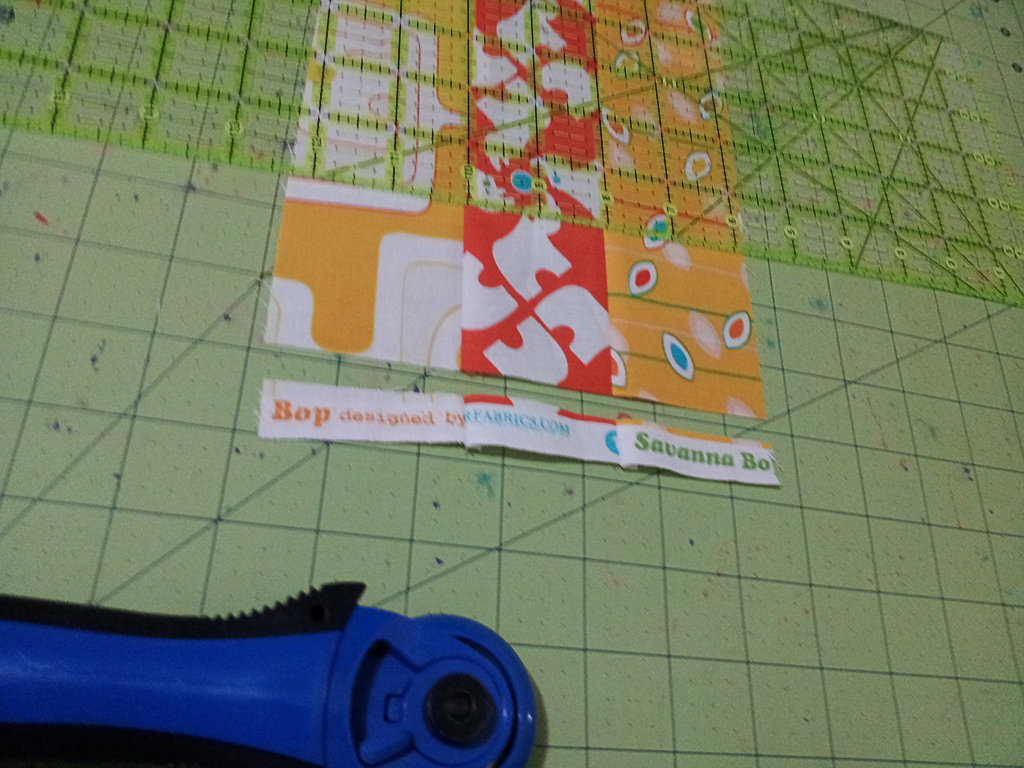
While working on the tops this week, be very careful when cutting. There is very little waste . In fact: here is all the waste I have from the four tops:

Tomorrow, we’ll piece top one!

1+1=4: 1 roll + 1 yard = 4 quilts for charity

Link up:

This post is part of a series on making small cuddle quilts for charity. My finished quilts will be donations to the 2012/13 service project being sponsored by the Quilter’s Consortium of New York State. If you’re in a NY quilt guild that is a member of QCNYS, contact your consortium rep to learn how to donate (and tell your guild or club about this series!). If you are not a member of a participating guild, but would still like to donate send me an email and we can figure out how to get the quilts to the right place.

October 21st, 2012

Tiger Lily Block Swap Set 1

Posted in Quilting

  • Block swaps
  • Piecing
  • Q013AD
  • Reproduction fabric

I mentioned a few weeks ago that I joined a group doing block swaps at the LQS. It seems to be a sort of democratic process, in that there’s not a specific goal in mind for the full quilt, but we meet up and choose a new block after each swap. The first swap is of a very simple Puss in the Corner block (their name; I would probably just call it an Uneven Nine Patch, because I think Puss in the Corner usually has additional pieces around the outside of this portion).

We get instructions and materials requirements for making 20 blocks (in this case, 10 ā€œpositiveā€ and 10 ā€œnegativeā€ ones), then when we’re done, we turn them in and get 20 blocks back. It will result in a scrappy quilt of 19th c. repro-style fabrics.

Positive blocks
Negative blocks

You don’t get your own block back (unless for some reason there are fewer than 10 people who submit blocks), but there is enough extra fabric to make a spare pair if you’d like.

There’s also been a discussion of having additional mini swaps of smaller blocks from the scraps for a border or something of that sort.

I like my blocks, but I haven’t decided whether I want to make a pair for myself or use the spare fabric for other blocks in the quilt.

They look especially nice mixed together

When I picked out my fabrics, I just went with what drew me in. It started with the white vines and pink flowers print, and I picked up on that pink color to try to tie the selections together. Have you ever had a color that you once despised, and then found yourself using all the time? Pink is that one for me, particularly magentas, fuchsias, and shocking pinks. I don’t know what it is, but all of the sudden it’s appearing everywhere for me. In my clothing, in my stash, in my projects. I am still not a huge fan of baby/pale pink, though, at least. If I ever am, you might want to search around for a body pod.

Quick journal of fabrics used for future reference:

  • More Pink & Chocolate c. 1860-1885 (Windham)
  • Friendship Collection for a Cause [c. 1855] (Moda)
  • Leesburg by Jo Morton (Andover)

(I’ll add the other three prints when figure out what they are…)

I can’t wait to get my swapped blocks back and to see what’s next!

October 18th, 2012

Saturday Sampler Q3

Posted in Quilting

  • Piecing
  • Q014BF
  • Tiger Lily Saturday Sampler

Back in April, I showed you my first three Saturday Sampler blocks, then in July the second set of three. Here are the three for quarter three, which I call the quarter of on-point squares.

For those who missed the explanation the first time around, this is a monthly block meetup at my LQS. Every year, they choose a theme for the 12 monthly blocks, and this year’s is ā€œRoad Trip.ā€ We meet up the last Sat. of the month, learn how to make the block, and are given precut strips to complete it with. They chose to do this one out of batiks.

In July, we went back to the Midwest and made Kansas Star…

…which was the first time I’d ever heard someone suggest pressing open seams in real life.

In August, we took a trip north to the Chicago Pavements…

…so many little squares, but it came together surprisingly easy

And September found us in NYC, Union Square to be specific…

…which will need a little tweaking to get into the quilt without losing the points of the nine-patch. Oops.

I’m no closer to figuring out a layout for the blocks, and I’m concerned that I’ll miss the last two sessions anyhow as one falls the weekend of Thanksgiving, and the other the weekend prior to New Year’s, for which we’ll be in Missouri. We’ll see what happens.

Do you want to see the final three blocks before or after I finish the quilt top early next year?

October 4th, 2012

Foto Friday

Posted in Quilting

  • Double Wedding Ring
  • Piecing

I was a little ā€œblehā€ about this as the arcs were coming together. I’m a little more psyched now that I can see how the rings will look.

I hope the saying that you can ā€œquilt out an A-cupā€ is true, because this one might need it. šŸ˜‰

August 17th, 2012

Saturday Sampler Q2

Posted in Quilting

  • Blocks
  • Piecing
  • Q014BF
  • Tiger Lily Saturday Sampler

Back in April, I showed you my first three Saturday Sampler blocks. Here are the next three—bringing us to the halfway point.

For those who missed the explanation the first time around, this is a monthly block meetup at my LQS. Every year, they choose a theme for the 12 monthly blocks, and this year’s is ā€œRoad Trip.ā€ We meet up the last Sat. of the month, learn how to make the block, and are given precut strips to complete it with. They chose to do this one out of batiks.

At the end of April, we hopped back on the Road (to Oklahoma City)…

…which isn’t quite Road to Oklahoma, and is likely another Jacob’s Ladder variant. This block taught me to measure the pre-cut strips before cutting off the required pieces. Two of mine were about 1⁄8″ short of the length needed for all the pieces. Since I’d started cutting the first one without measuring, I didn’t realize until the last two squares—so I had to be careful sewing with 1⁄8″ seam allowances for those. The other strip, I was able to cut the pieces about 1⁄16″ short–not enough to badly throw off my piecing, and enough to squeeze it all in over the length of the strip.

In May, we jumped over to the East Coast, warming up on the Philadelphia Pavement…

…which is very simple to make.

And June brought us back down to the South for Alabama.

…a block that I can’t seem to get to lay flat. Mine is a bit lumpy, but it can be quilted out. I think I was subconsciously using a scant ¼″ seam, which didn’t work out well.

I’m still thinking about layouts and such. I thought I had a great one (it looks awesome in my head), but when I try to mock it up, it just doesn’t look right. So, who knows. I have plenty of time to mull it over.

I have started a label… but you only get a sneak preview so far.

Stay tuned for the next installment in mid/late–October!

July 31st, 2012

Disappearing Nine-Patch (with sizing table)

Posted in Quilting

  • Piecing
  • Tutorials
  • Witches’ Bubble Brew

The disappearing nine-patch is my new favorite block. It’s so simple to make, but looks like you pieced together a ton of small squares and rectangles. Great effect with minimal effort—my kind of thing.

Take these, for example. Just some basic nine-patches—all the same.

Then, they are cut into quarters.

And sewn back together into a four-patch.

To become all of these!

See? Simple-looks-complicated. Lovely.

Math

If you don’t want to do the calculations, here’s a table of sizes:

Starting square sizes and corresponding disappearing nine-patch block sizes
Starting Square Finished Block
Common precut sizes are bolded
1″ 1″
1.5″ 2.5″
2″ 4″
2.5″ 5.5″
3″ 7″
3.5″ 8.5″
4″ 10″
4.5″ 11.5″
5″ 13″
5.5″ 14.5″
6″ 16″
6.5″ 17.5″
10″ 28″

Unfortunately, some common block sizes, like 6″, 8″, and 12″, end up requiring the starting squares be cut to third-inches, so I didn’t include them above. You could try rounding up to the nearest eighth, and use a generous ¼″ seam for the nine-patch piecing (and back to an exact seam for the four patch)—if you’re adventurous and aren’t concerned about absolutely perfect points.

Otherwise, the math isn’t that hard for these once you know how to do it.

To calculate final size from your starting squares

Example using 3″ squares.

Short answer: (Square Size Ɨ 3) āˆ’ 2″
Example: 3″ times 3 equals 9″; 9″ minus 2″ equals 7″. 3″ squares make a 7″ disappearing nine-patch block.

Long answer:

  1. Add together a row of squares. Example: 3″ times 3 pieces (a row) equals 9″
  2. Subtract the row seams (½″ per seam, two seams). Example: 9″ minus 1″ equals 8″
  3. Subtract the four-patch disappearing seams (½″ per seam, one seam). Example: 8″ minus .5″ equals 7.5″
  4. Subtract your final piecing seams for the finished size. Example: 7.5″ minus .5″ equals 7″ finished block

To calculate starting squares from finished block size

Example needing 5.5″ finished block.

Short answer: (Finished Size + 2″) Ć· 3
Example: 5.5″ plus 2″ equals 7.5″; 7.5″ divided by 3 equals 2.5″. 2.5″ squares make a 5.5″ disappearing nine-patch block.

Long answer:

  1. Add your piecing seams to the finished size. Example: 5.5″ plus .5″ equals 6″ unfinished block
  2. Add your four-patch seams (½″ per seam, one seam). Example: 6″ plus .5″ equals 6.5″
  3. Add your nine-patch seams (½″ per seam, two seams). Example: 6.5″ plus 1″ equals 7.5″
  4. Divide by 3 to get your individual square size. Example: 7.5″ divided by 3 equals 2.5″ starting squares

Have fun with your own disappearing nine-patches! Let me know what you make, I’d love to see it.

July 28th, 2012

Faux Cathedral Window Applique Tutorial

Posted in Quilting

  • Applique
  • Piecing
  • Technique
  • Tutorials
  • Witches’ Bubble Brew

Over the past few weeks, I’ve posted about trying two different Cathedral Window techniques. The first was a technique that actually constructs a four-patch with the window sewn in to the seams—you can see a video demonstration here. The other was the traditional quilt-as-you-go technique (one of many online tutorials can be found here).

The final project I’ve dreamed up can’t use the traditional method, and will require an absolute ton of calculations for the other method, as I’ll be making different sized windows placed in a somewhat arbitrary manner, so I needed to come up with a way to make a faux cathedral window that can be appliqued on wherever I want it. Here’s how.

May 27th, 2012

Bits of Progress

Posted in News

  • Organic Spins
  • Piecing
  • Plumleigh Augusta Babbage
  • Simplicity 2613

I’ve been working on a handful of projects at one time lately, so I haven’t finished anything, but there has been progress in my sewing room in the past couple of weeks.

First, I tried a second technique for Cathedral Window (the quilt-as-you-go one that doesn’t require batting or backing). I’m not a big fan. It’s just fiddly in a way that doesn’t inspire me. Now I have to figure out something to do with this odd little rectangular orphan:

May 14th, 2012

A Pincushion & Scrap Progress

Posted in Crafting

  • Meta Quilt
  • Piecing
  • Scraps

Speaking of scraps, I made a (very small) dent in mine yesterday.

First, we’ve started Cathedral Windows (on machine) at Sew You Want to Quilt, and we made one using one possible technique in class yesterday. Since I haven’t decided what I want to do for my project, I just grabbed some coordinating scraps that were large enough, and ended up with this pincushion/pattern weight/thing-that-takes-up-space:

April 17th, 2012

Saturday Sampler Q1

Posted in Quilting

  • Blocks
  • Piecing
  • Q014BF
  • Tiger Lily Saturday Sampler

At the beginning of the year, I swore not to start any samplers or bees or whatever, until I finished all the stuff for the 1812 show. Then, not two weeks later, I found myself signing up for my LQS’s (Tiger Lily Quilt Co.) monthly sampler group. I justified it by saying it gets me out of the house and meeting other local quilters, right? (Or would, if I weren’t a wallflower.)

April 12th, 2012

Ā Previous Posts
Newer PostsĀ Ā 

© 2008–2025 Raevenfea