Raevenfea

Maker of various fabric things

This is a static export of a blog I put on ice many years ago, that still has personally relevant content. No promises can be made around linkrot, styles, or working functionality.

Posts tagged: Tips and tricks

Bunting Tips and Tricks

Posted in Crafting

  • Fabric Designer: Elizabeth Olwen
  • Fabric: Park Life
  • Home decor
  • Machine embroidery
  • Quick project
  • Tips and tricks

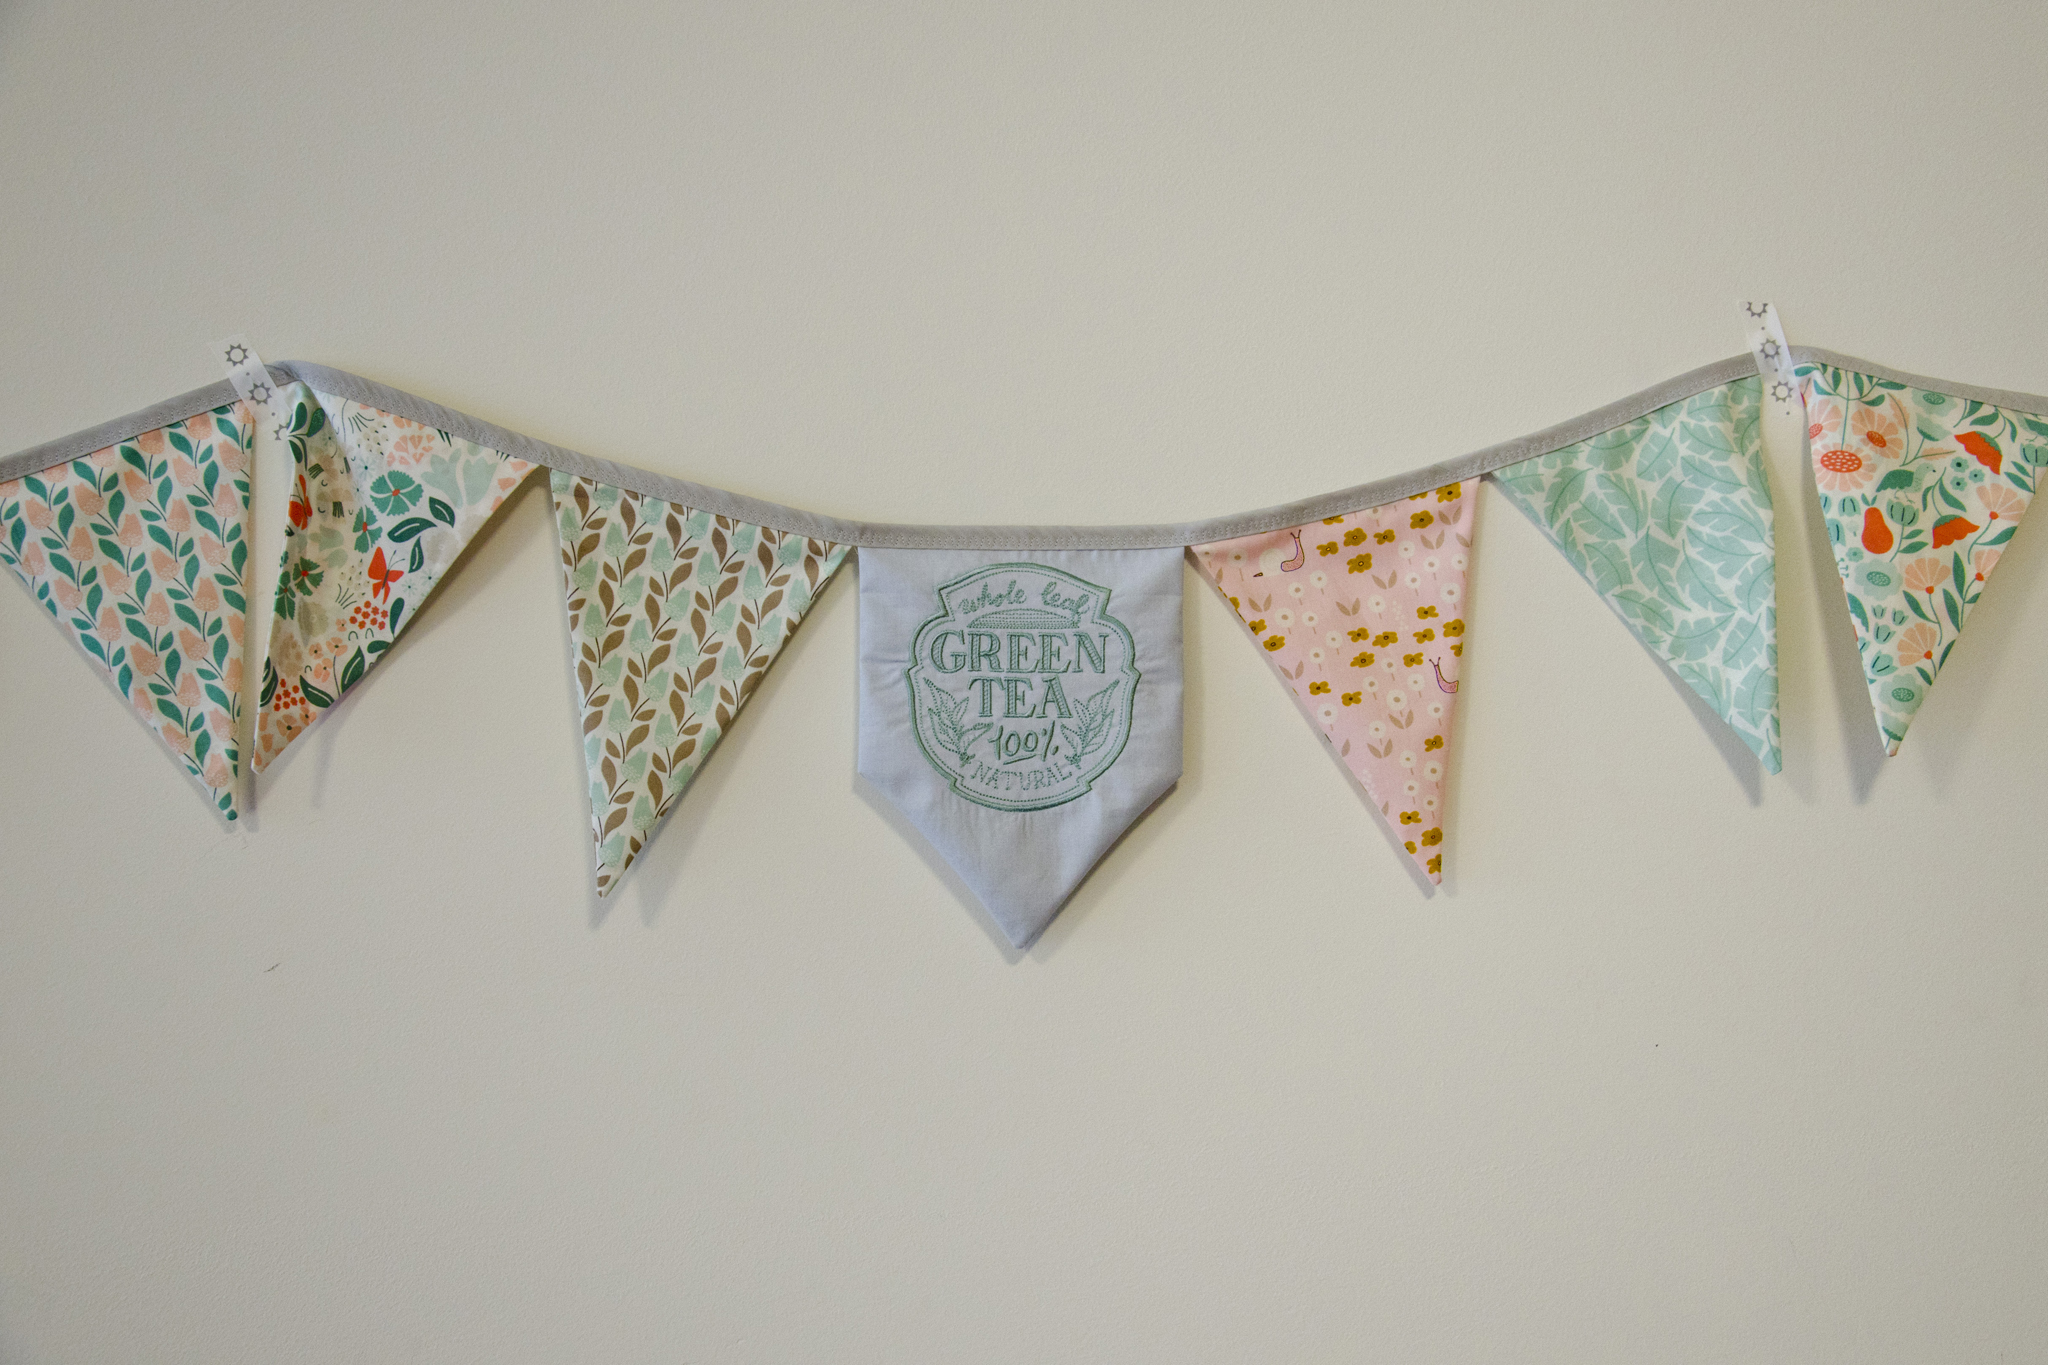
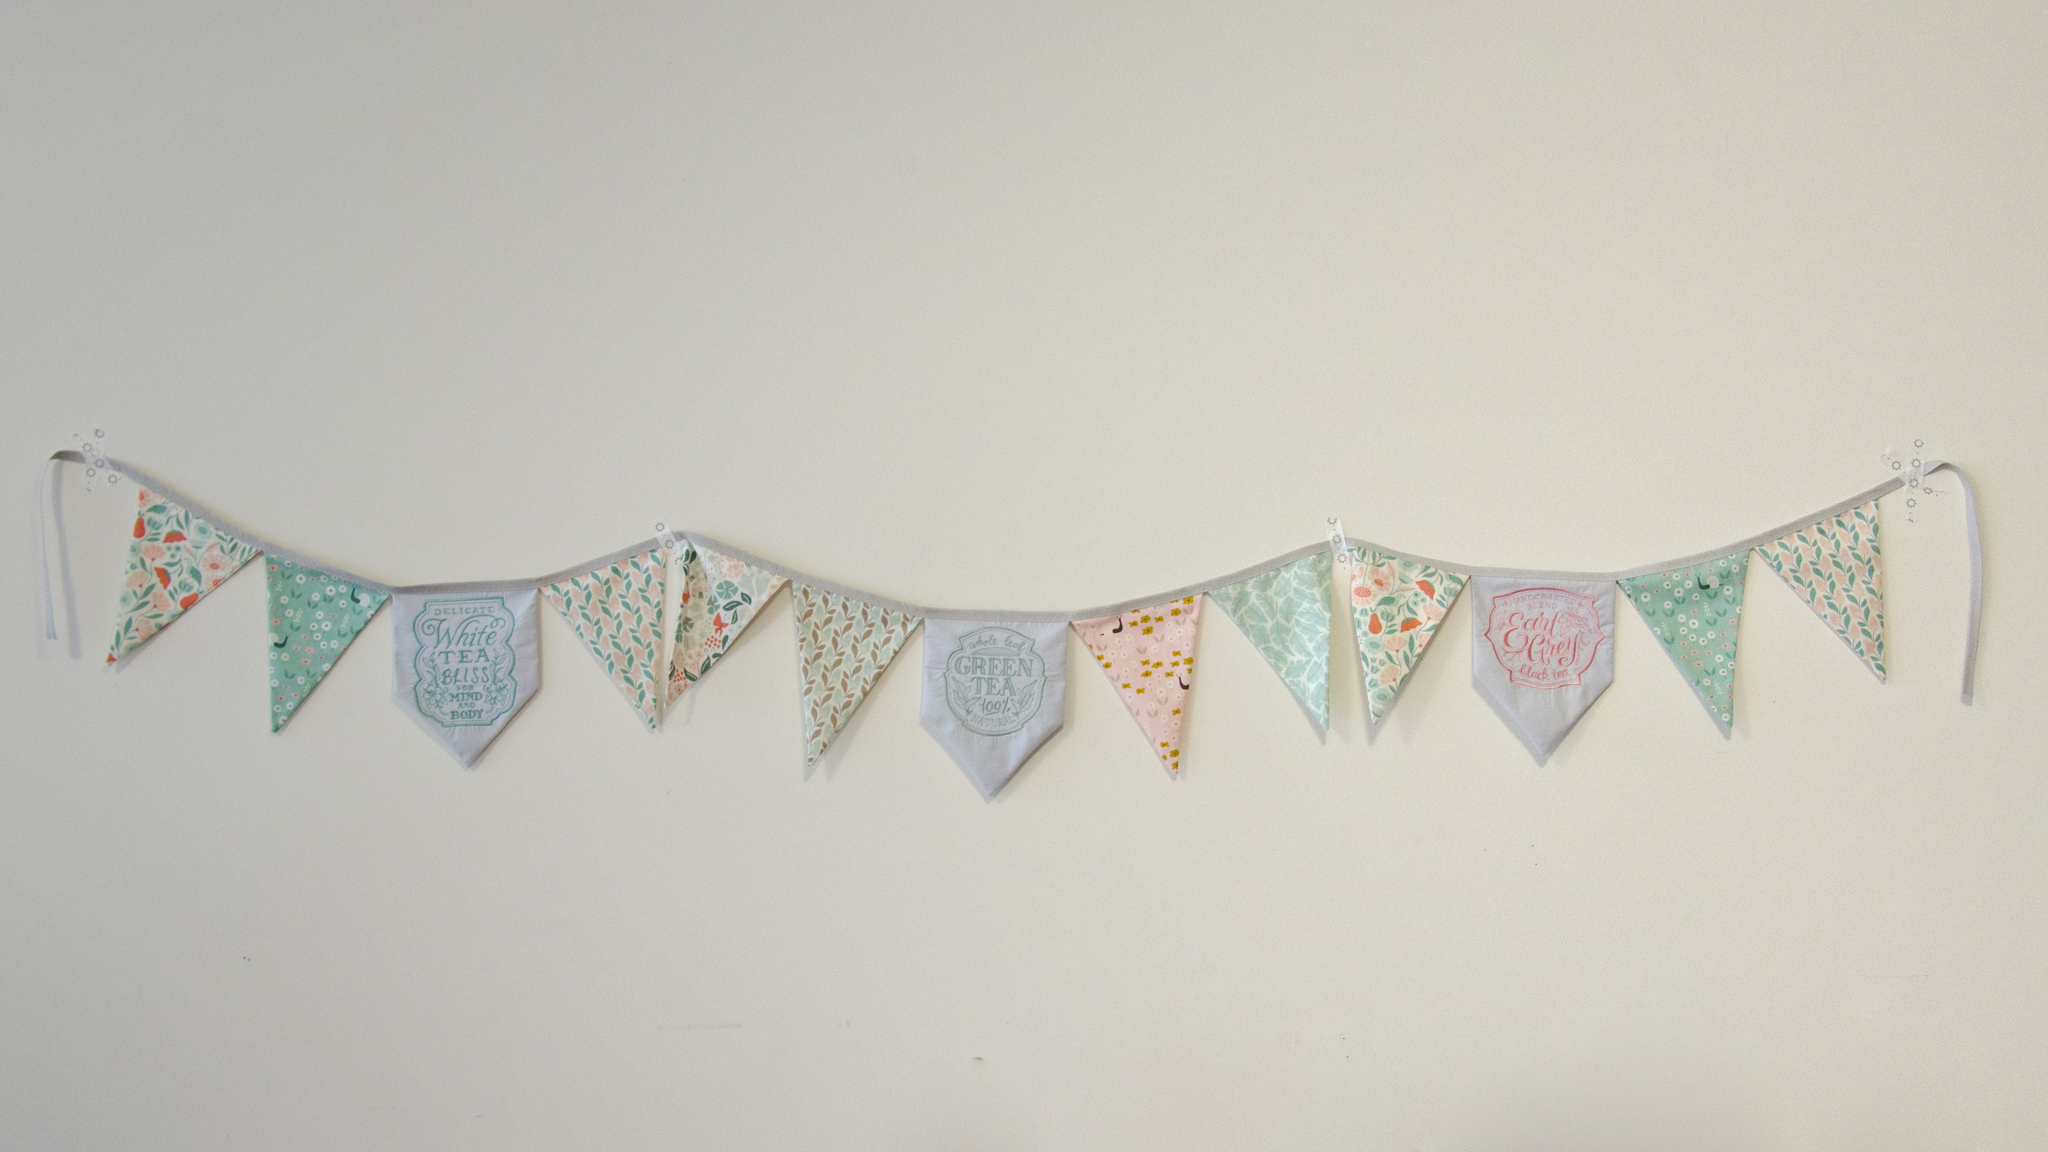
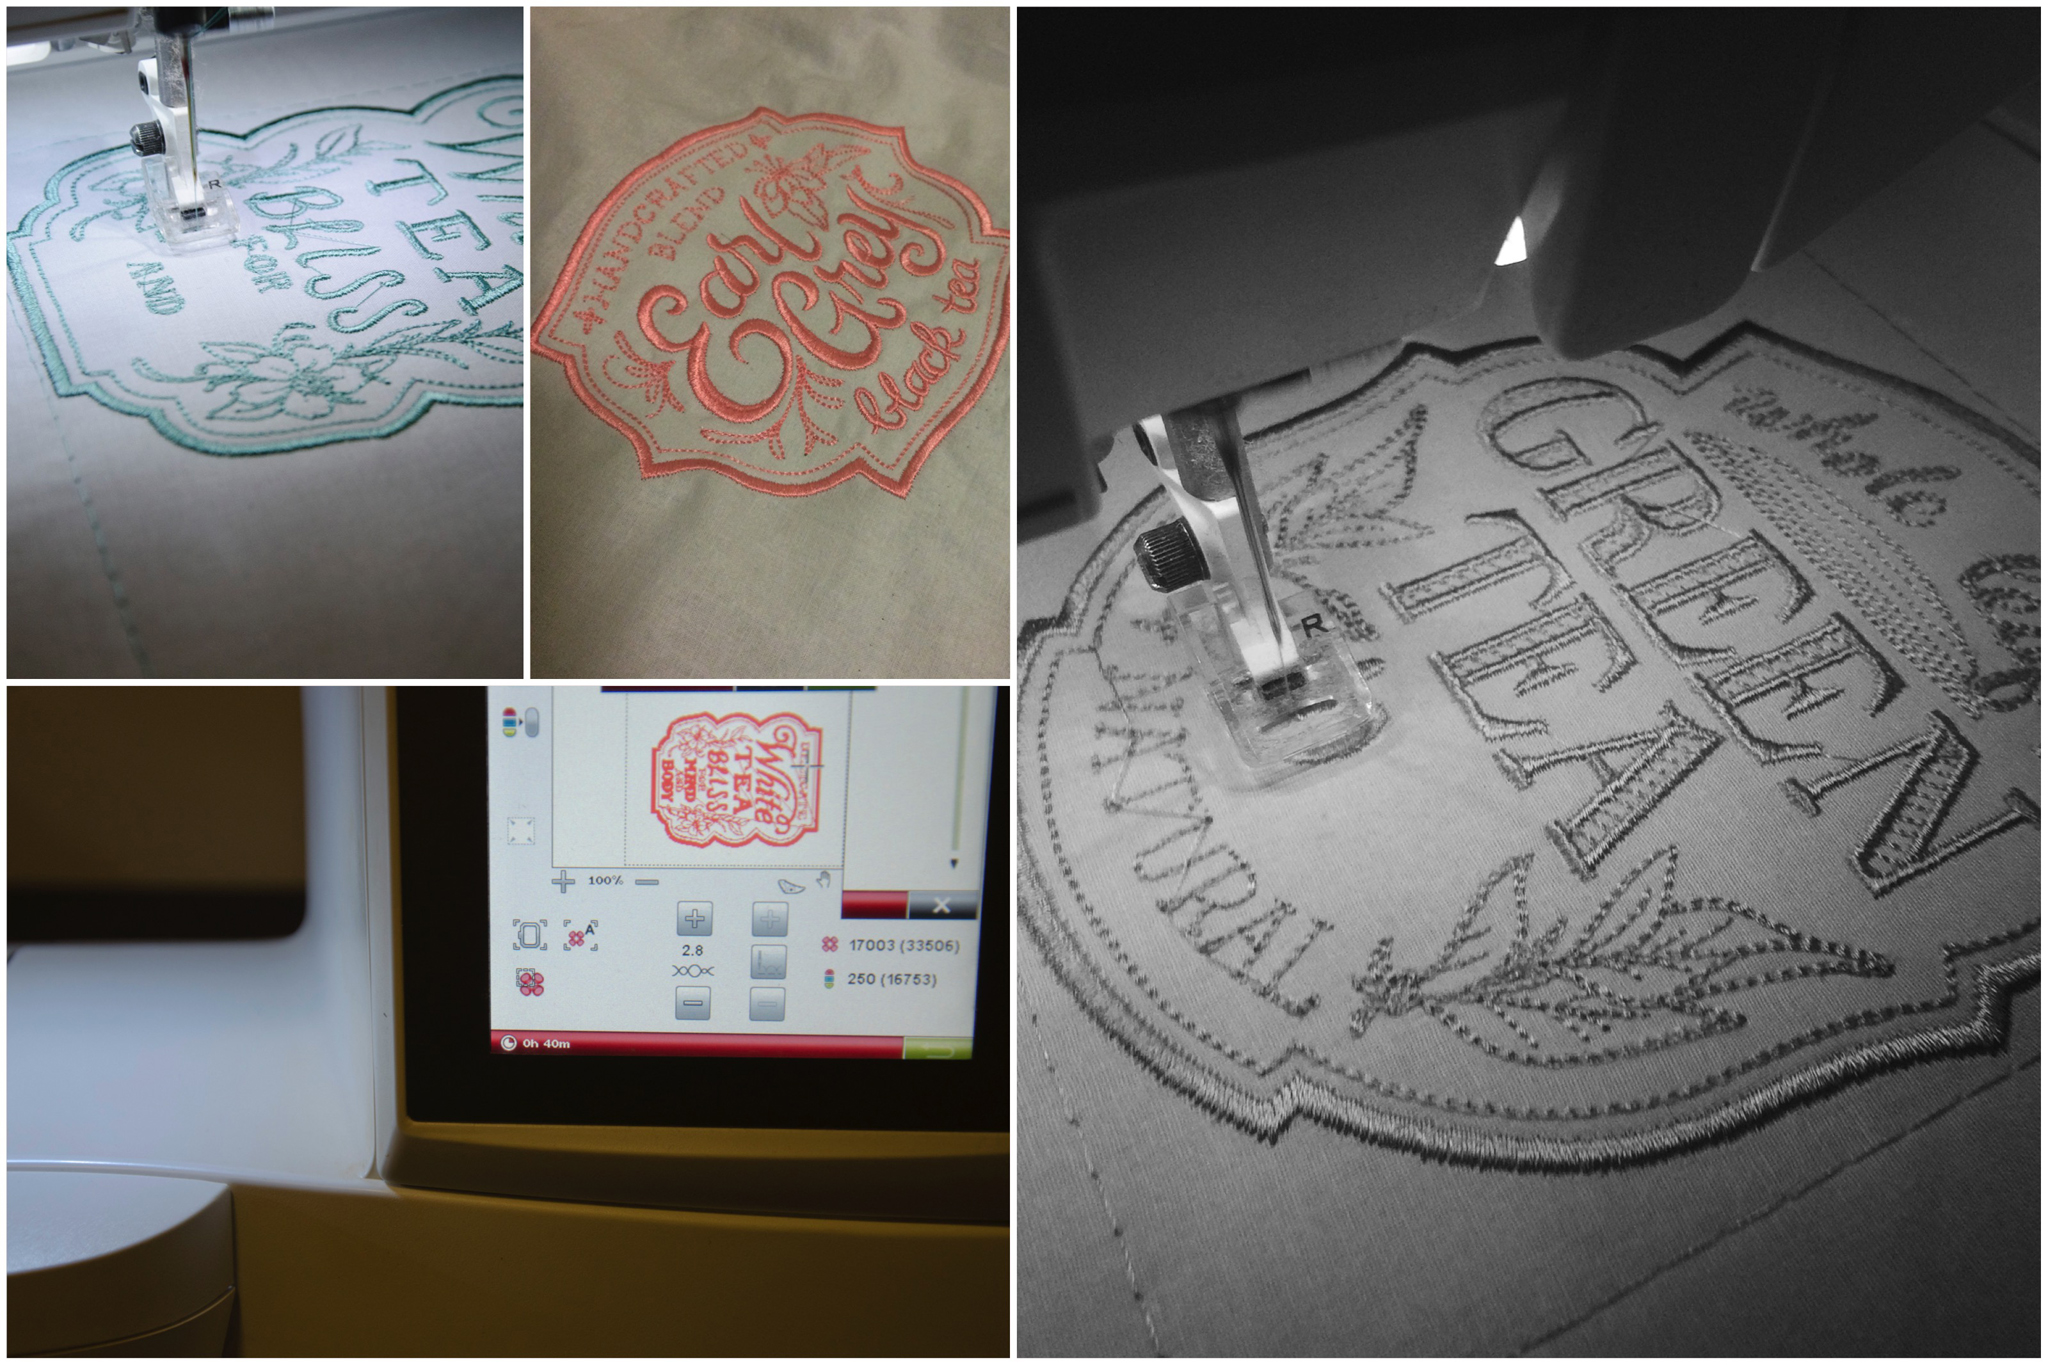
My sister’s bridal shower is fast approaching, and we’re planning it with a tea party theme. (The whole concept of what one does at a bridal shower is a bit of a mystery to me, having not been given one when I married, nor having attended any for others.) Seeing as I’m 1,300 miles away, my ‘hosting’ status is mostly honorary, but I am able to lend a hand with the decorations. Armed with a few embroidery files from Urban Threads and some half-yard cuts of Park Life by Elizabeth Olwen for Cloud9 Fabrics, I whipped up bunting for the party. Where by whipped, I mean I spent a lot of time at my machine over the course of a week or so, considering the 40 minute stitch out time of each of the embroideries.

I dare say the final result is pretty sweet. I made two of these strands, each 9’ long.

Tea Party Bunting

Here are a few tricks I found helped with creating it. When making your own, you can actually get a lot more bunting out of just a quarter yard of each fabric than I ended up making—my cut triangles had 7” bases and were 9” tall. I have so much fabric left over—stay tuned for future projects with it.
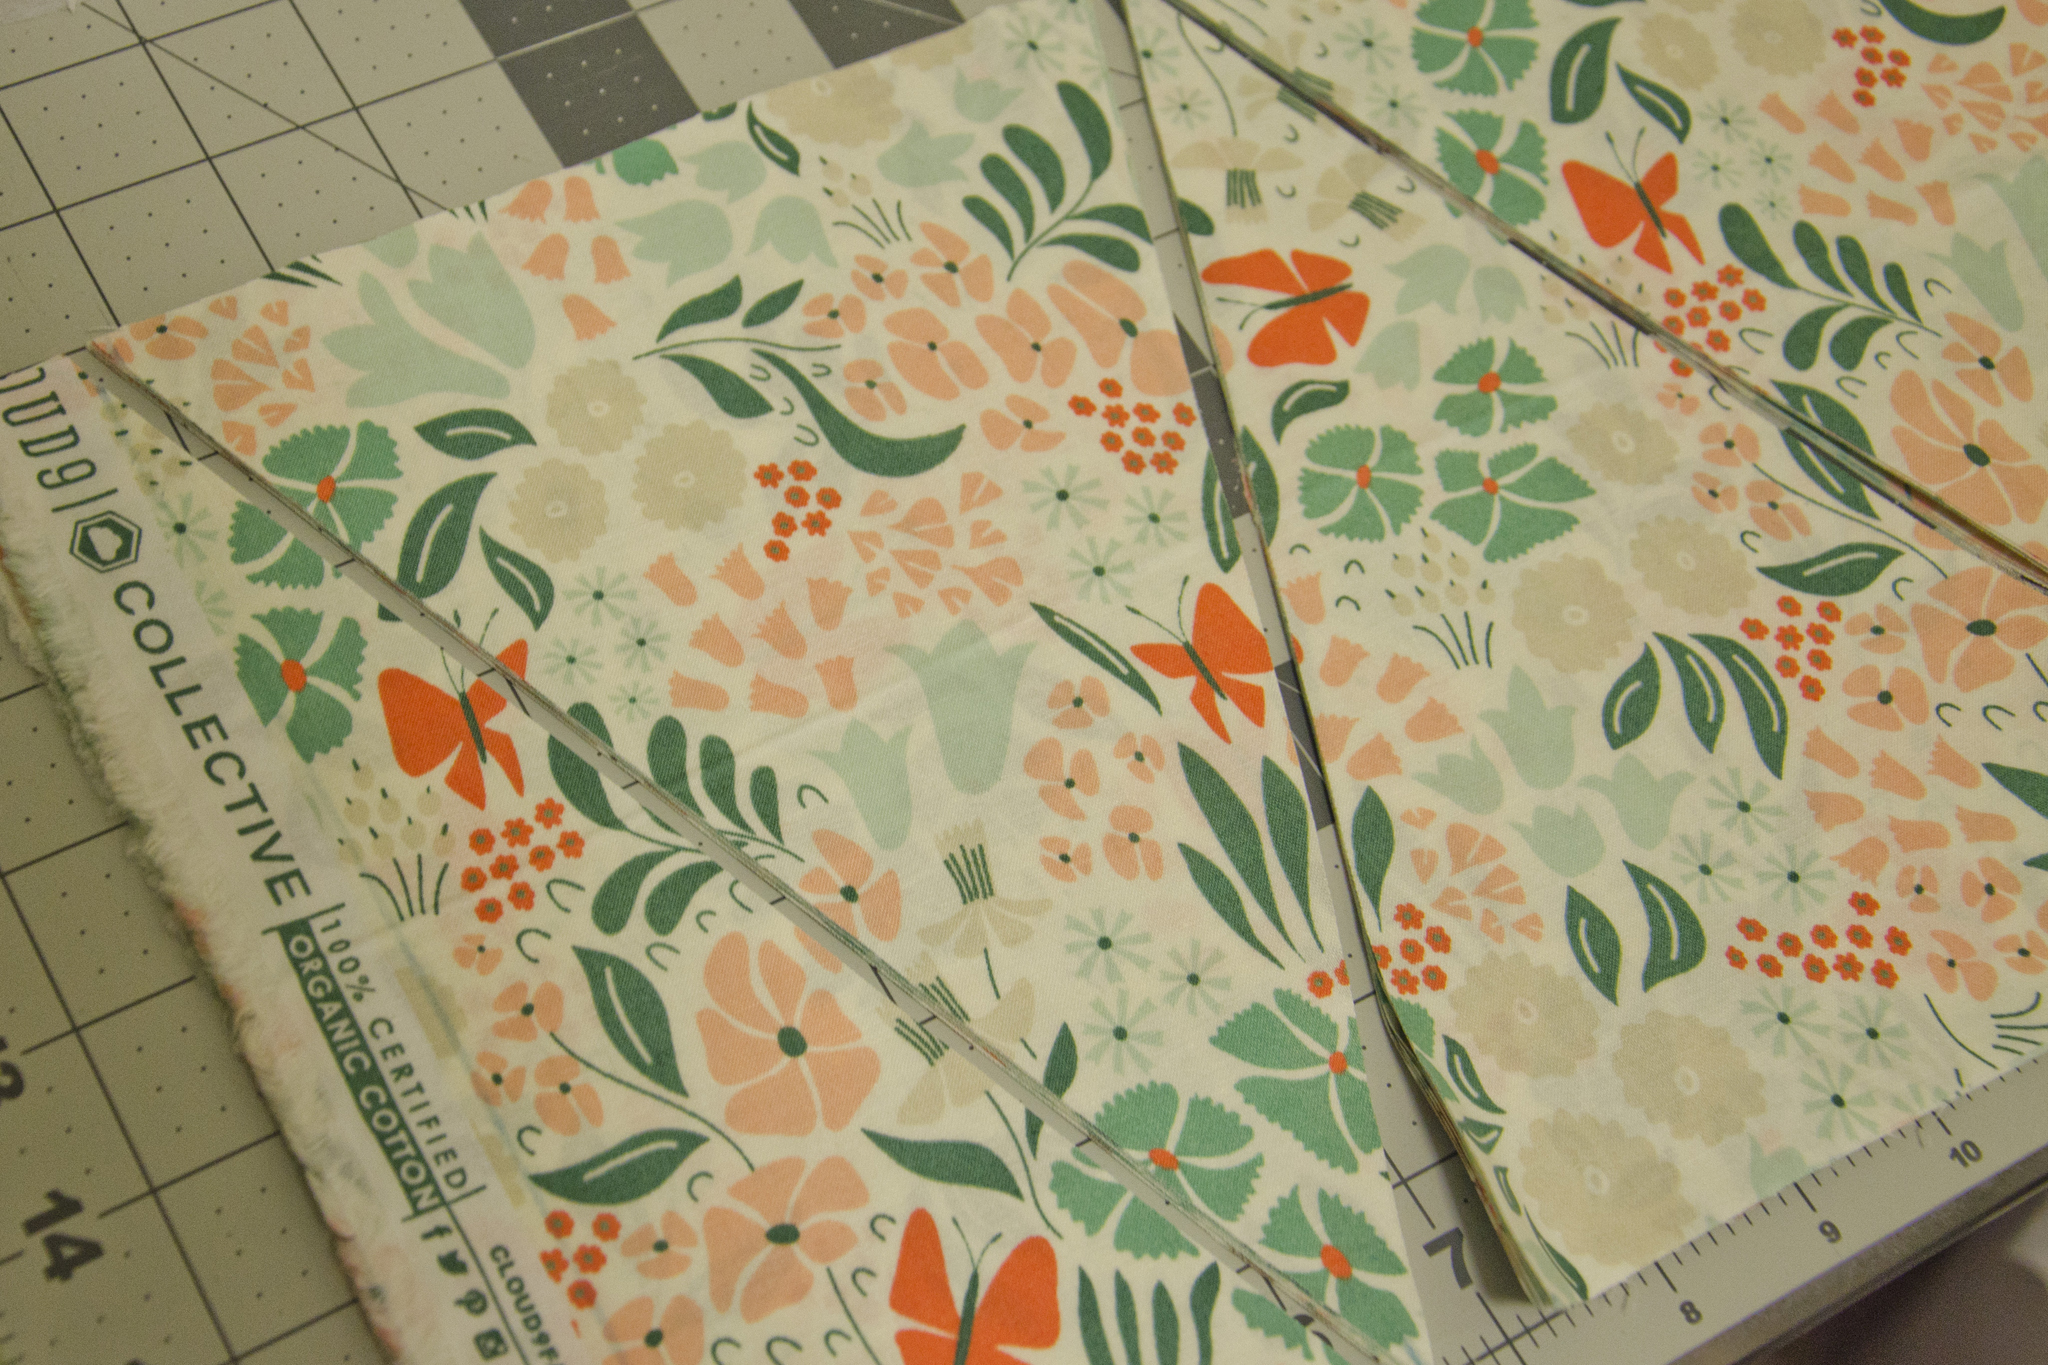
Tea Party Bunting

Tip 1

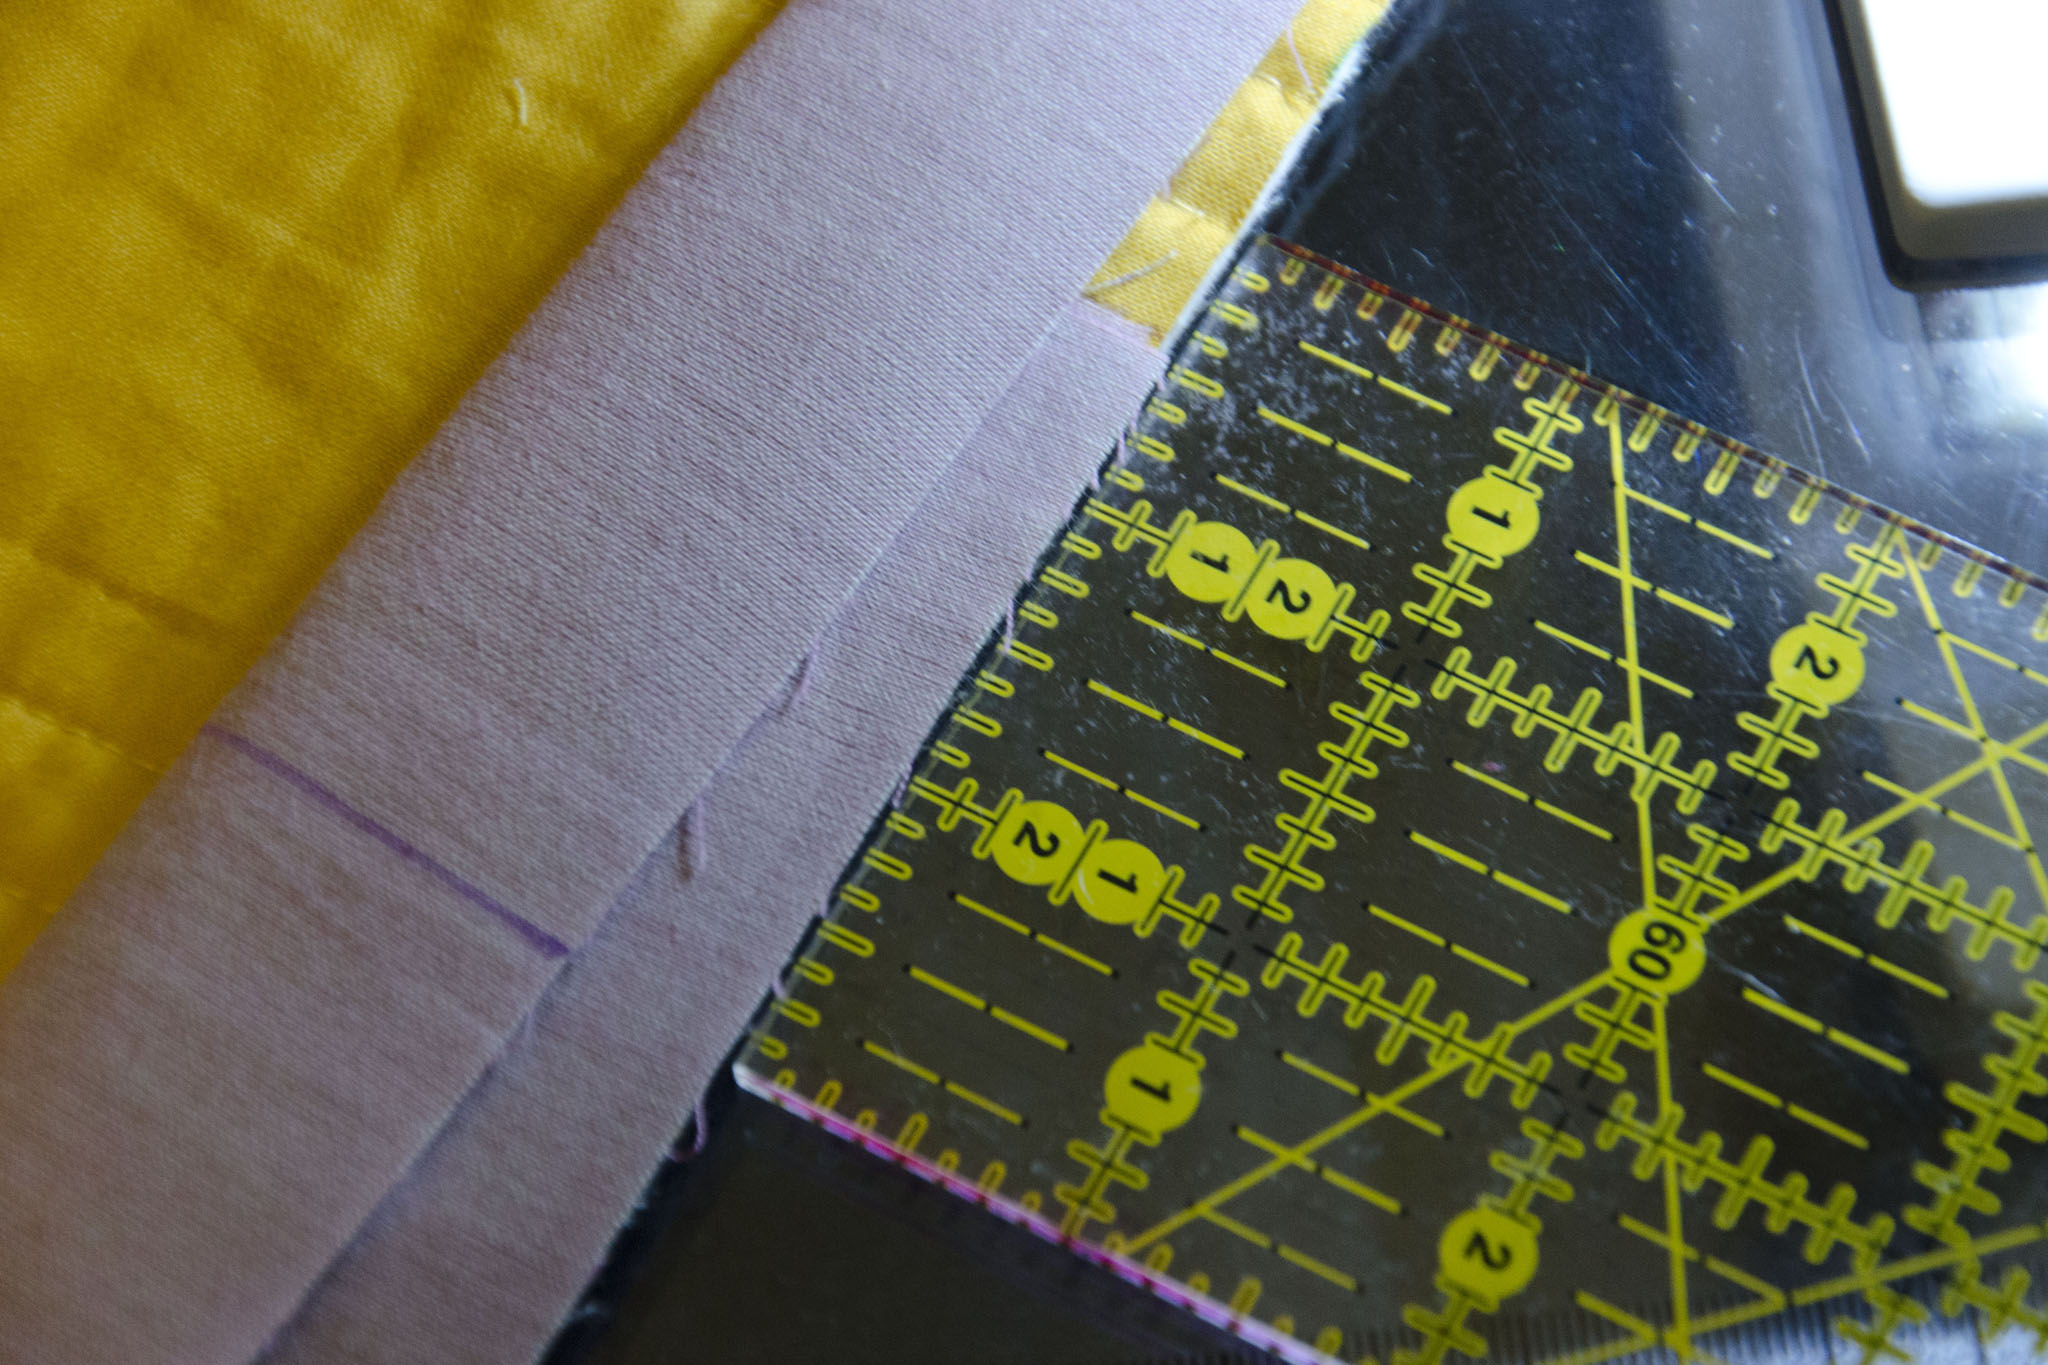
Cut strips of fabric, then rotate your template (or cutting marks) for easy cutting. If your fabric is directional, you can use the upside-down cuts on the back of your pennants.

Tea Party Bunting

Tip 2

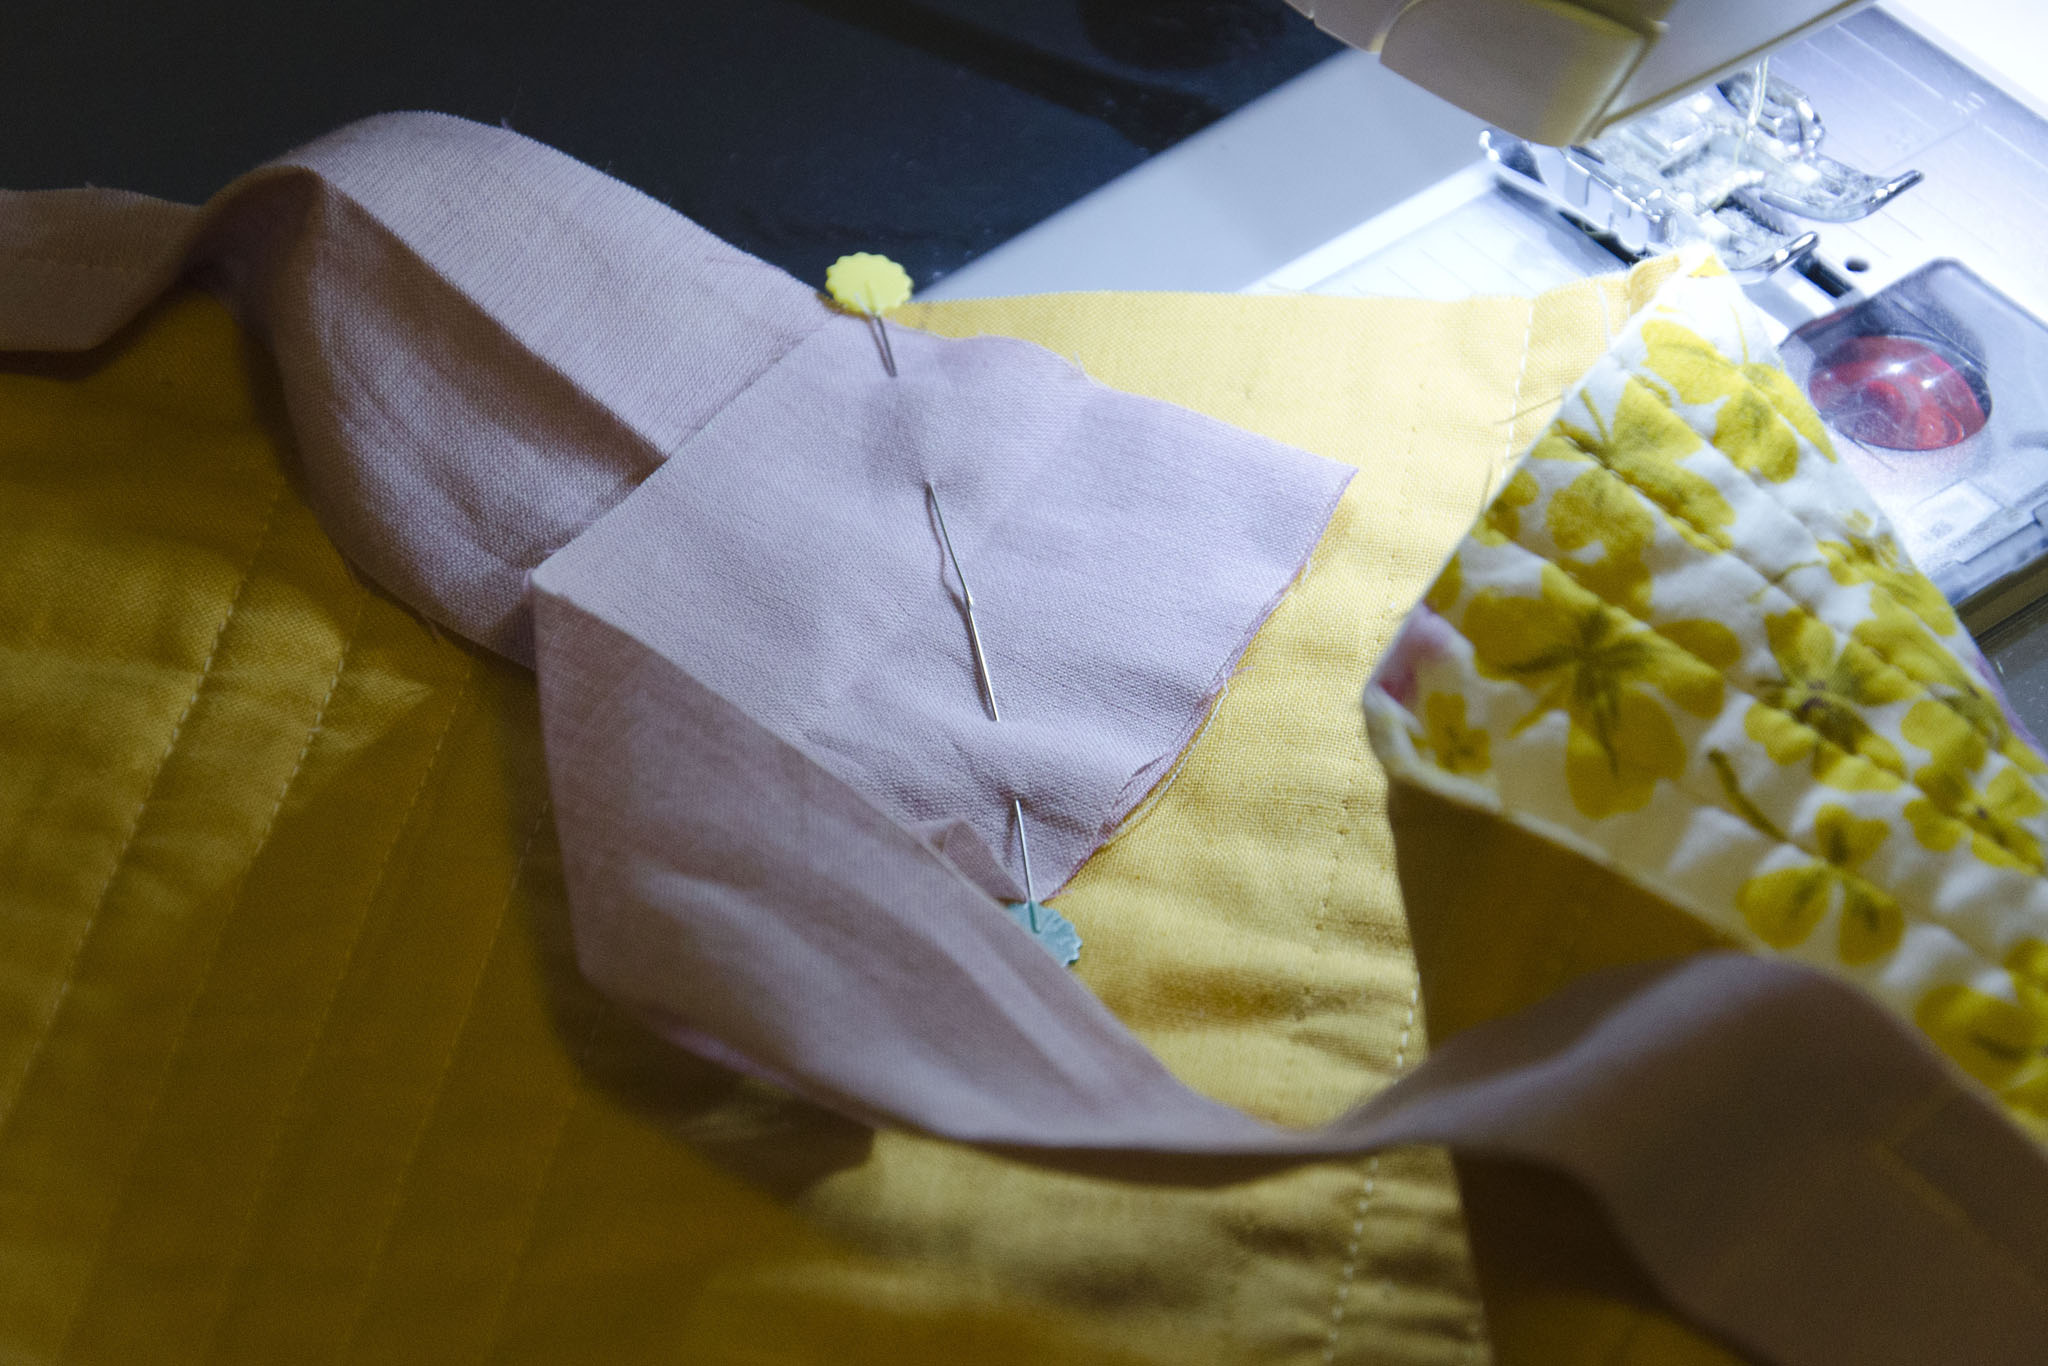
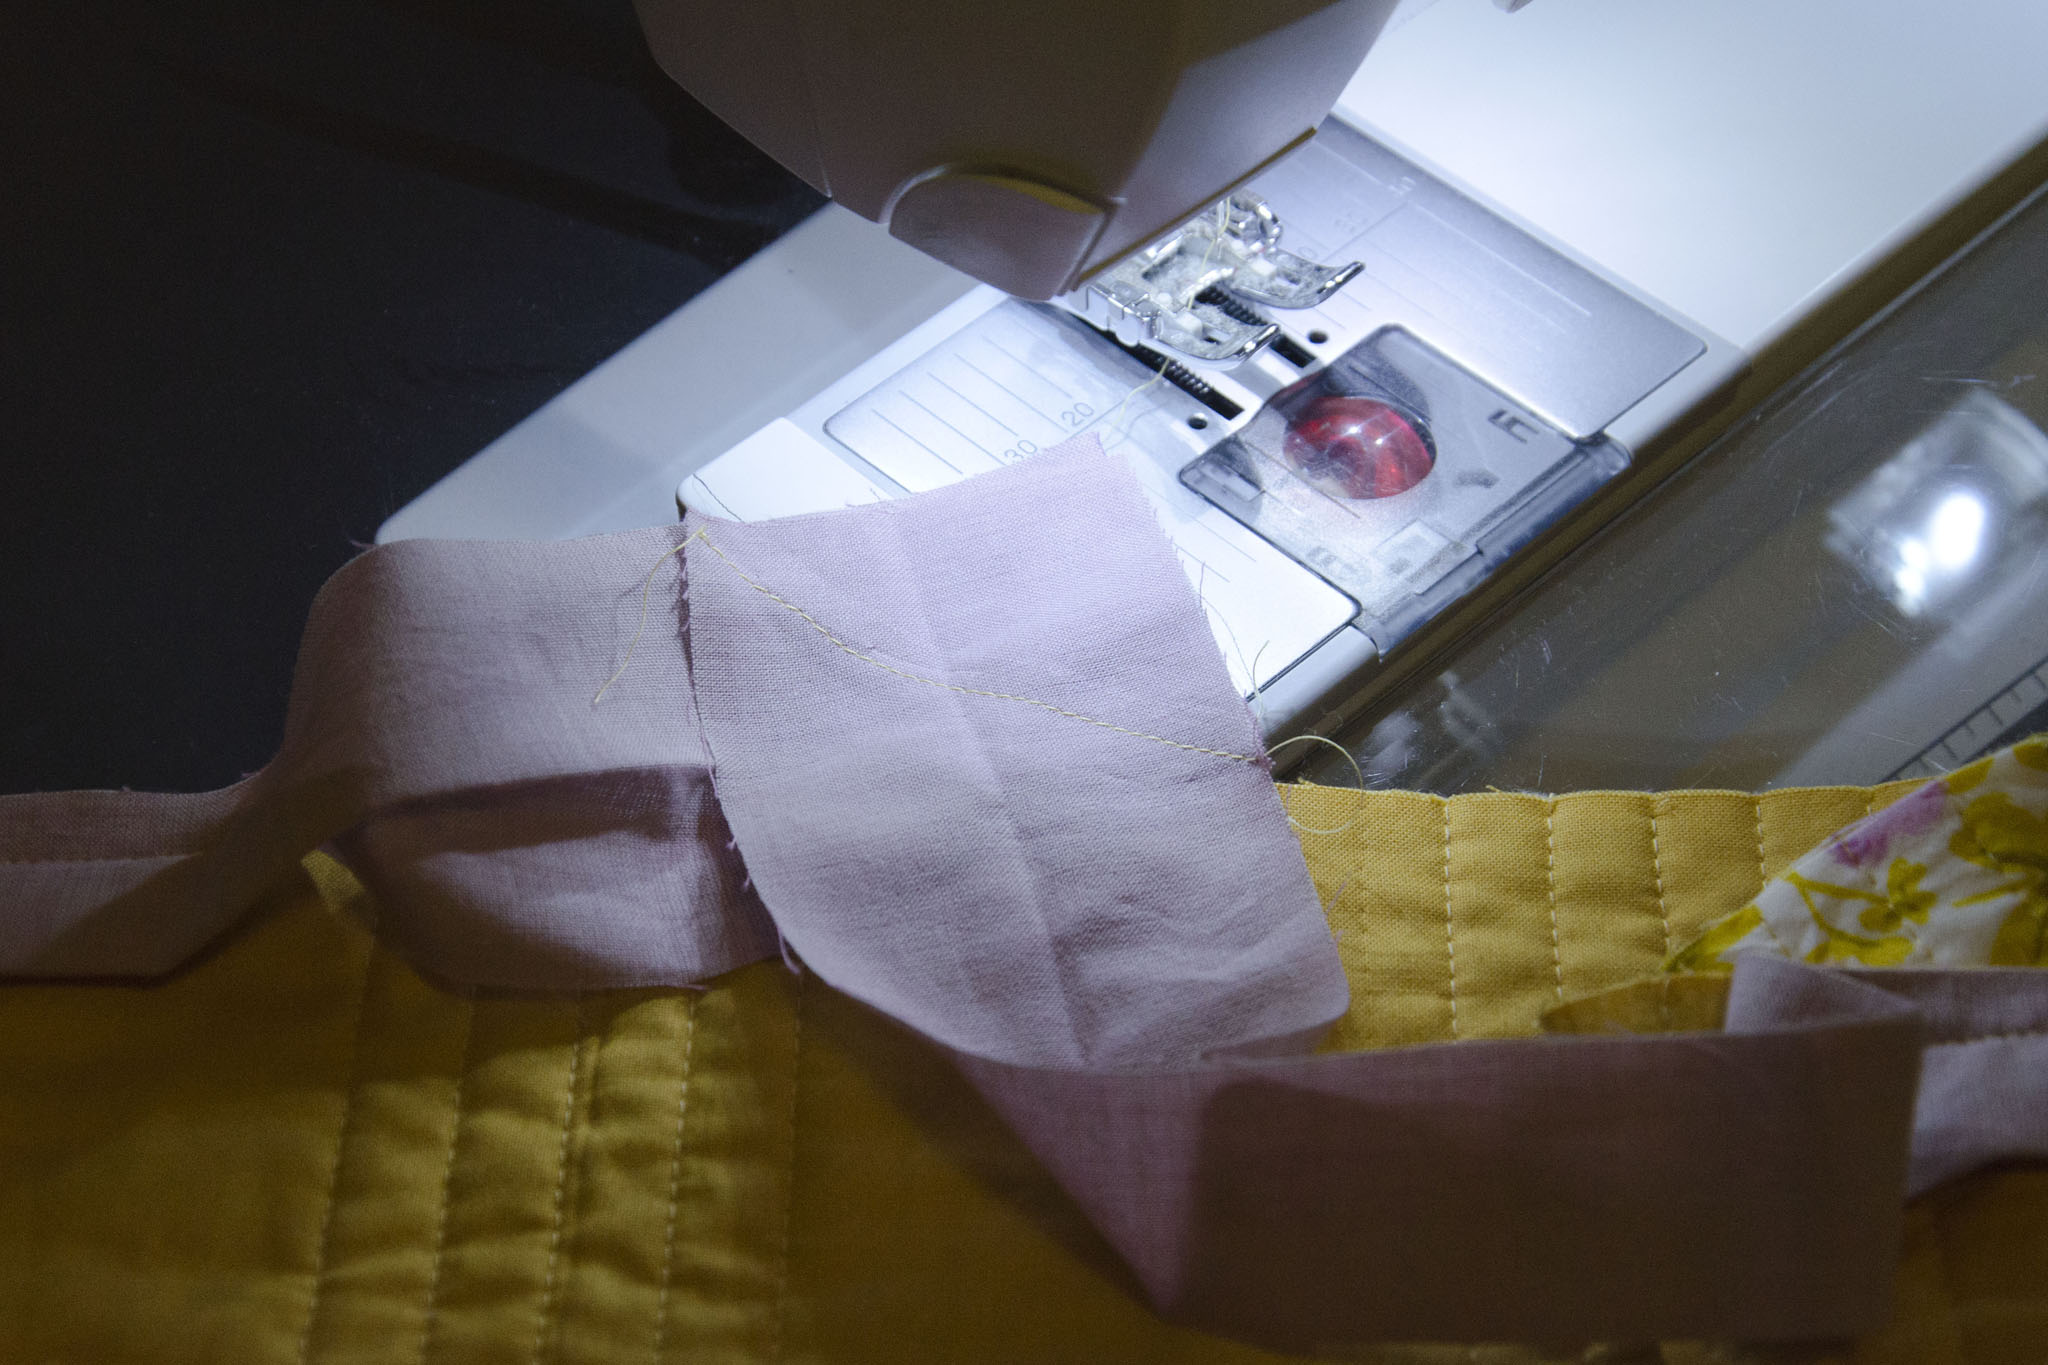
Trim the seam allowances and use a chopstick to turn the point. I’m not great at sharp points, regardless of how I trim the seam allowances, but the chopstick is awesome.
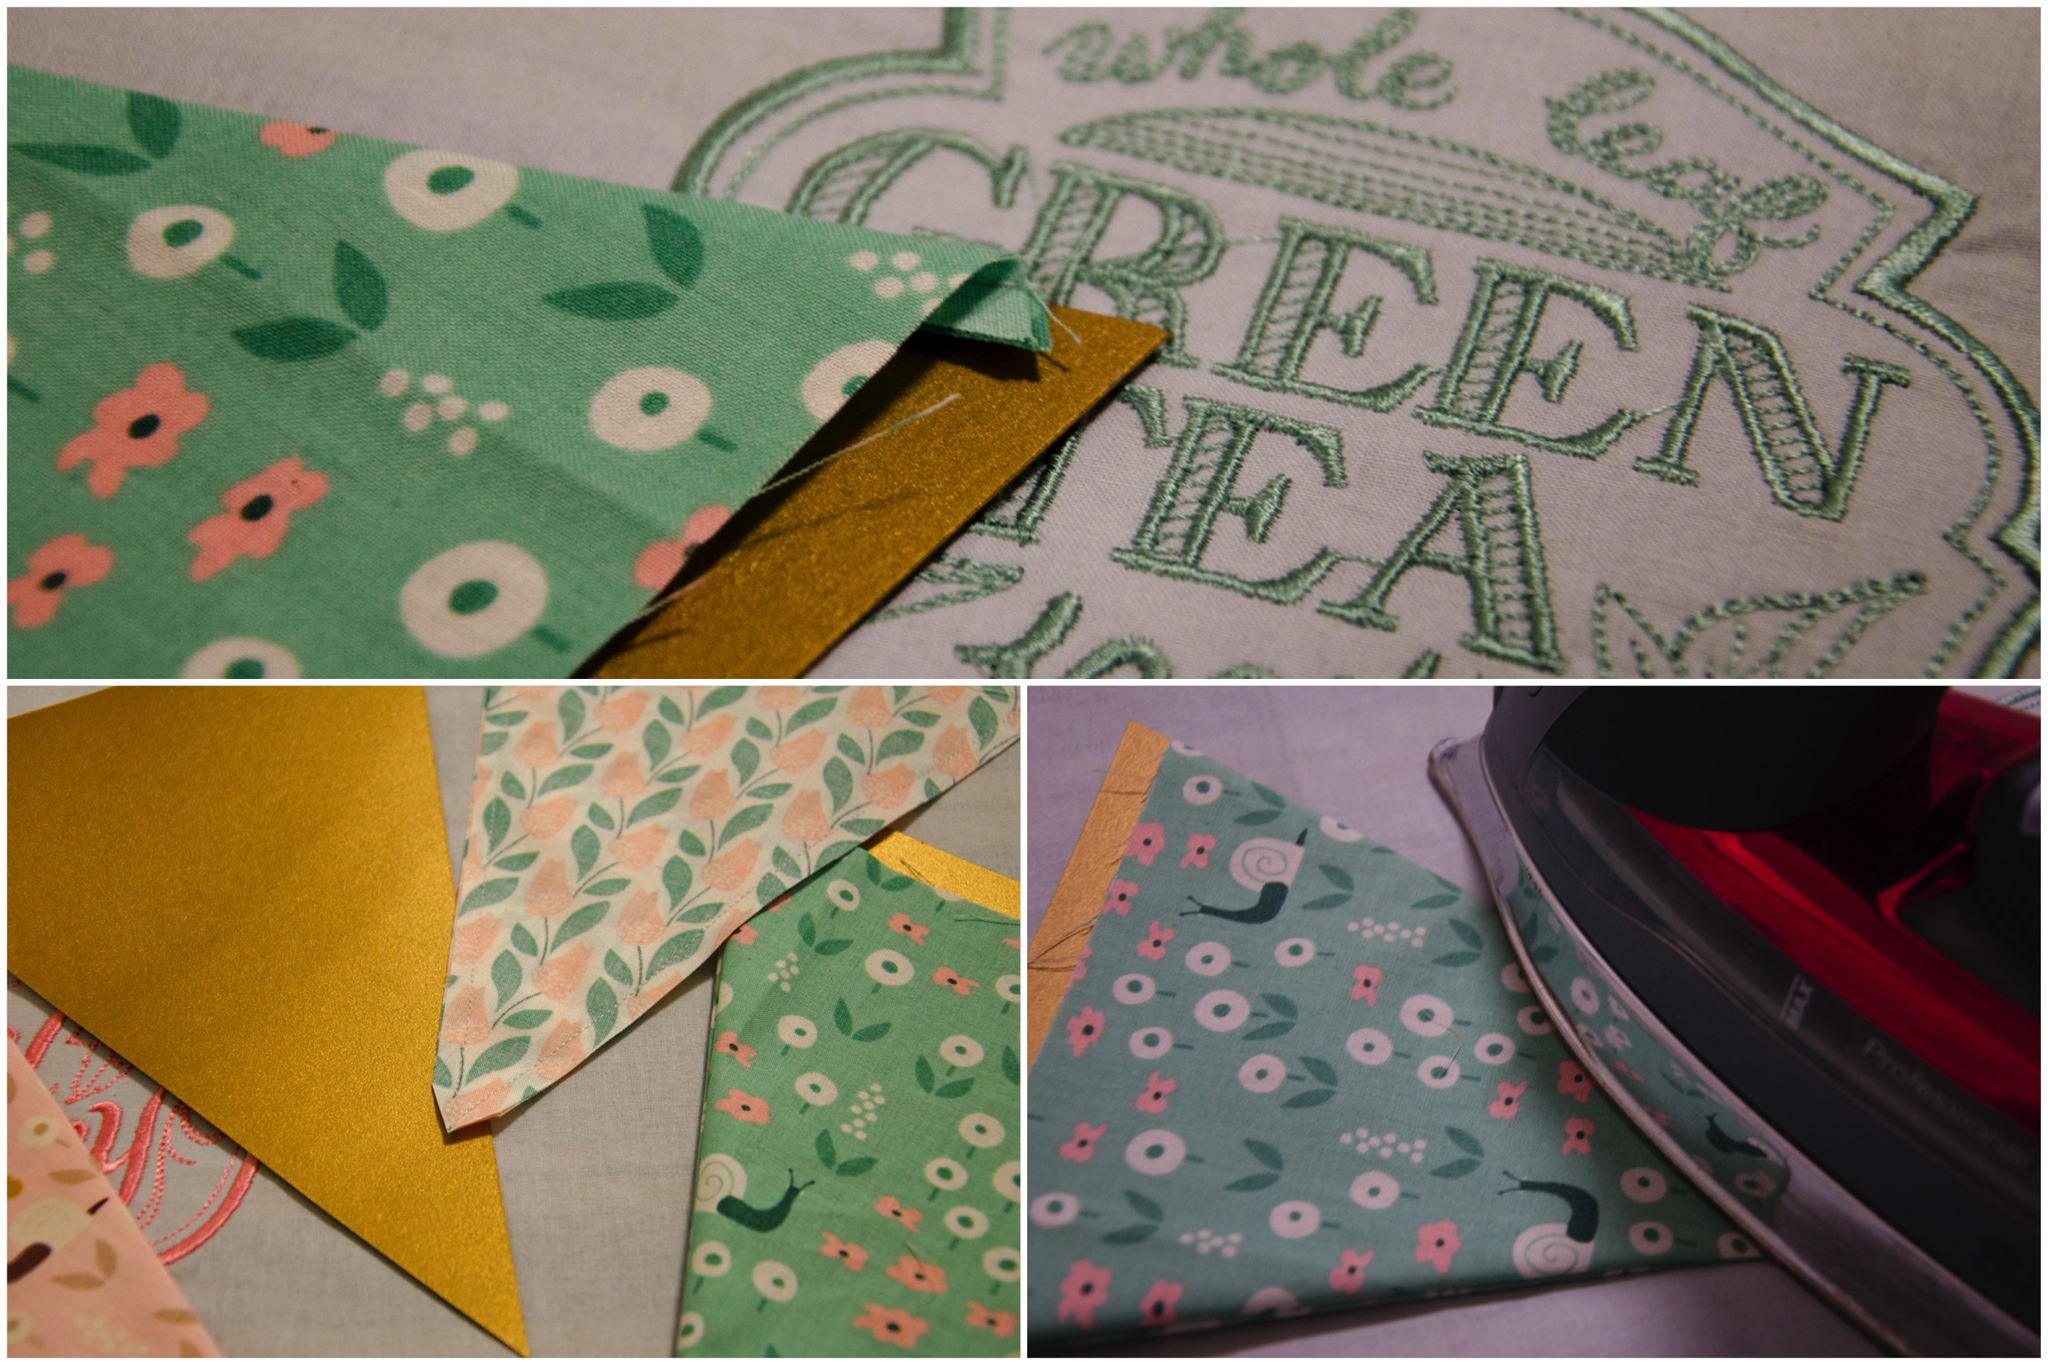
Tea Party Bunting

Tip 3

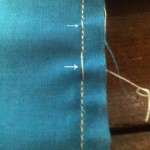
Cut a template out of card stock to help with pressing. If you cut the template to the finished size, then slide it in with the seam allowances behind it, you get a nice sharp edge to your pressed pennants.
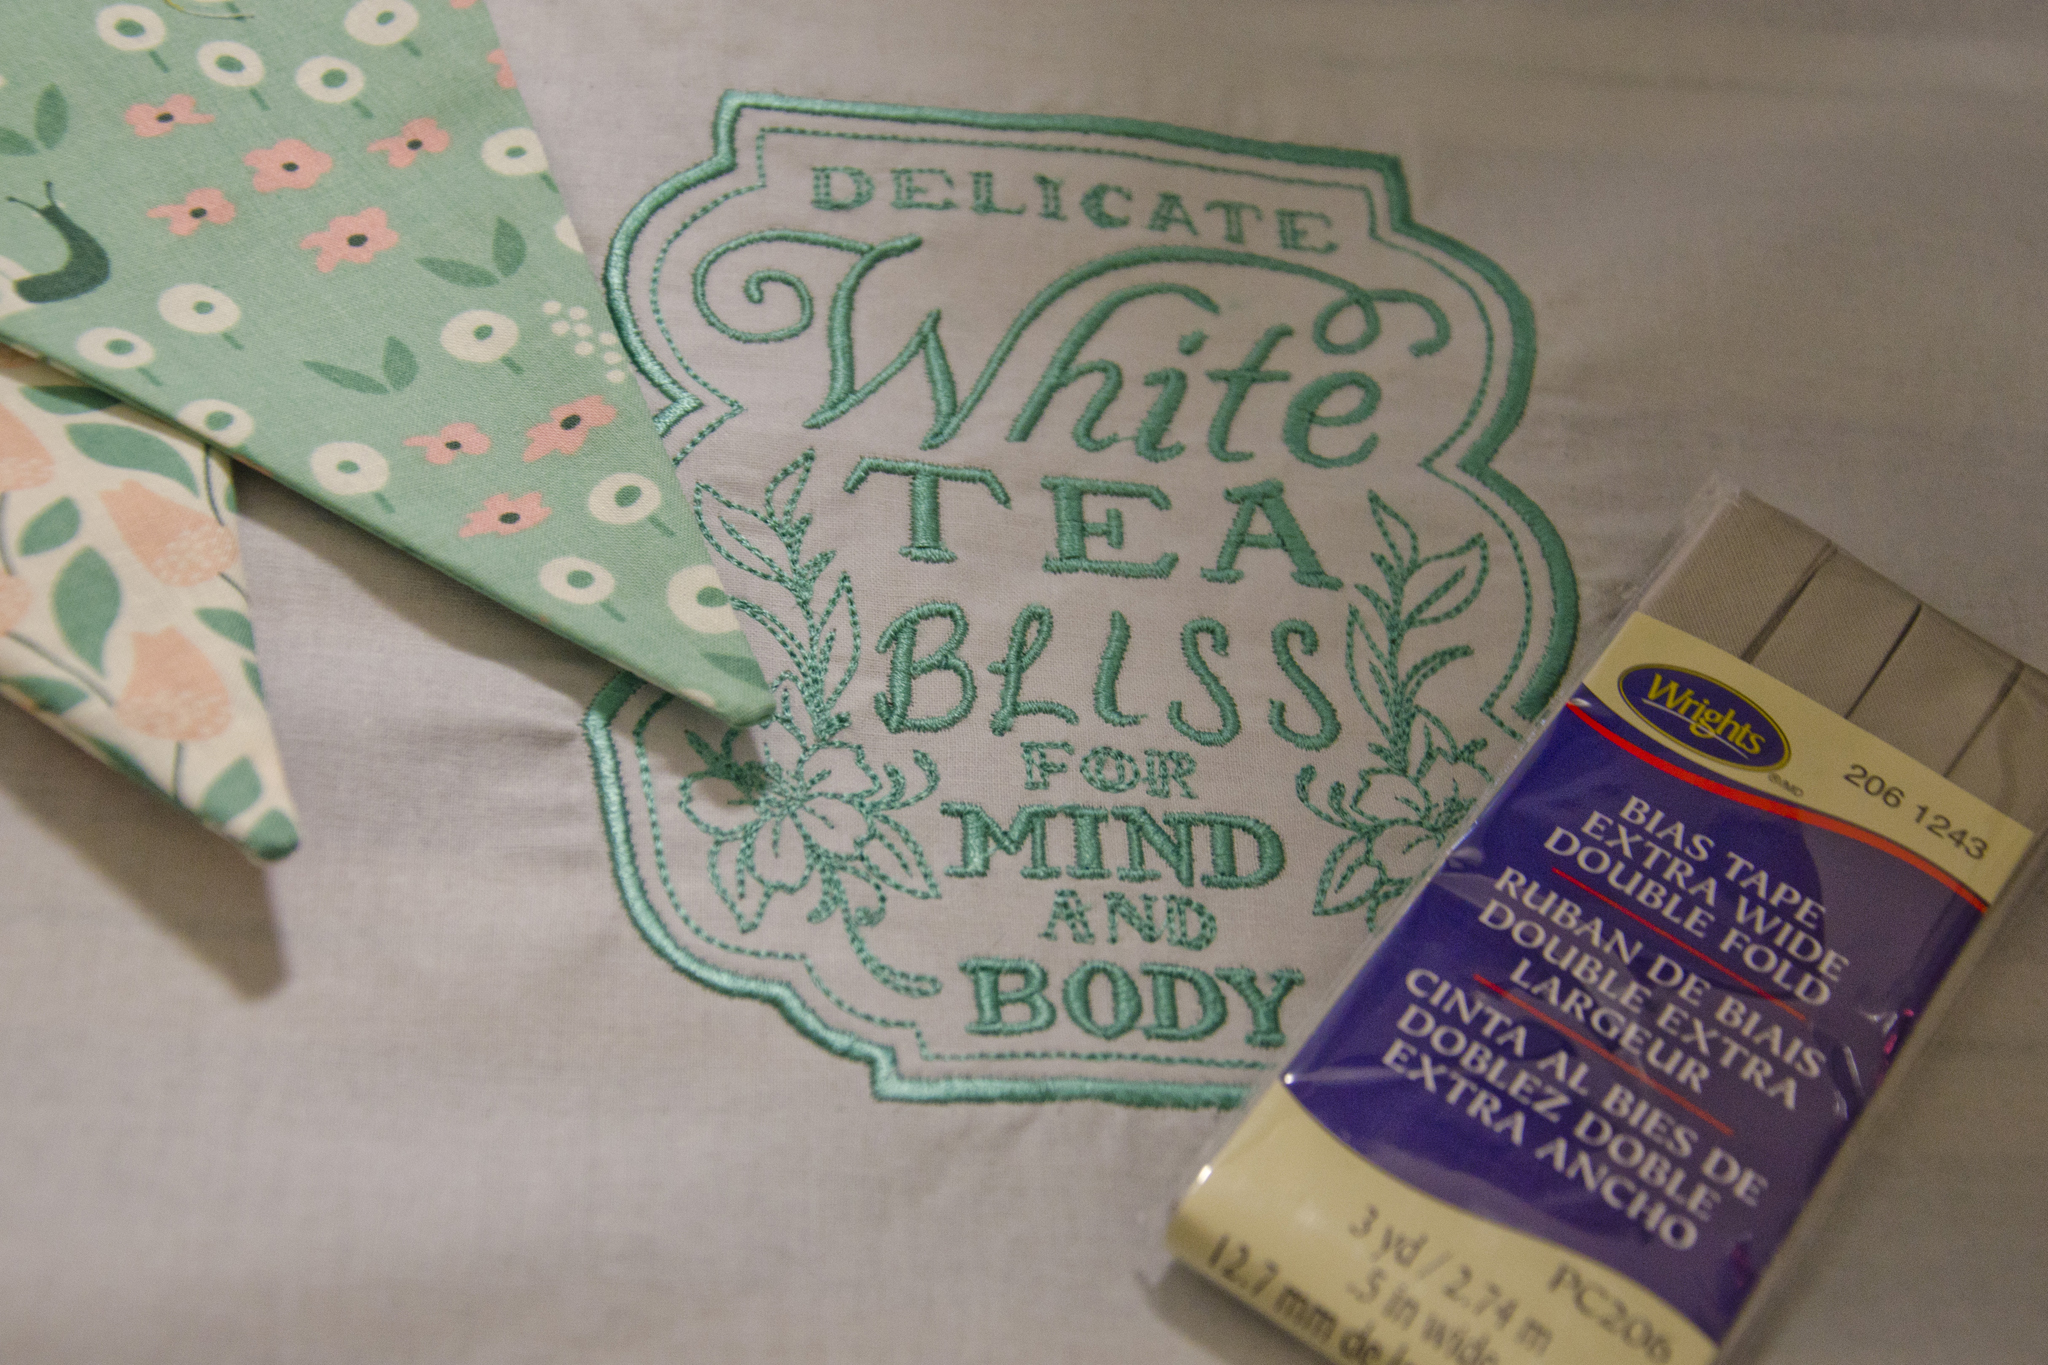
Tea Party Bunting

Tip 4

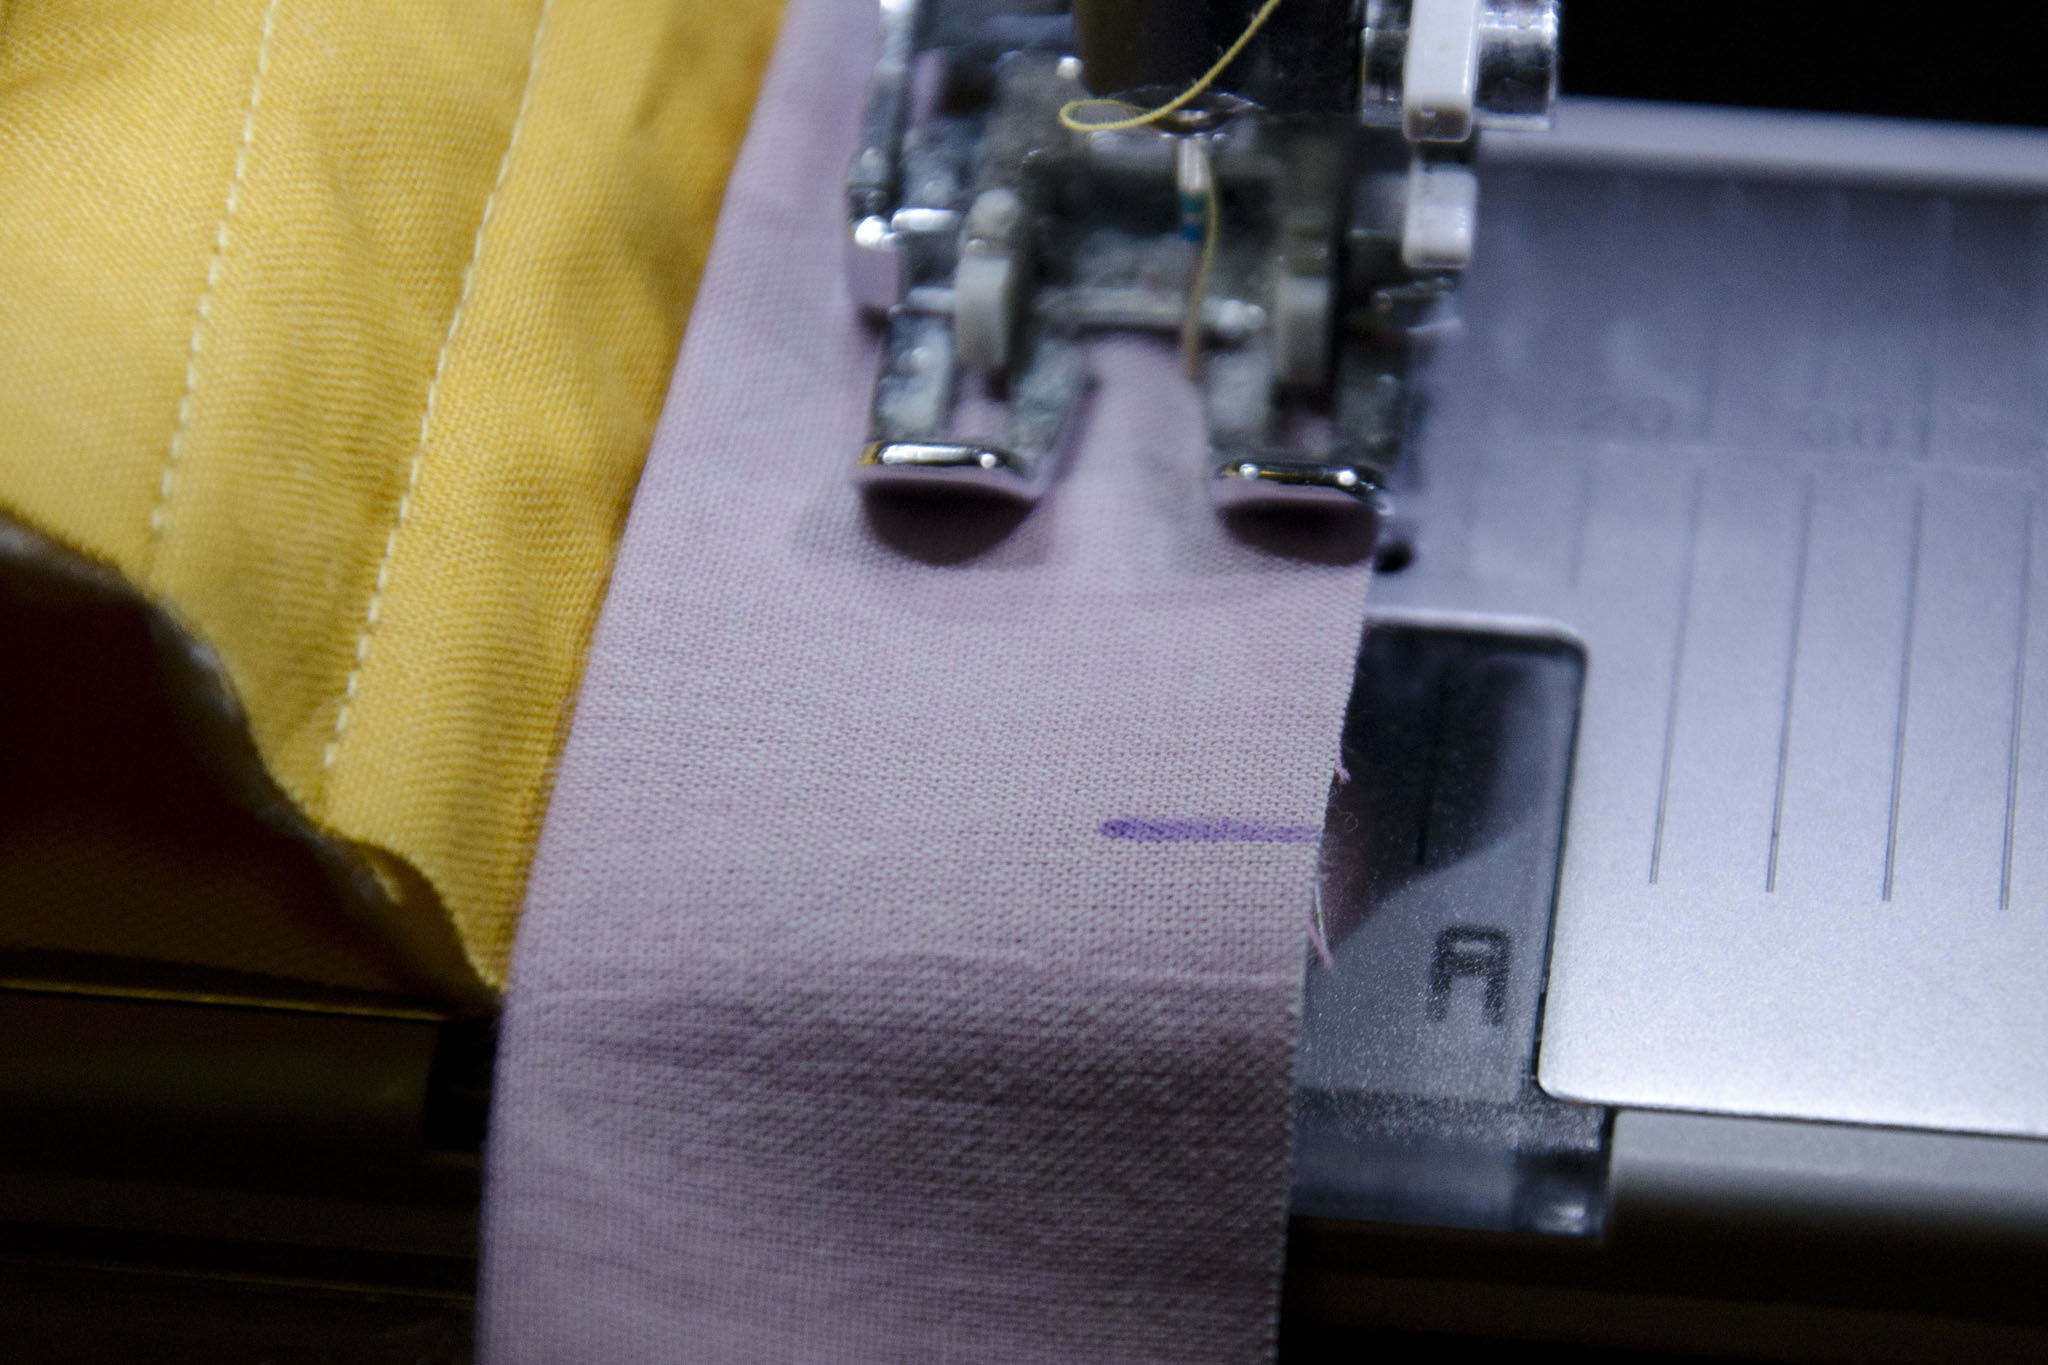
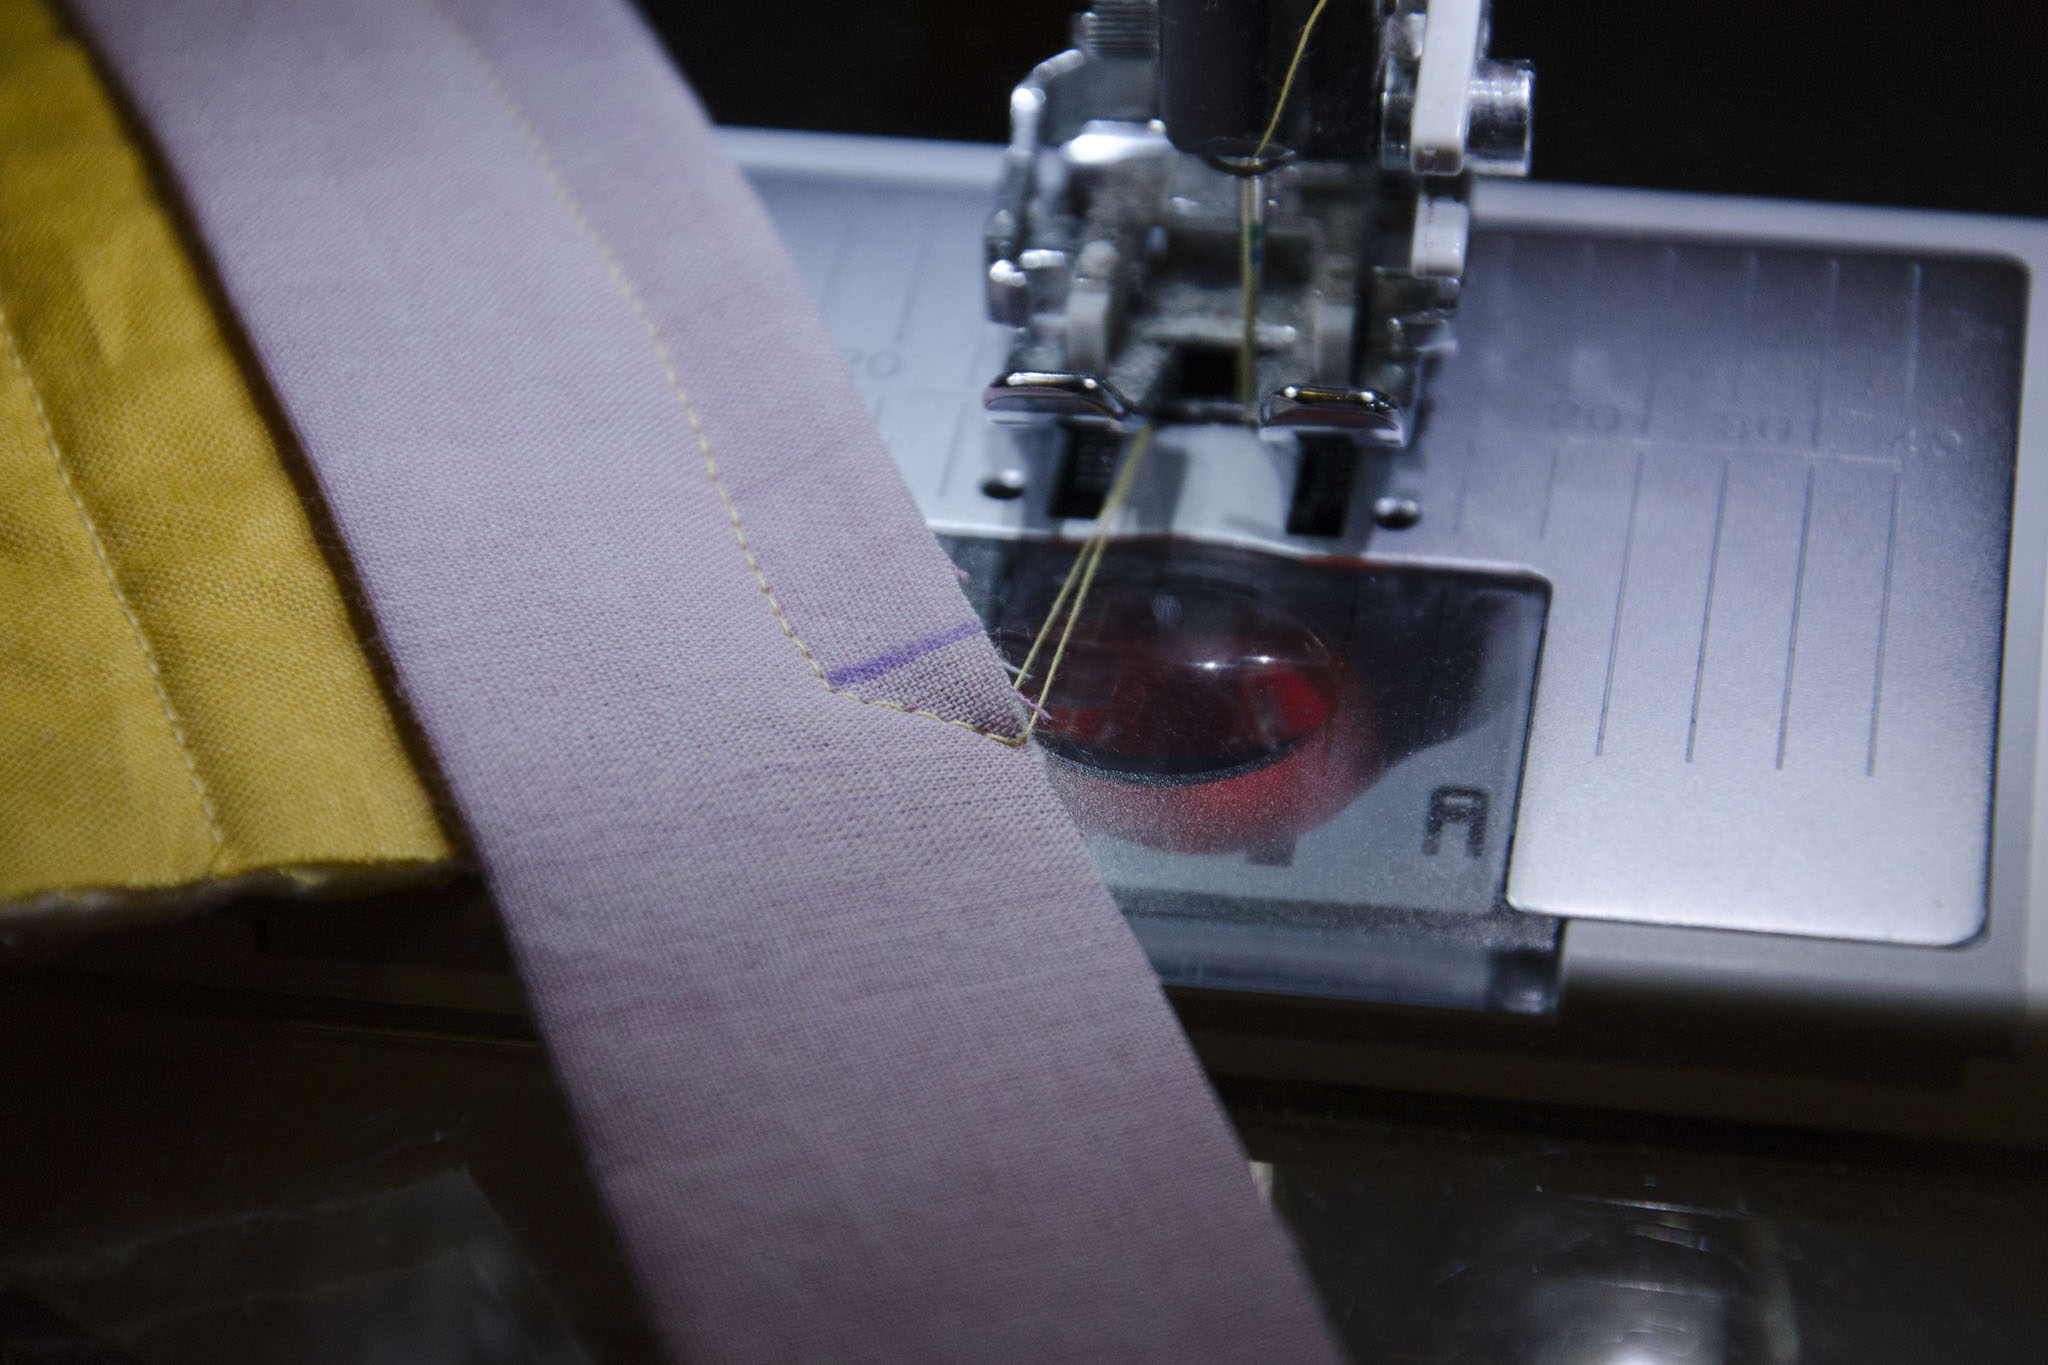
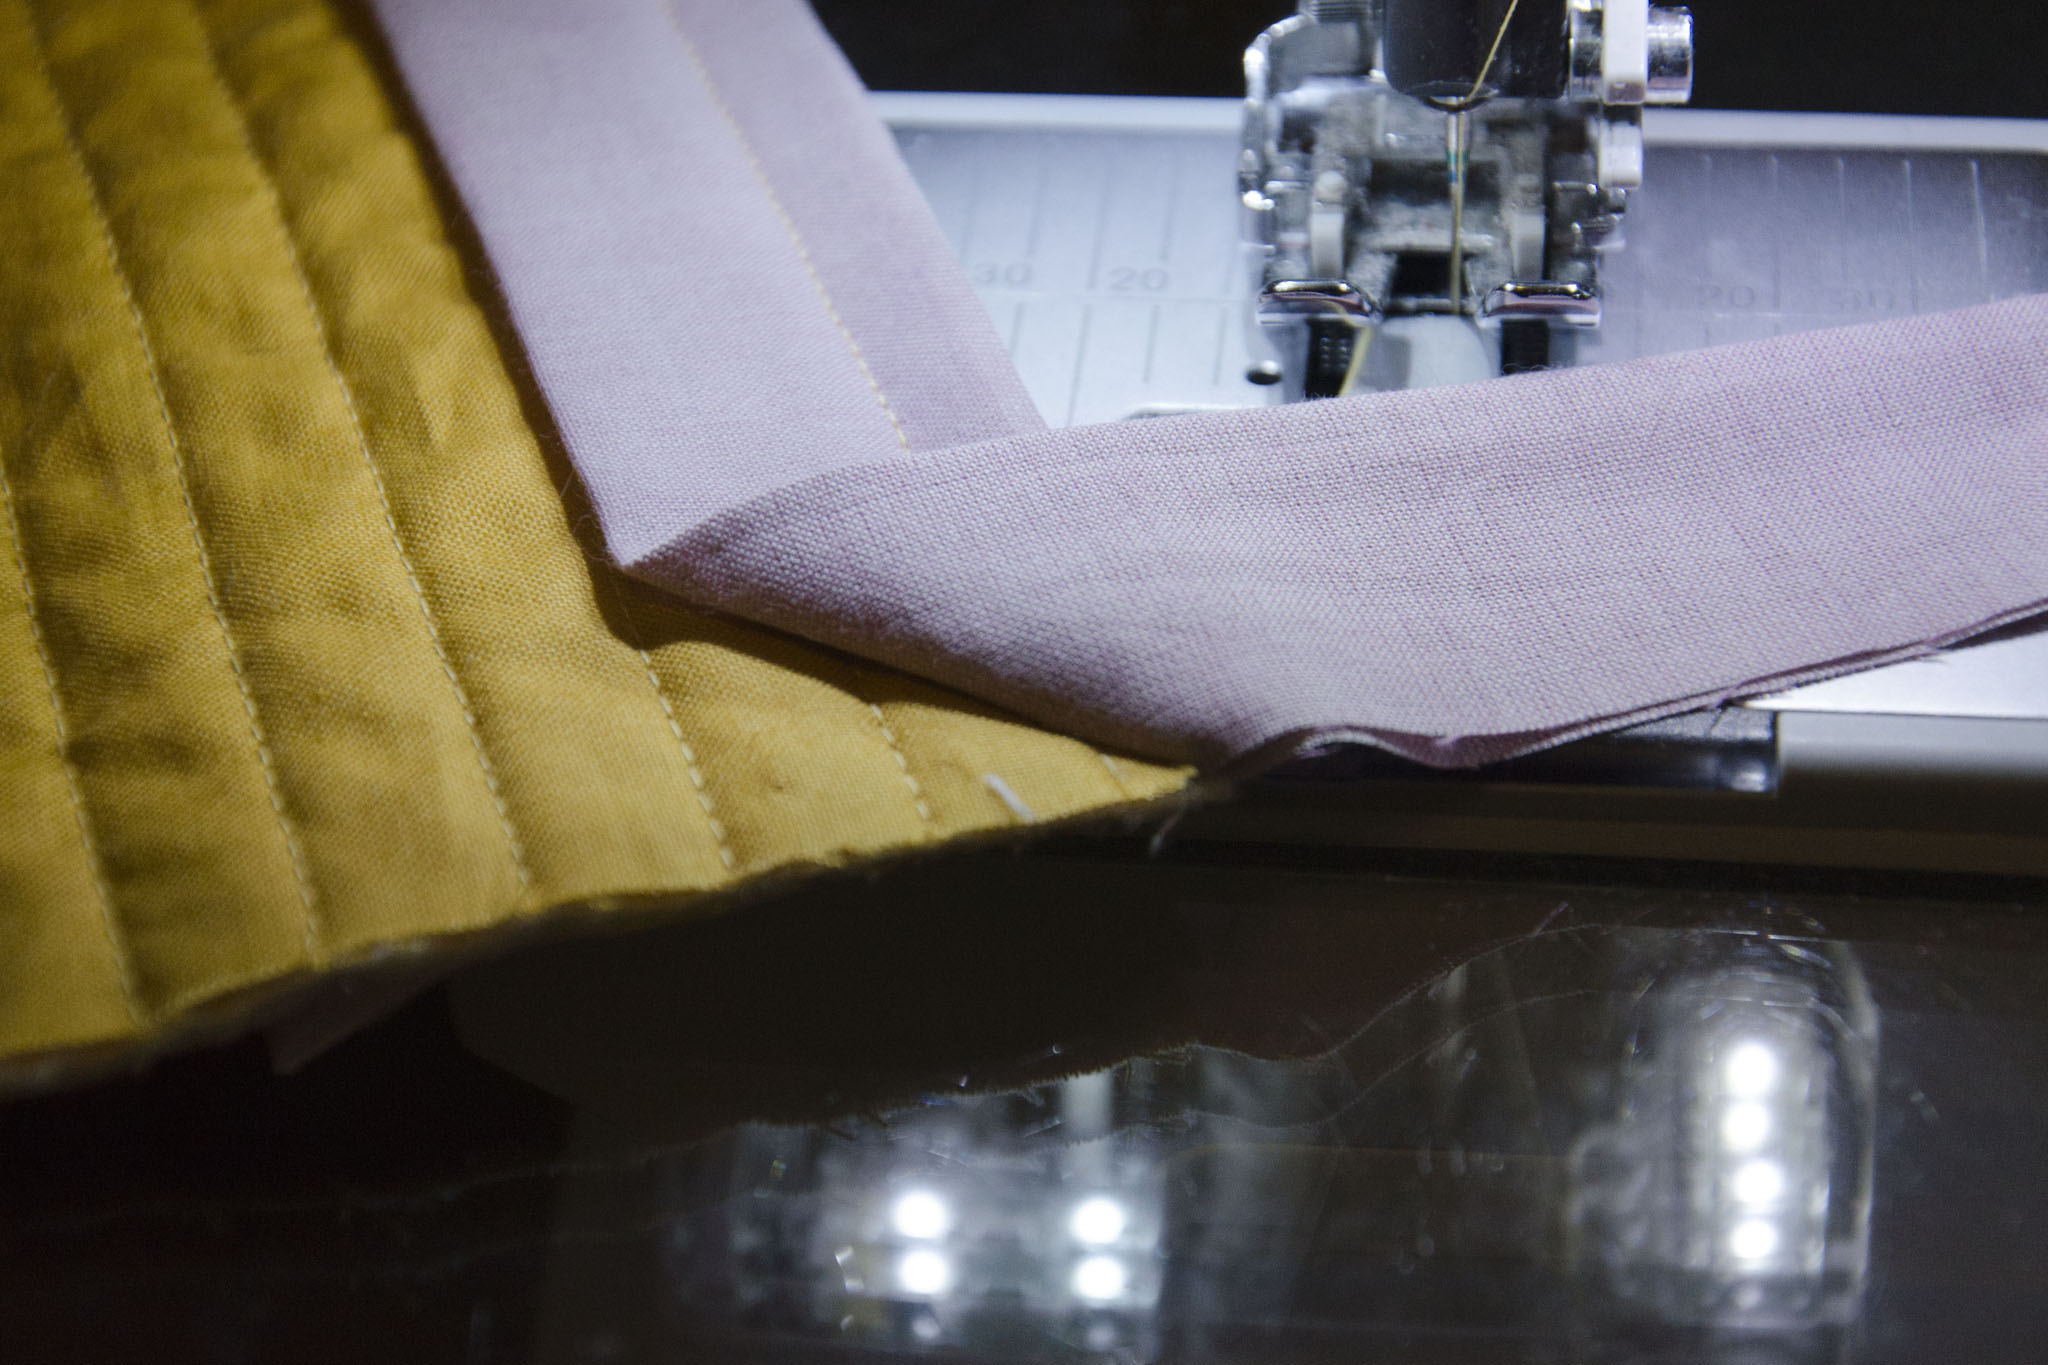
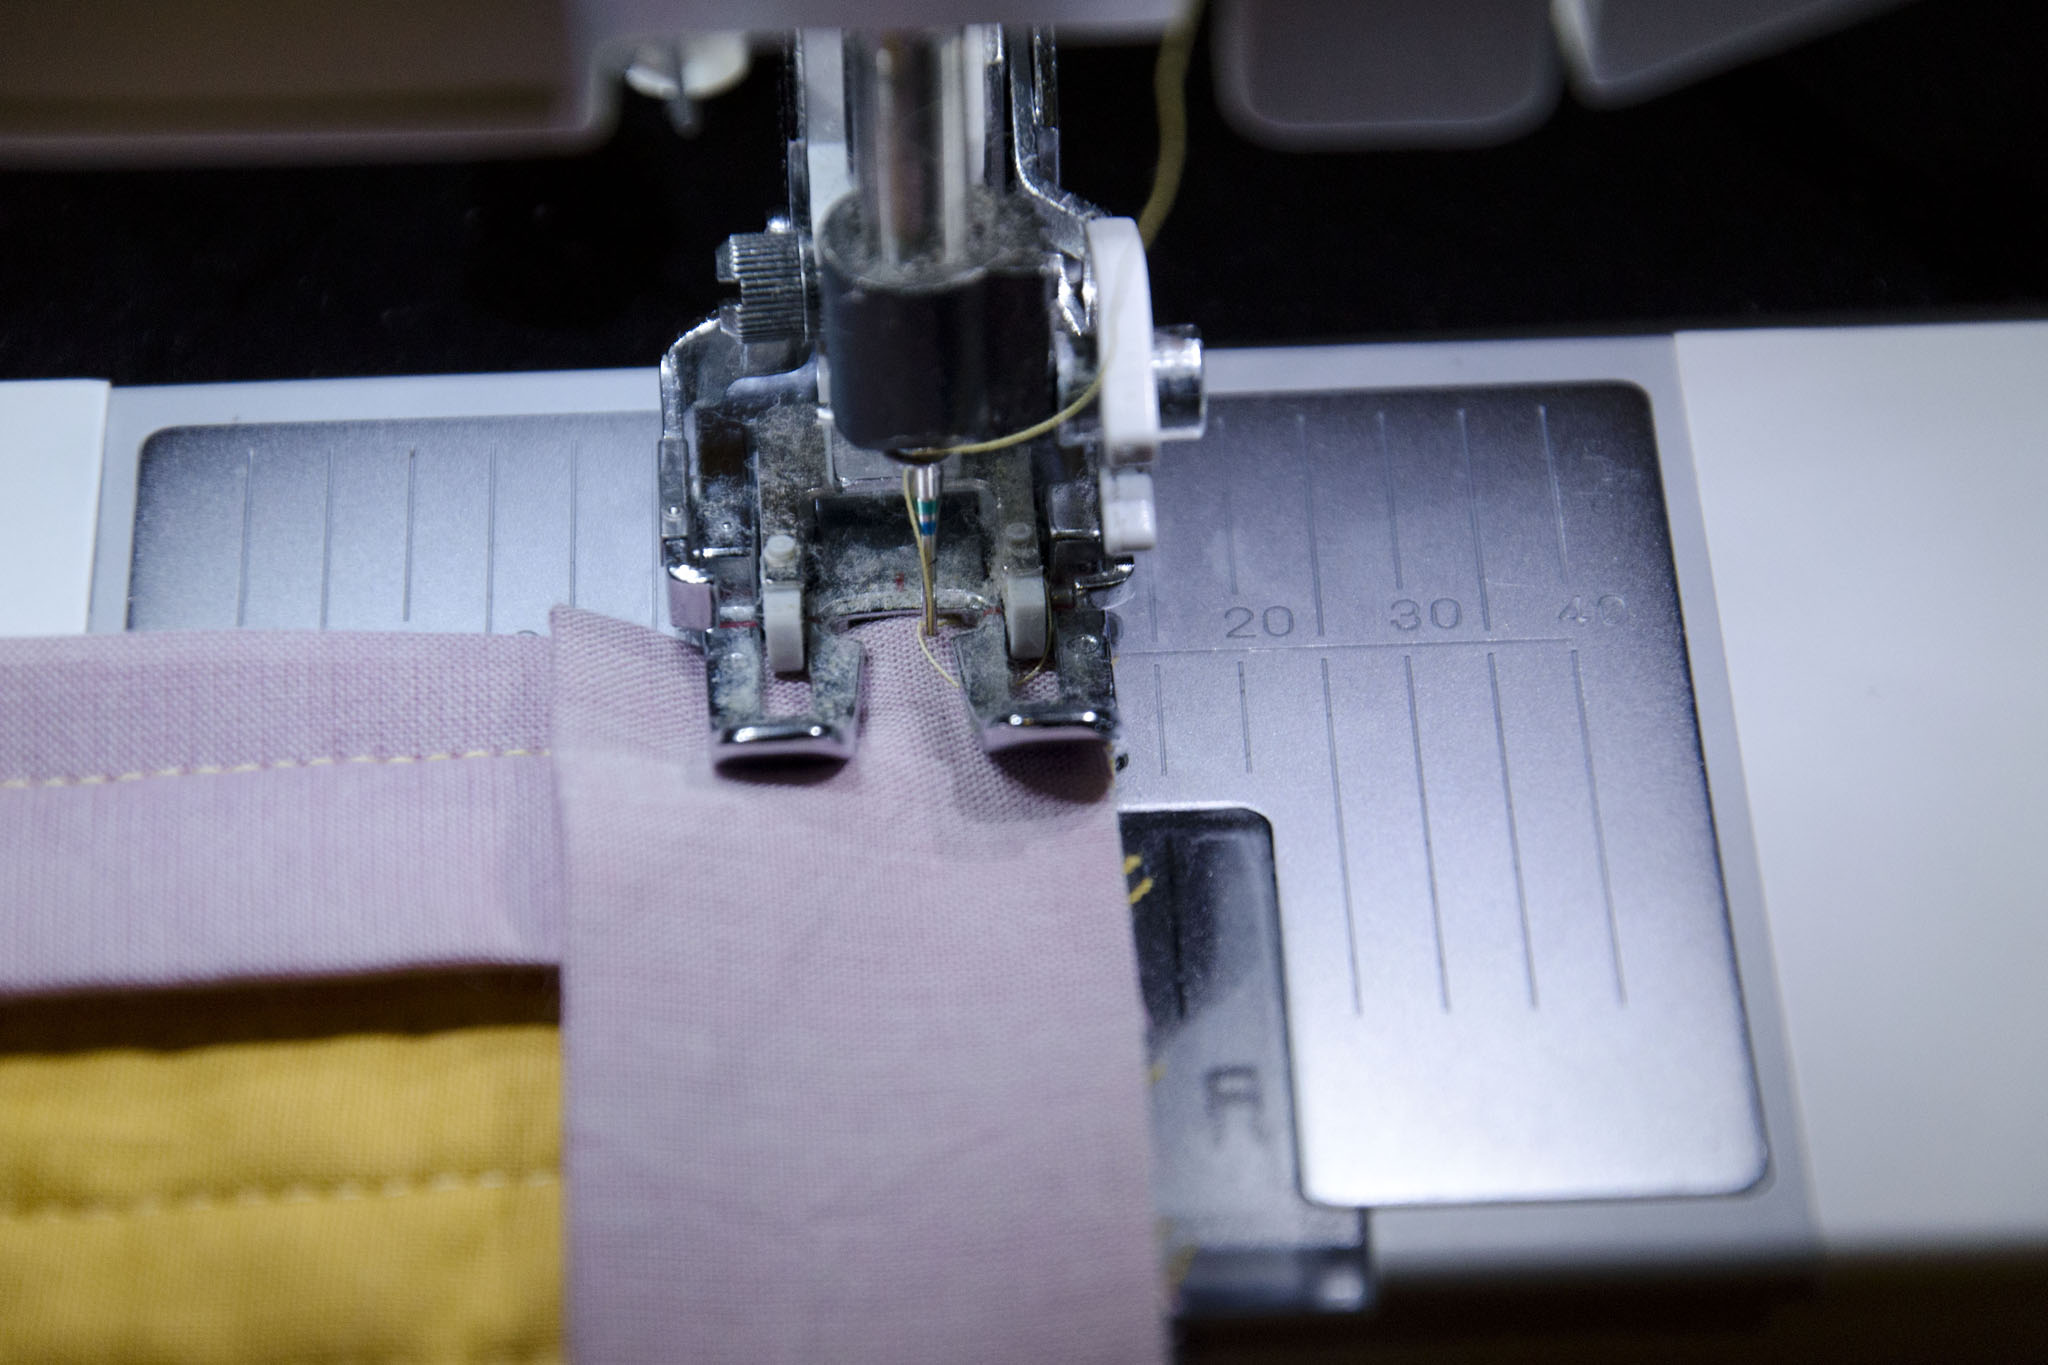
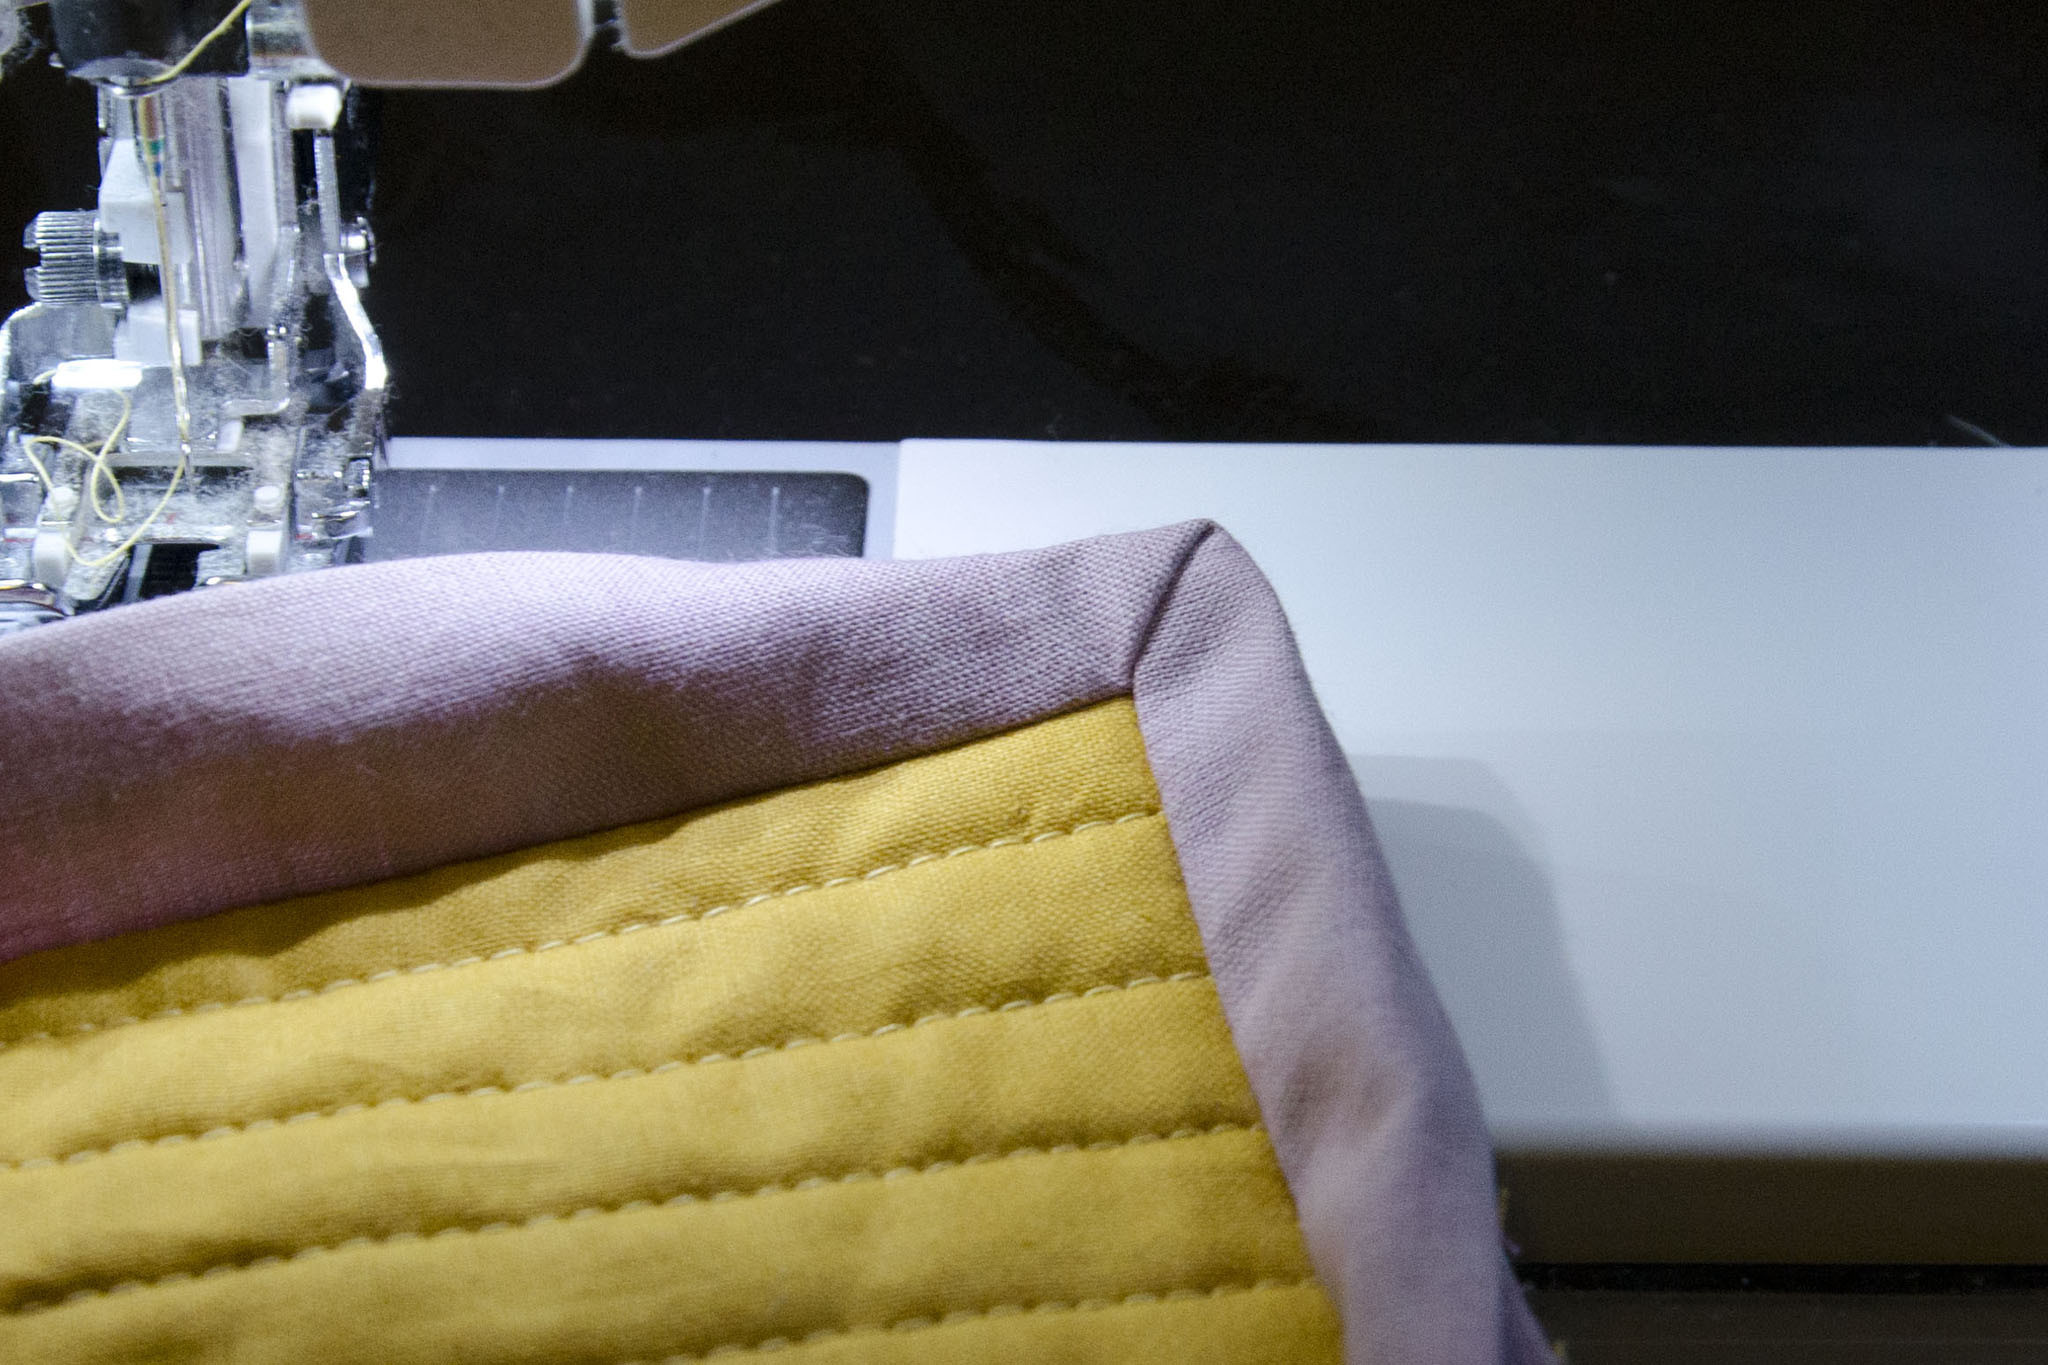
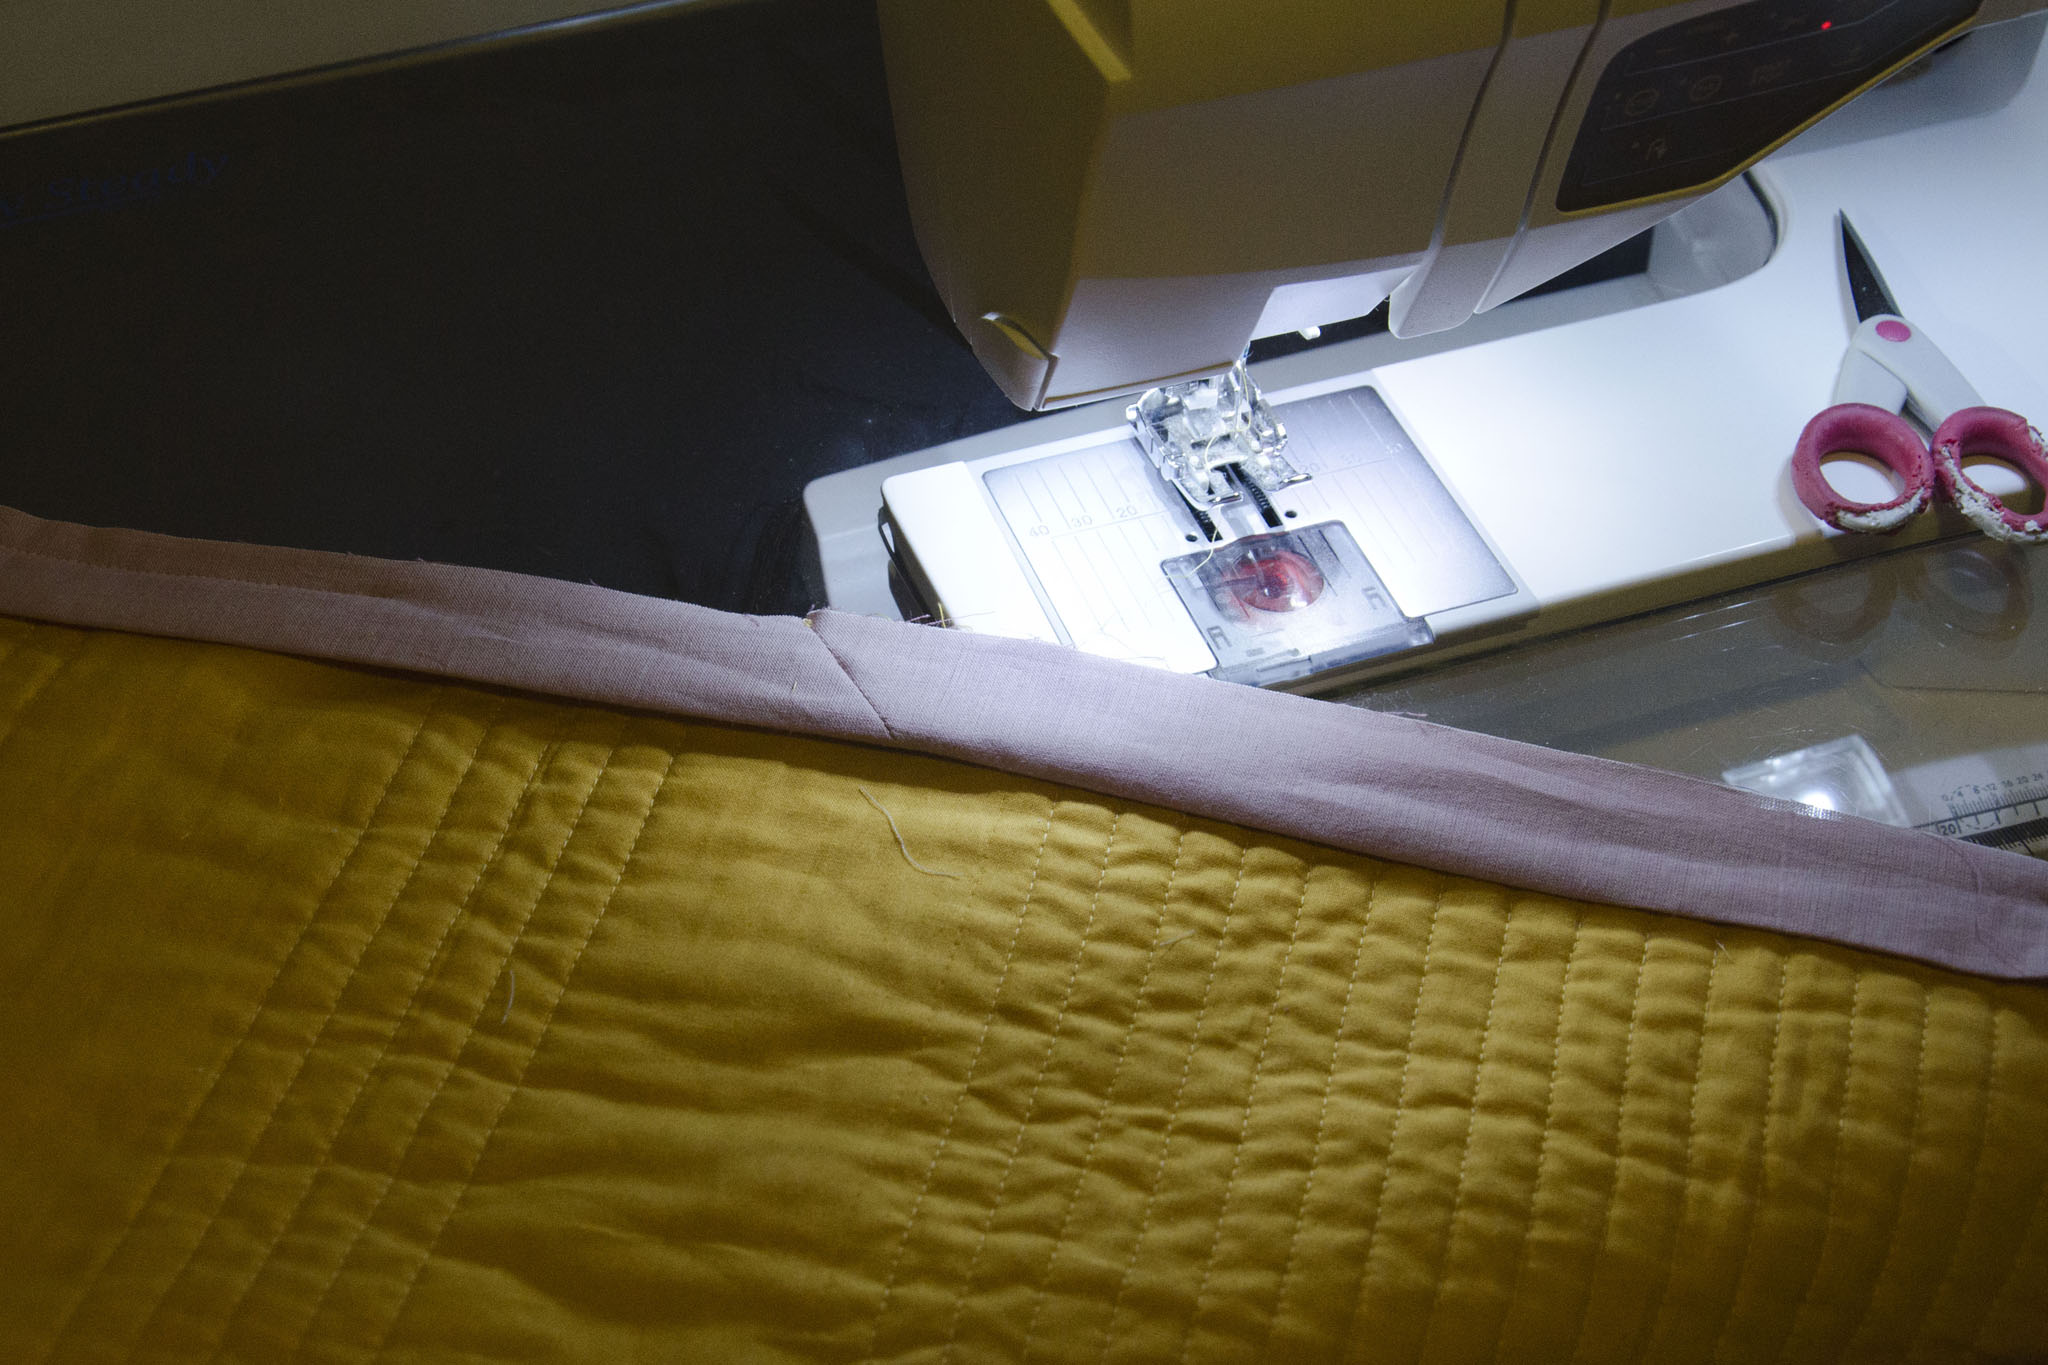
Use packaged double fold bias tape for a quick and easy finish, and a glue stick to hold everything in place while you sew the flags down.

Tea Party Bunting

Best of luck in your bunting endeavors!

May 21st, 2016

Three Binding Tricks

Posted in Quilting

  • Binding
  • Tips and tricks

At our last guild sew-in, it seemed that half the attendees brought binding to hand finish (saving them having to lug their machines around). As we ooh-ed and ahh-ed over each other’s projects, I noticed that our president’s corners were so much cleaner than mine ever turn out—I always seem to end up with a gap in stitching on one or more corner, no matter how exact I think I am. So, I thought I’d share her corner trick, and my two finishing tricks to help ease your binding work. I use these tricks for both hand and machine-finished binding.

1. Perfect corners

These first few photos show the method I’ve always used—the only way hers differs is the very last step (photo 4), but it makes all the difference.

In words: mark the width of your seam allowance in from the edge of the quilt (photo 1). Once you stitch to that point, turn, and stitch out to the corner at a 45° angle (photo 2). Fold your binding up on the diagonal, and then even with the edge (diagonal shown in photo 3). The magic step: instead of starting part-way in, which often leaves a gap if you aren’t exact, start stitching from the very edge (photo 4). As long as you stopped at the seam allowance point from the first direction, doing this won’t screw up your corner. Once you’re finished, turn your binding to the other side, and admire your gap-free corner.

binding-tricks-1
binding-tricks-2
binding-tricks-3
binding-tricks-4
binding-tricks-9

2. Measuring the overlap to close the loop

This one’s quick—to measure the amount needed for perfect-length binding (before cutting off the extra and sewing the final seam), simply overlap the ends by the width of the binding strip.

In my example, I’m using 2.5″ strips, meaning I need an overlap of 2.5″. I’ll cut on the purple line prior to sewing the seam.

binding-tricks-5

3. Seam it the right way the first time

Until I came across this tip, I had to sew the seam to close my binding at least twice every time. I’d always sew the wrong direction or have it twisted. It’s just a quick memory trick to help keep everything straight.

With the edge of the quilt away from you, the left strip goes in back and the right goes in the front, because back/left have four letters each and right/front both have five.

Then, just make sure you have right-sides together (the peak of the folds should touch), align the strips for a bias seam, and sew from corner to corner as shown in the photo (a.k.a. the standard binding finishing).

binding-tricks-6
binding-tricks-7

Once you’ve sewn it, it should snap into place and be the perfect length (make sure to trim the seam allowance down, and press). So very satisfying!

binding-tricks-8

Do you have any other handy binding tricks you love?

August 12th, 2015

PSA

Posted in Learning

  • Tips and tricks

Today’s public service announcement is: pictorial evidence of failure to remember to change needle as often as should be done.

Well, one of a few things that can happen. So, remember to change them, ladies and gentlemen, else you’ll get rather familiar with your seam ripper.

Luckily, I caught that one early. I also sewed an 80″ strip with no bobbin thread the other night while trying to sew and pay attention to Talkin’ Tuesdays at the same time. Brilliant, that. At least there was no seam ripping involved, since there was no seam.

Quilting tip of the month: wind a lot of bobbins of neutral cotton thread, so when you do run out, you can just pop a new one in. Piecing is pretty forgiving about thread color, within reason, so I just throw whatever is handy in. I almost always have some grey, beige, tan, light blue etc. bobbins around. It seemed so foreign to me, coming from sewing clothing, but now it makes a lot of sense.

To make up for a lack of real updates, here are a couple quick photos of works in progress. I’ll talk more about them at the end of the month, once they’re both finished and delivered.

May 12th, 2011


© 2008–2025 Raevenfea