Tea in the Park
Posted in Crafting
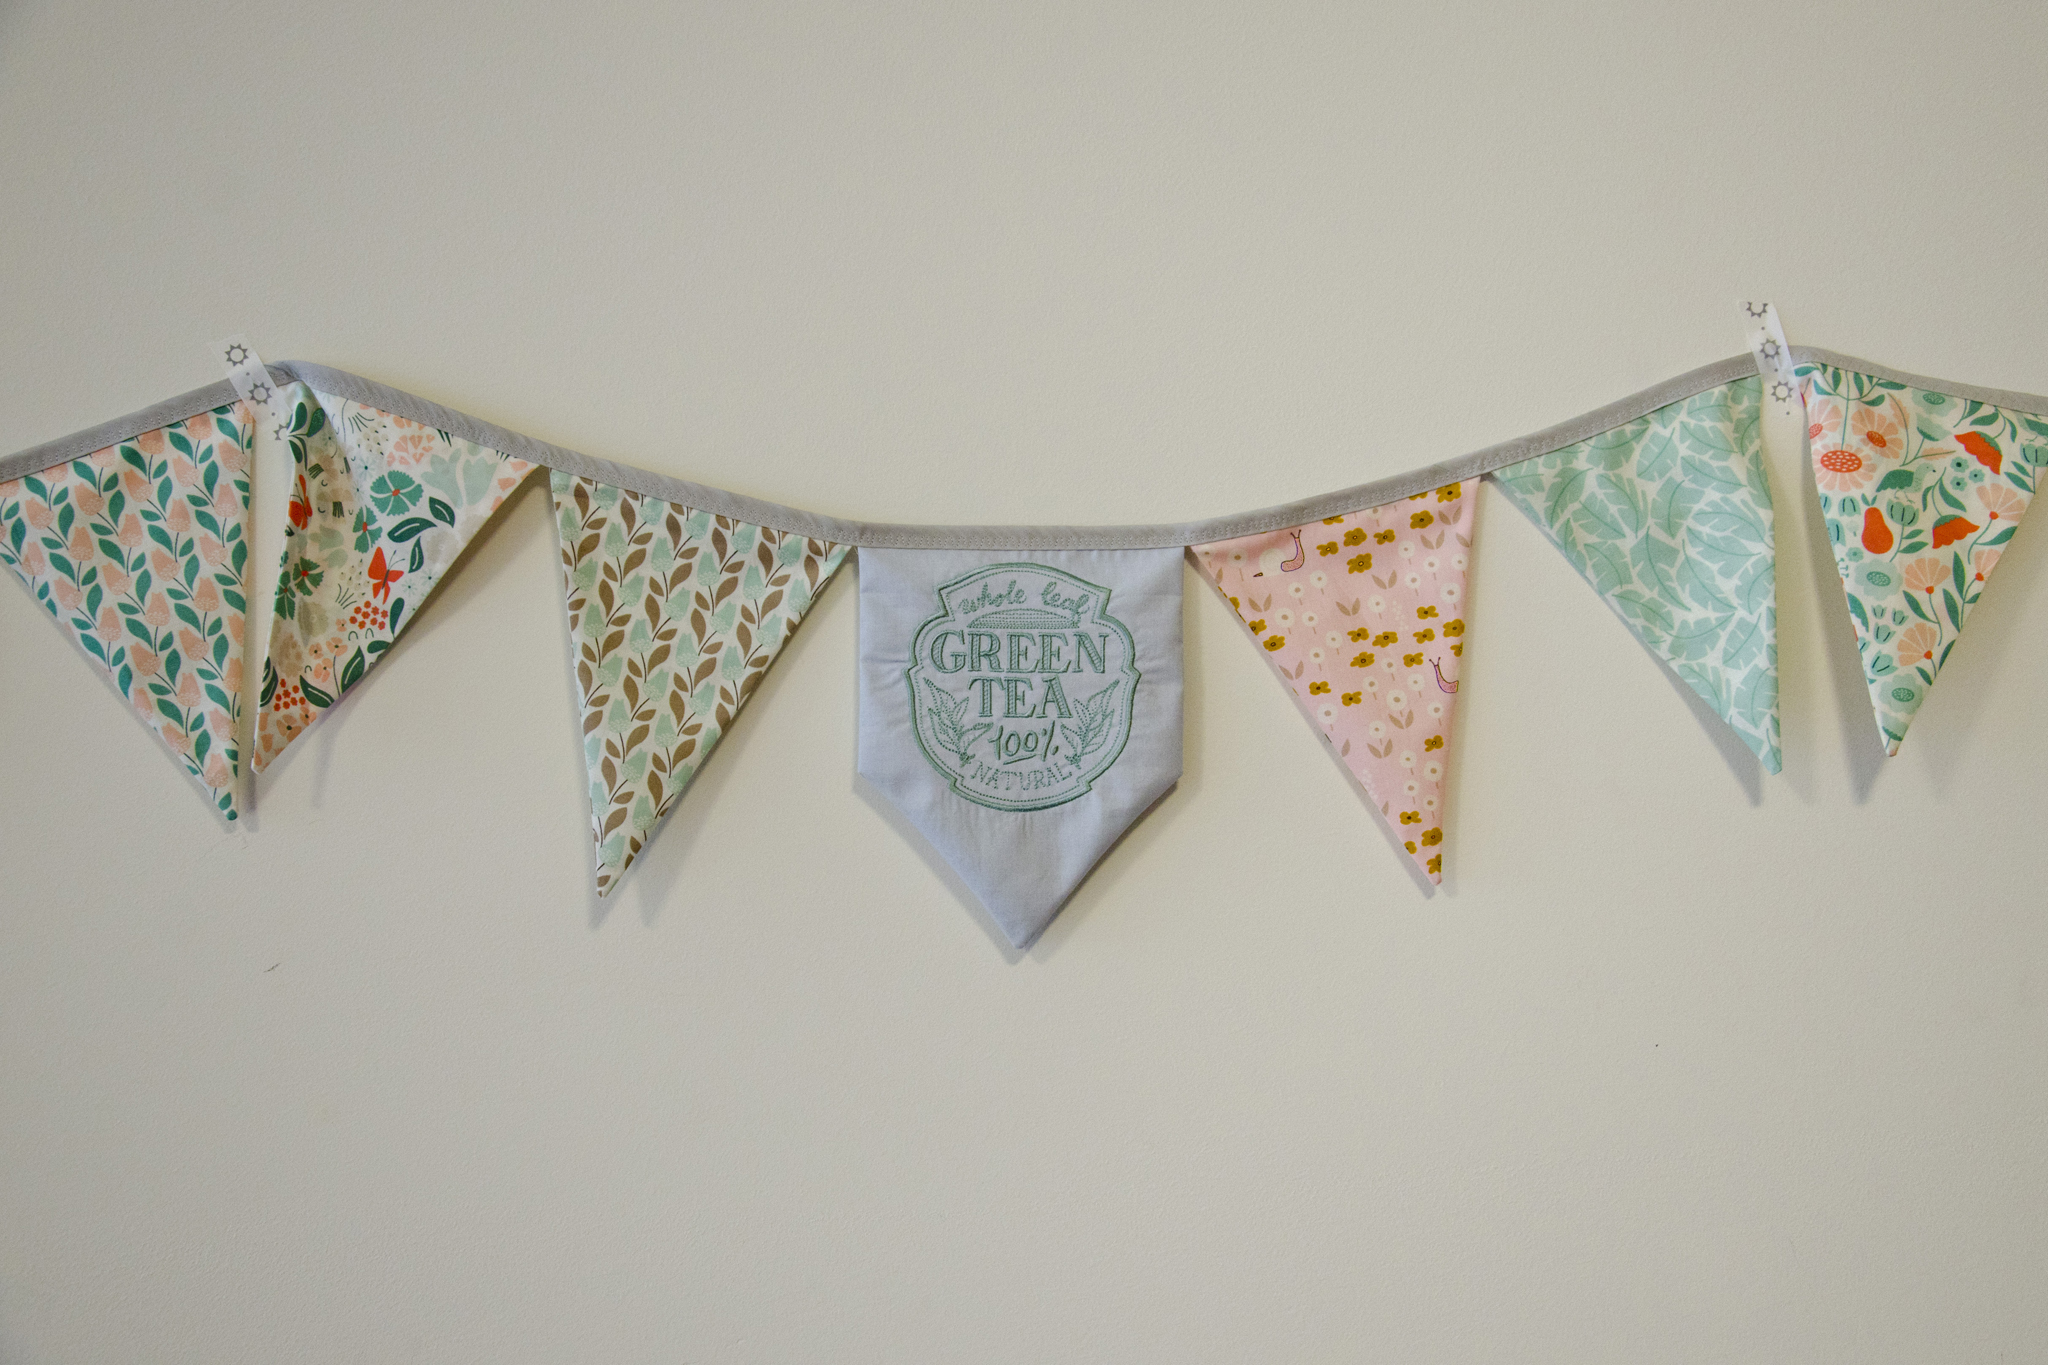
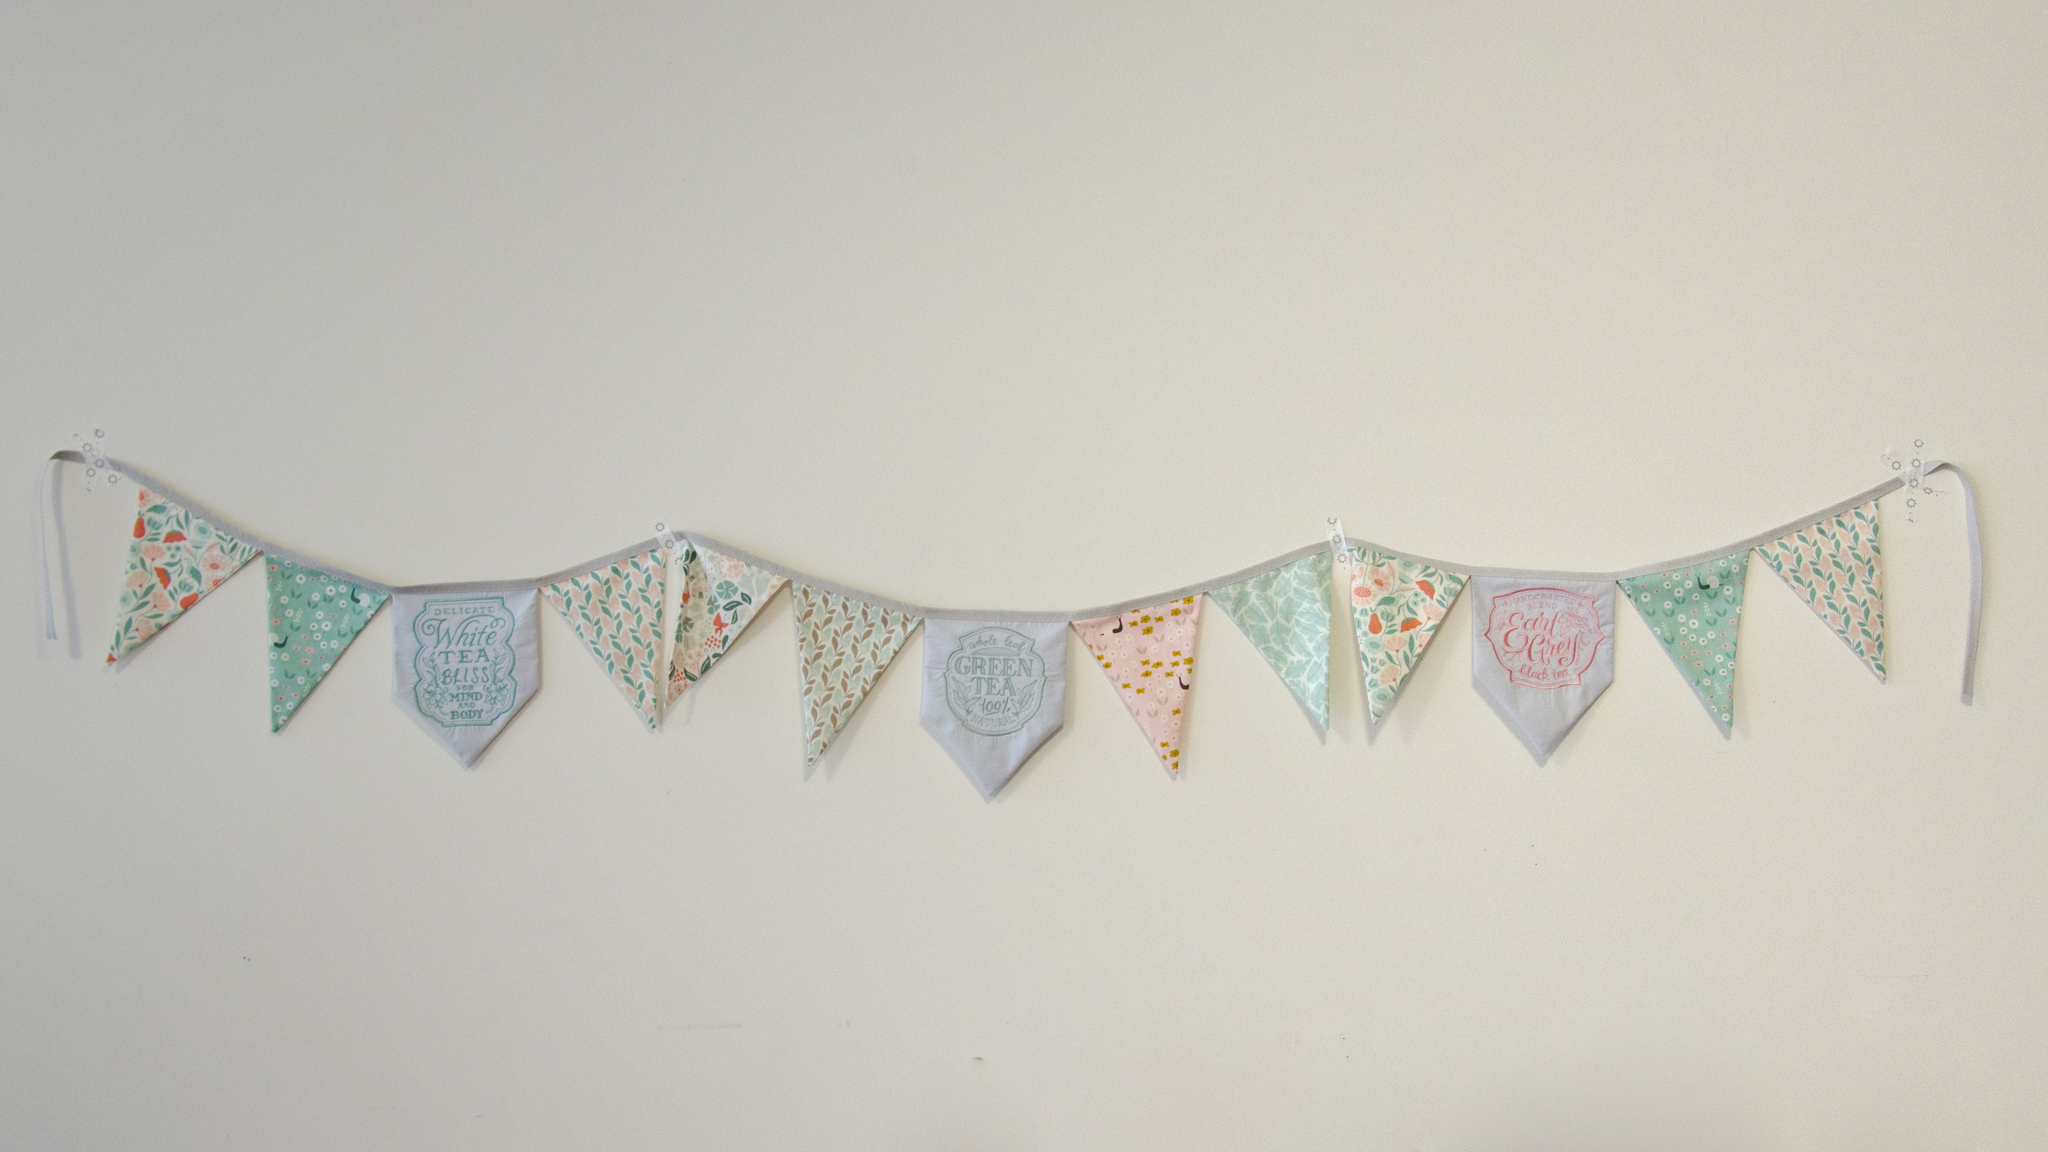
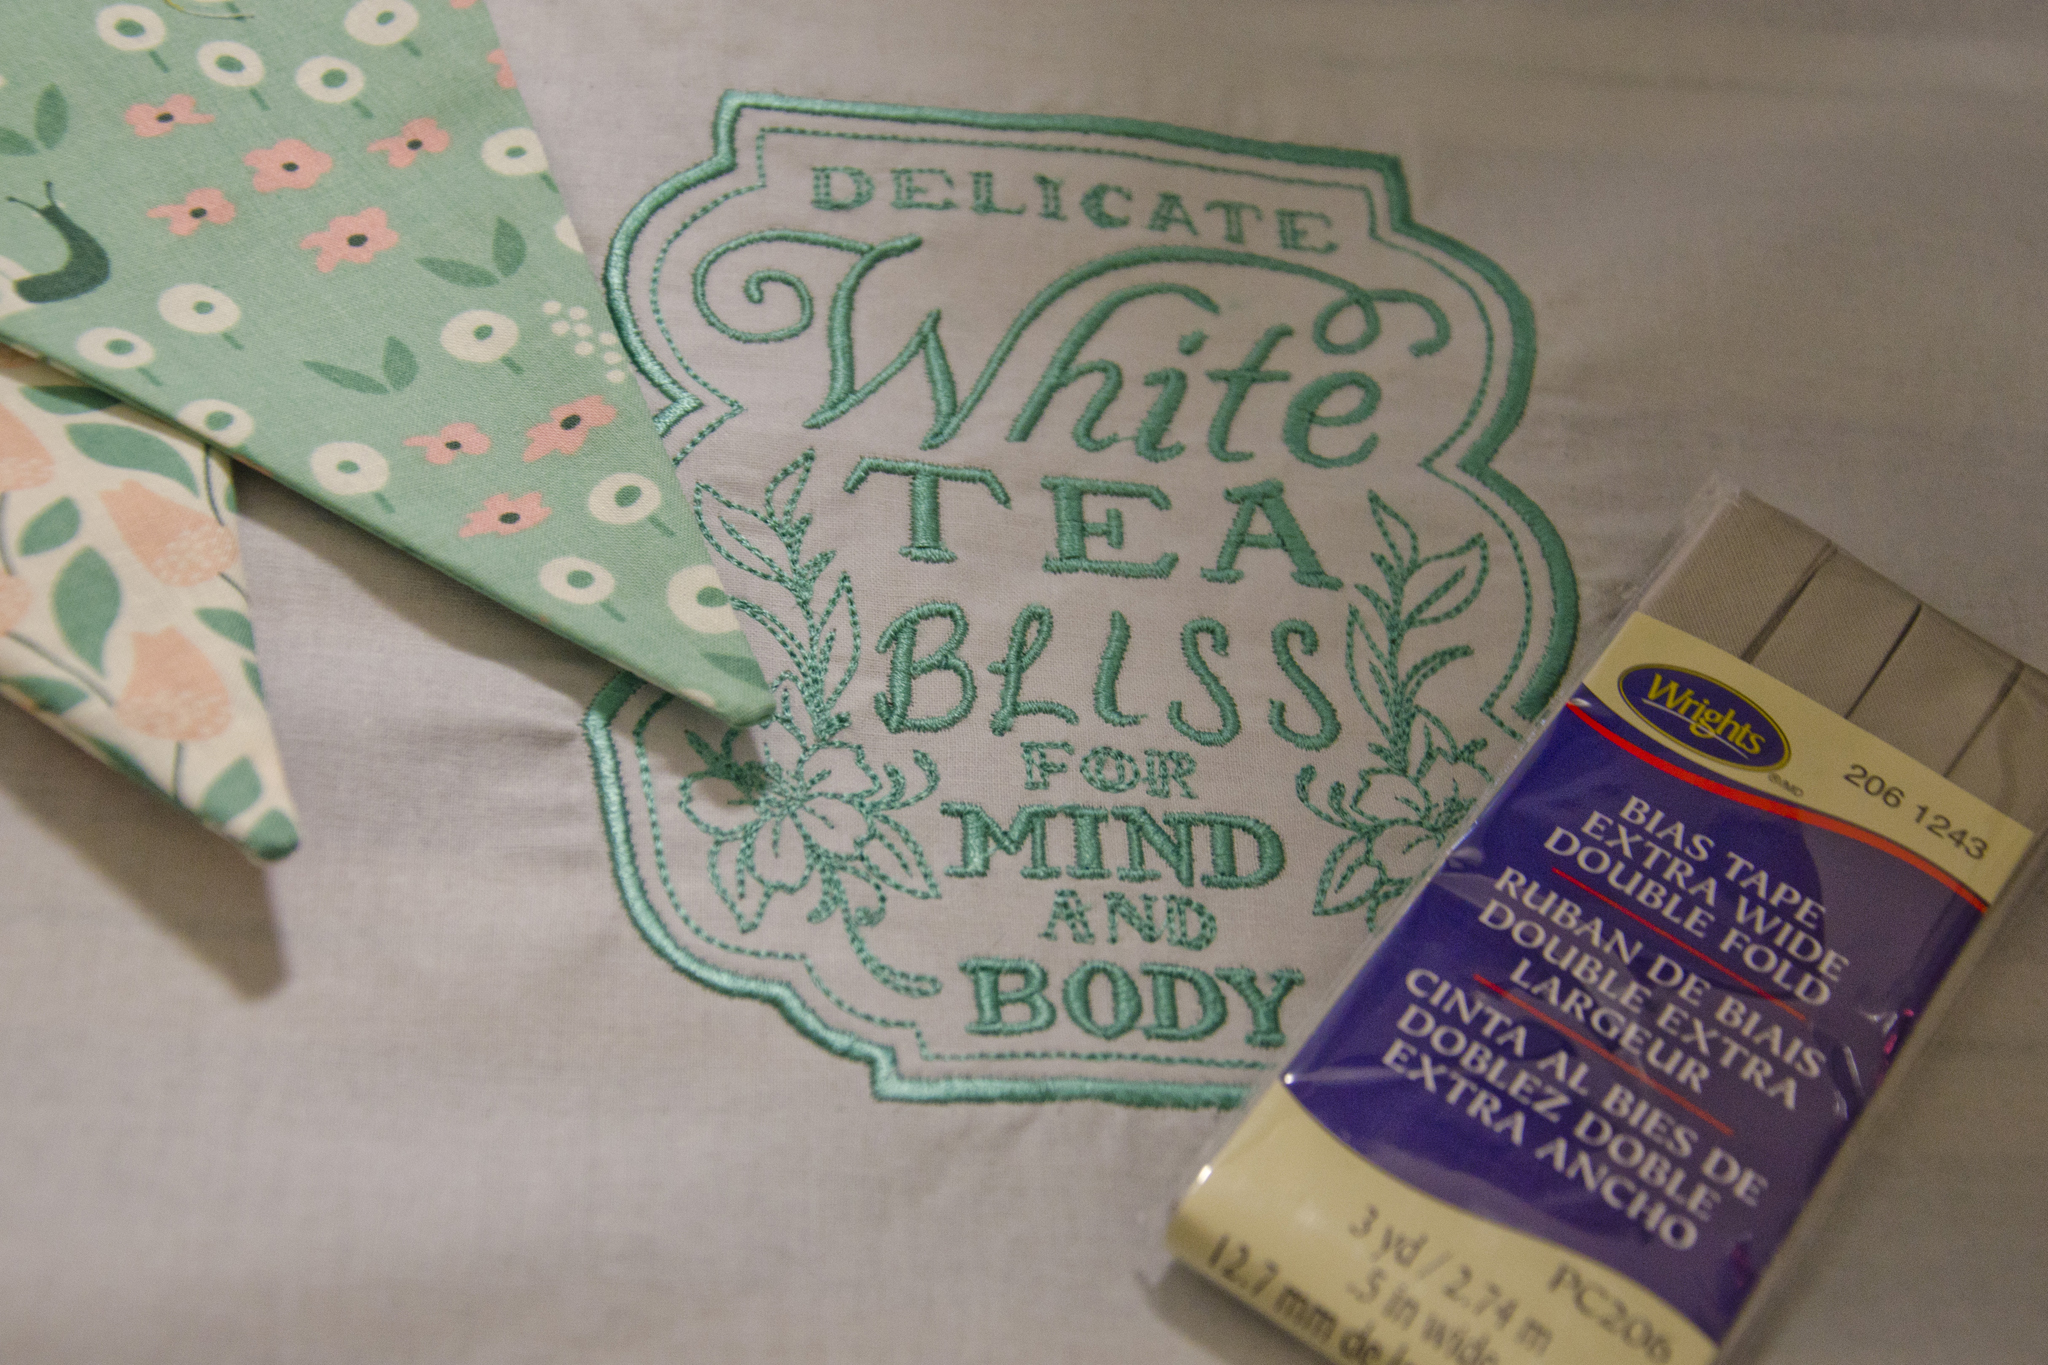
I bought far more fabric than I needed to make the bridal shower tea party bunting (half yard cuts of six prints, a yard of another), so the obvious thing to do was to use some as part of a shower gift for the bride and groom. I ended up with a suite of gifts perfect for a picnic at the park.
Napkins
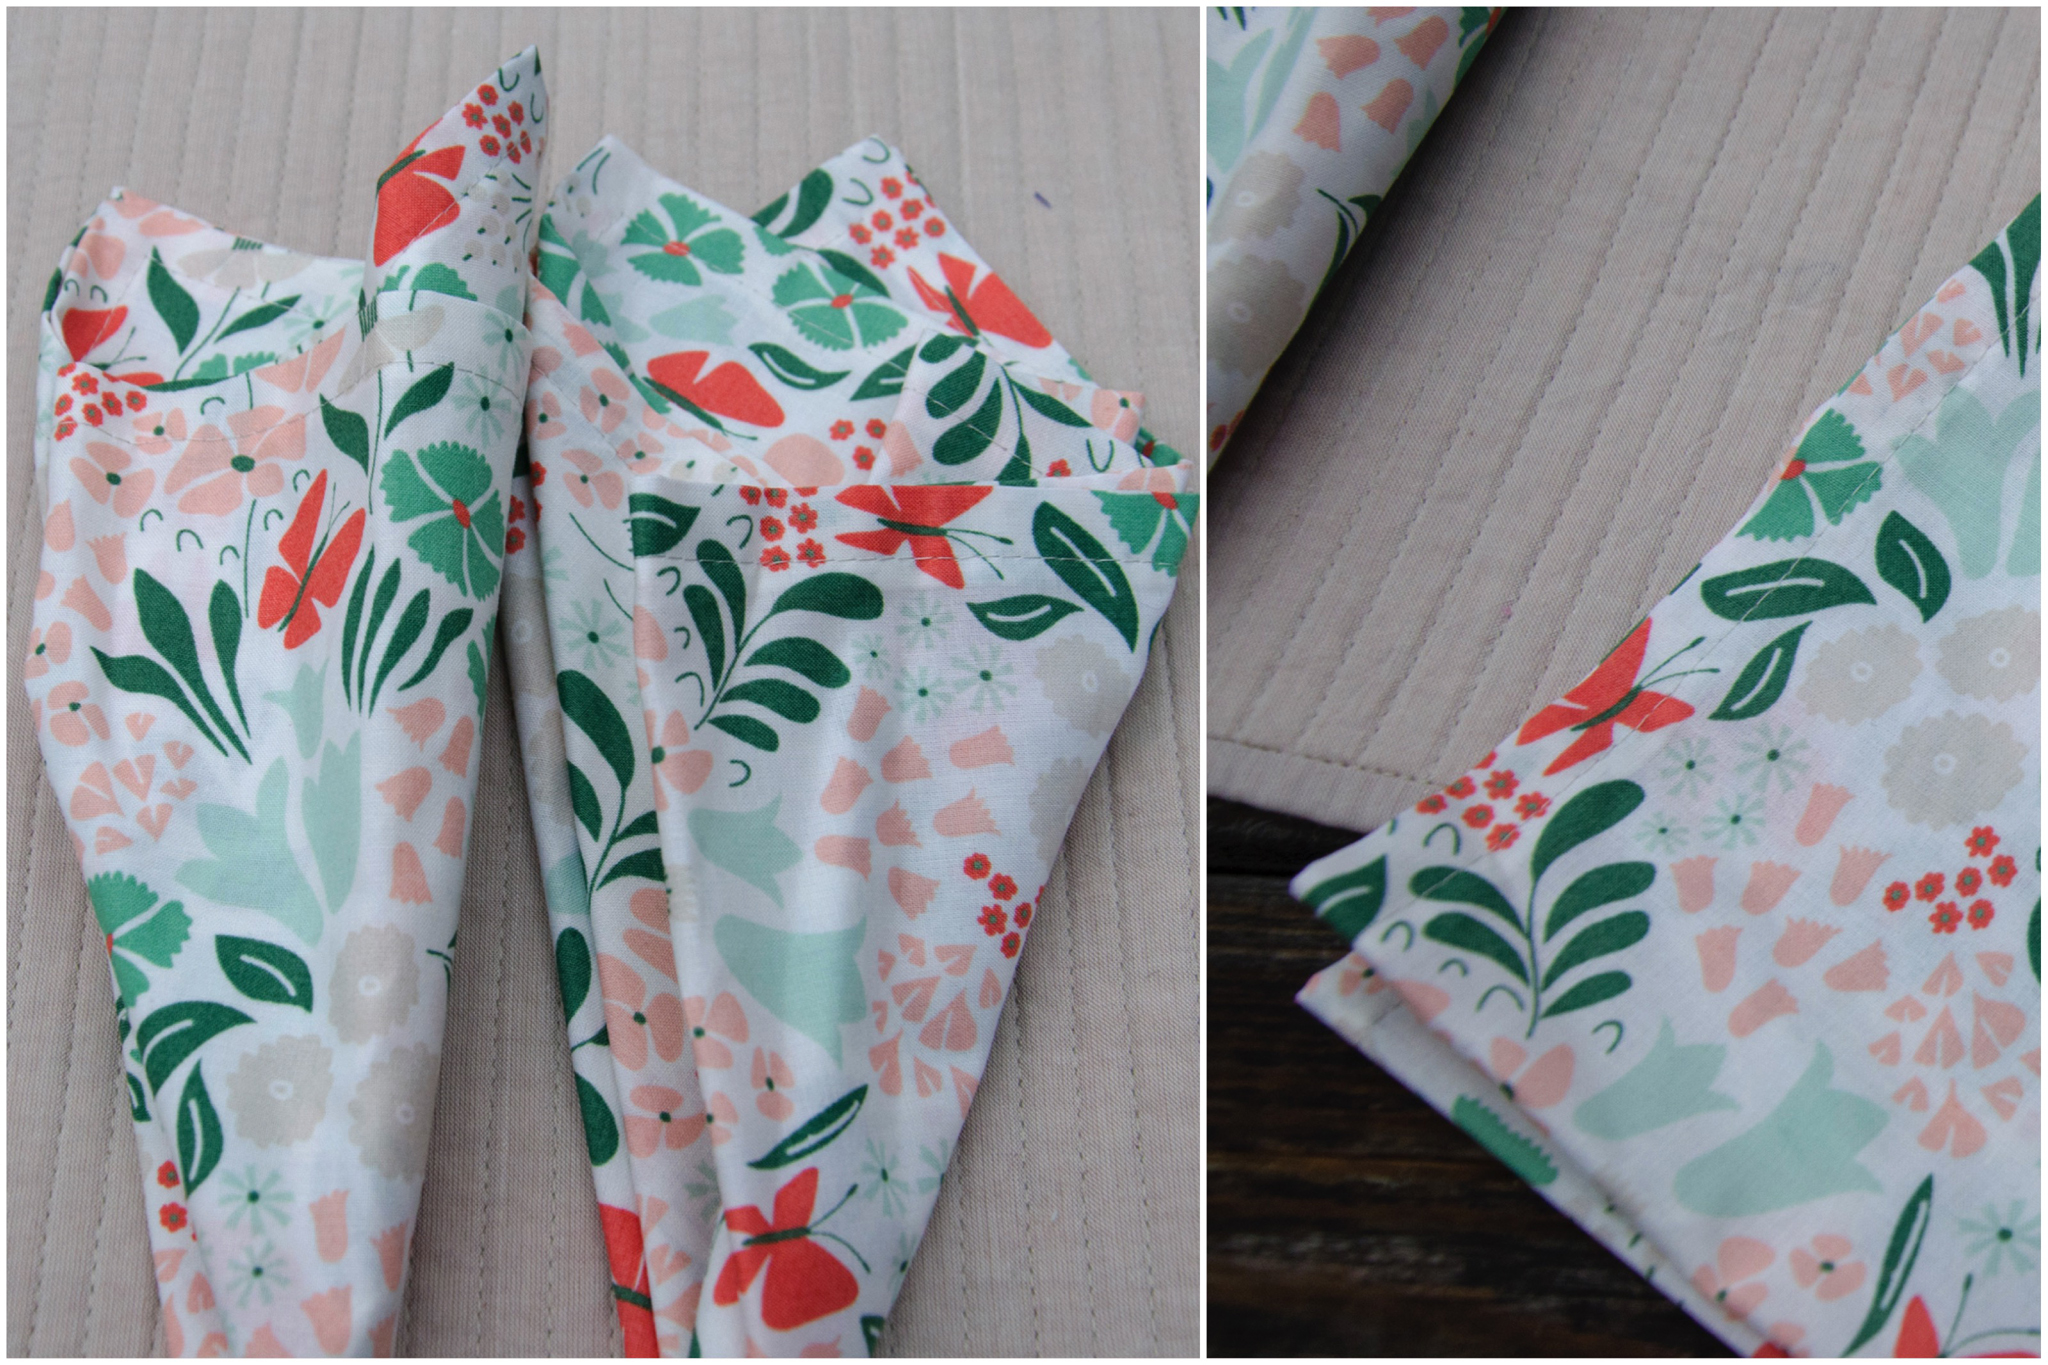
I made a pair of basic mitered-corner napkins using a half yard of fabric. They finished at 17″ square. There are many good mitered corner napkin tutorials online if you need one. I used this one from Purl Soho as a refresher for the corners because I can never recall how to do it properly. Here’s another one from Craftsy if you don’t want to be sold hard on buying more fabric.
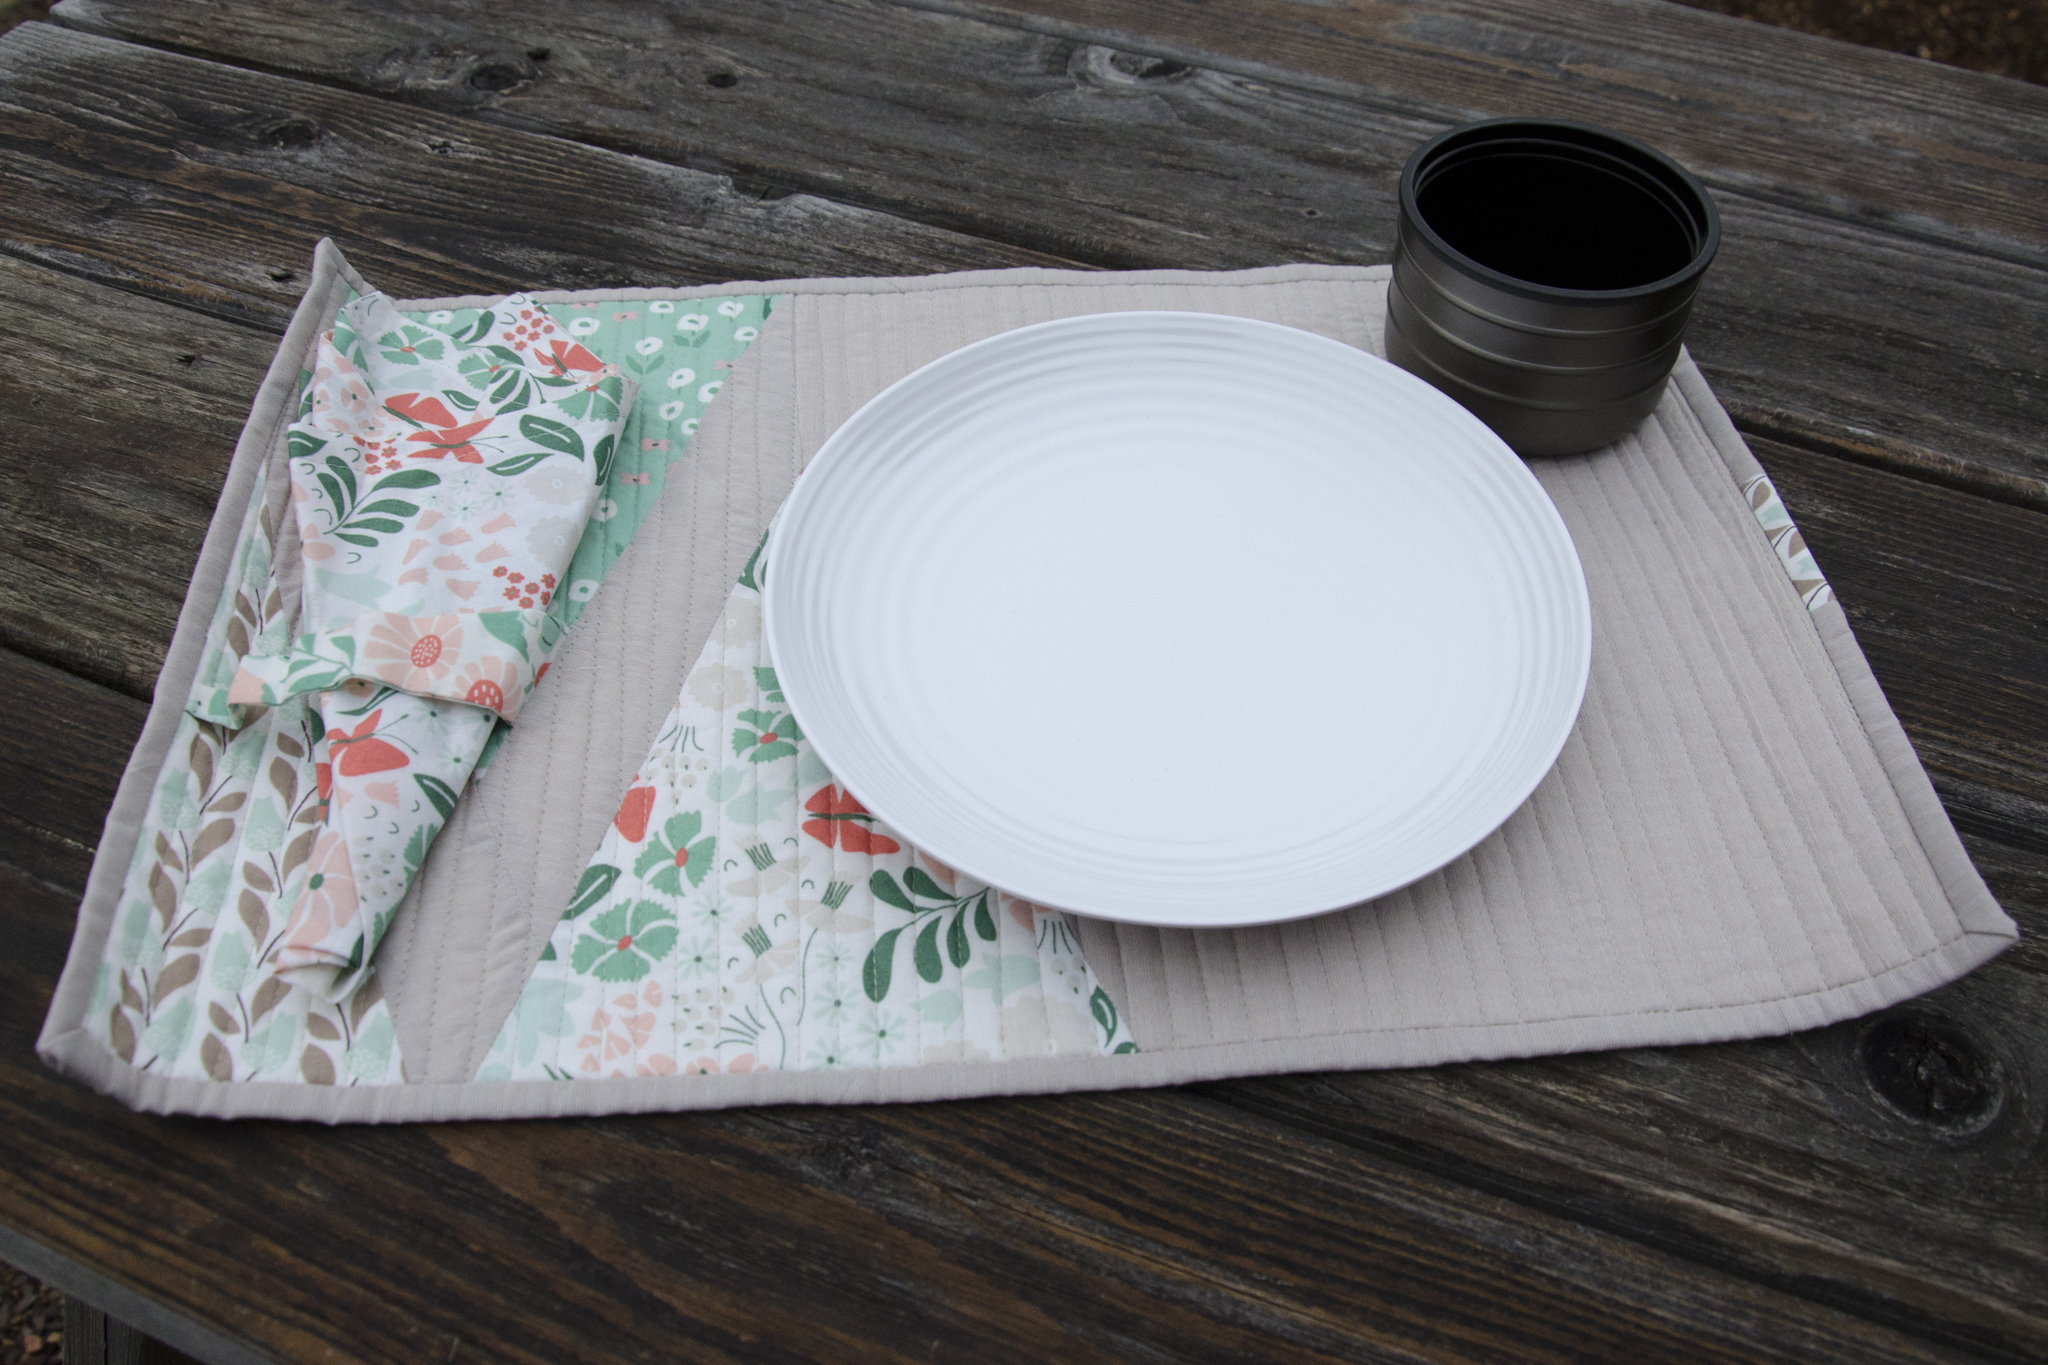
Roll-up Placemats
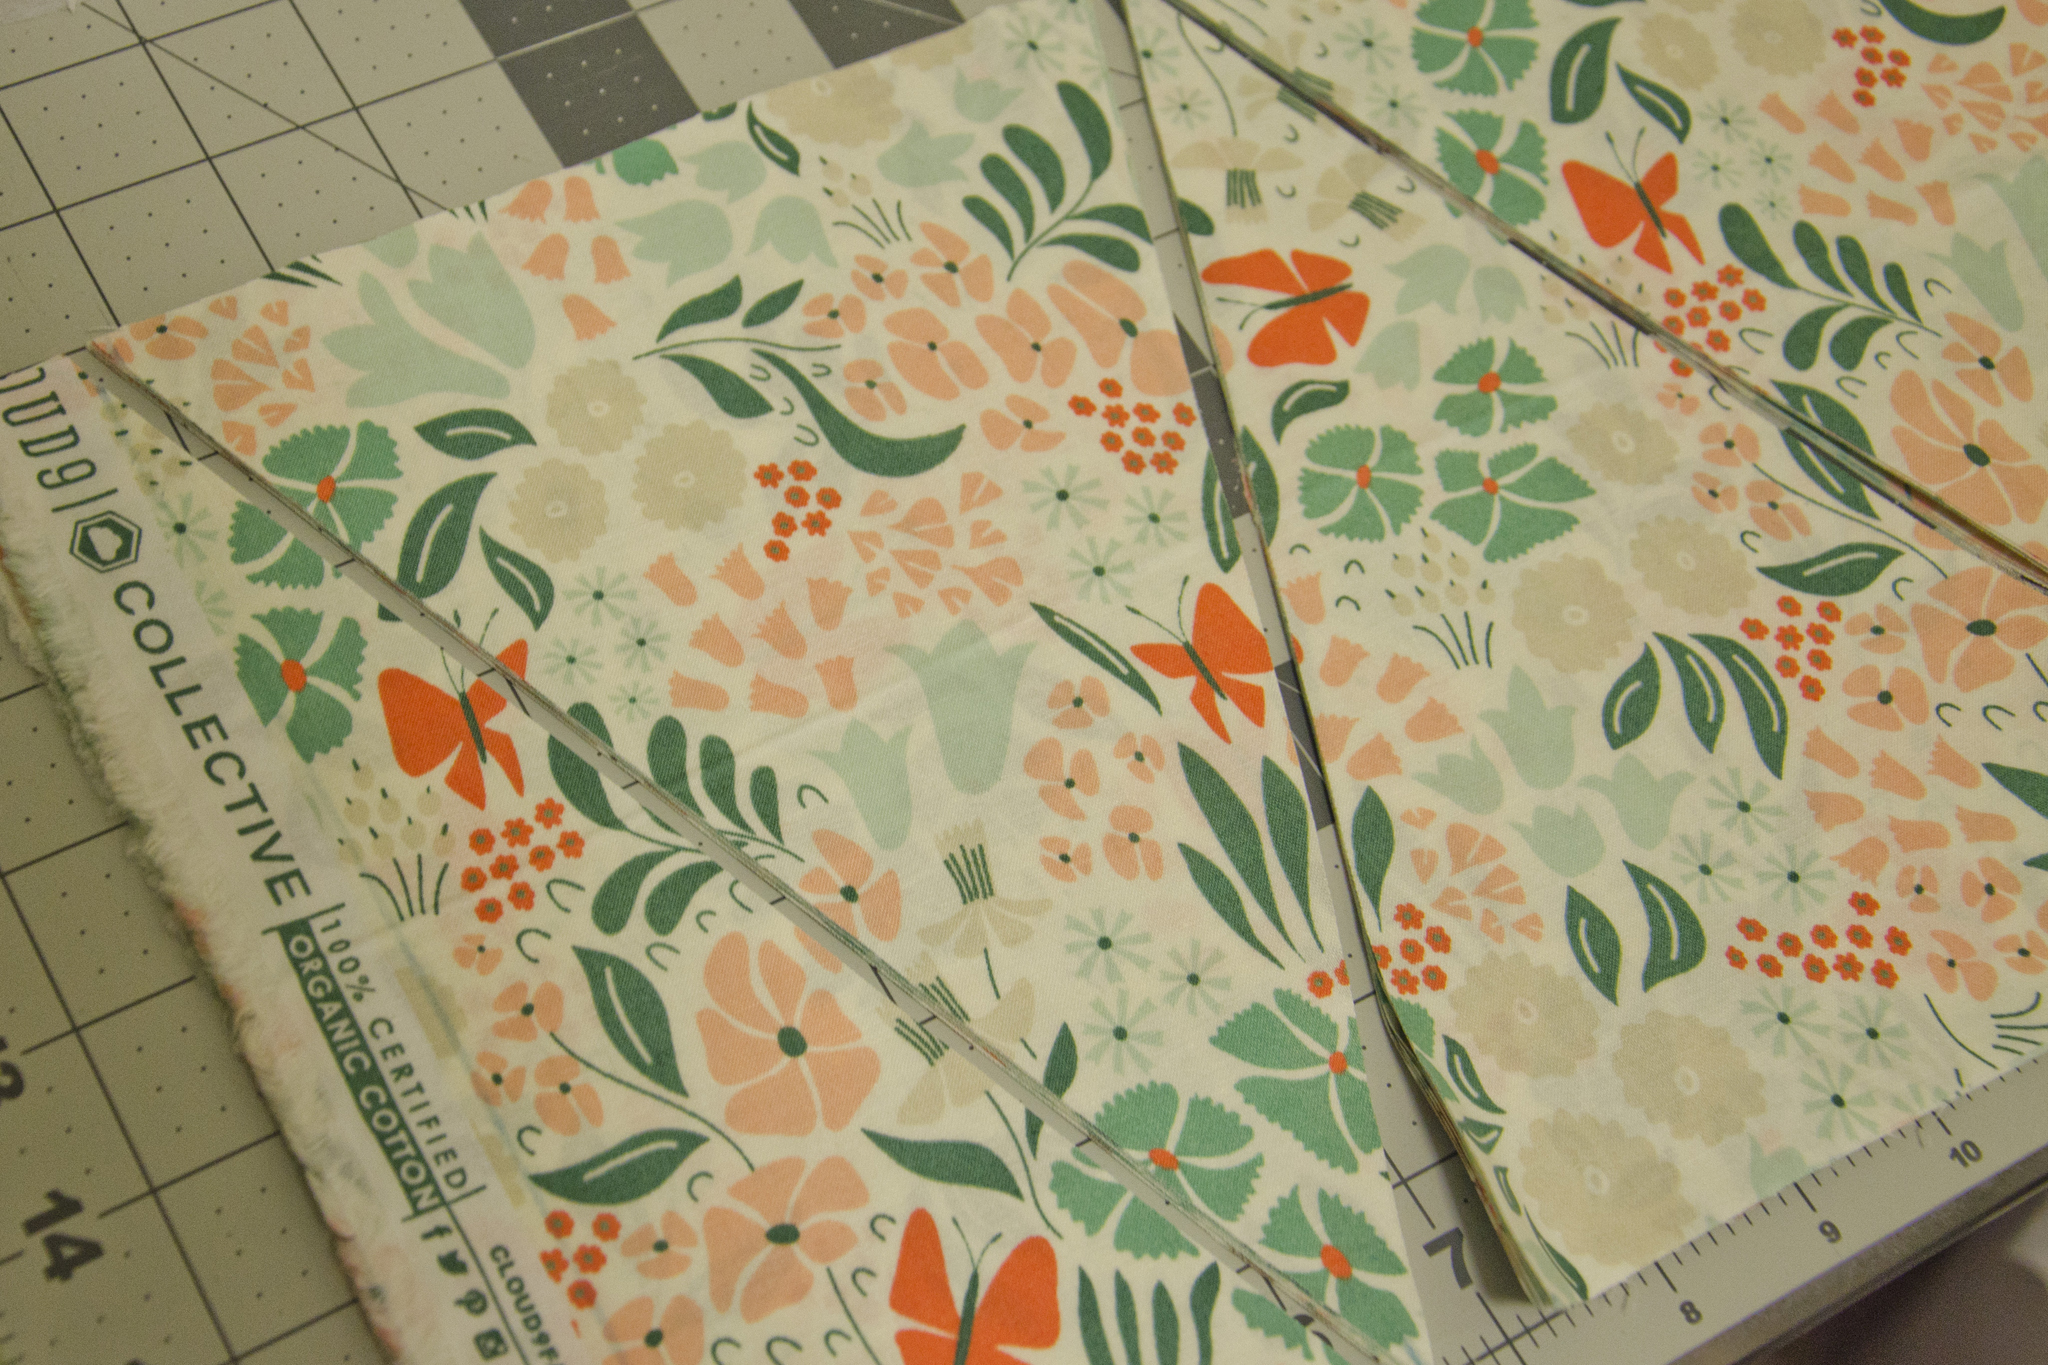
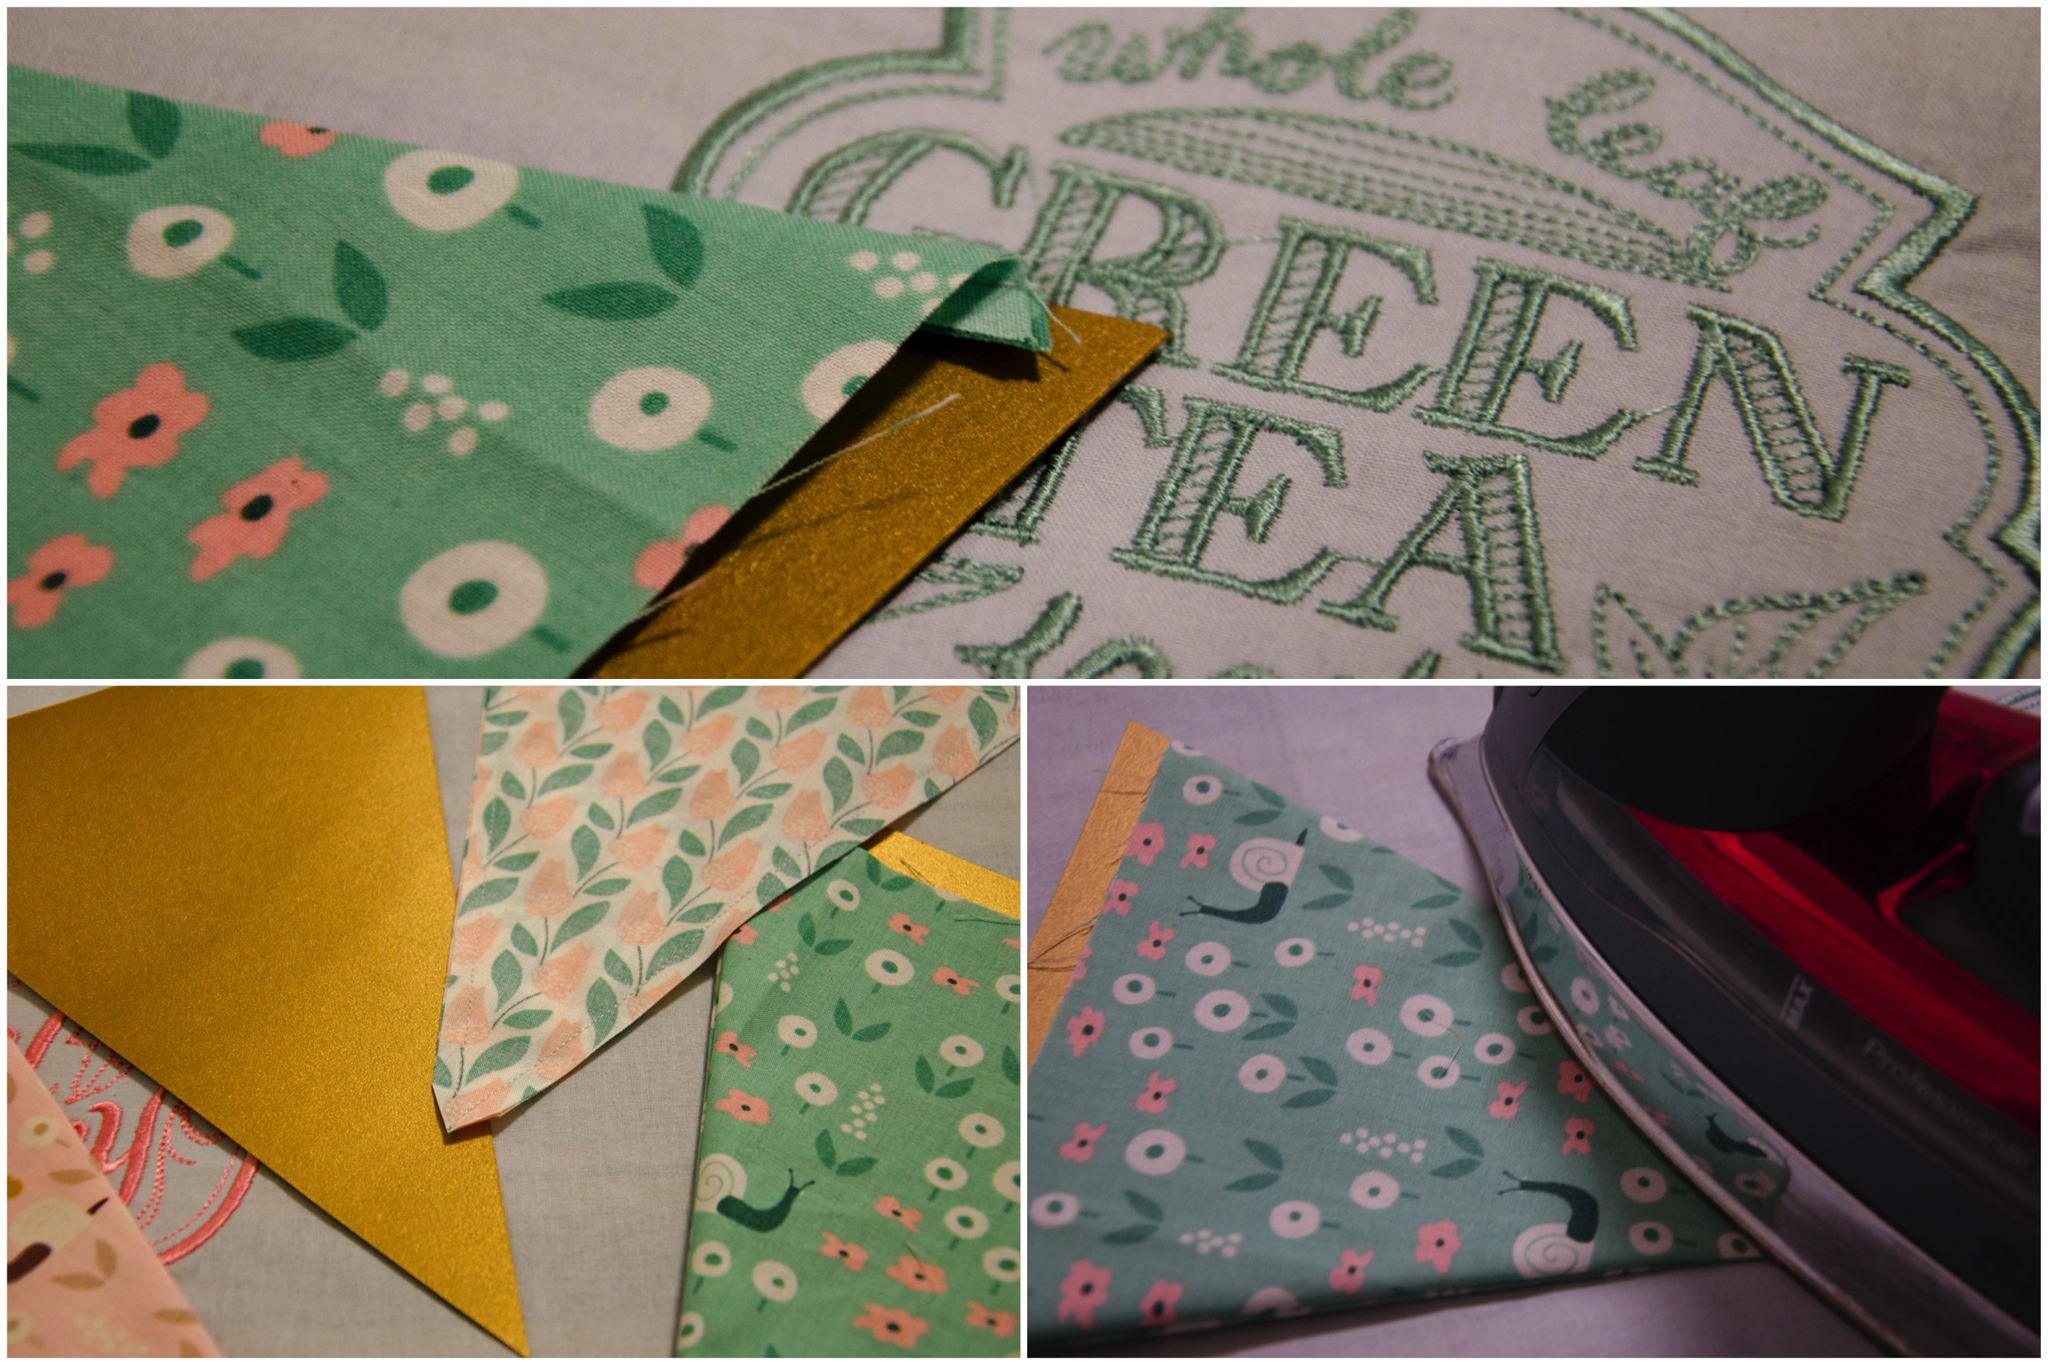
When I cut out bunting pieces, I ended up with extra triangles and end pieces since I simply sliced up a 9″ strip of each fabric. I wanted to use up those pieces in any piecing, so started putting together the placemat design with improvisational piecing taking cues from the triangles. I paired the Park Life prints with Kaffe Fasset Shot Cotton in Latte from my stash—slightly different than the solid gray I used in the bunting, but a better match for the colors in Park Life—it’s a slightly taupe-ish gray.
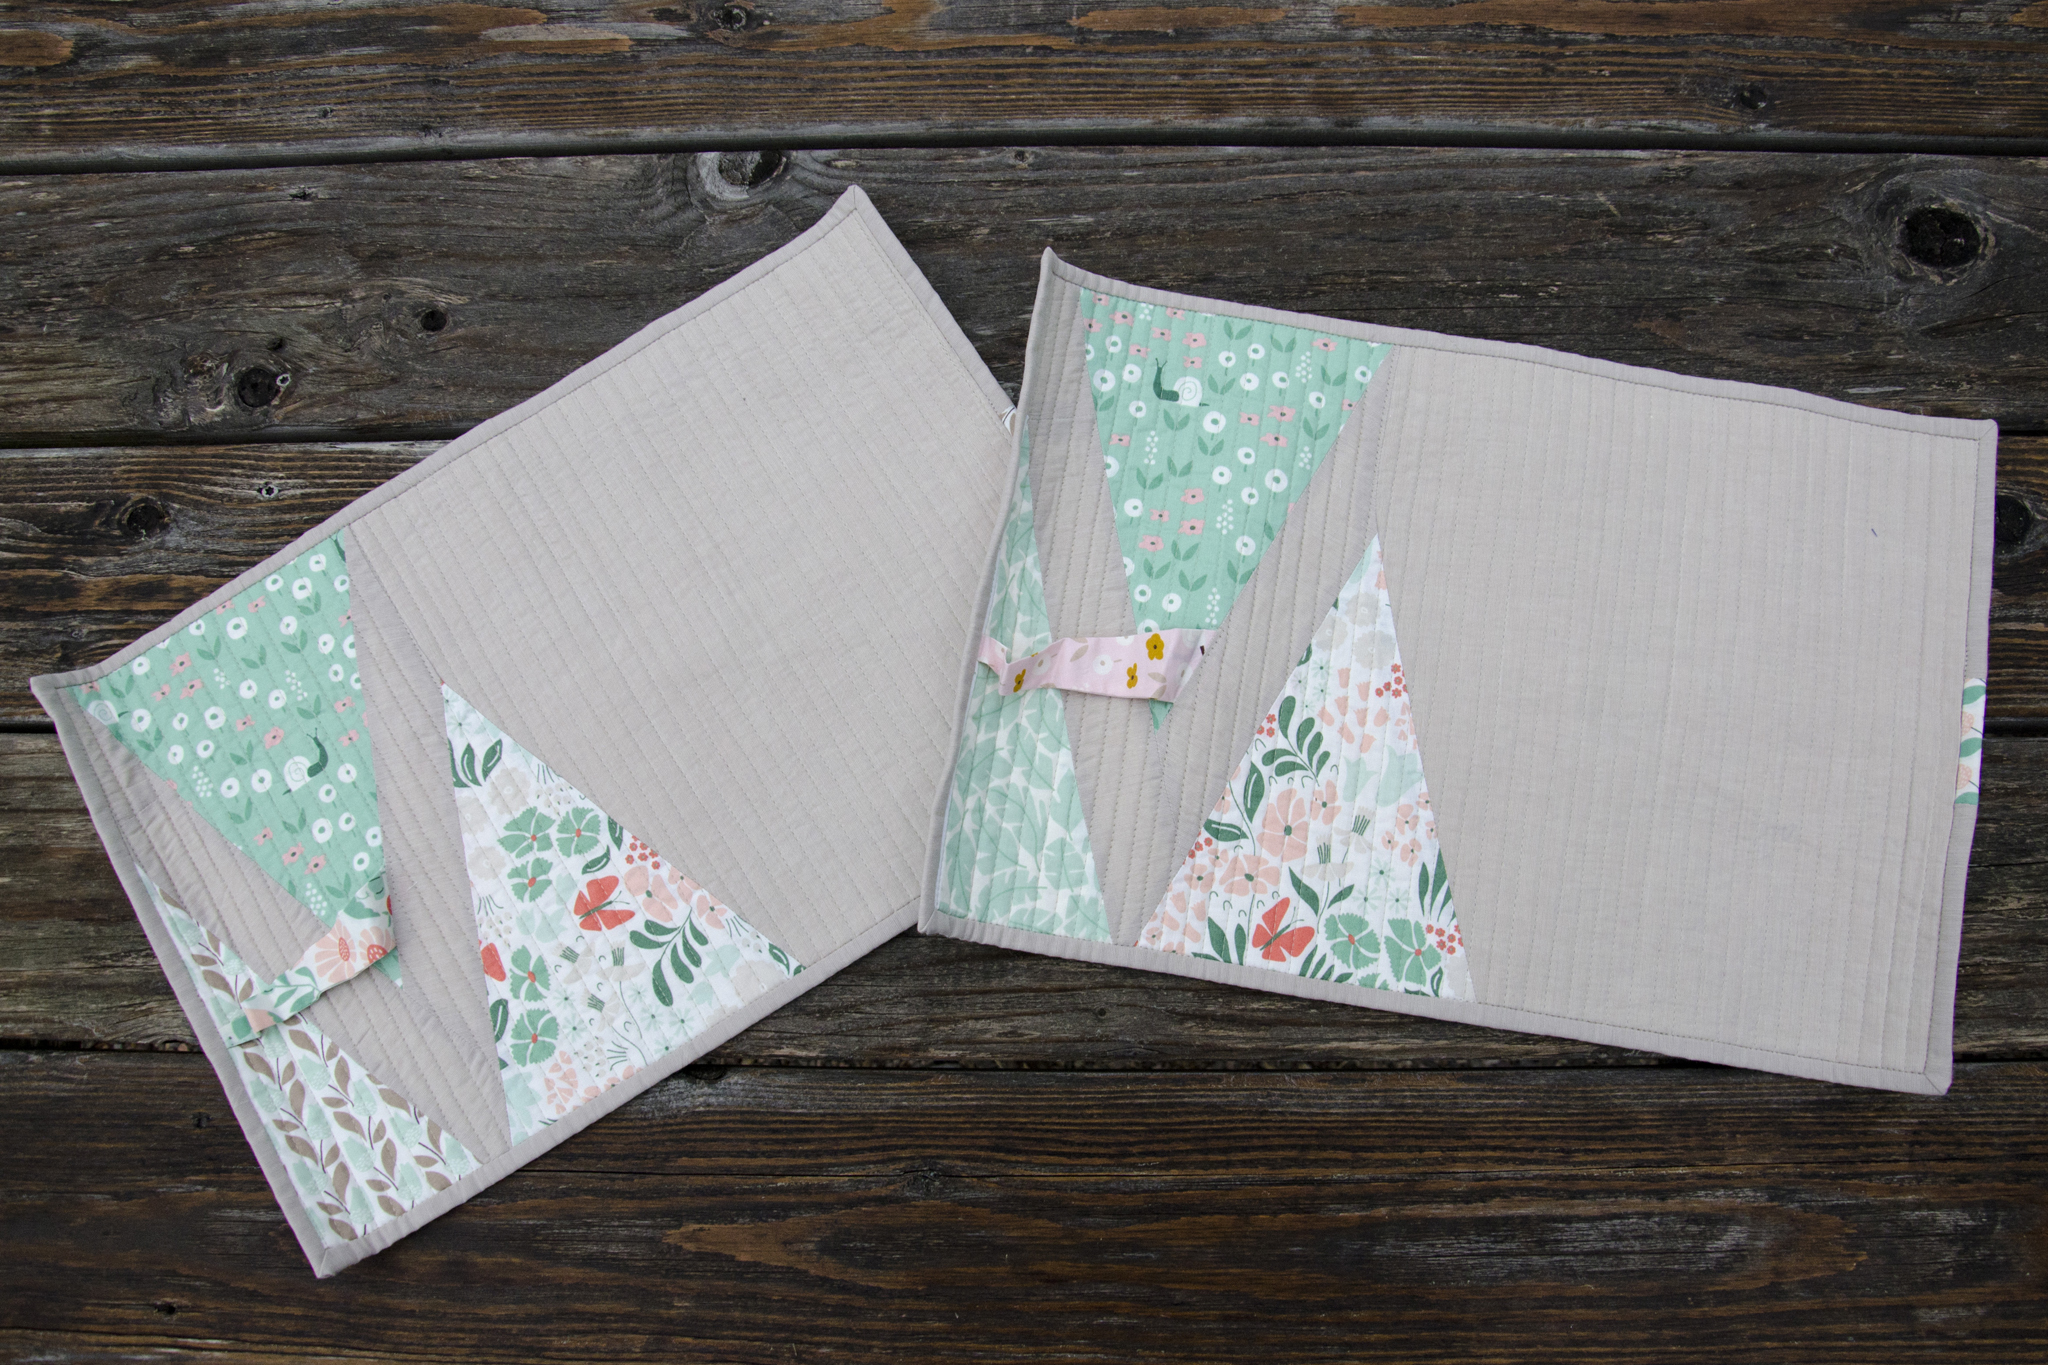
The back is pieced from more triangles and a strip of the gray. After piecing, I inserted a strip between one piecing seam and the binding that acts as a napkin ring on the front. I quilted them in 1/4″ lines with a gray-taupe Aurifil, then bound them in the gray with one small scrap of print to give a bit of visual weight to the right side.
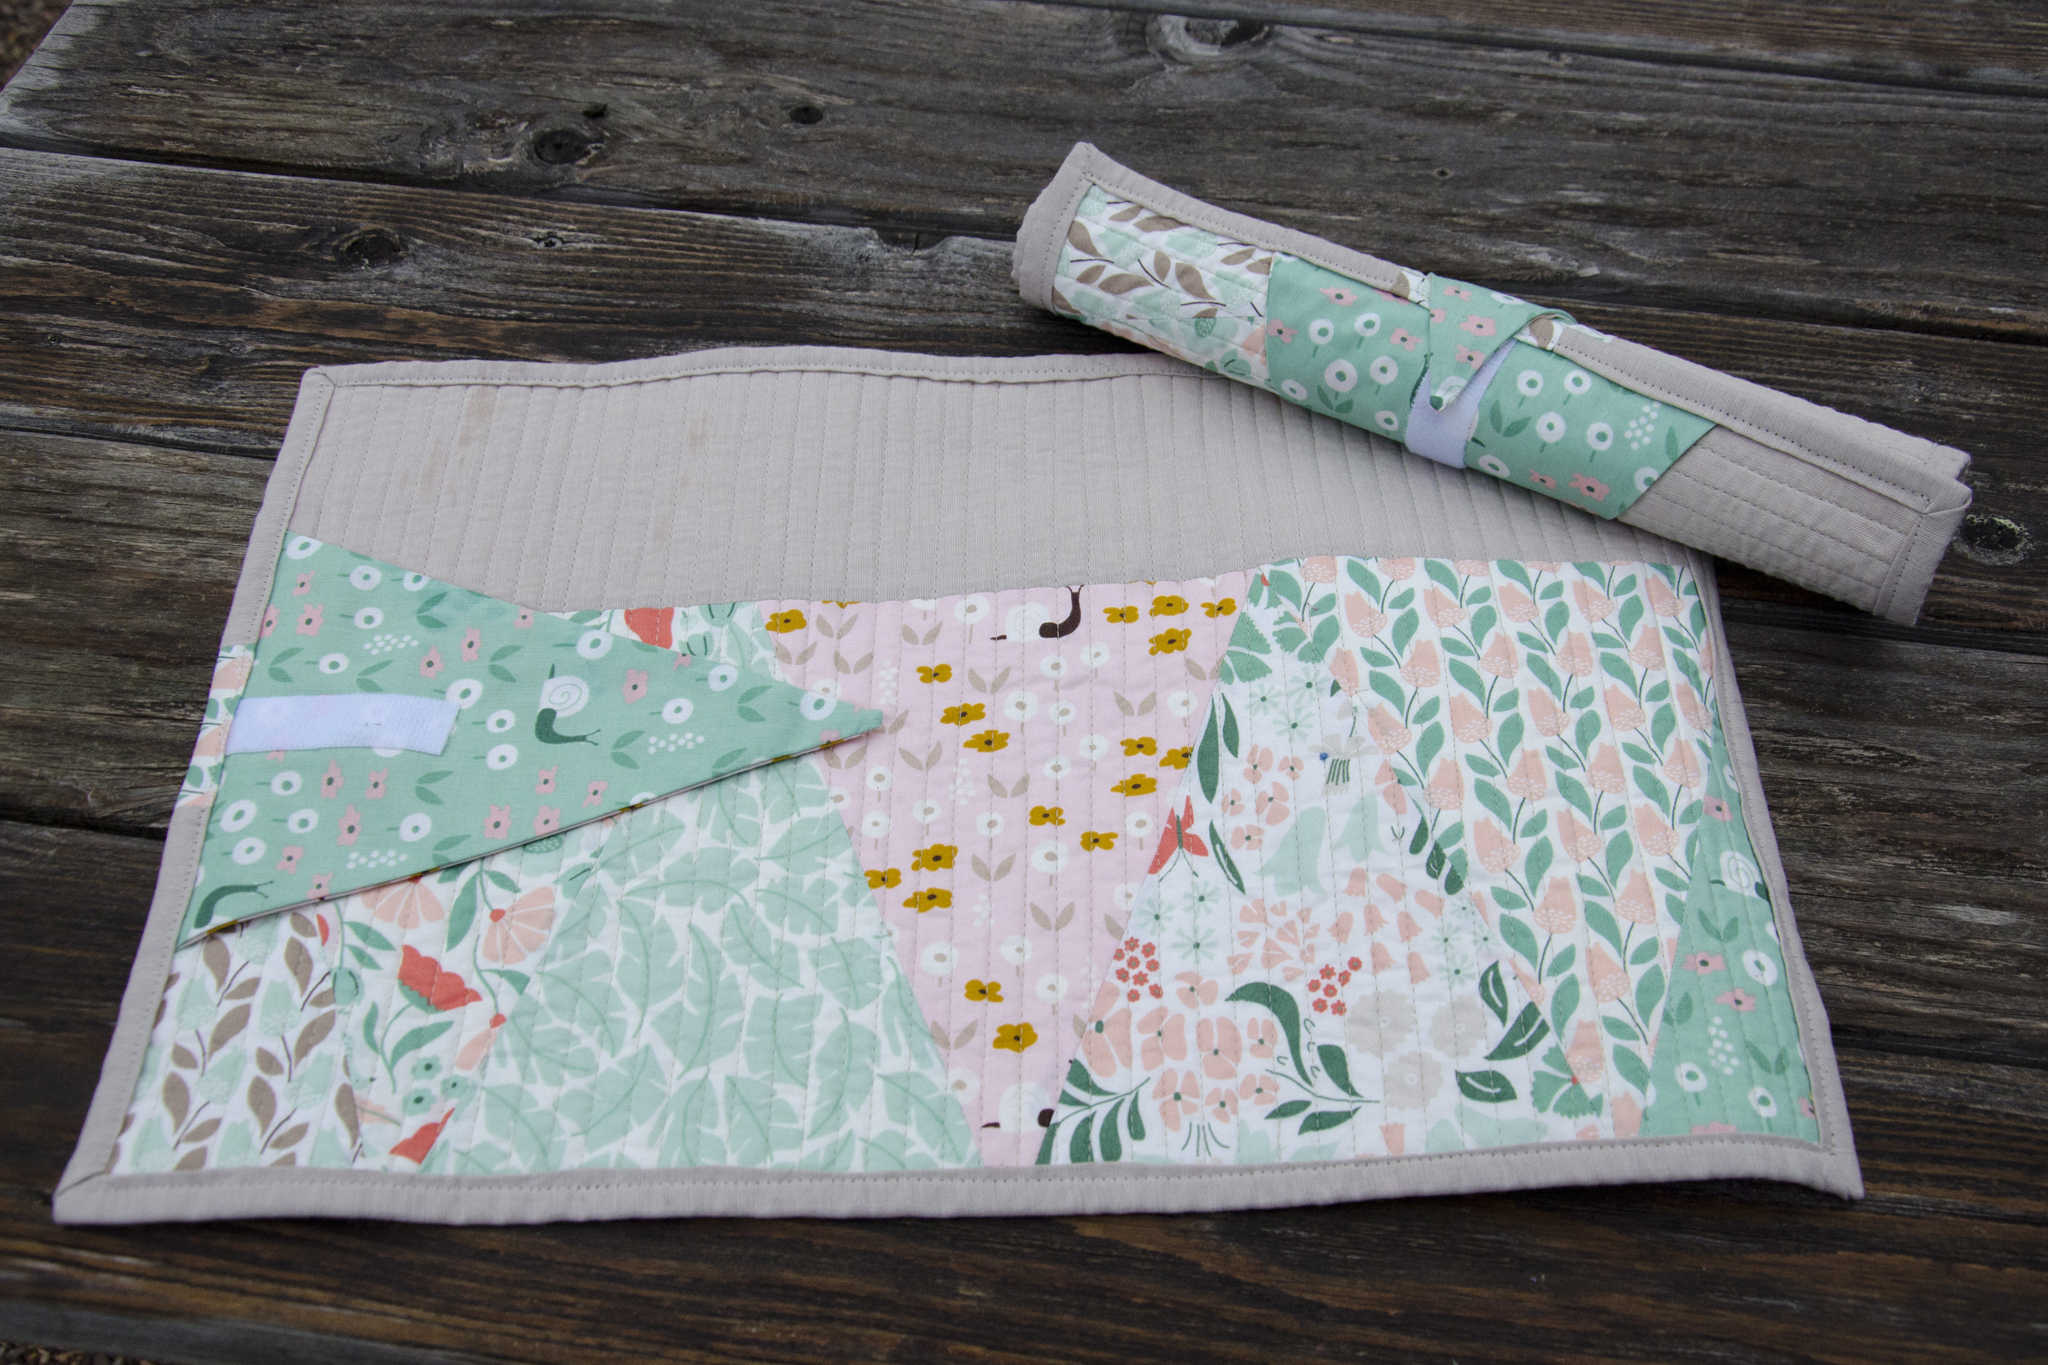
Because the intent was that these are portable for a picnic, I tried to figure out a way to secure them while rolled up for easy transportation. Going back to the pile of leftover triangles, I made a pennant, slid it into the binding, and used a bit of Velcro to allow it to fasten flat to the back, or to itself if you roll up the placemat. It turned out to be my favorite feature.
Tote Bag
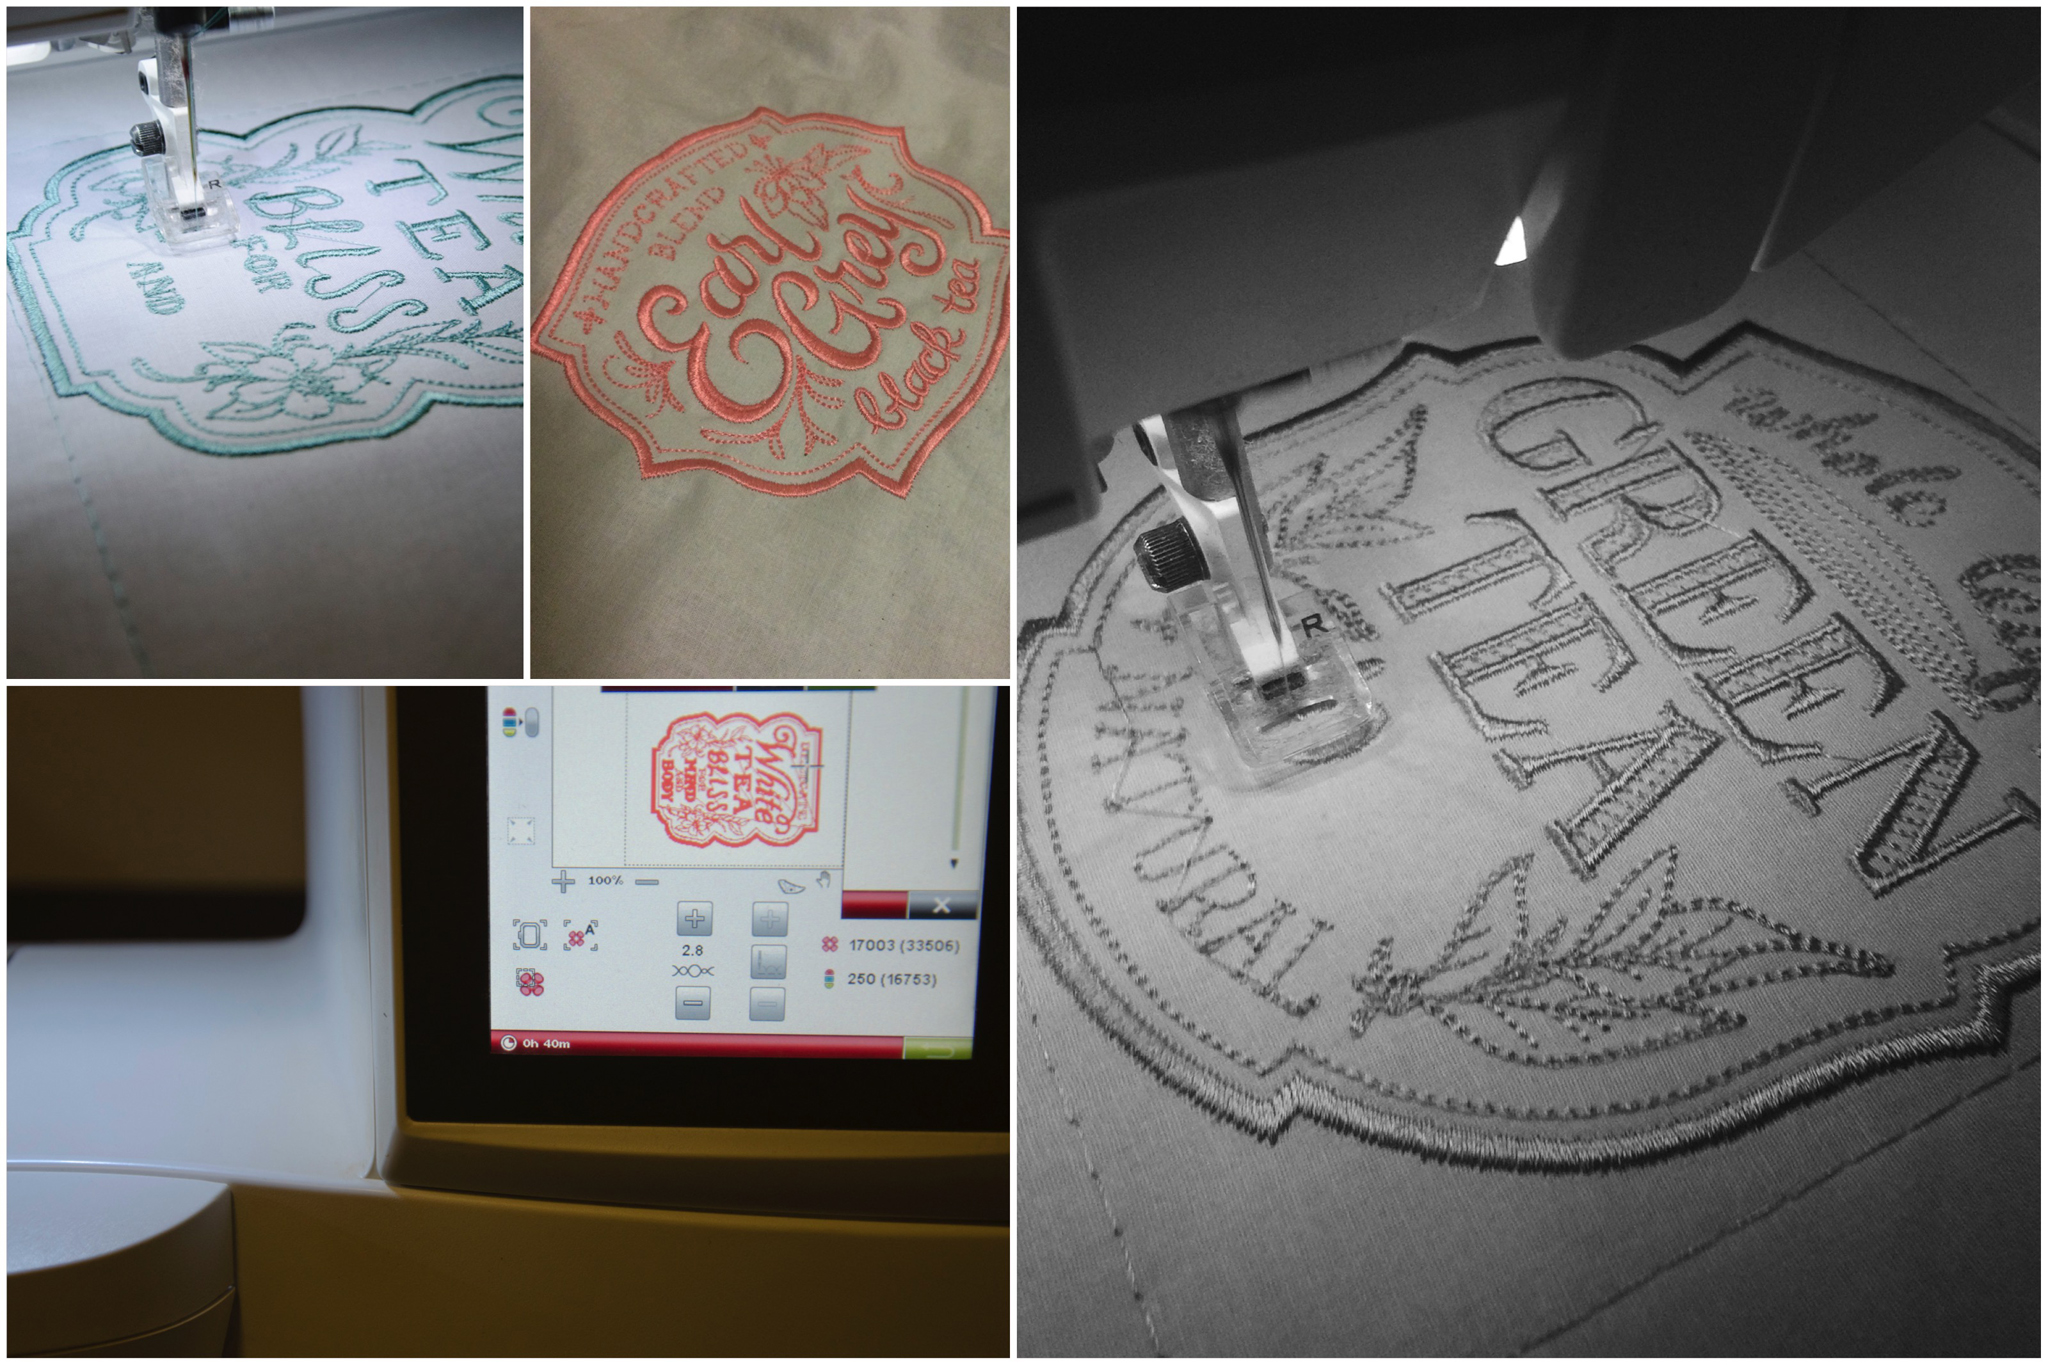
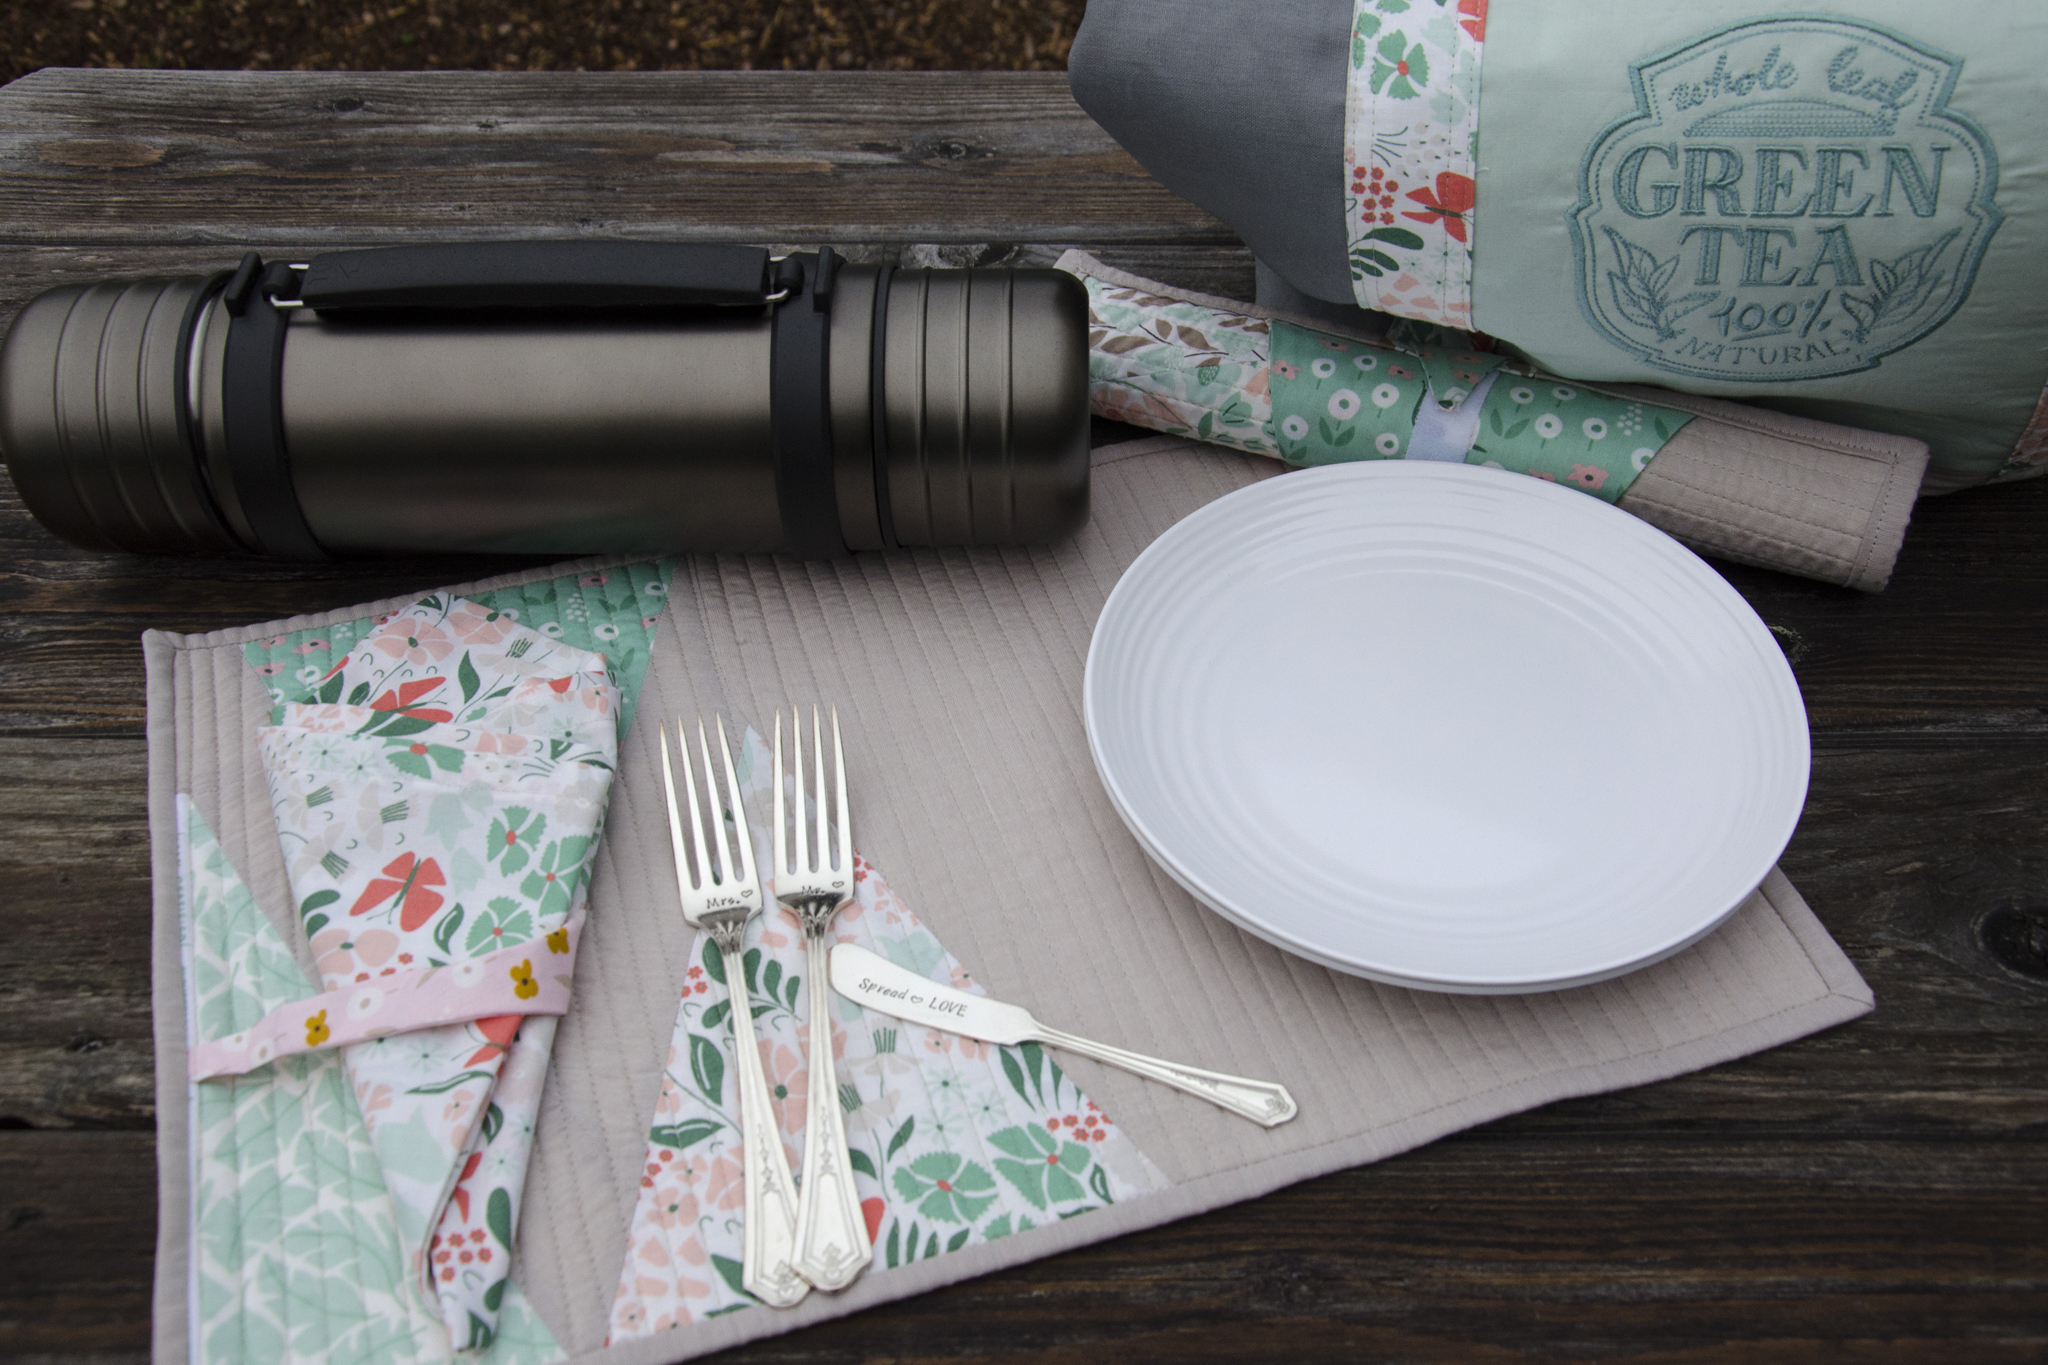
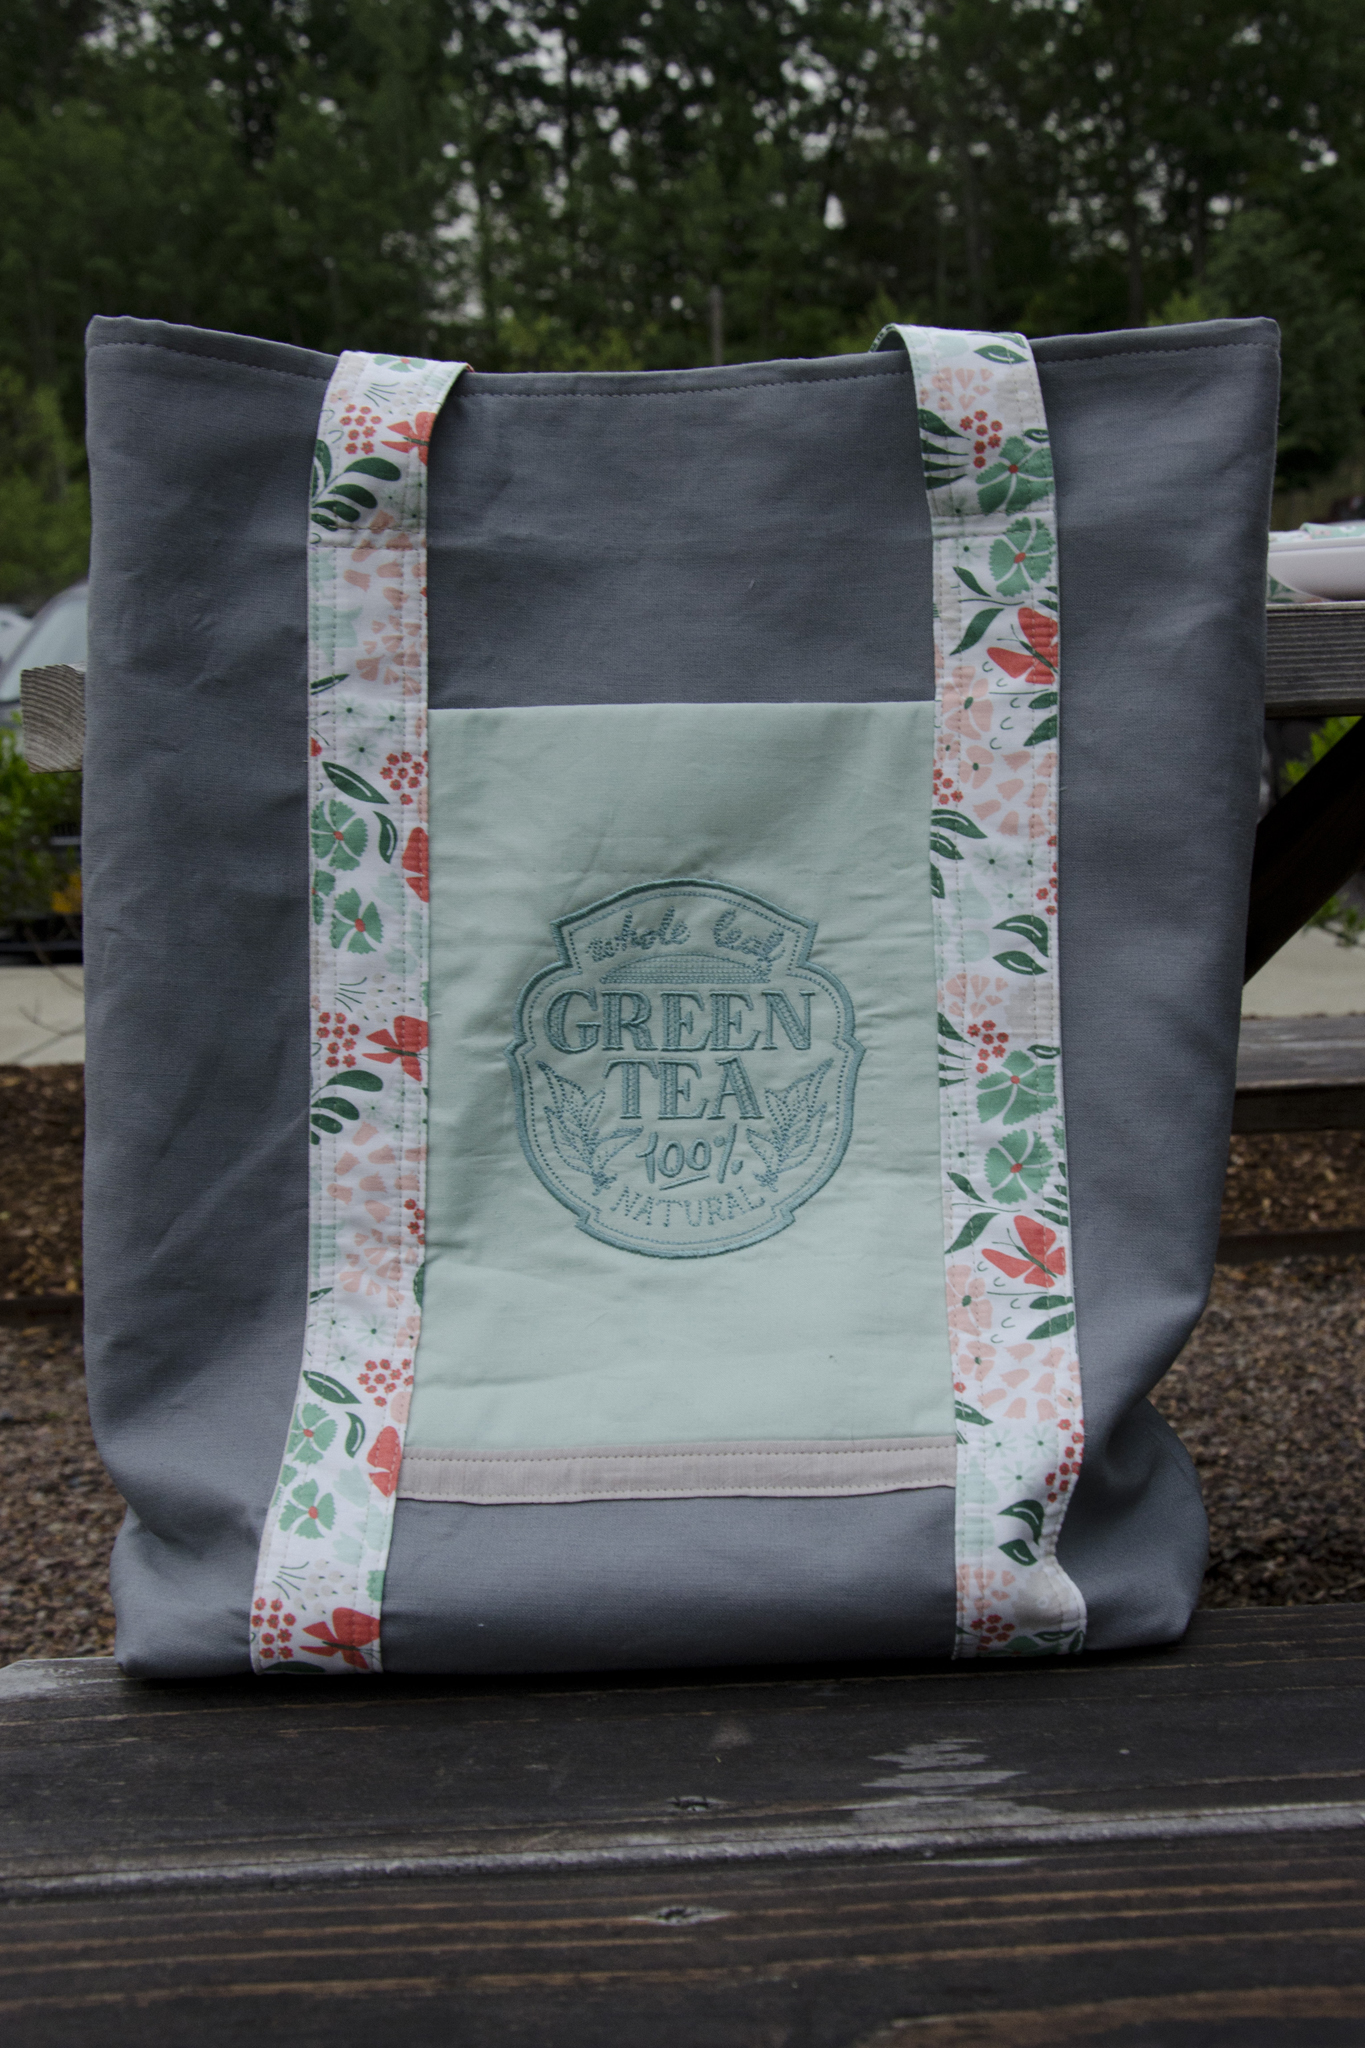
What good are traveling placemats and napkins if you’ve nothing to carry them in? Using the Art Student Tote as a general design guide, I pulled together a bag made of dark gray Essex Linen, straps in a Park Life print, and a machine embroidered pocket using a coordinating solid from my stash and one of the tea embroideries from the bunting.
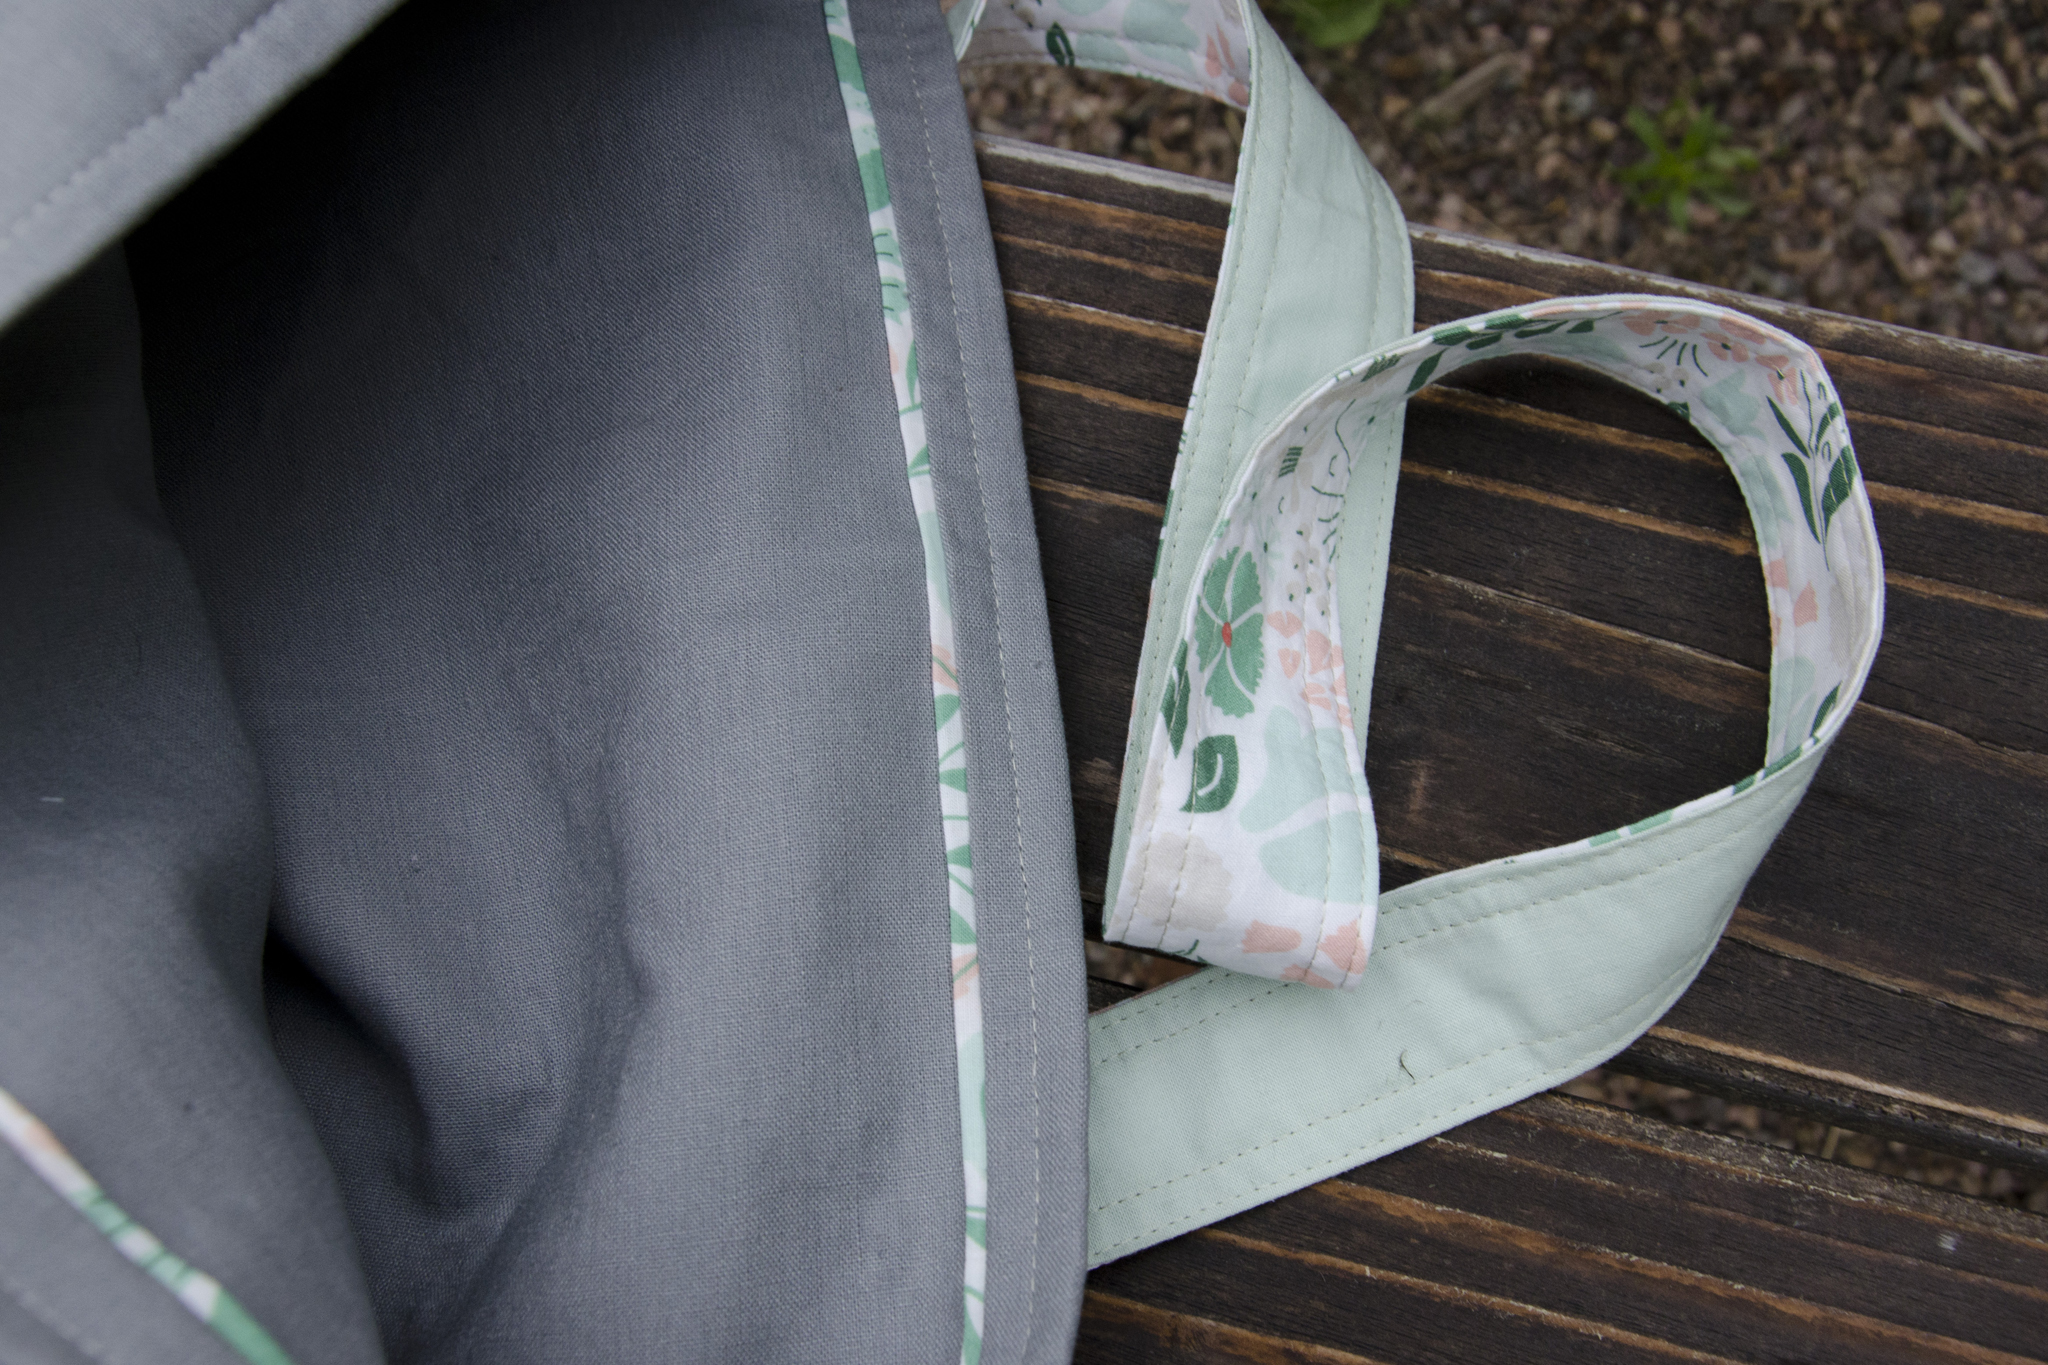
The bag is 13″x18″x4″—a hybrid of the two Art Student Tote sizes. I only added one pocket to the front, no closures, and no interior dividers/pockets. Since I lined it in the exterior linen, I modified the construction a little bit and added a flange for a pop of color around the top of the interior. Having learned from using my own Art Student Tote, I made sure to use a woven interfacing for the straps—mine are starting to stretch out and warp due to the medium-weight non-woven—and cut an extra strip to get the full suggested 128″ instead of the approximate three widths of fabric—mine are a smidgen short when the bag is loaded up. I also modified the strap construction to use two different fabrics (one on each side), as I didn’t have enough of any one fabric.
The Whole Package
To round out the picnic theme, I added a few store-bought gifts as well.
It was a dreary, rainy day when I tried to take photos before shipping it off. I hope the couple has many sunny days in their future.
Even with this whole package, I still have a quarter yard of five of the prints—and a few more triangles—but for now I’ll retire that to the depths of my stash and move on to some other things!