Raevenfea

Maker of various fabric things

This is a static export of a blog I put on ice many years ago, that still has personally relevant content. No promises can be made around linkrot, styles, or working functionality.

My History Of Quilting

Posted in Quilting

  • Long-term project
  • Meta Quilt
  • Piecing
  • Quilt-as-you-go
  • Scrap projects

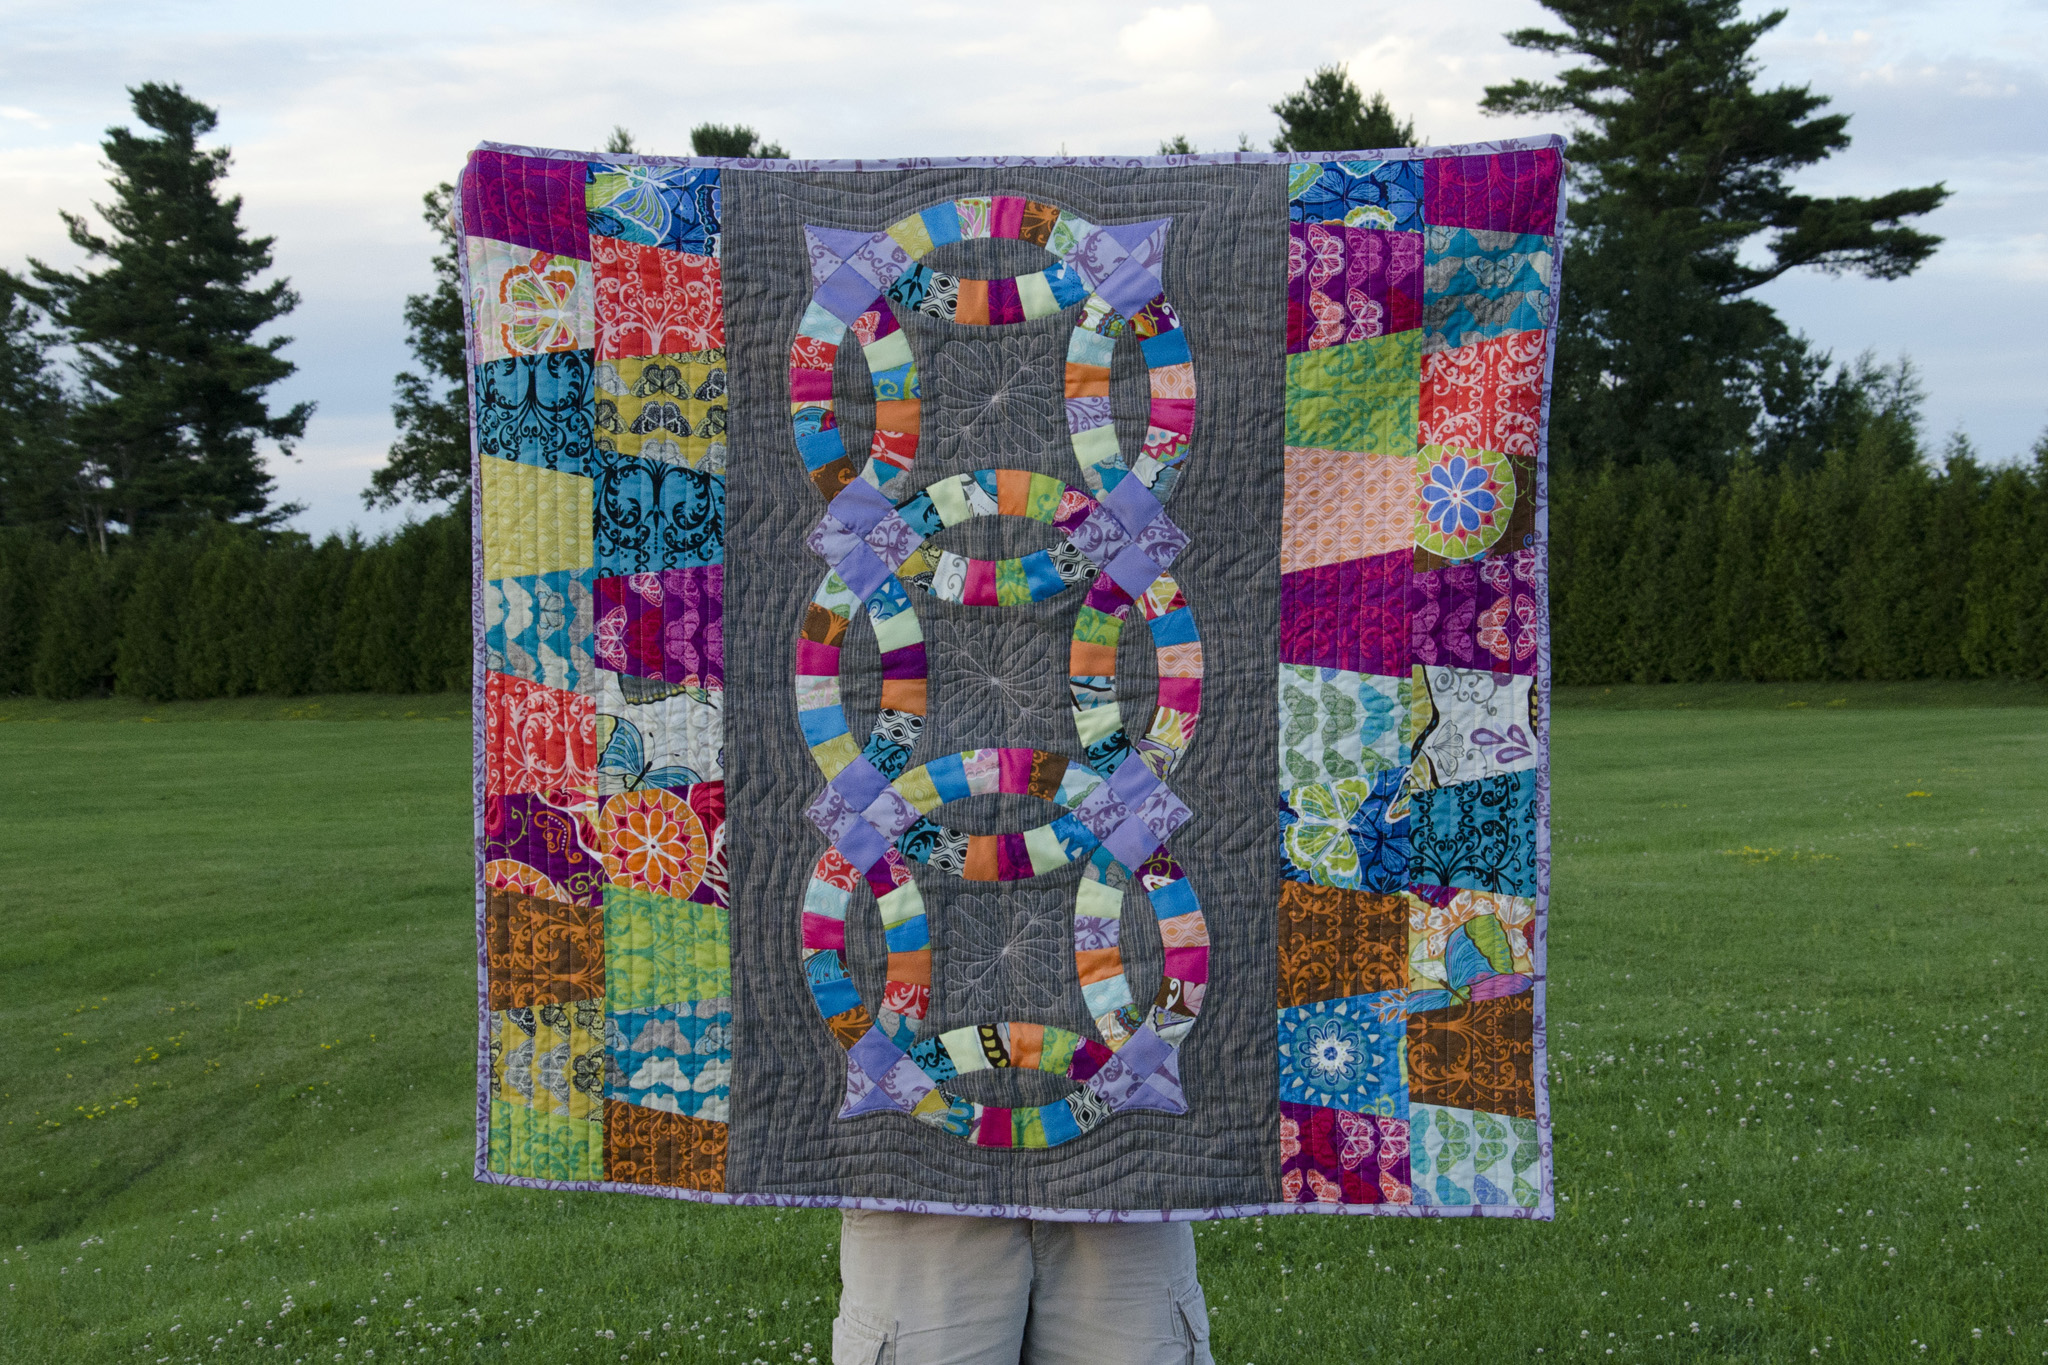
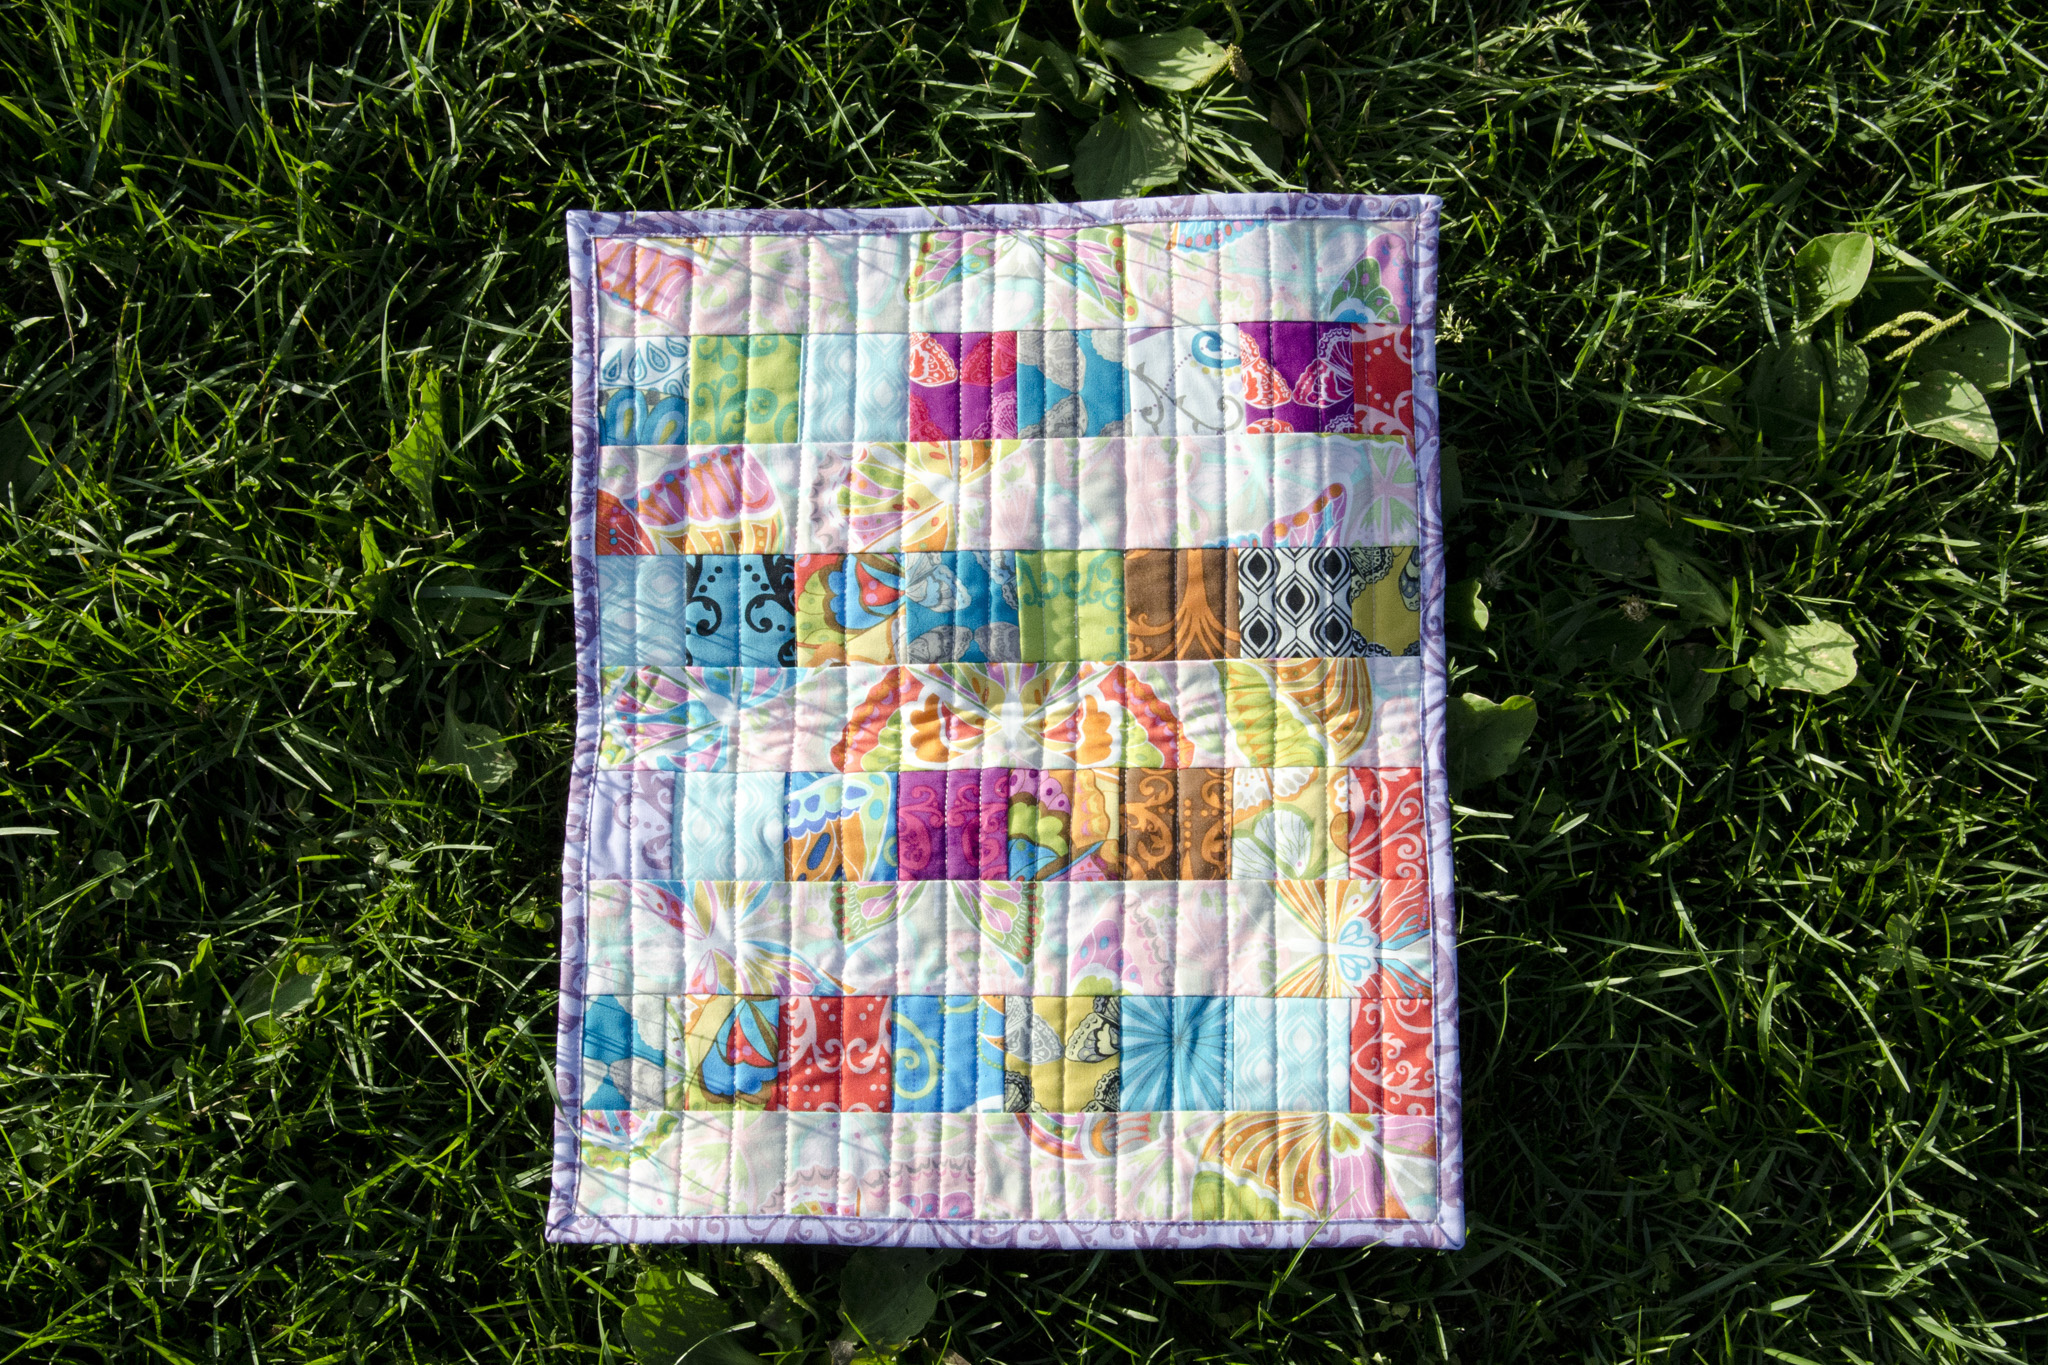
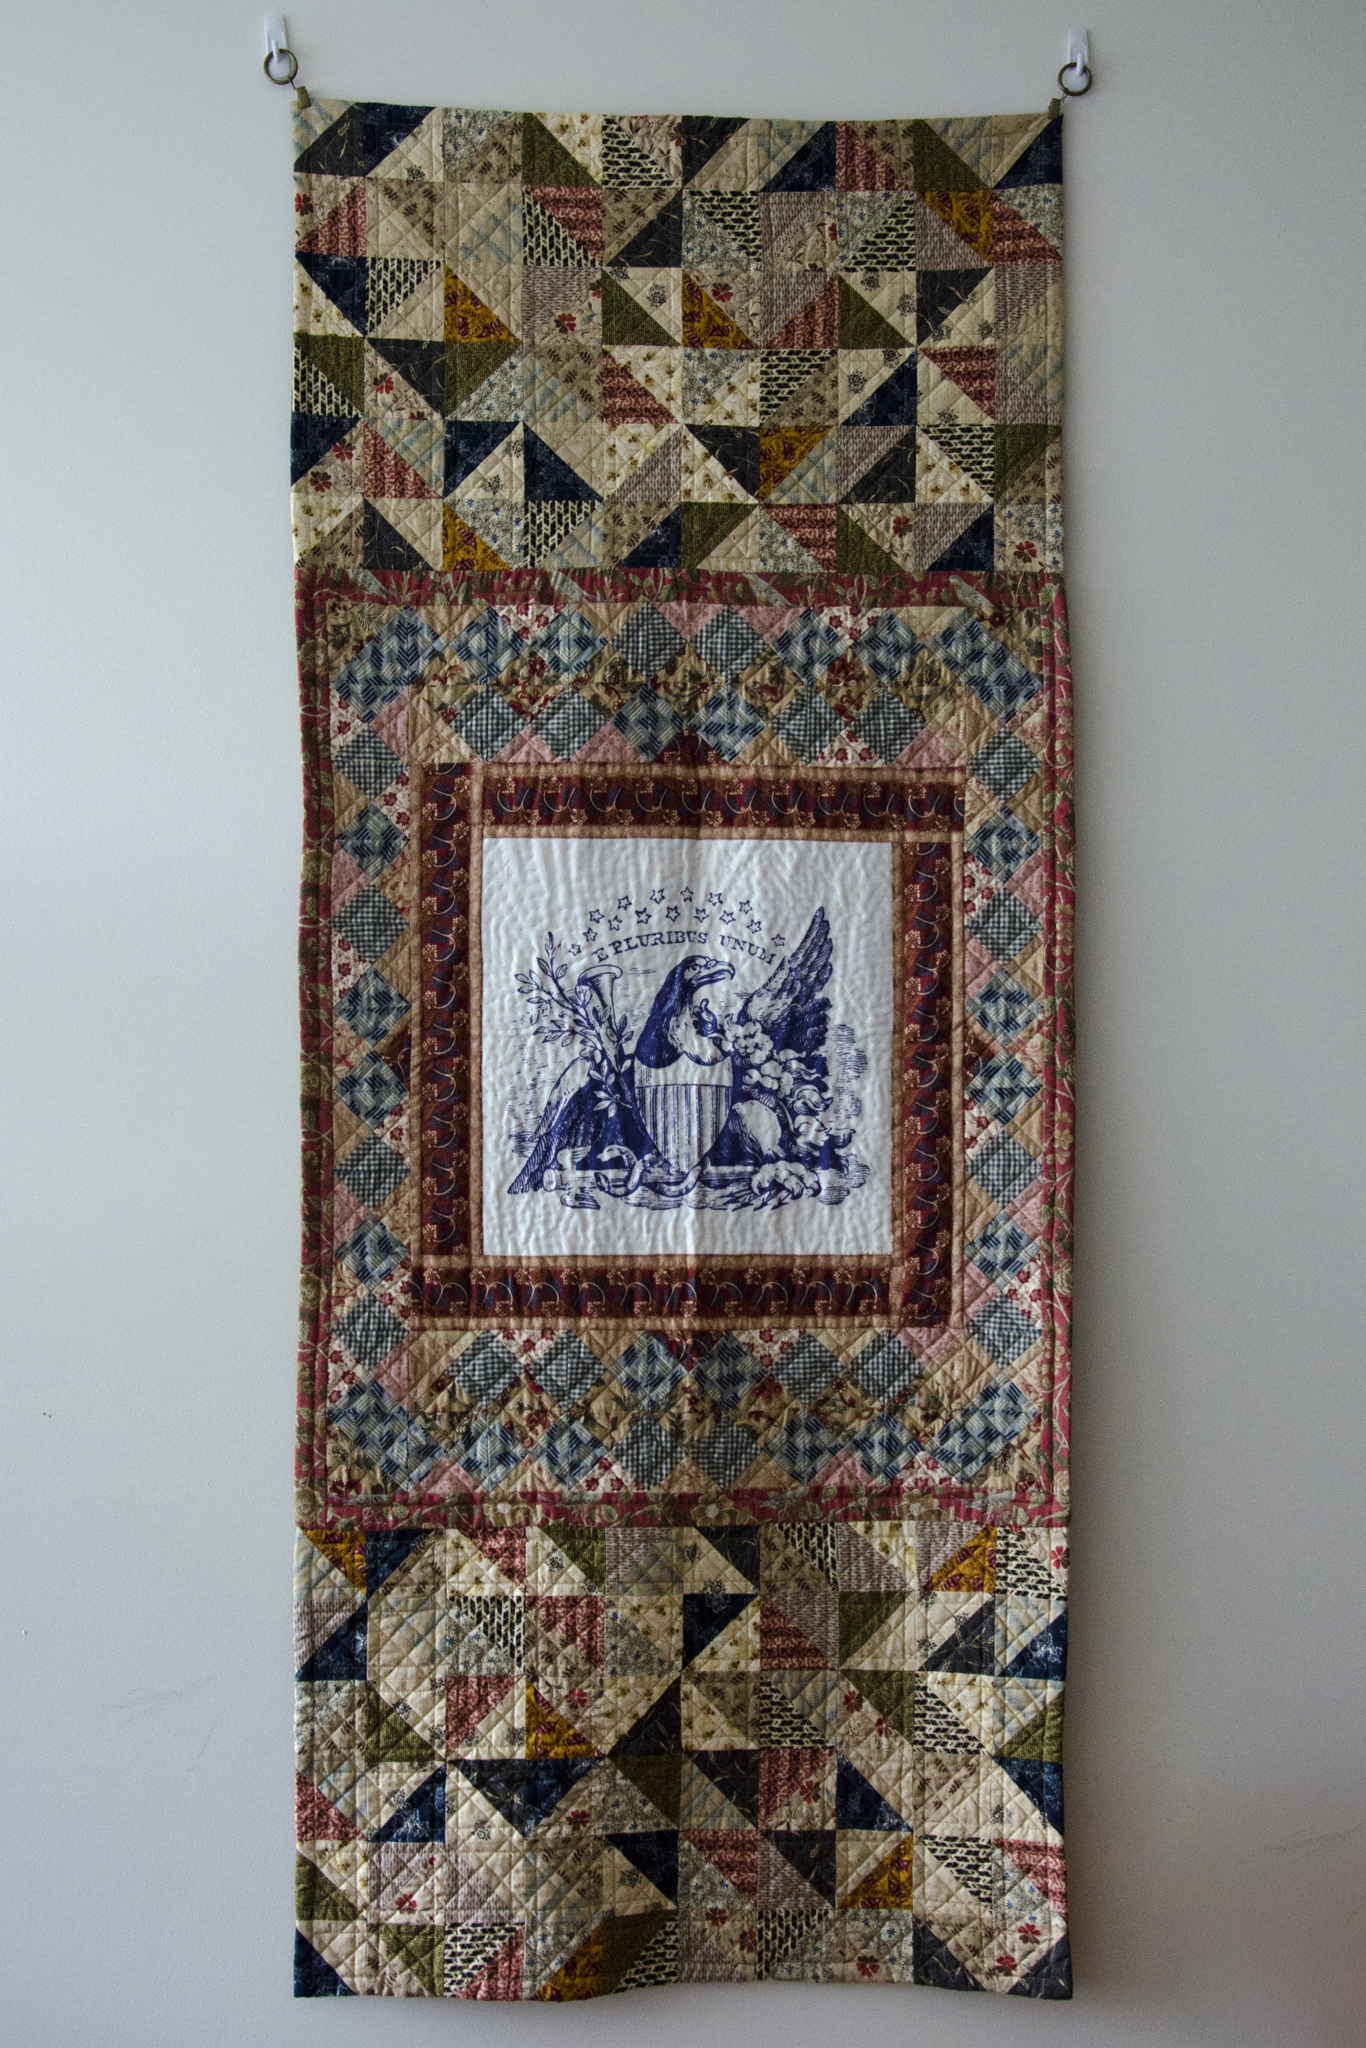
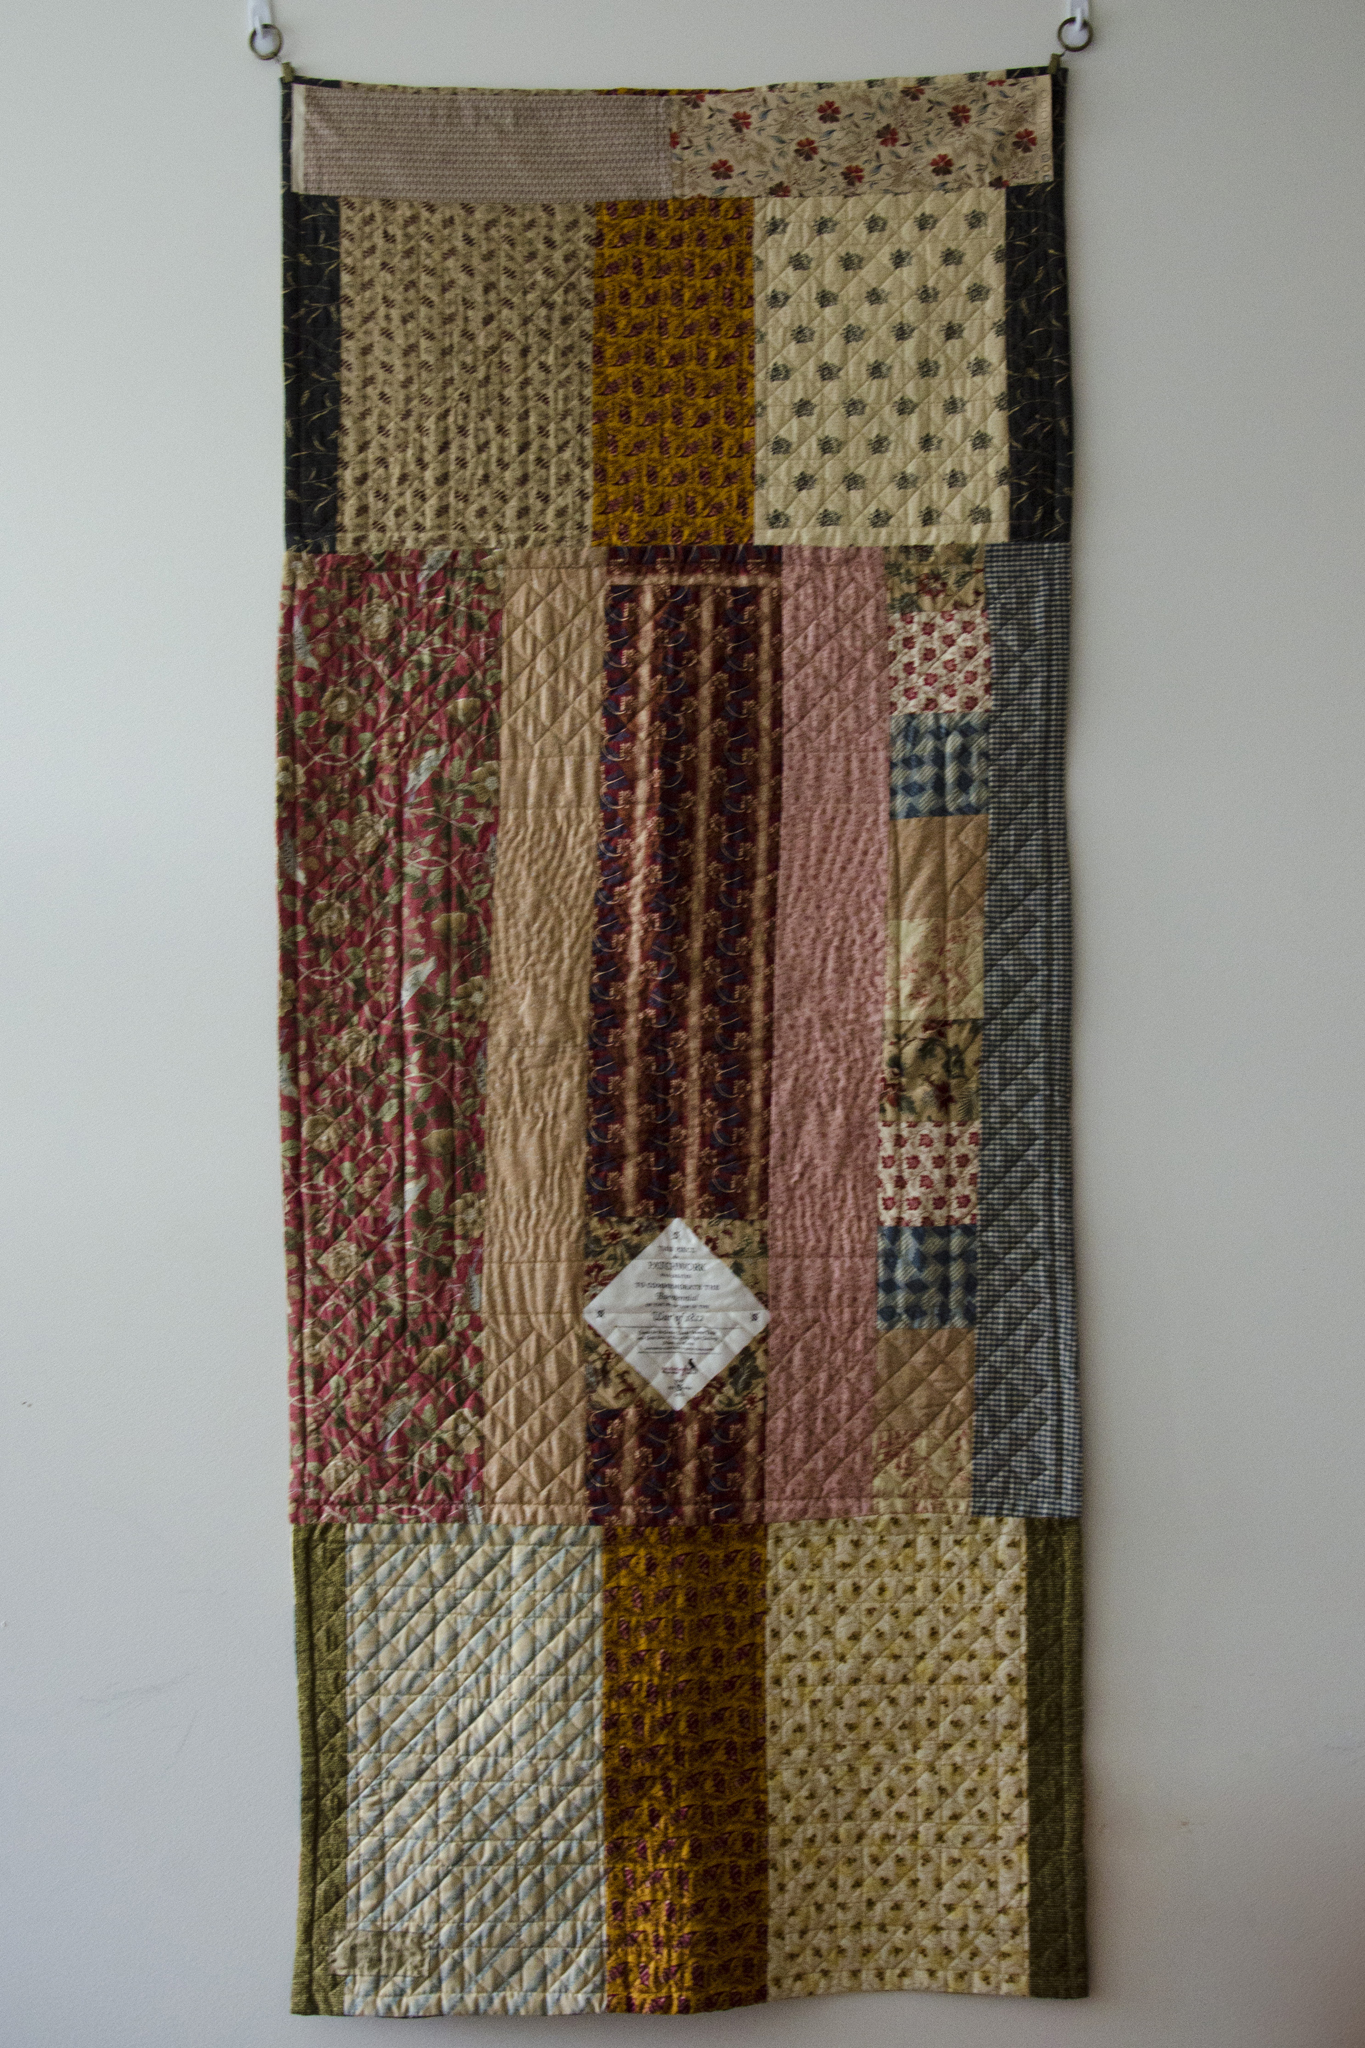
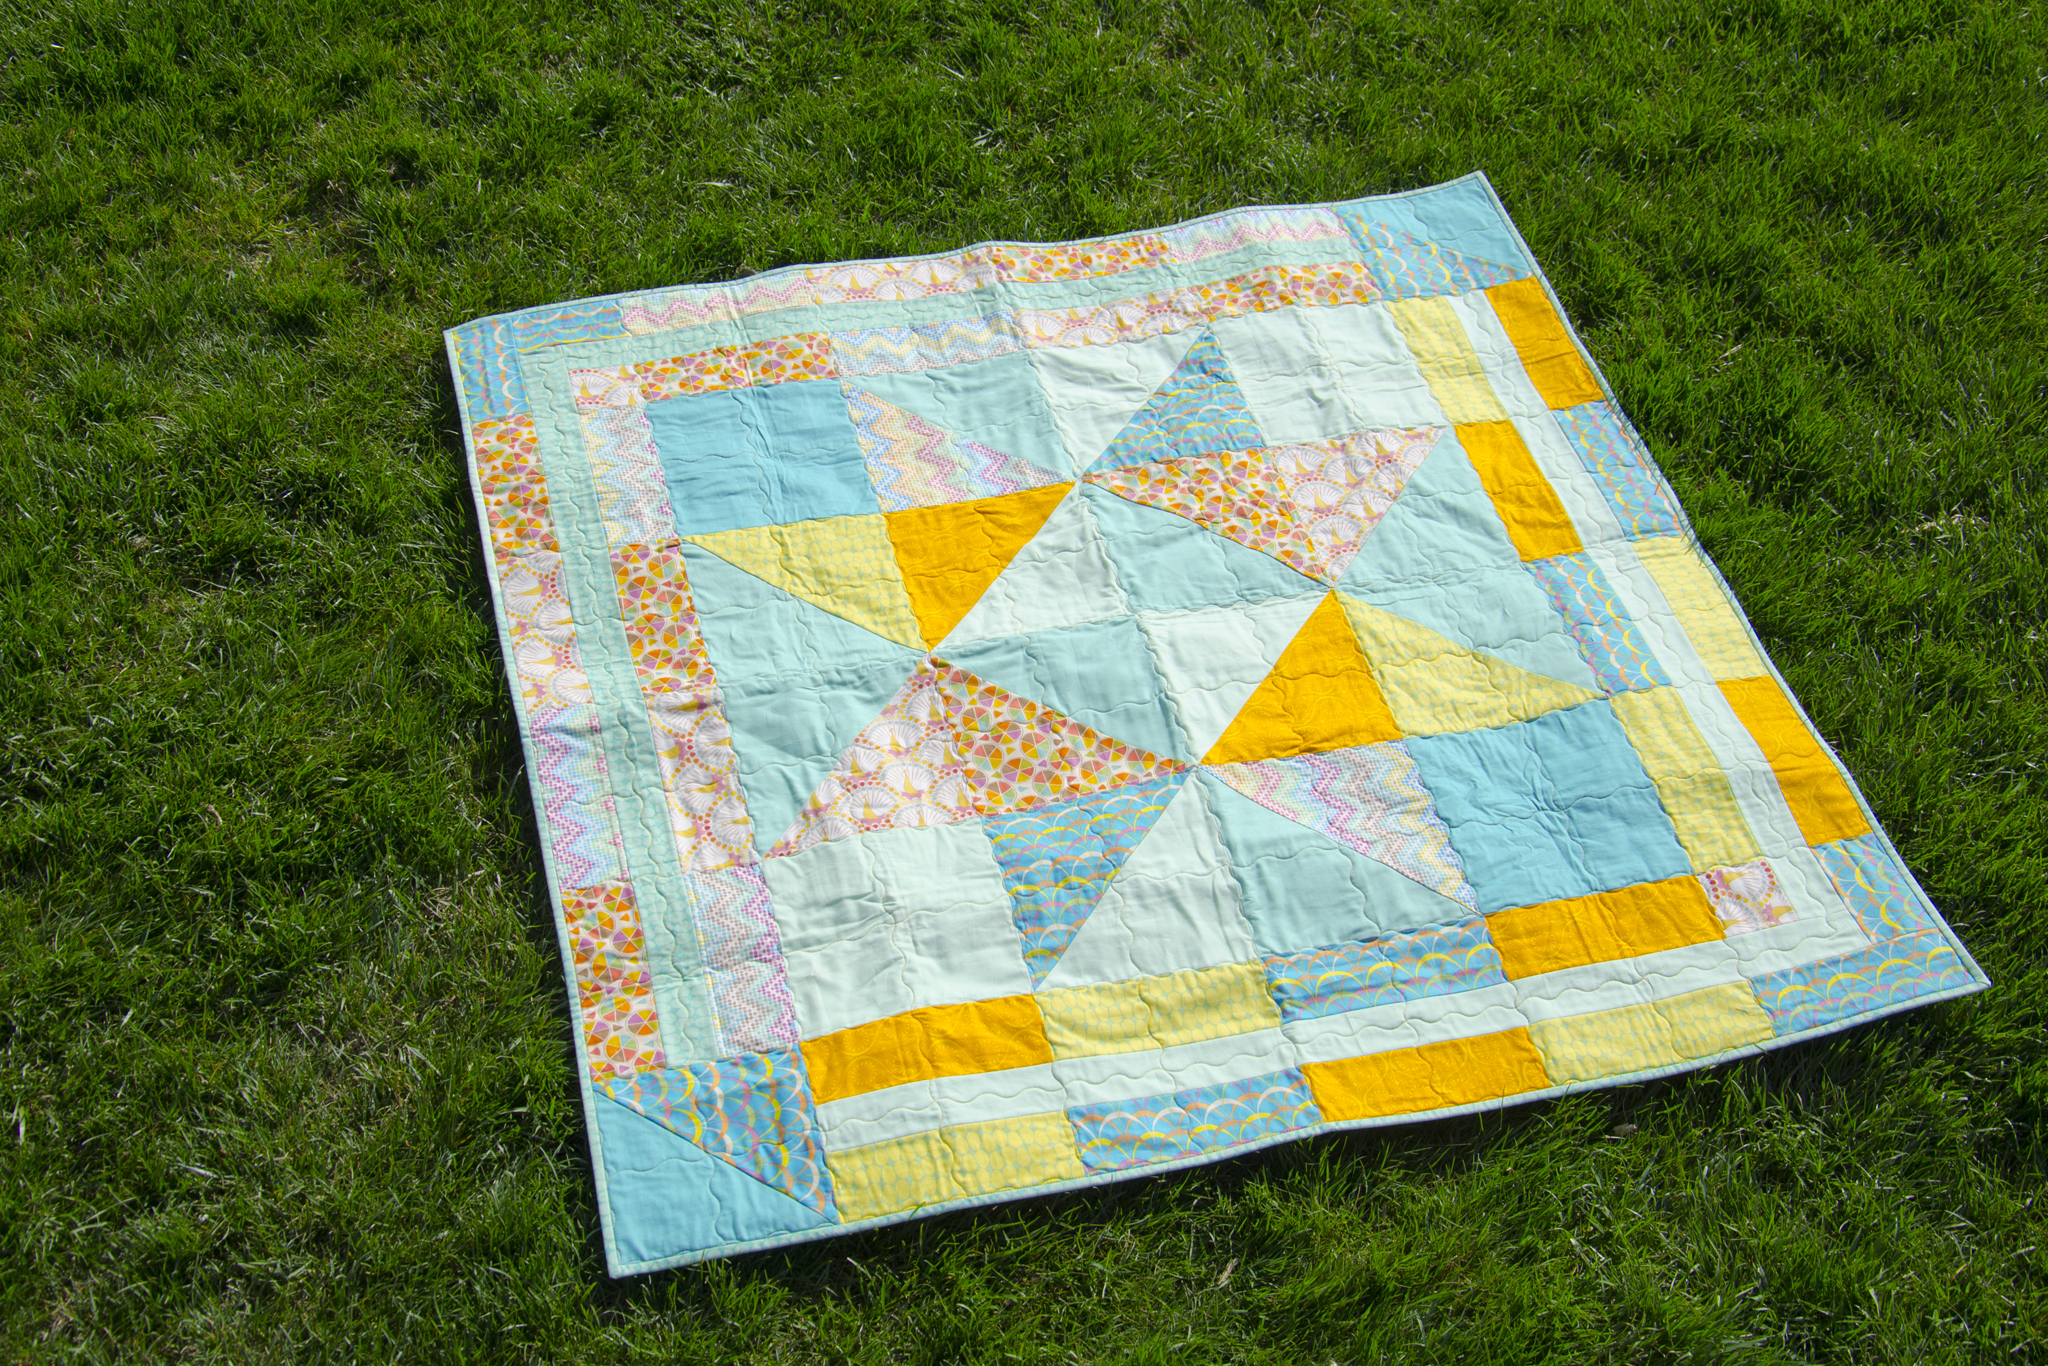
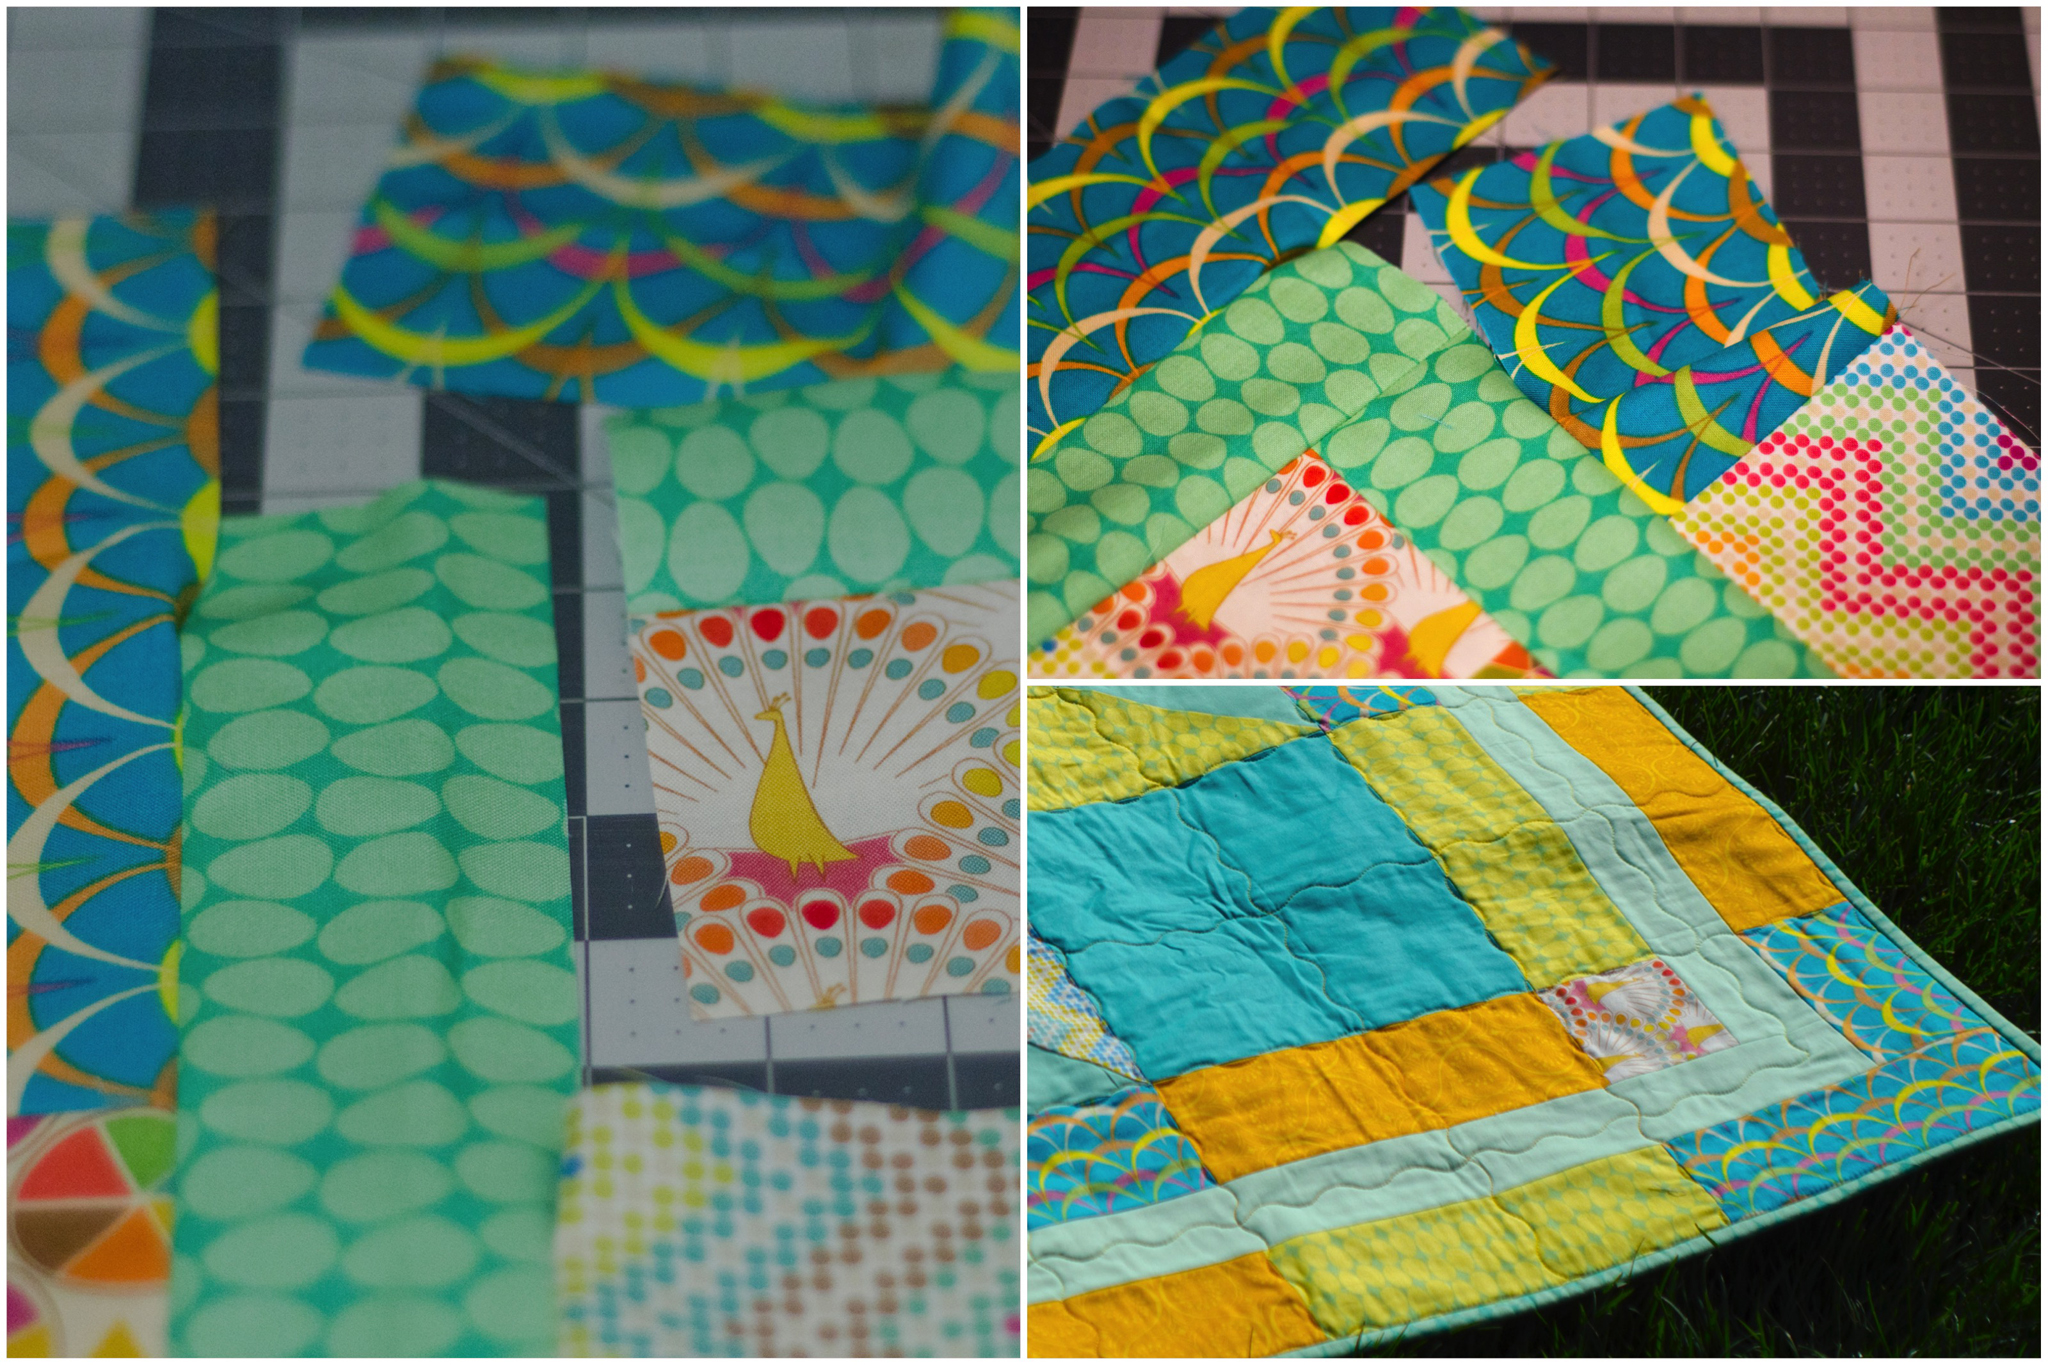
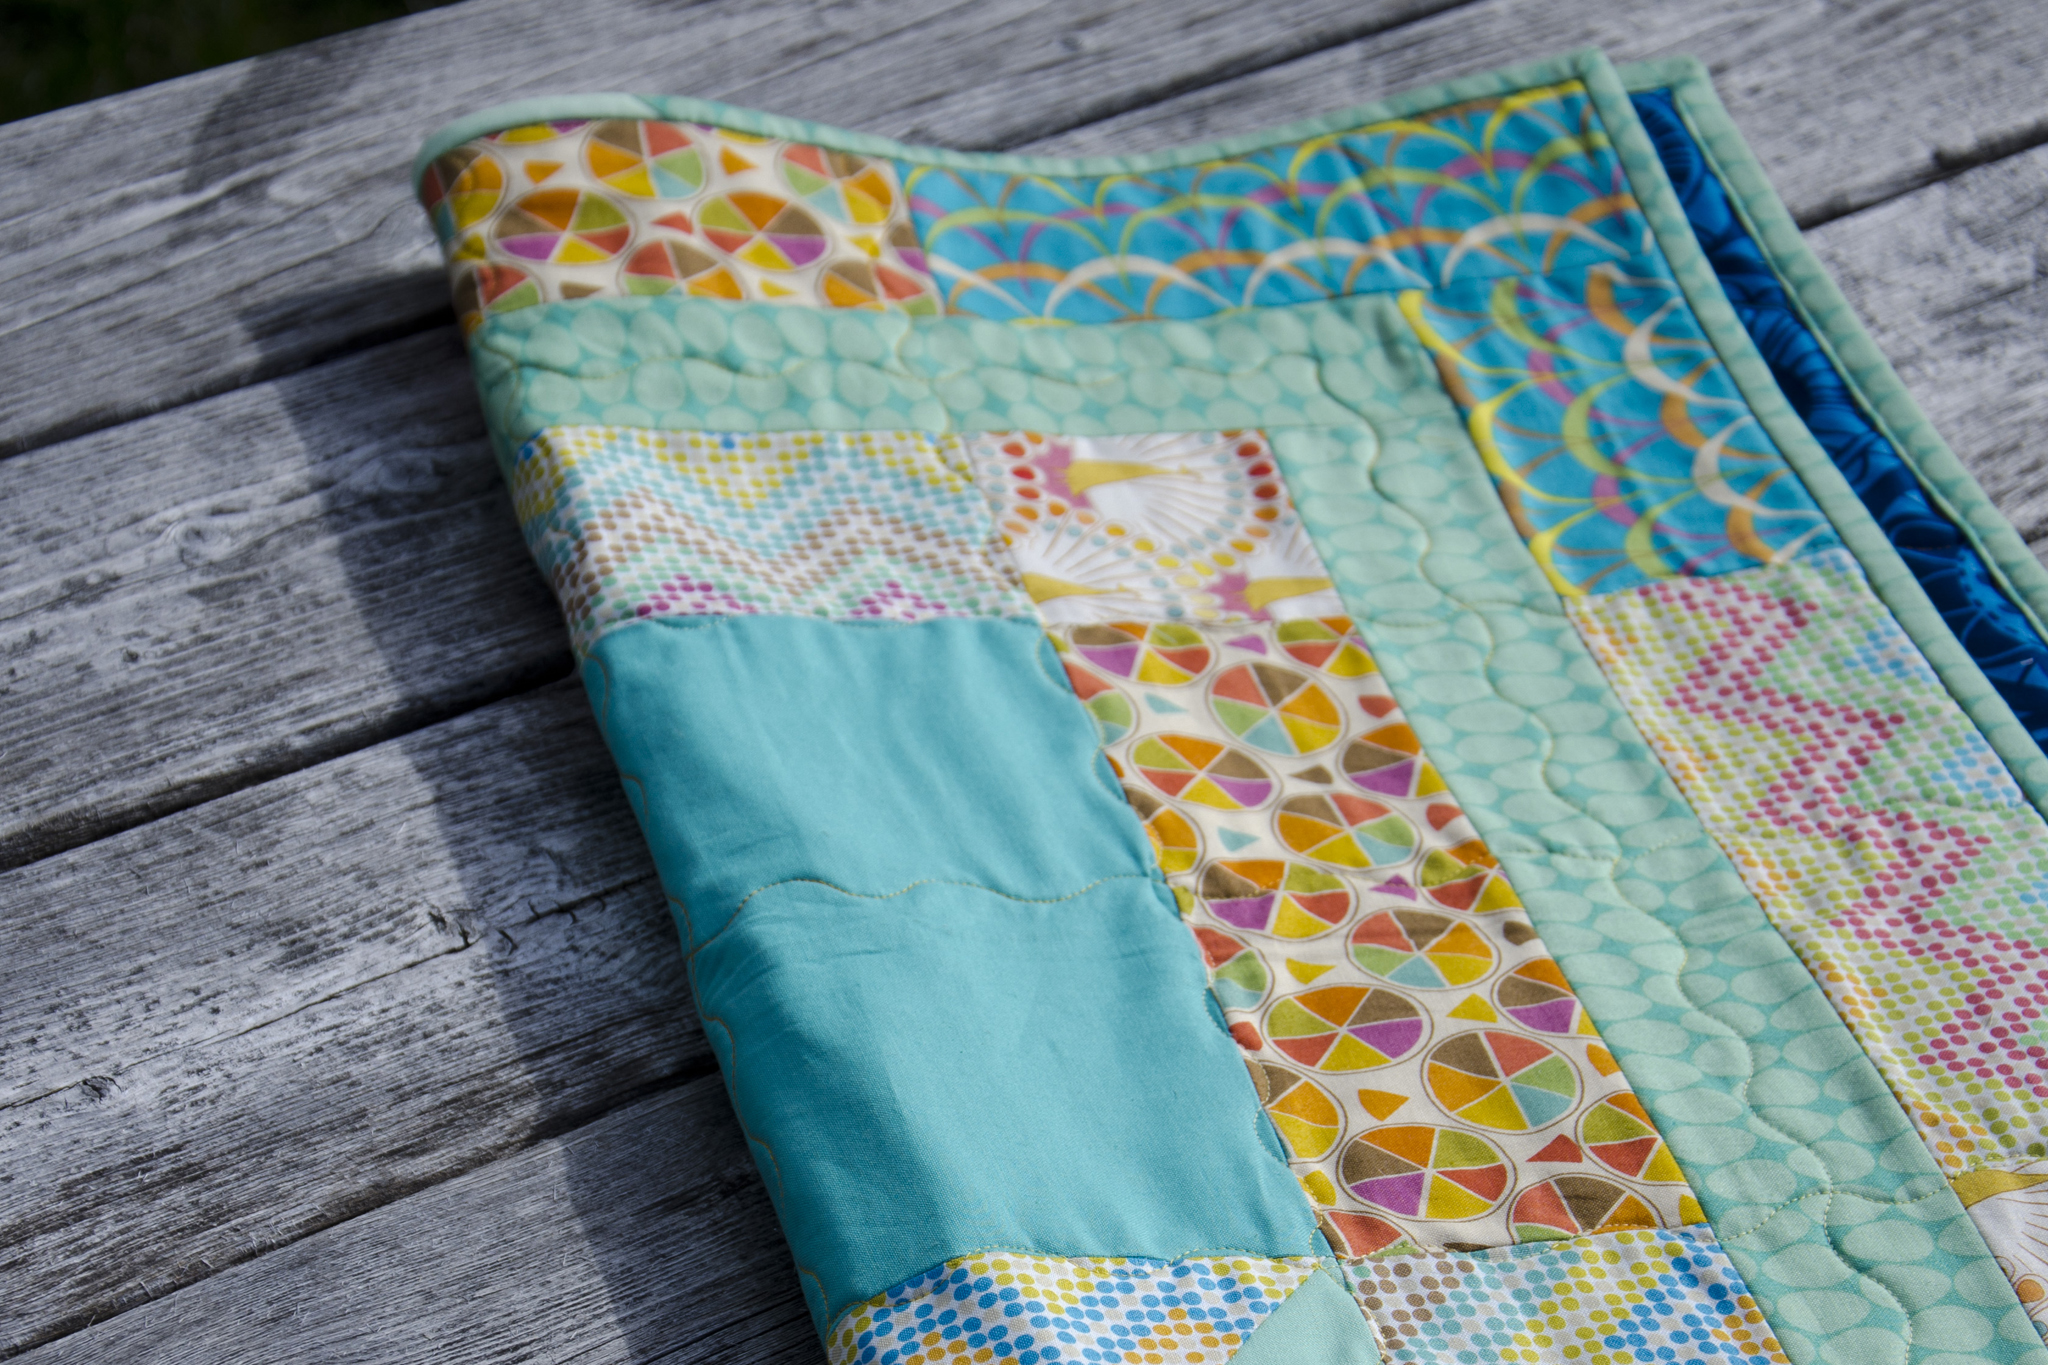
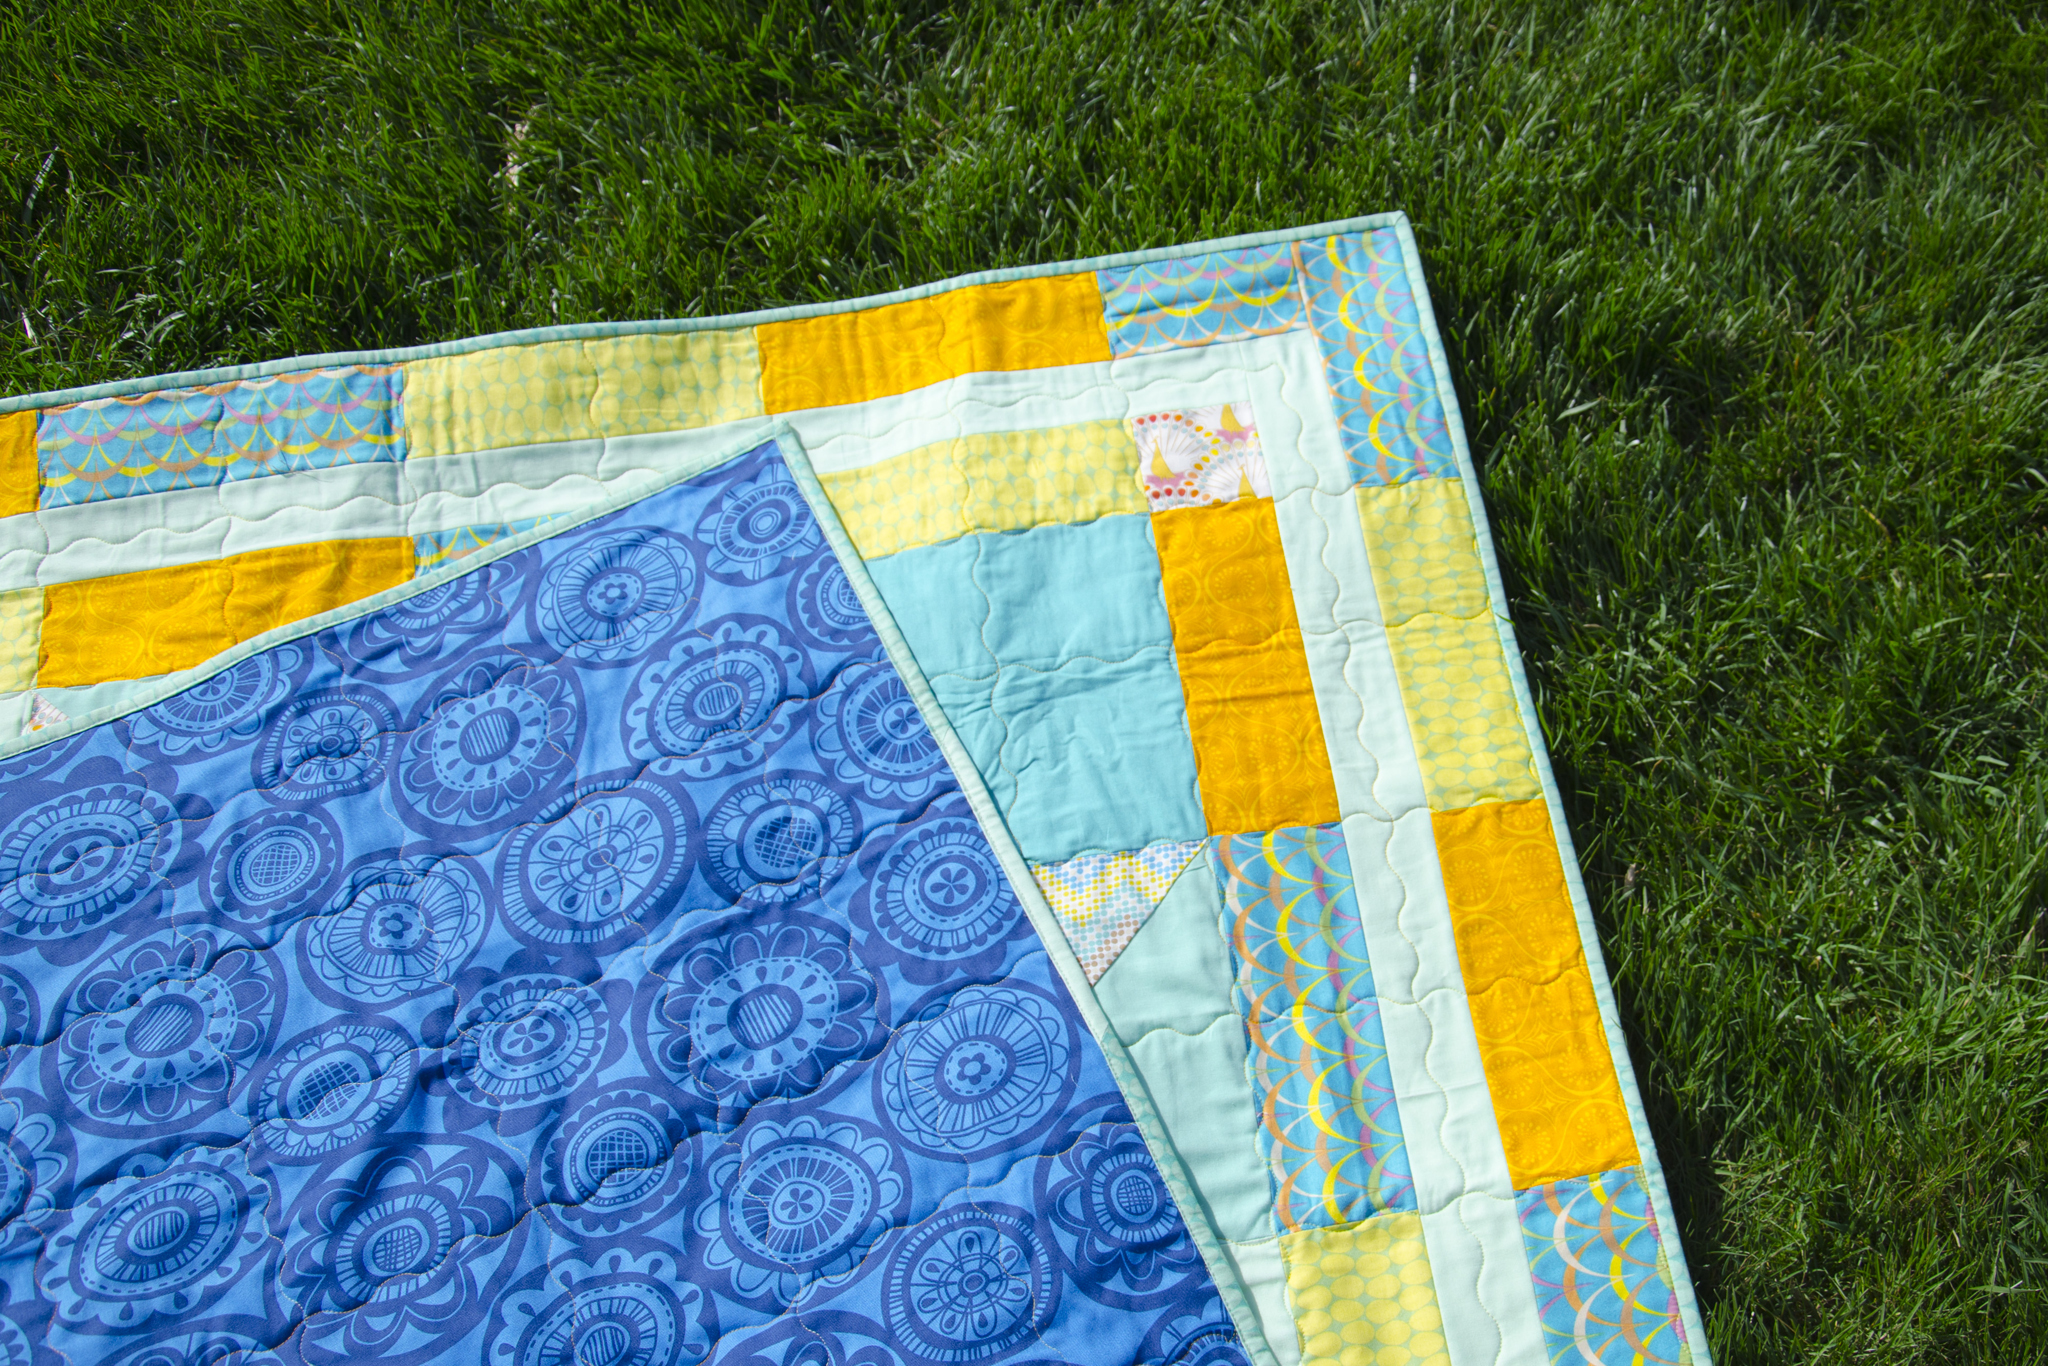
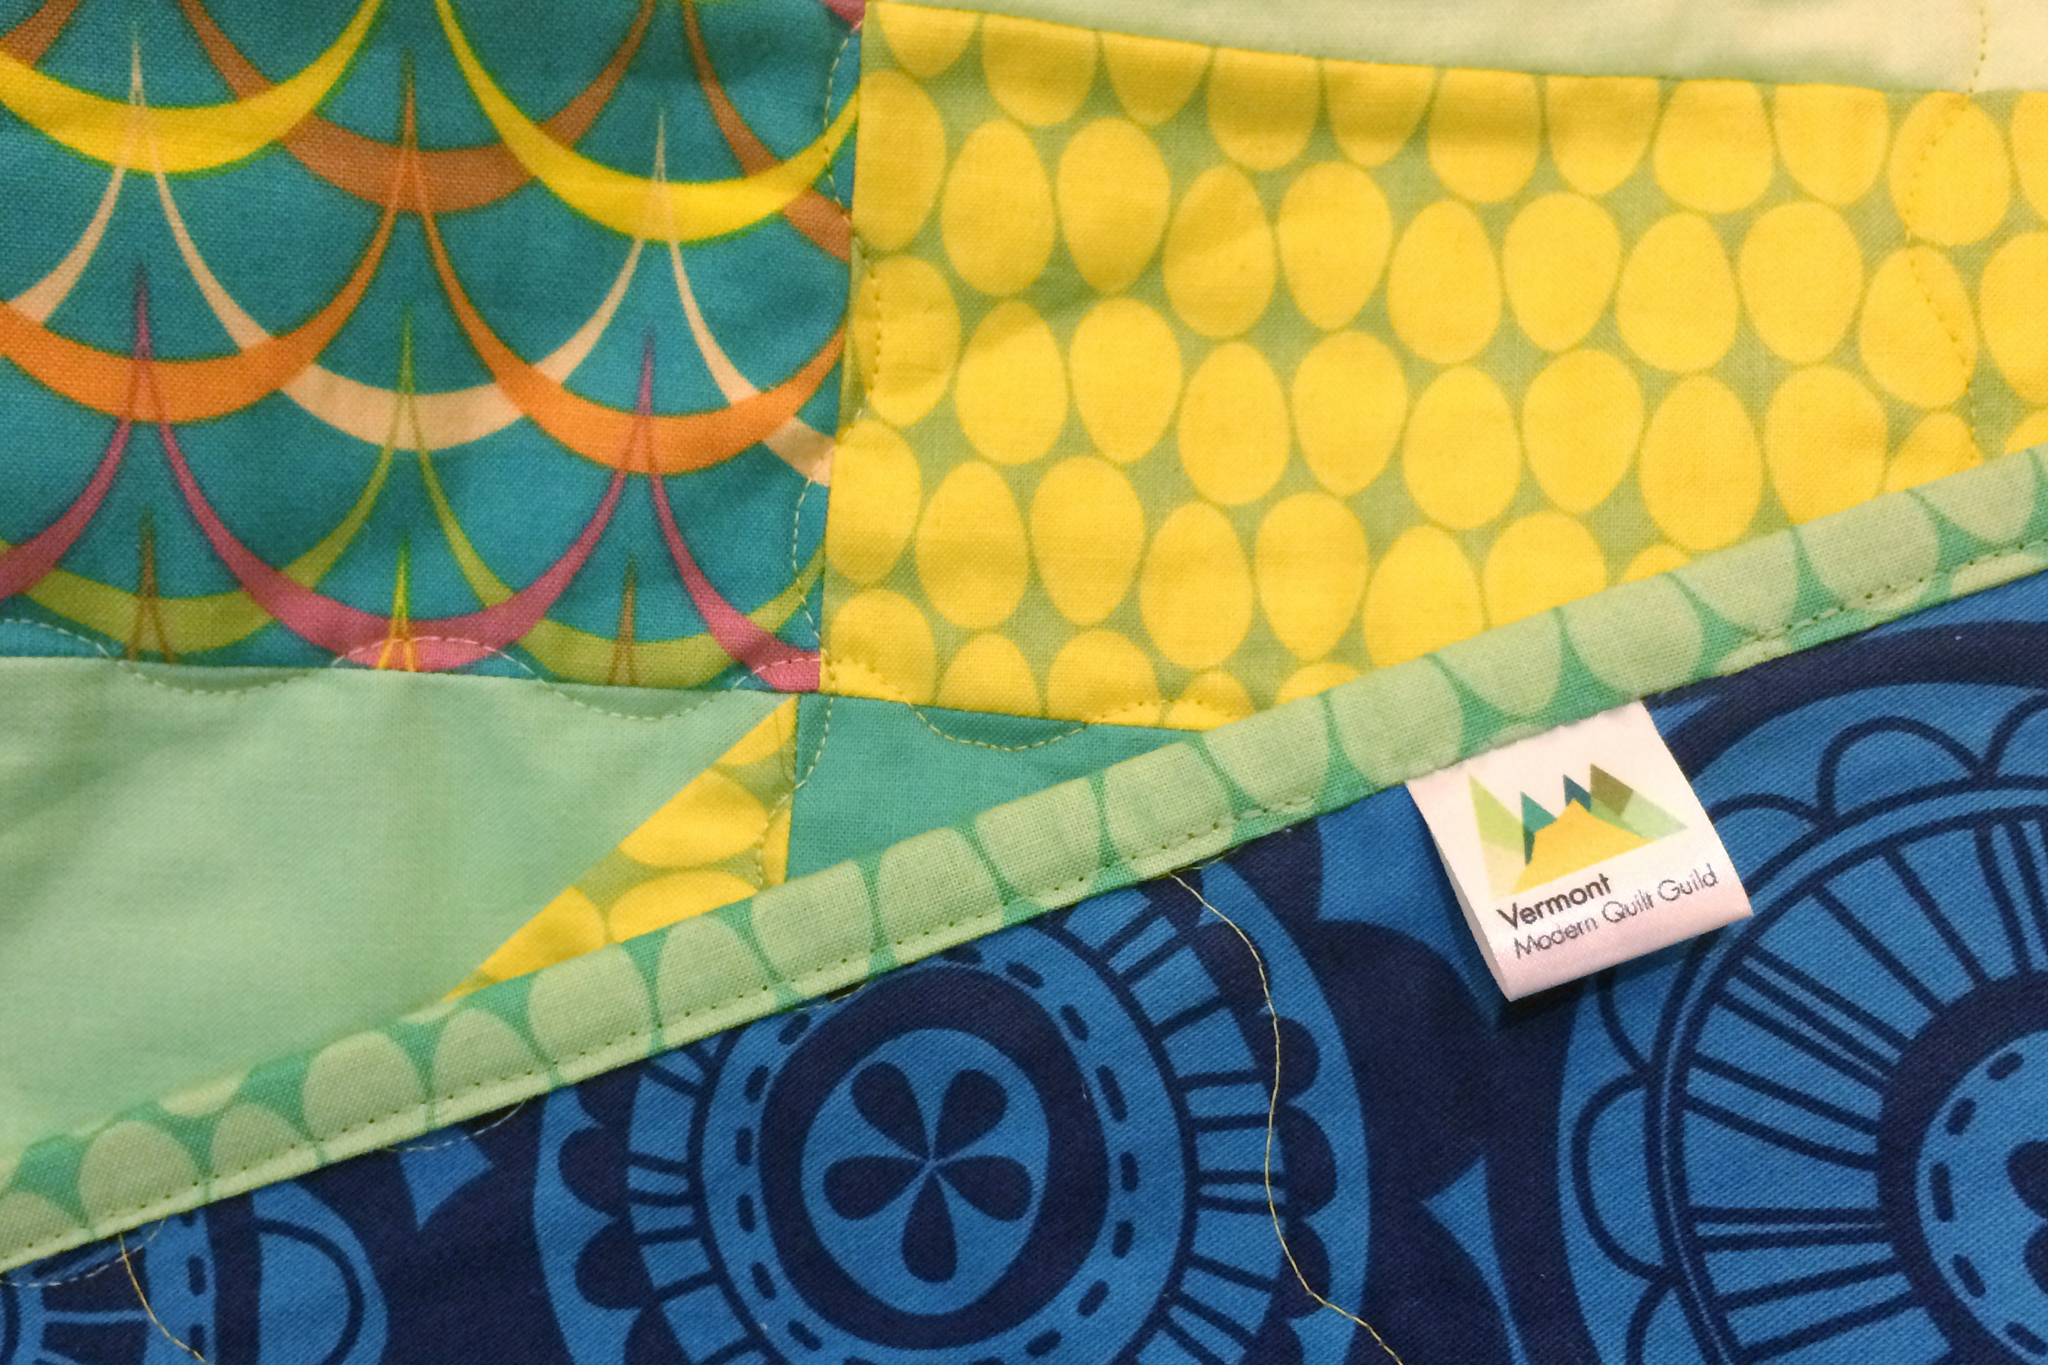
At my guild’s quilt retreat last month, a project I’ve been working on for six years (sort of) finally started really coming together. I’ve tried to save 2.5″ squares of the fabric I use in my quilts to make some sort of meta-quilt patchwork. Last year, I finally decided on how to piece the patchwork squares together and made the first eight, and I’ve kept up with my quilt finishes ever since, so I had the latest 12. The 24 in between were another story.

history-quilt1

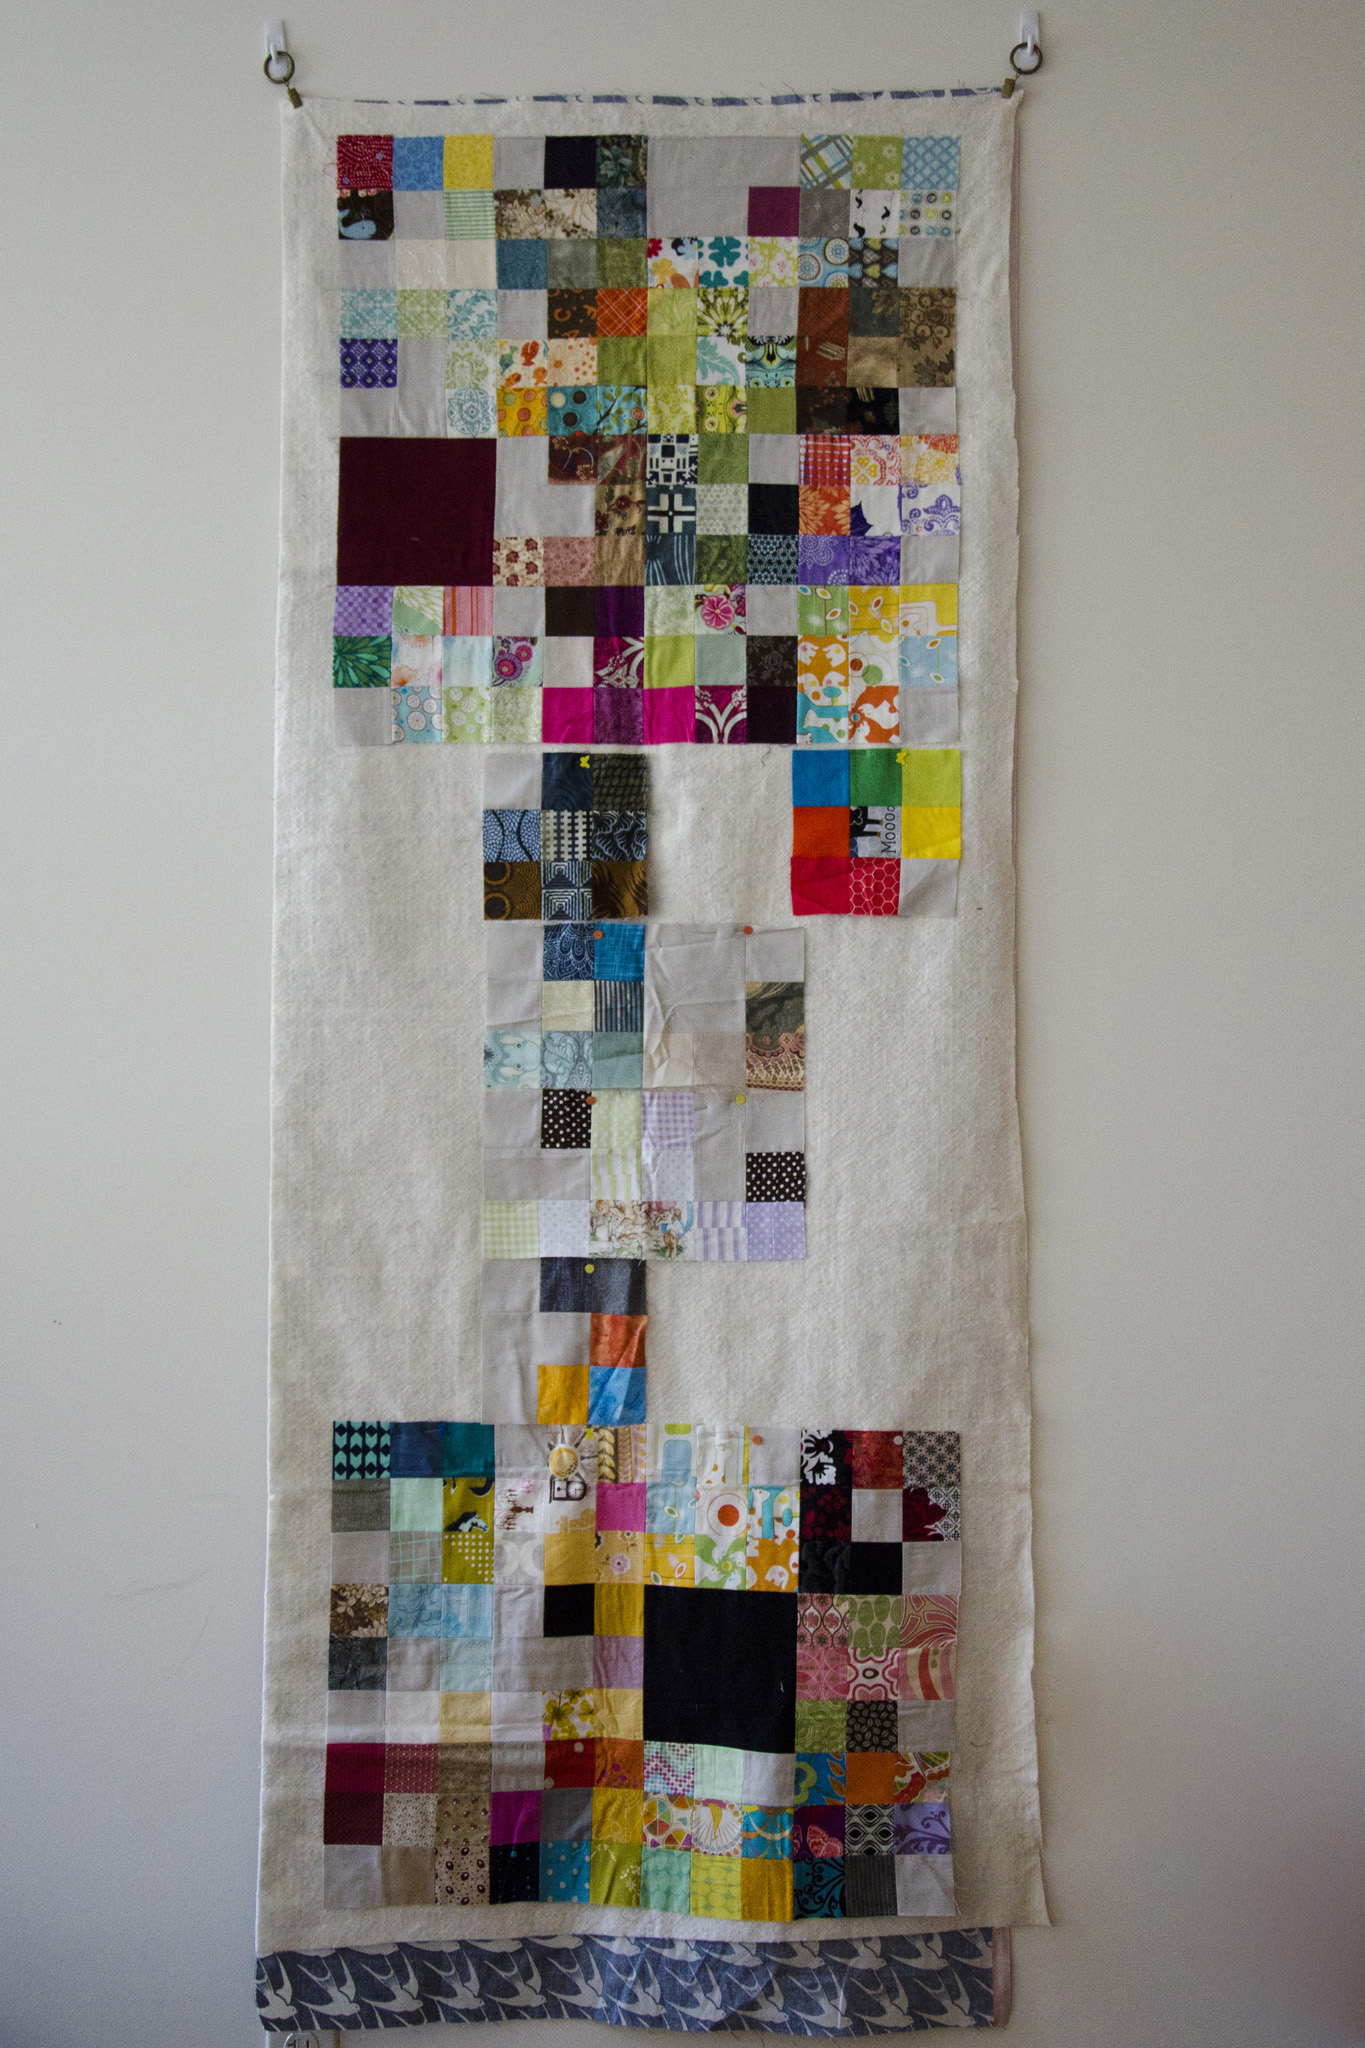
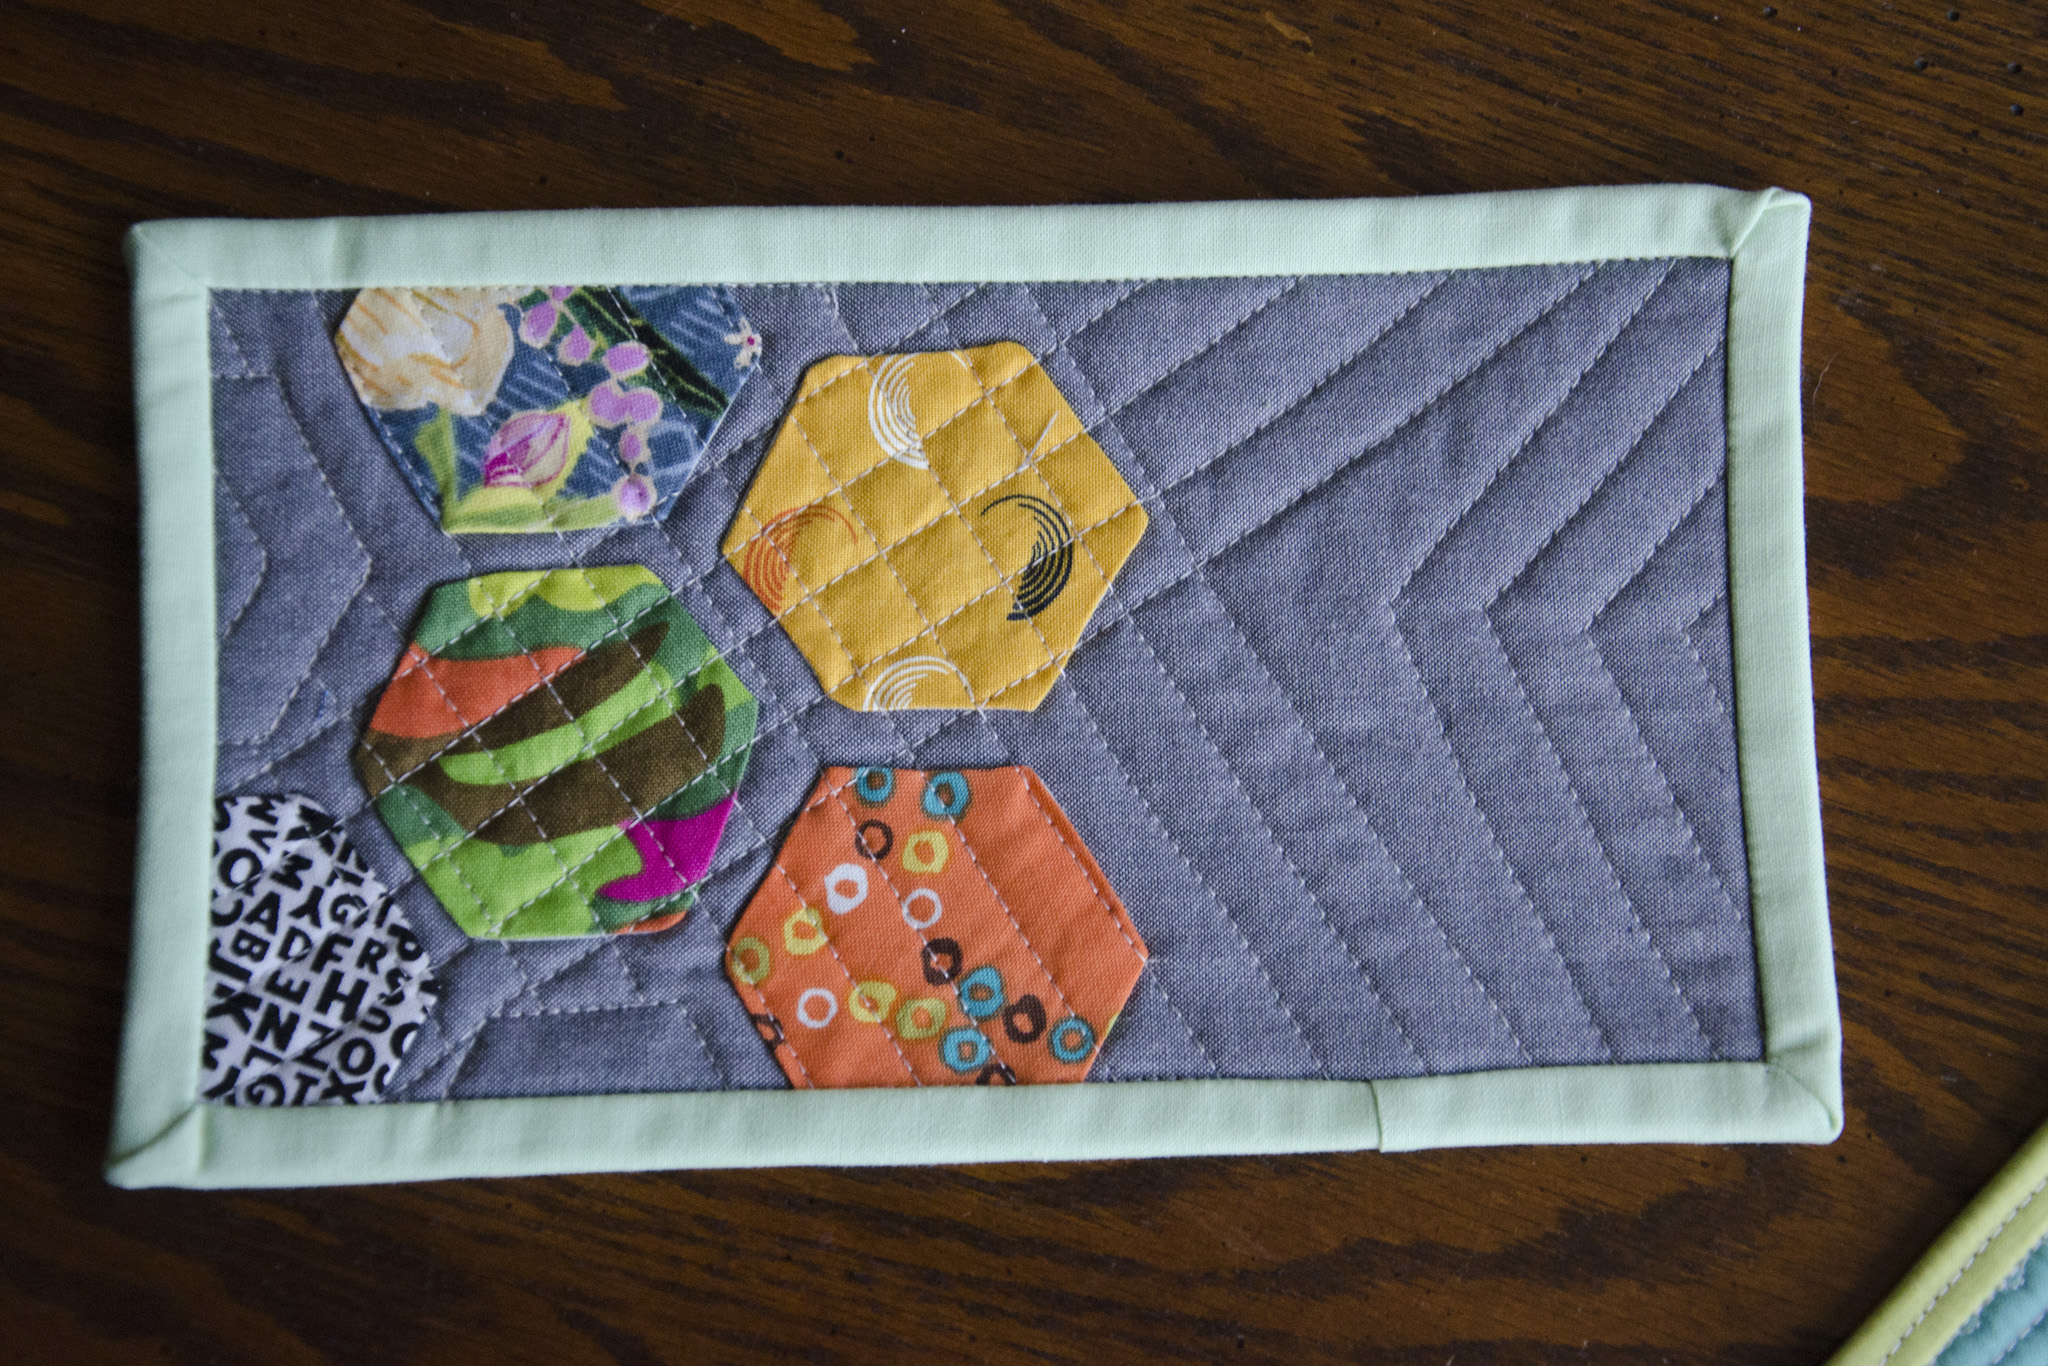
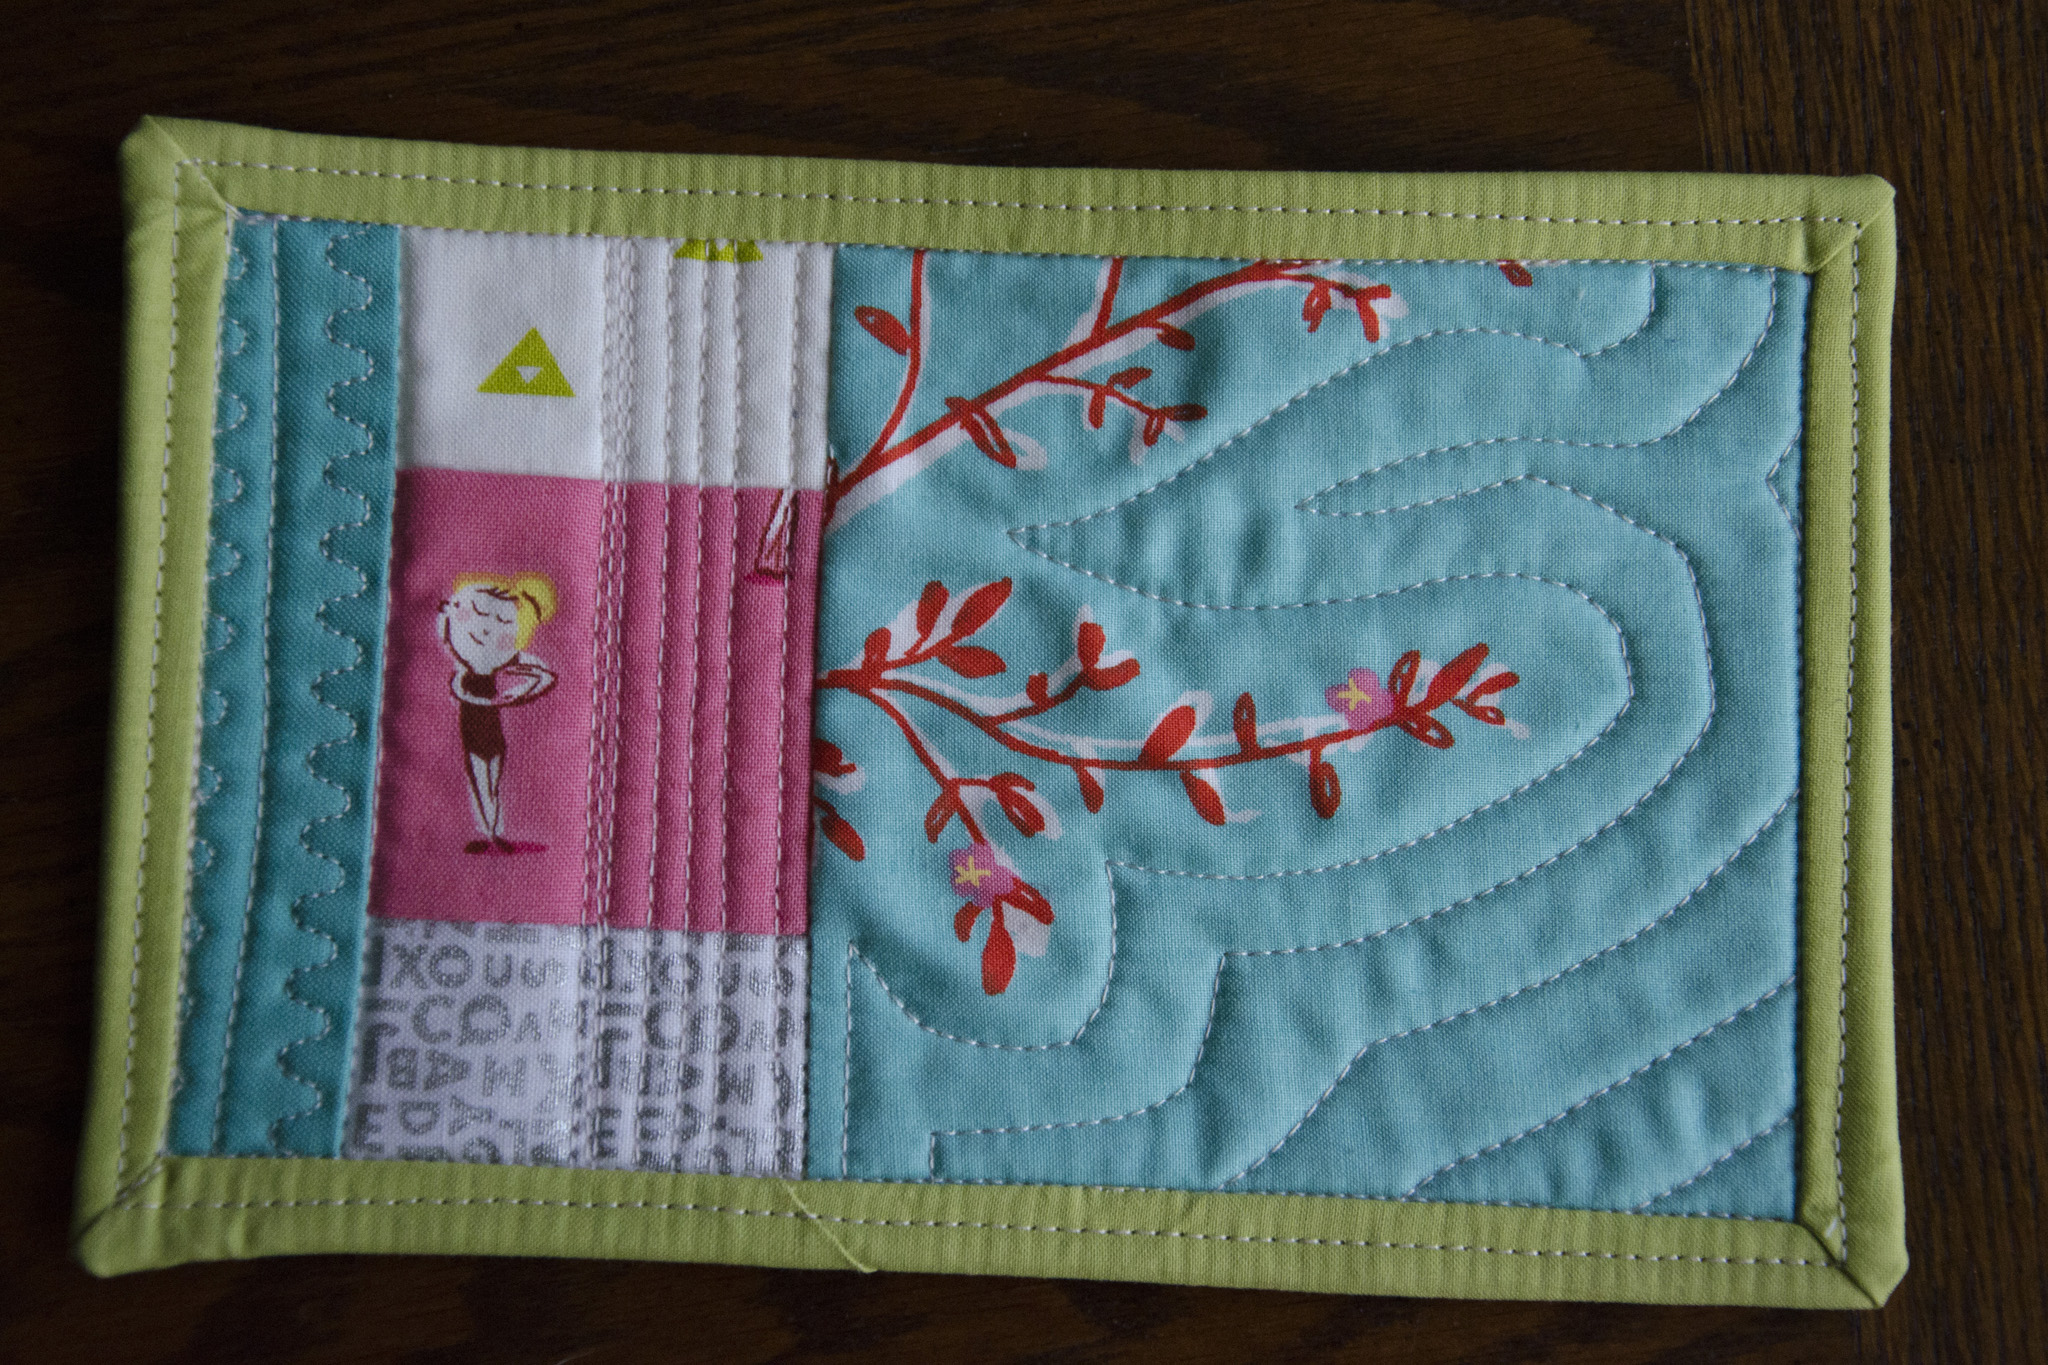
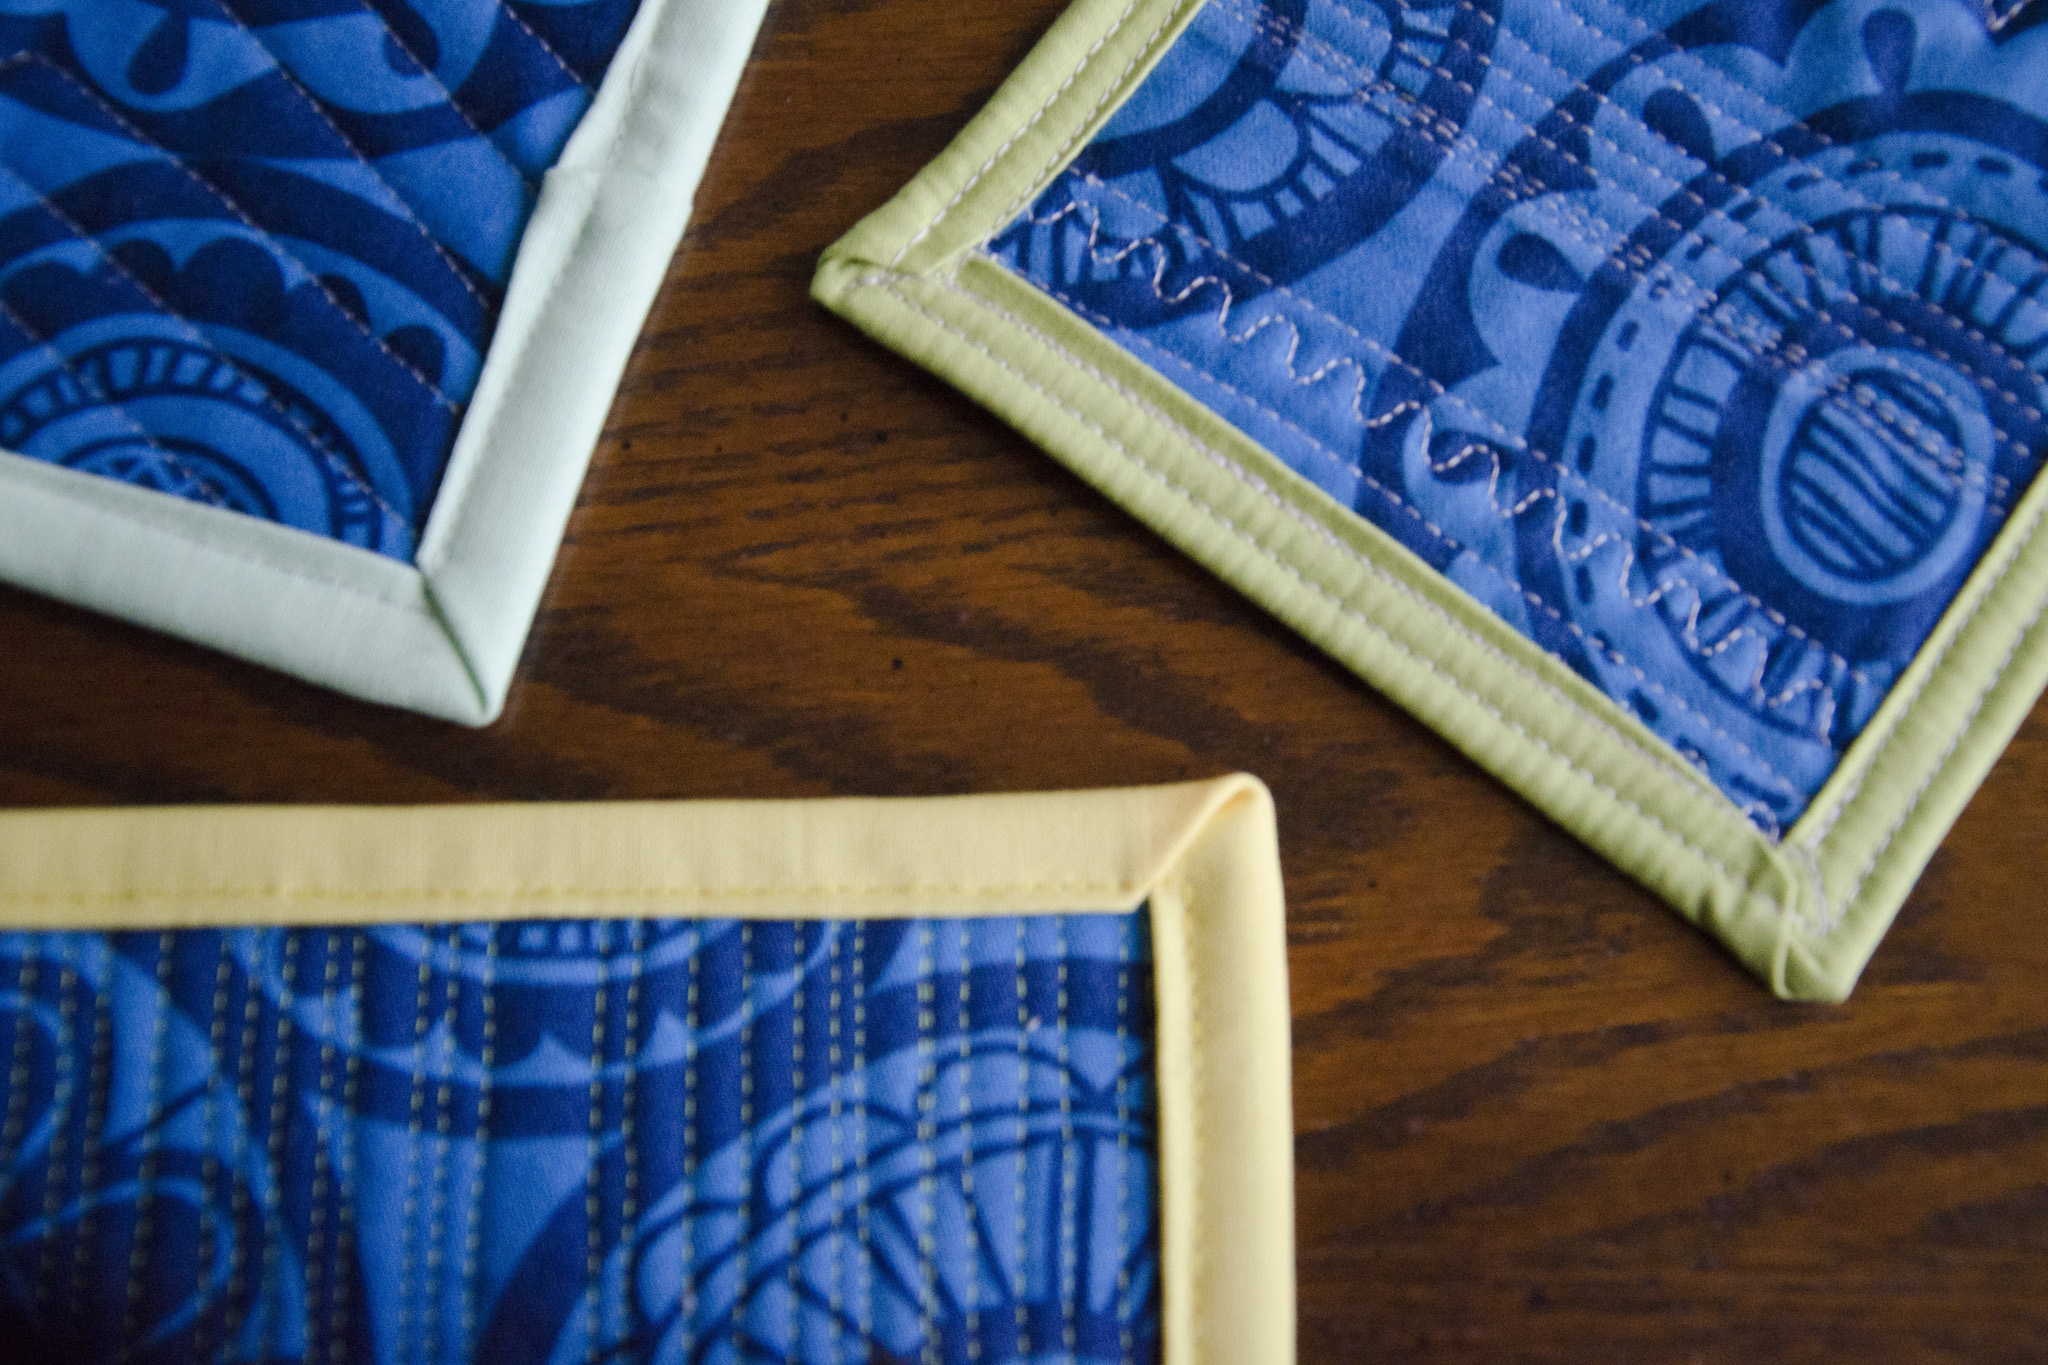
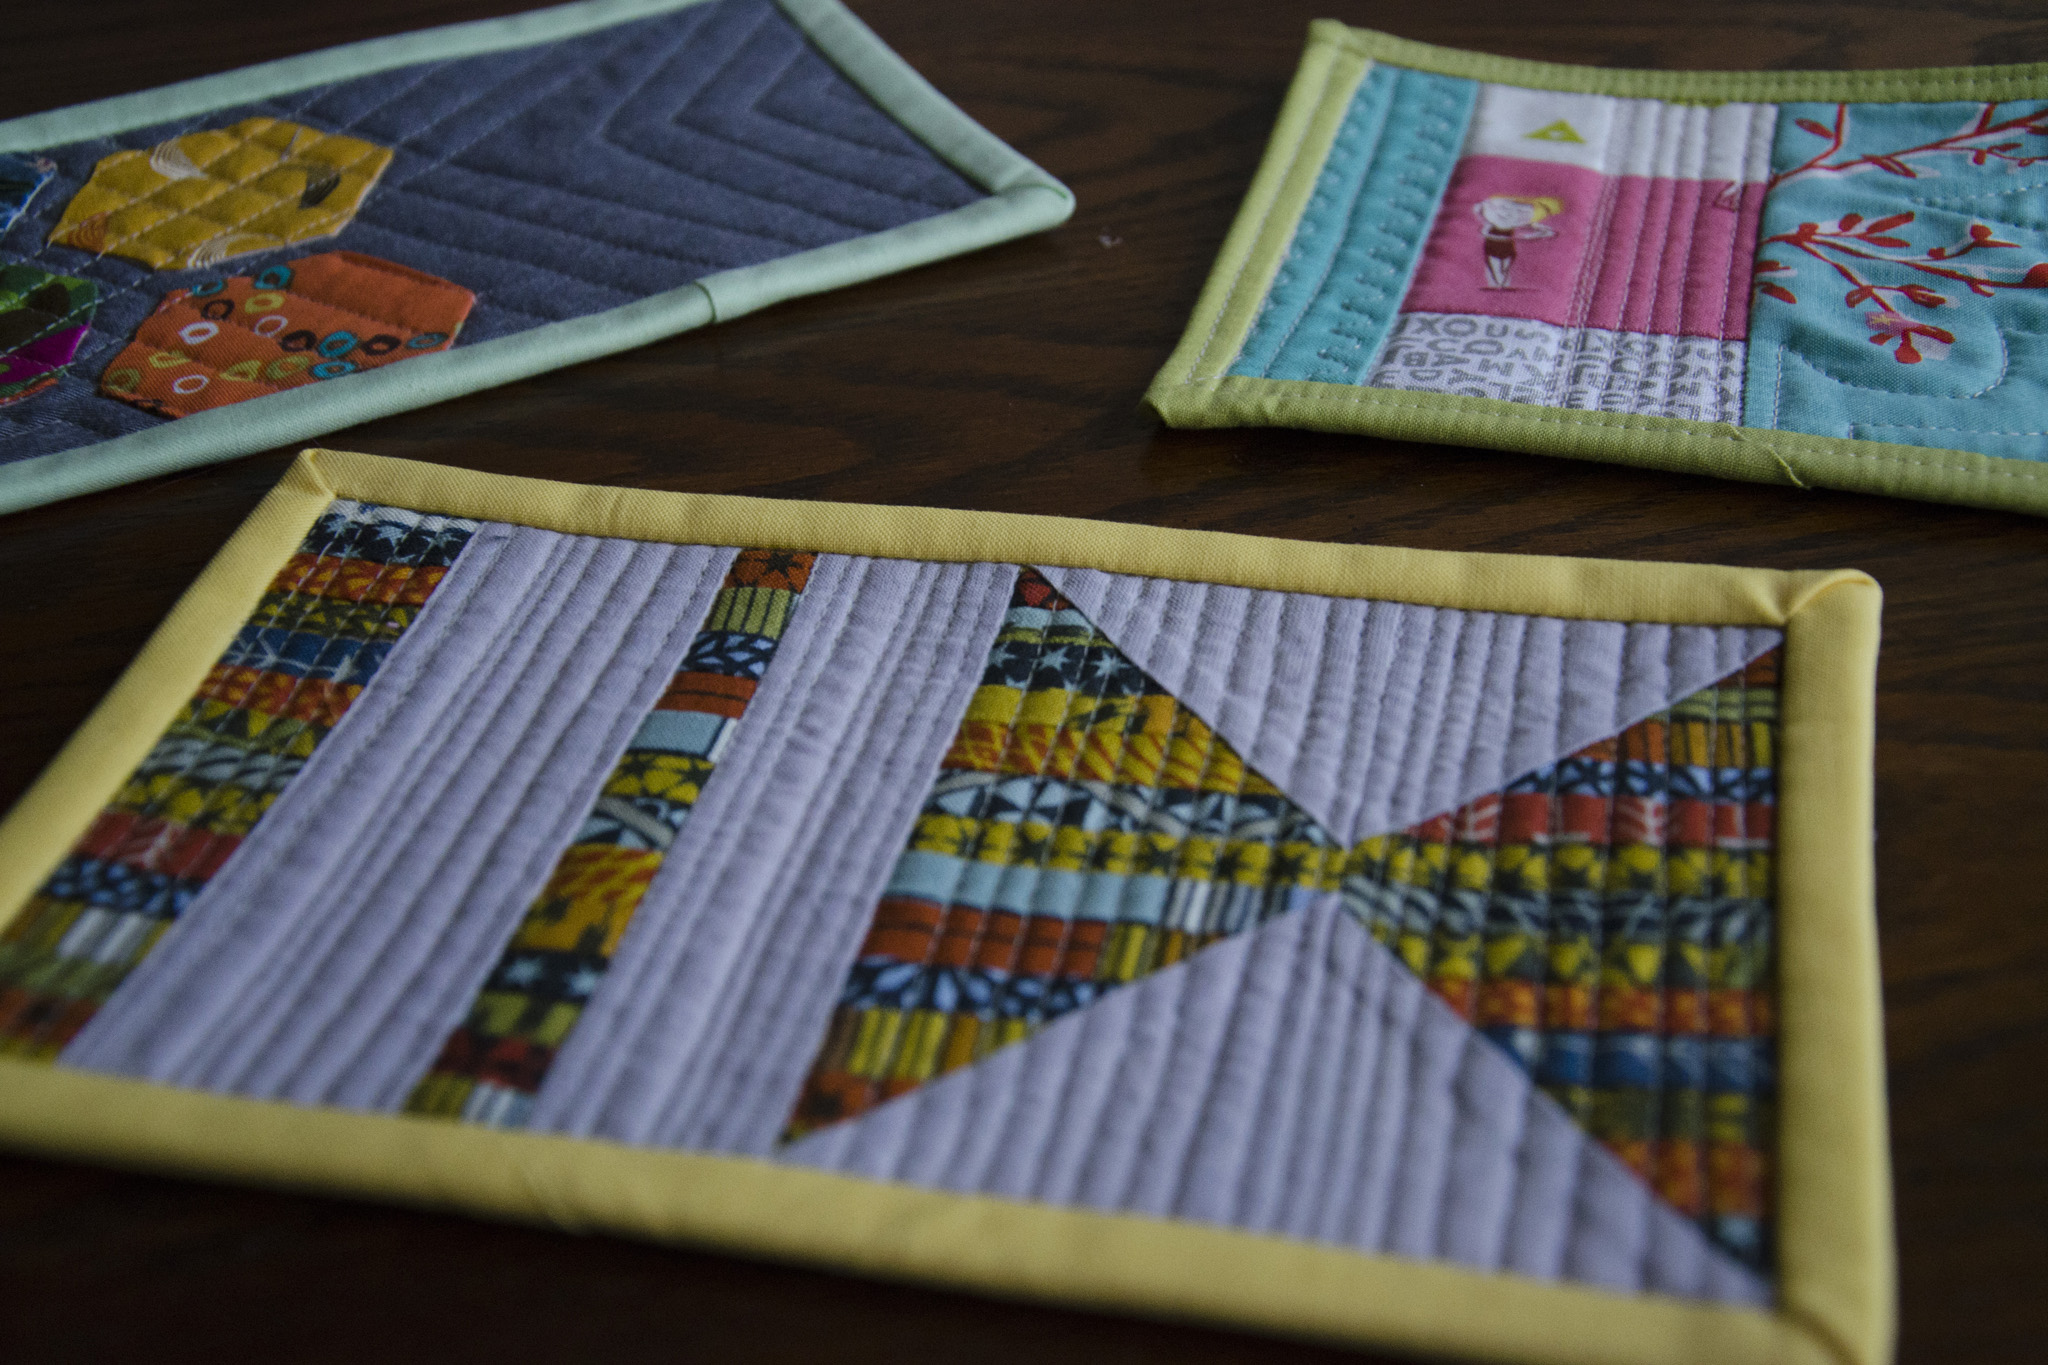
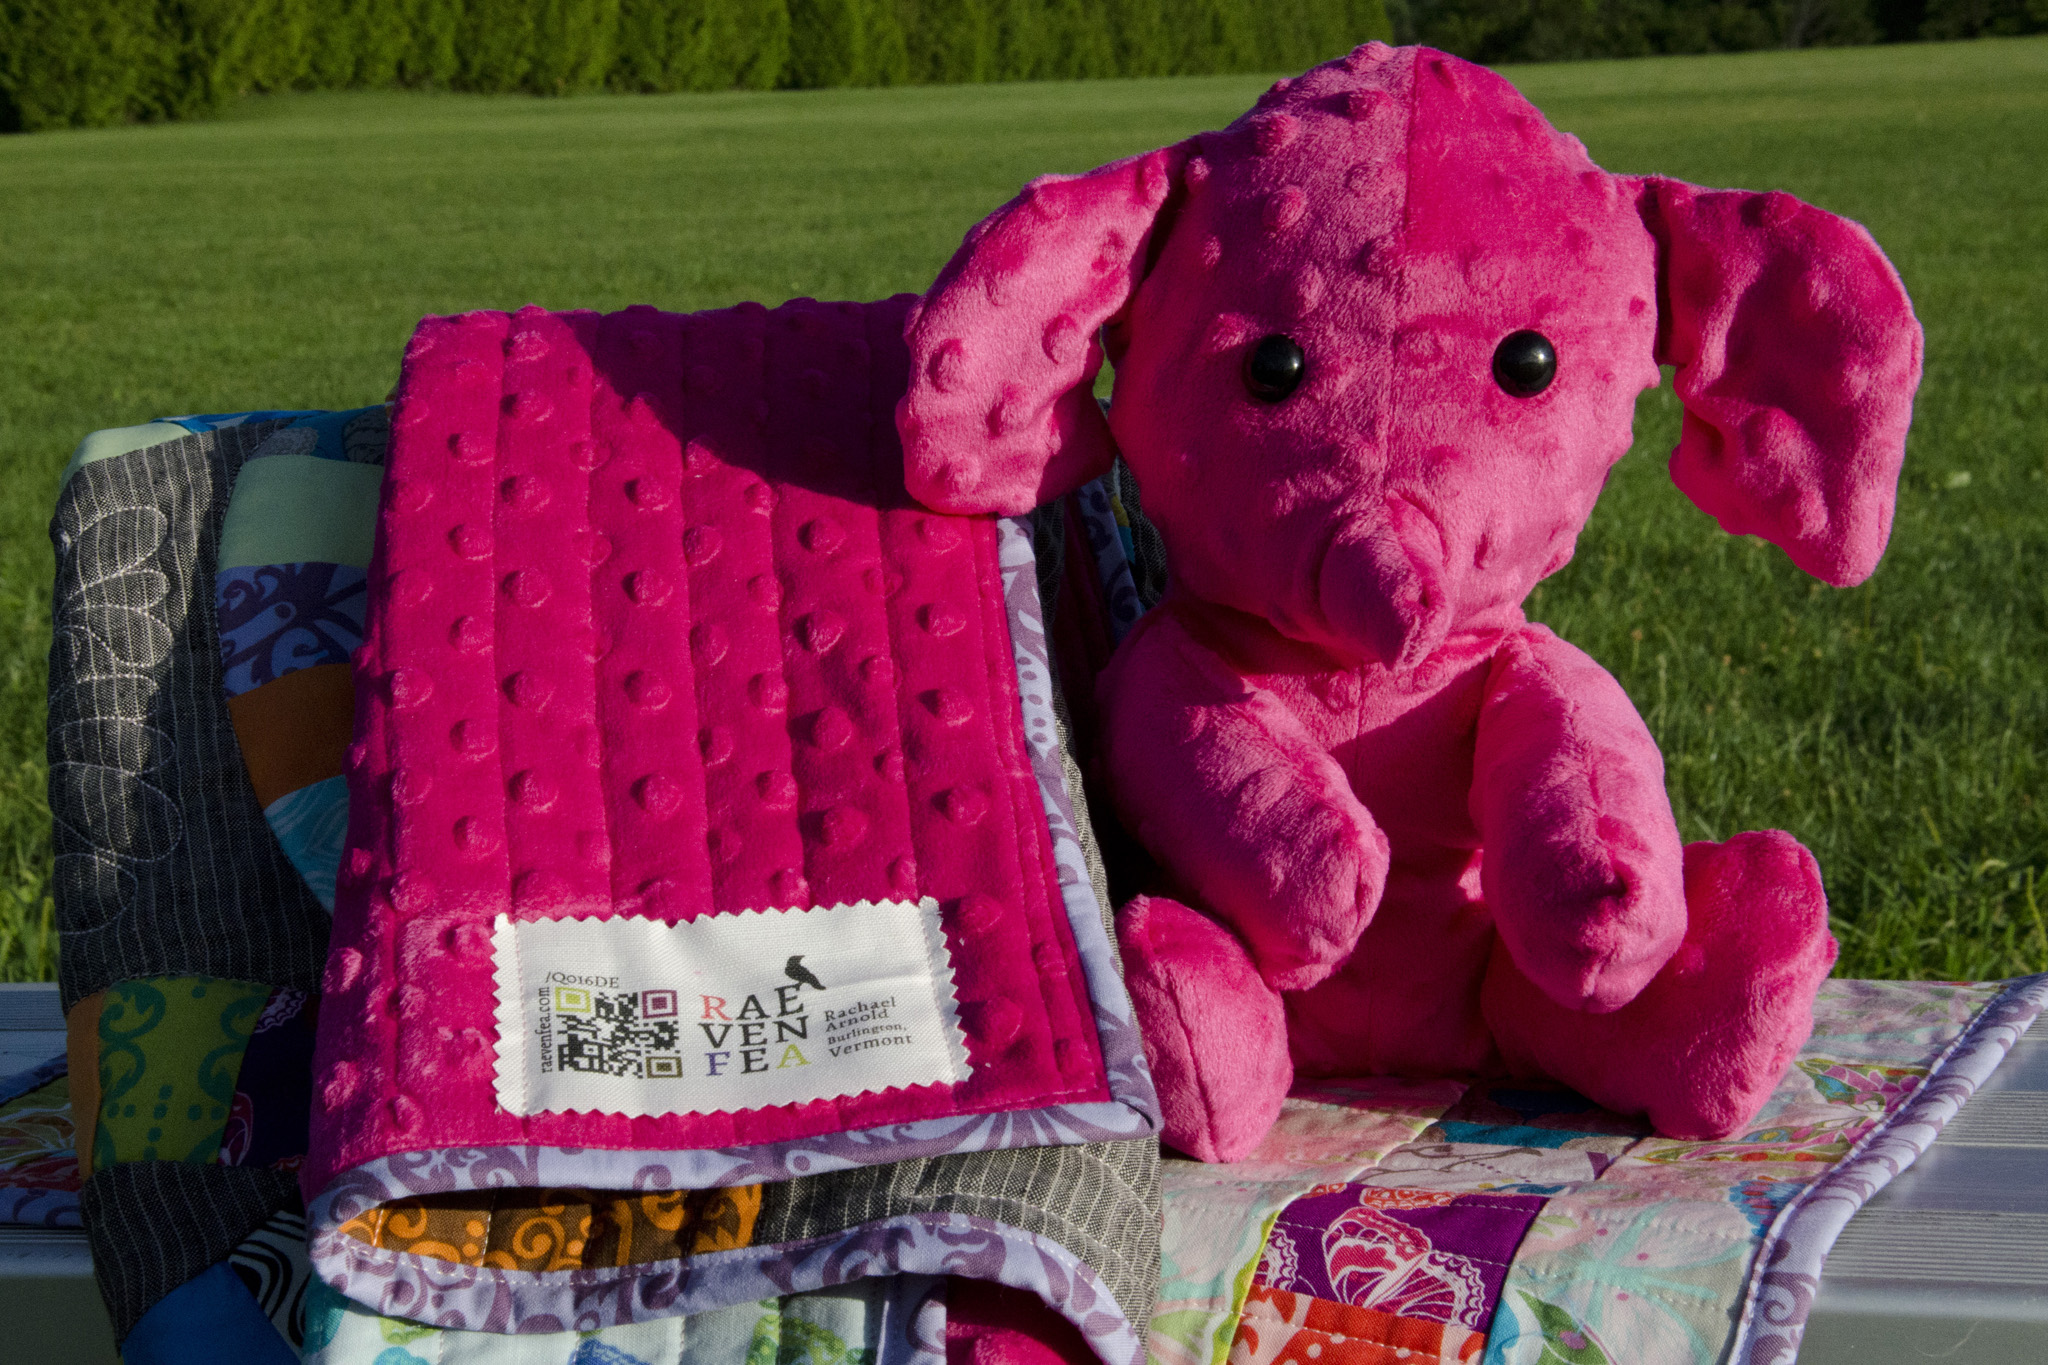
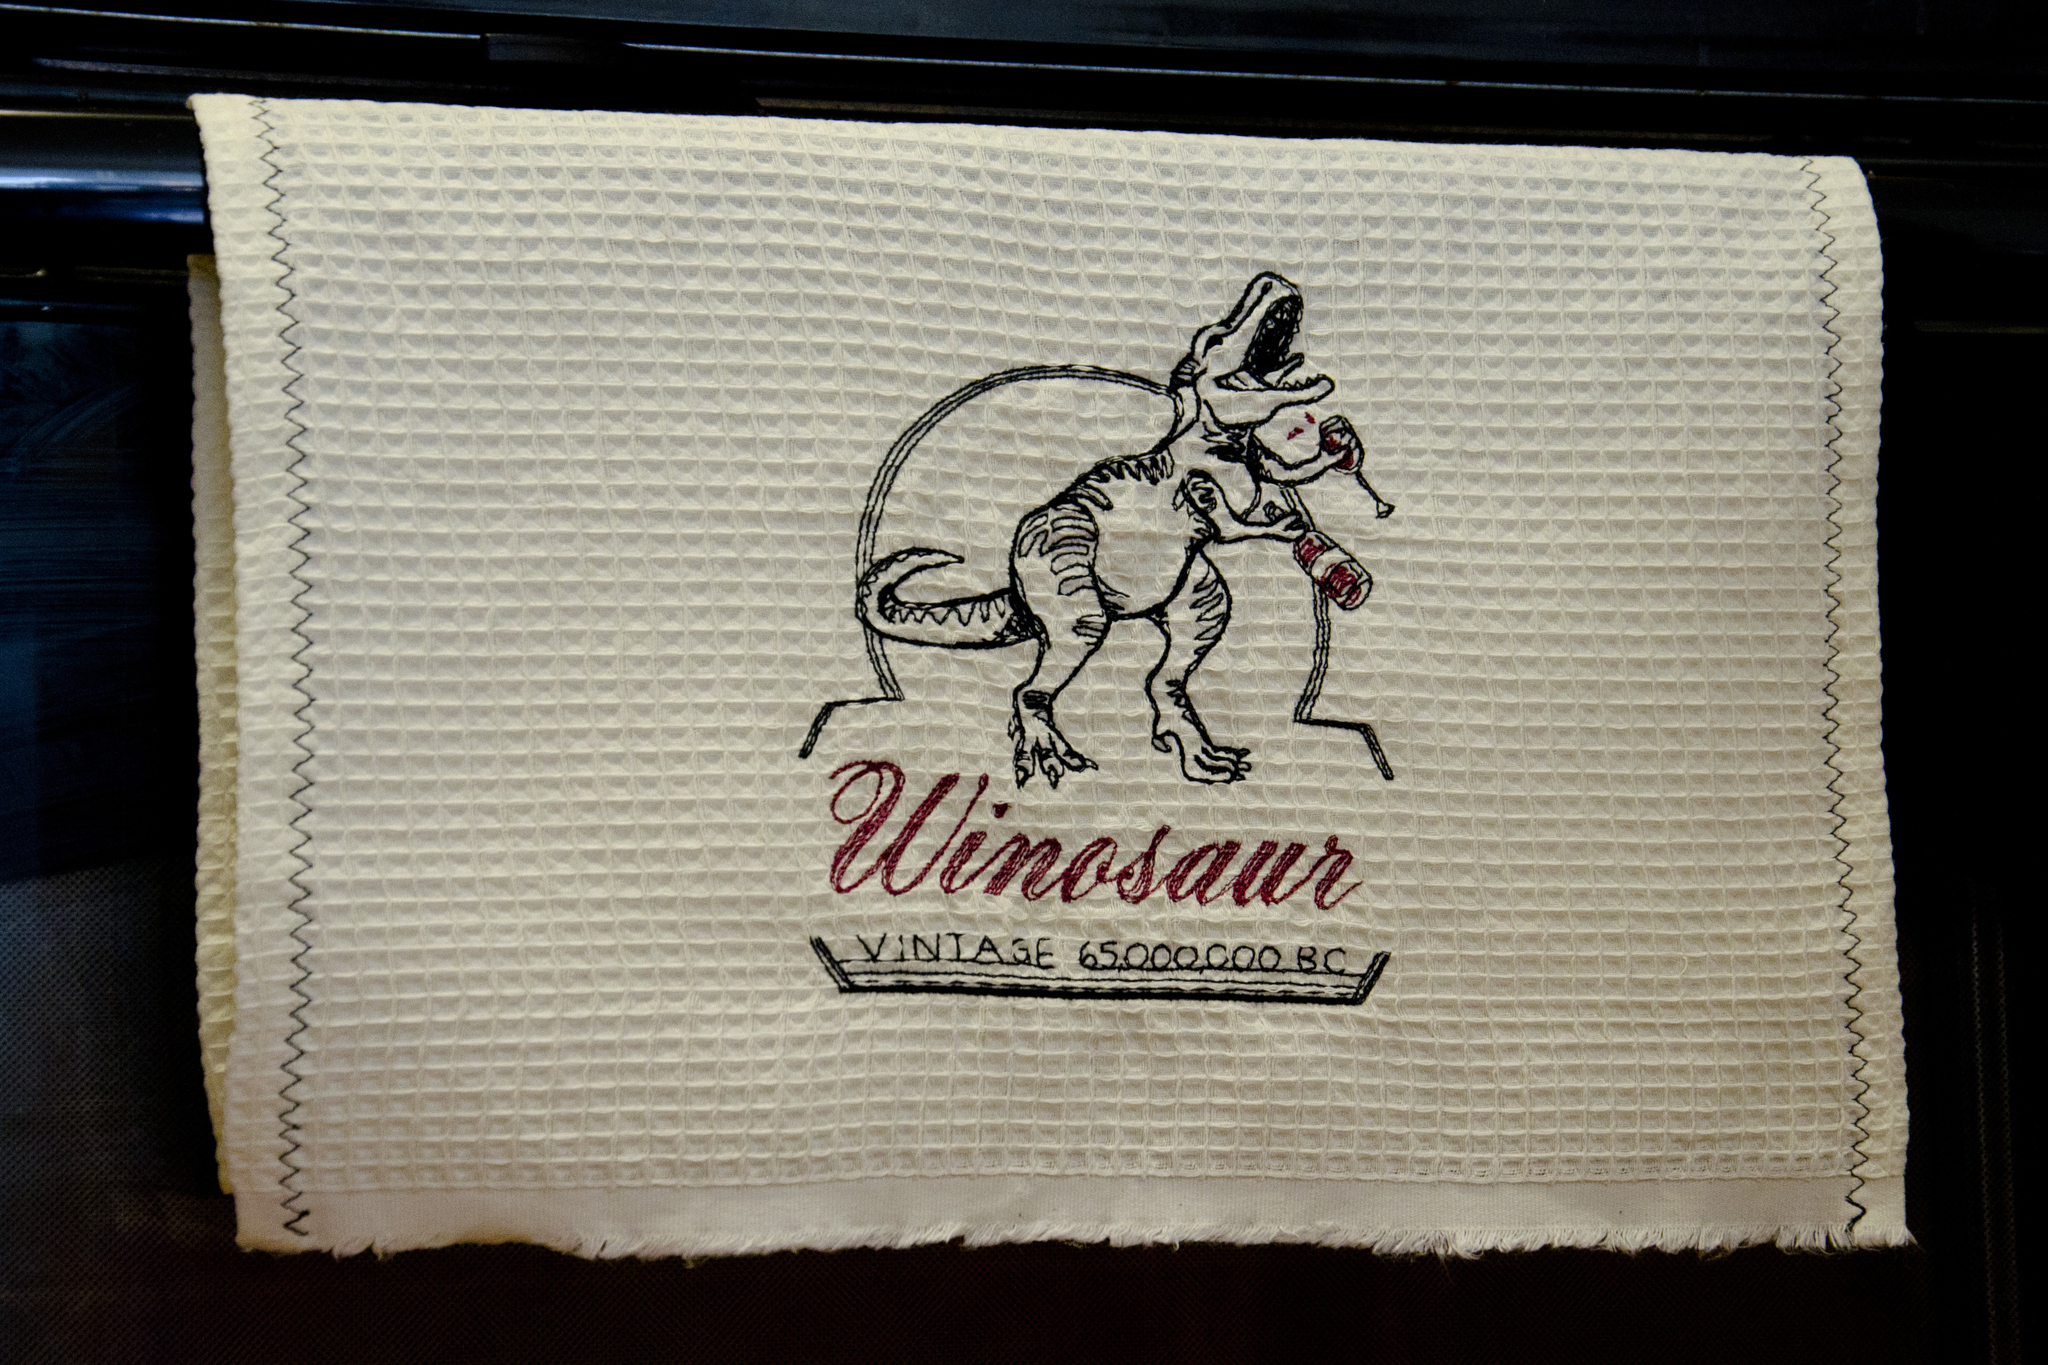
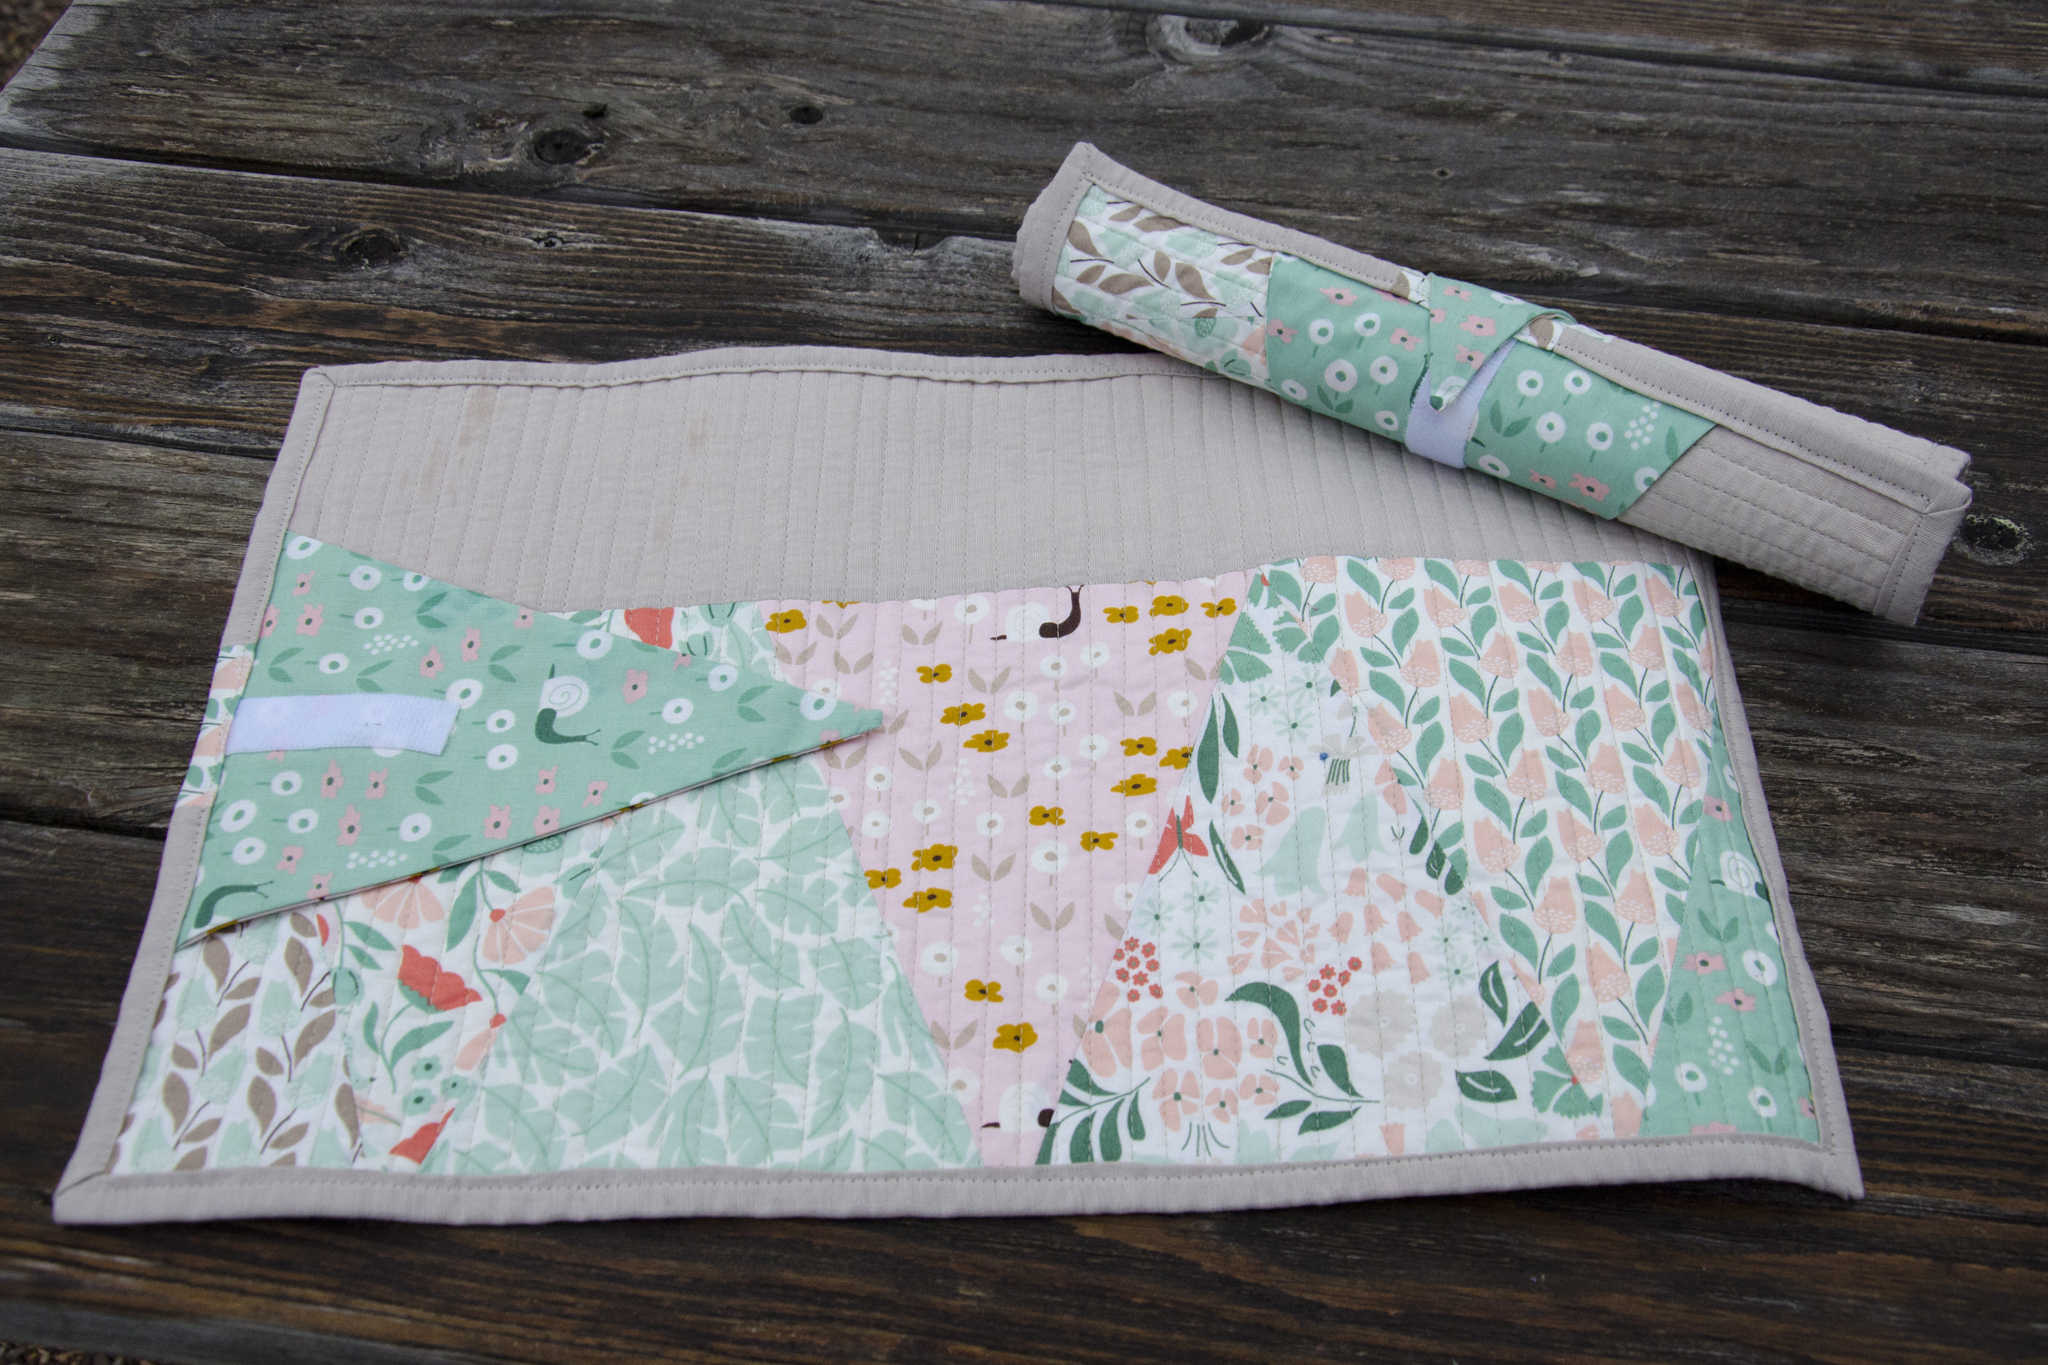
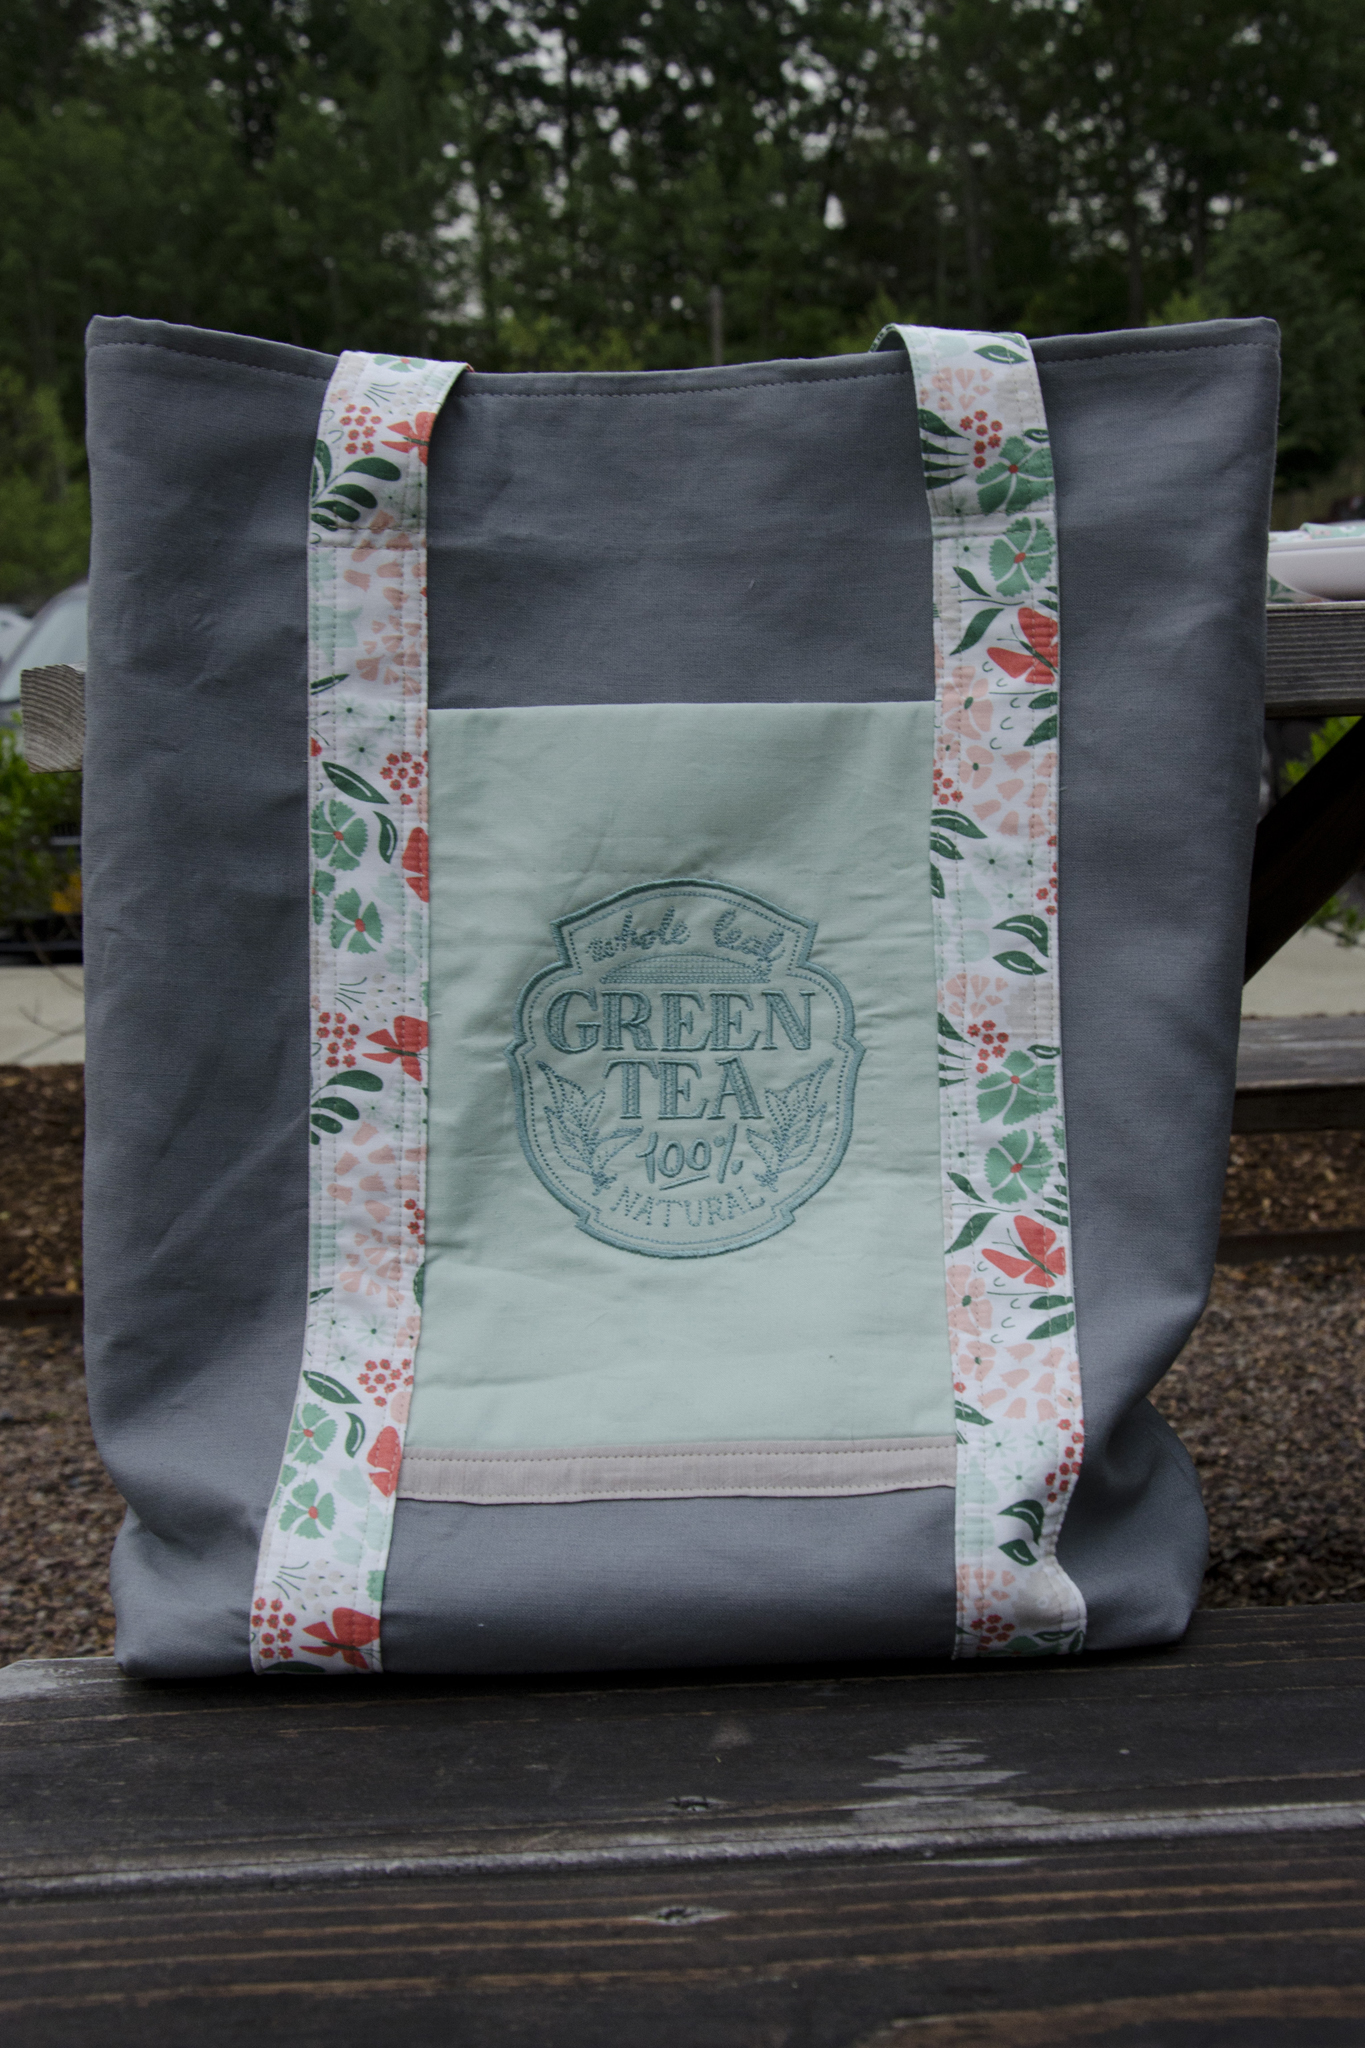
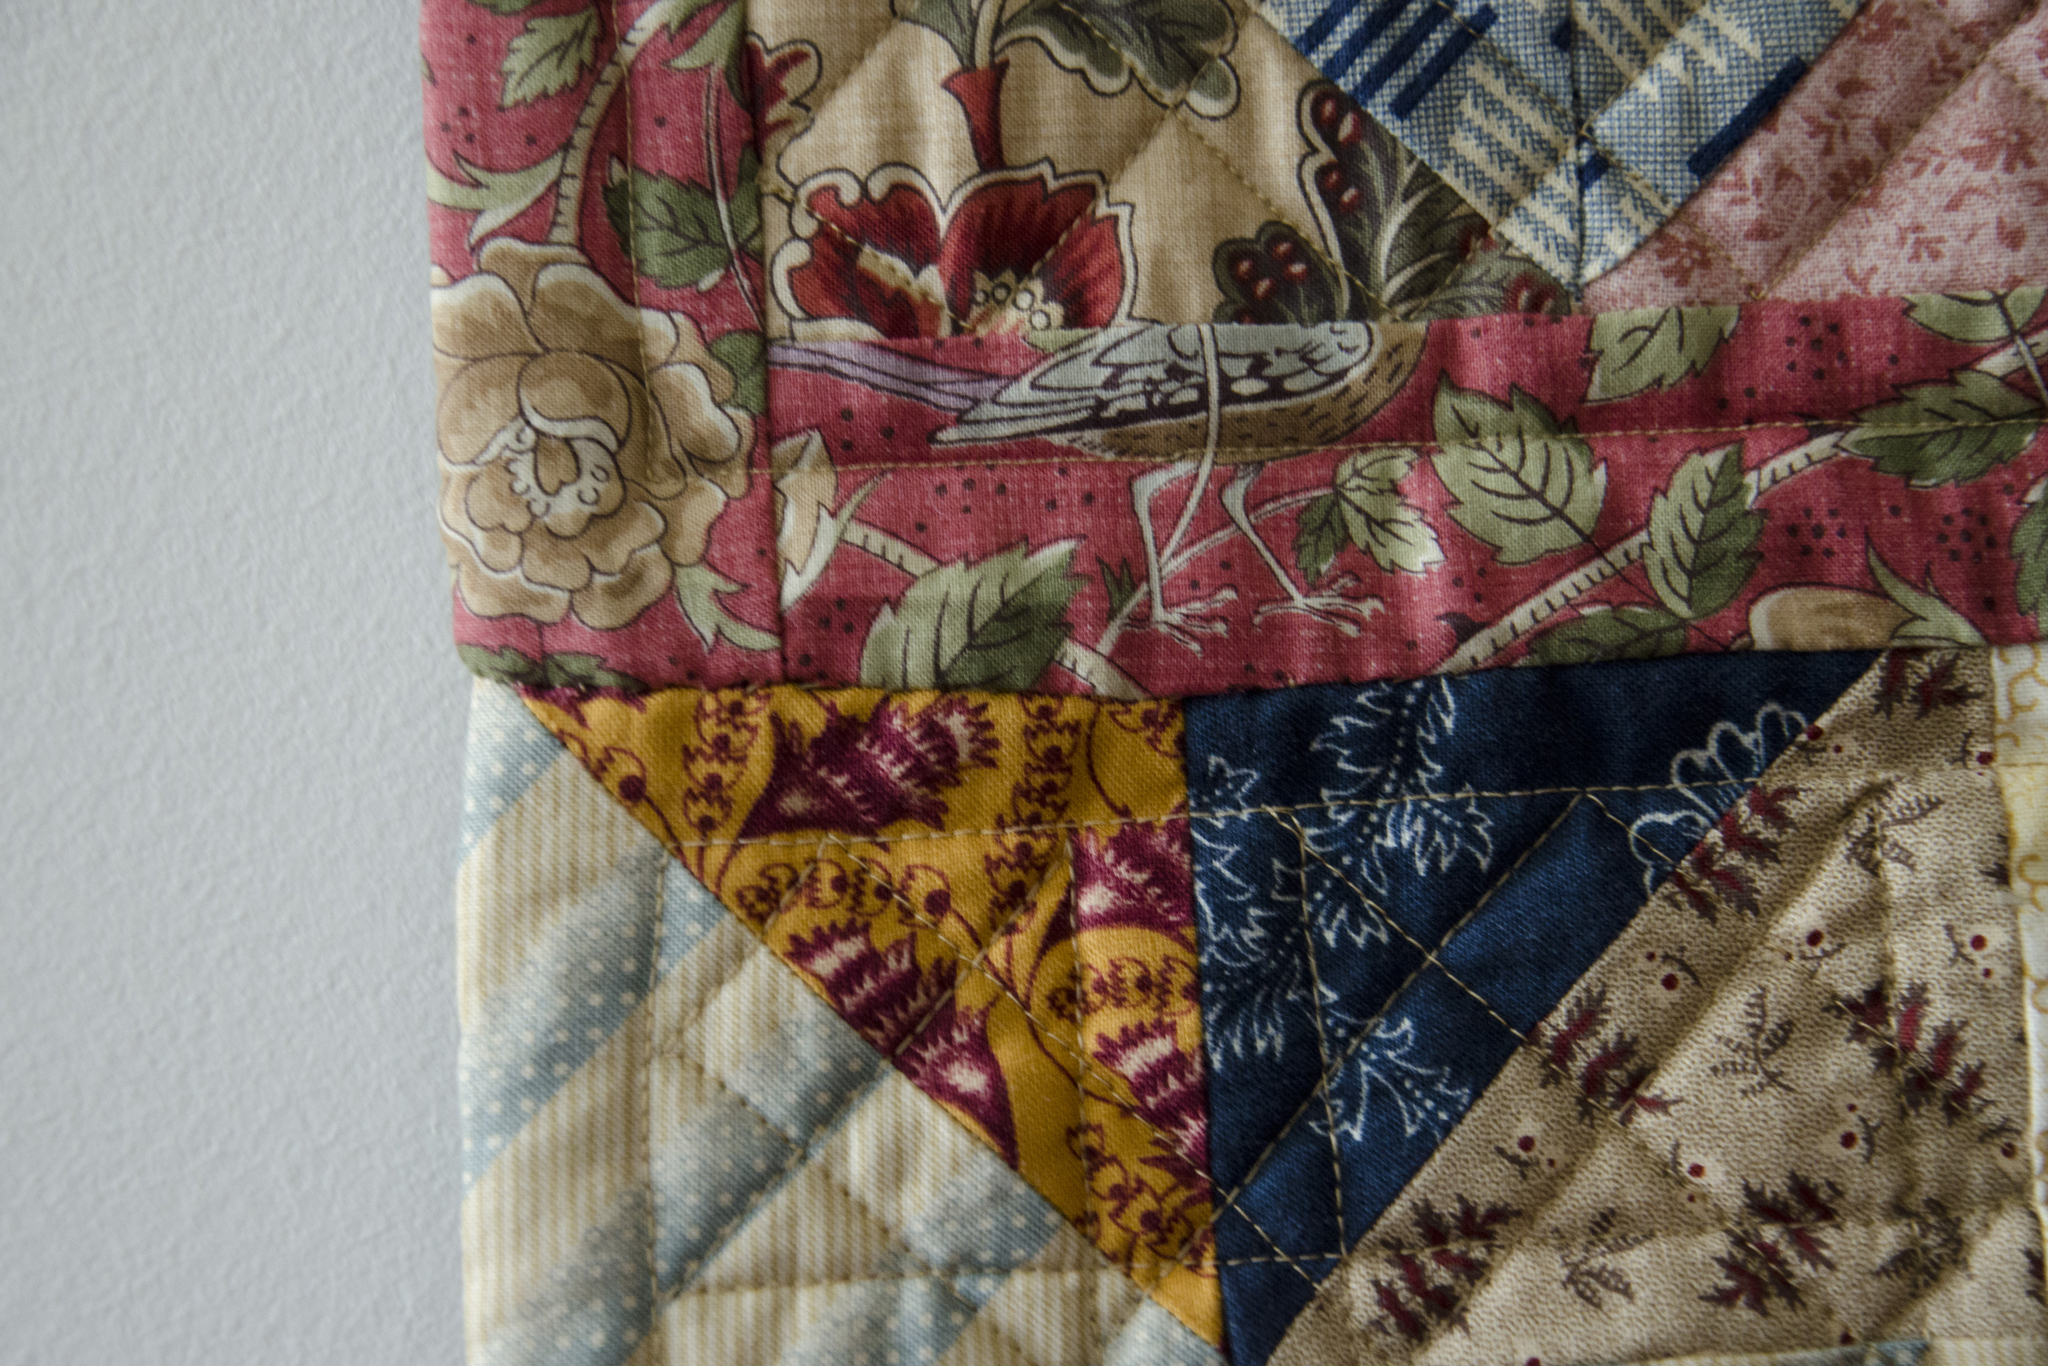
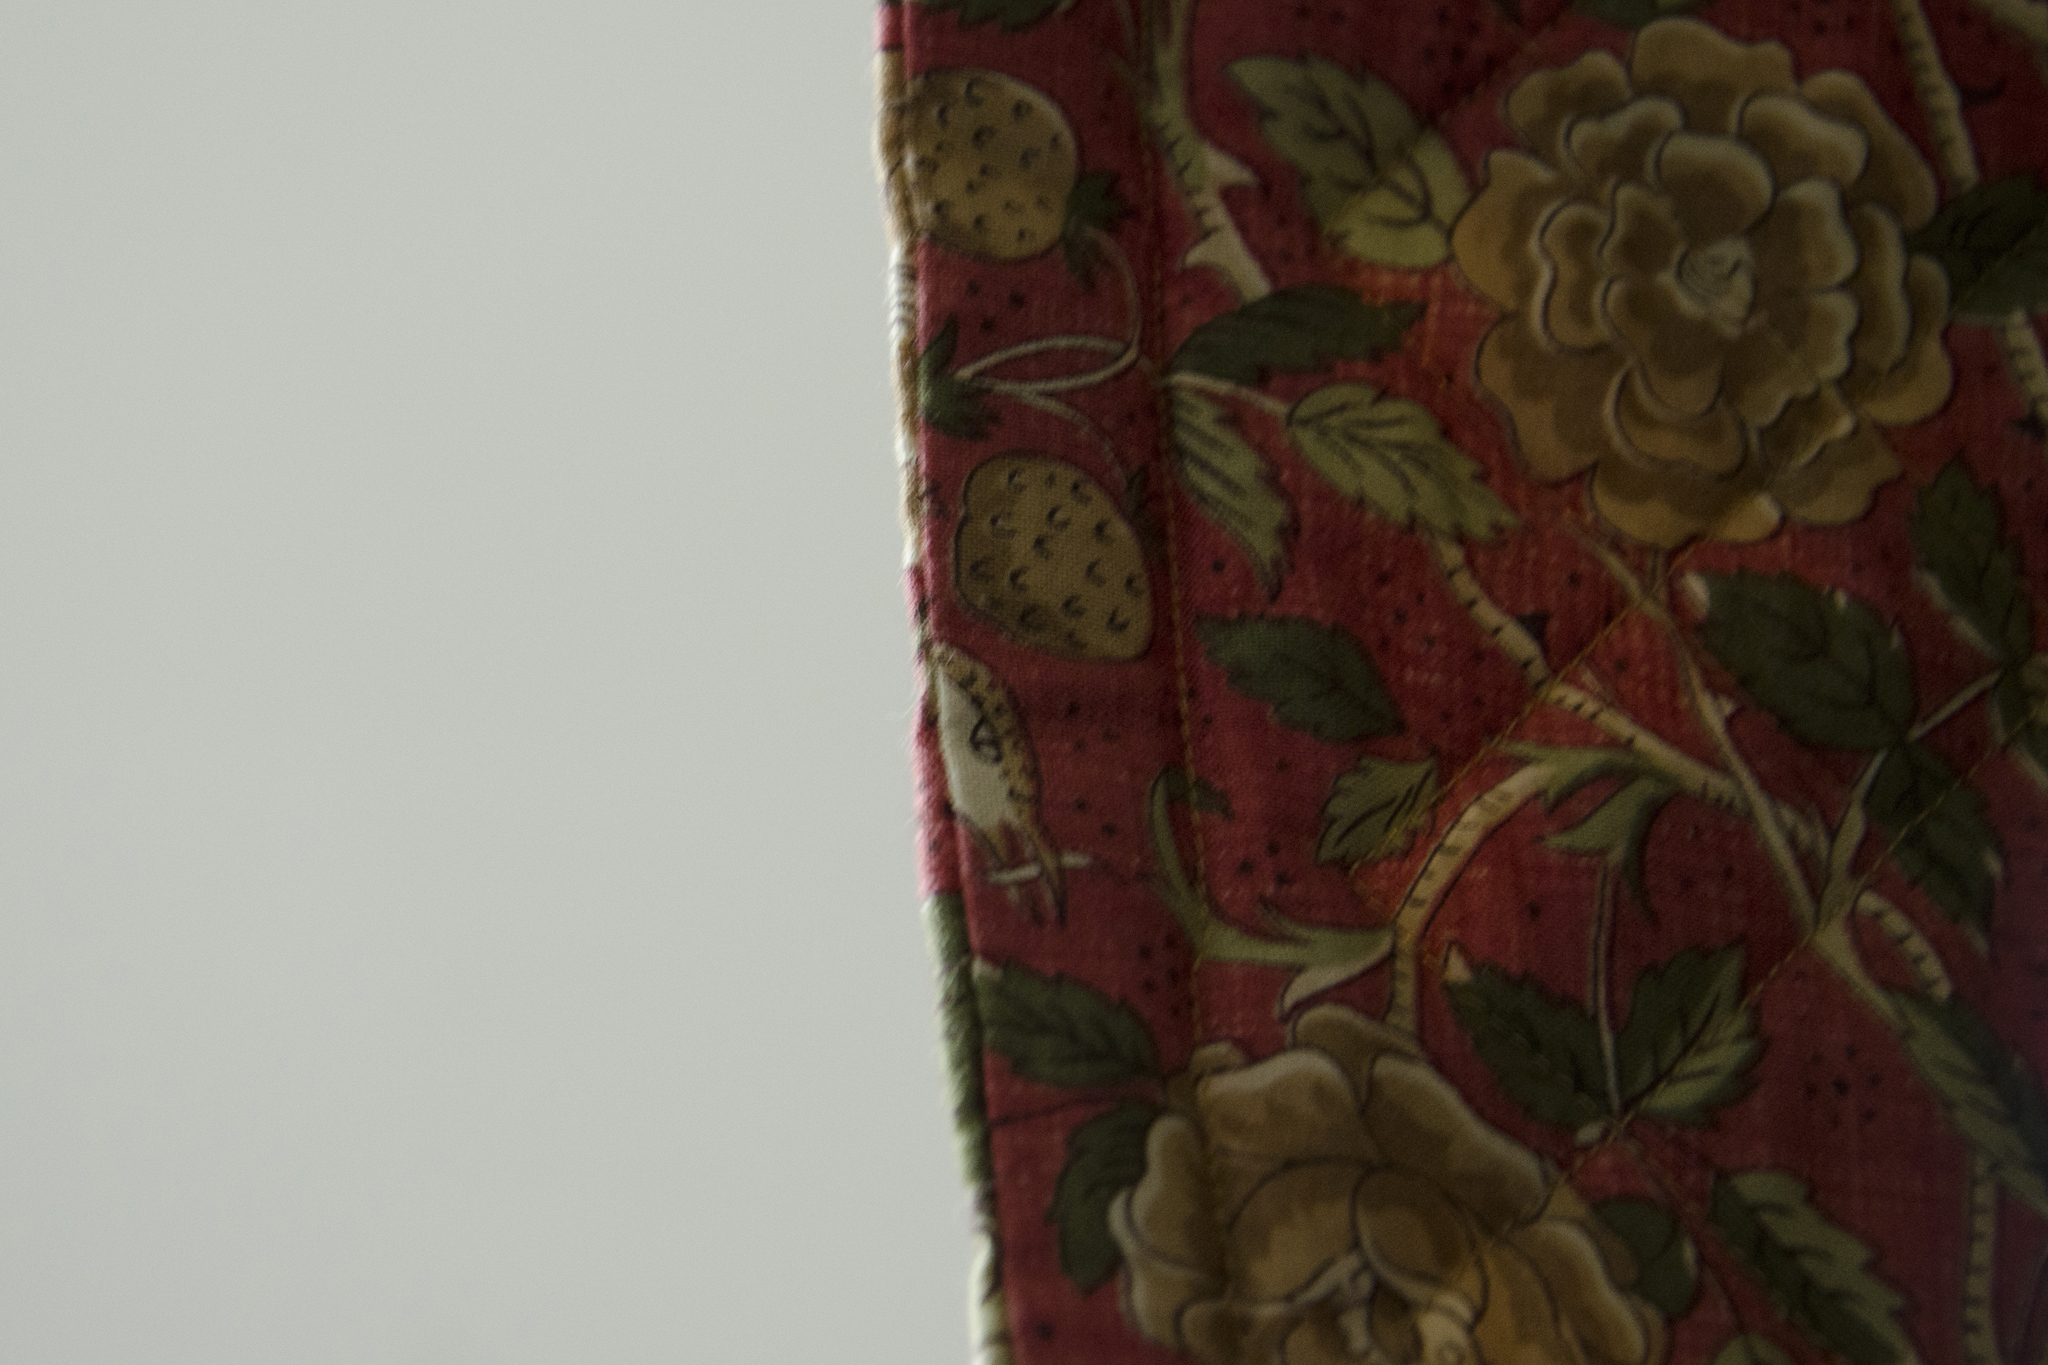
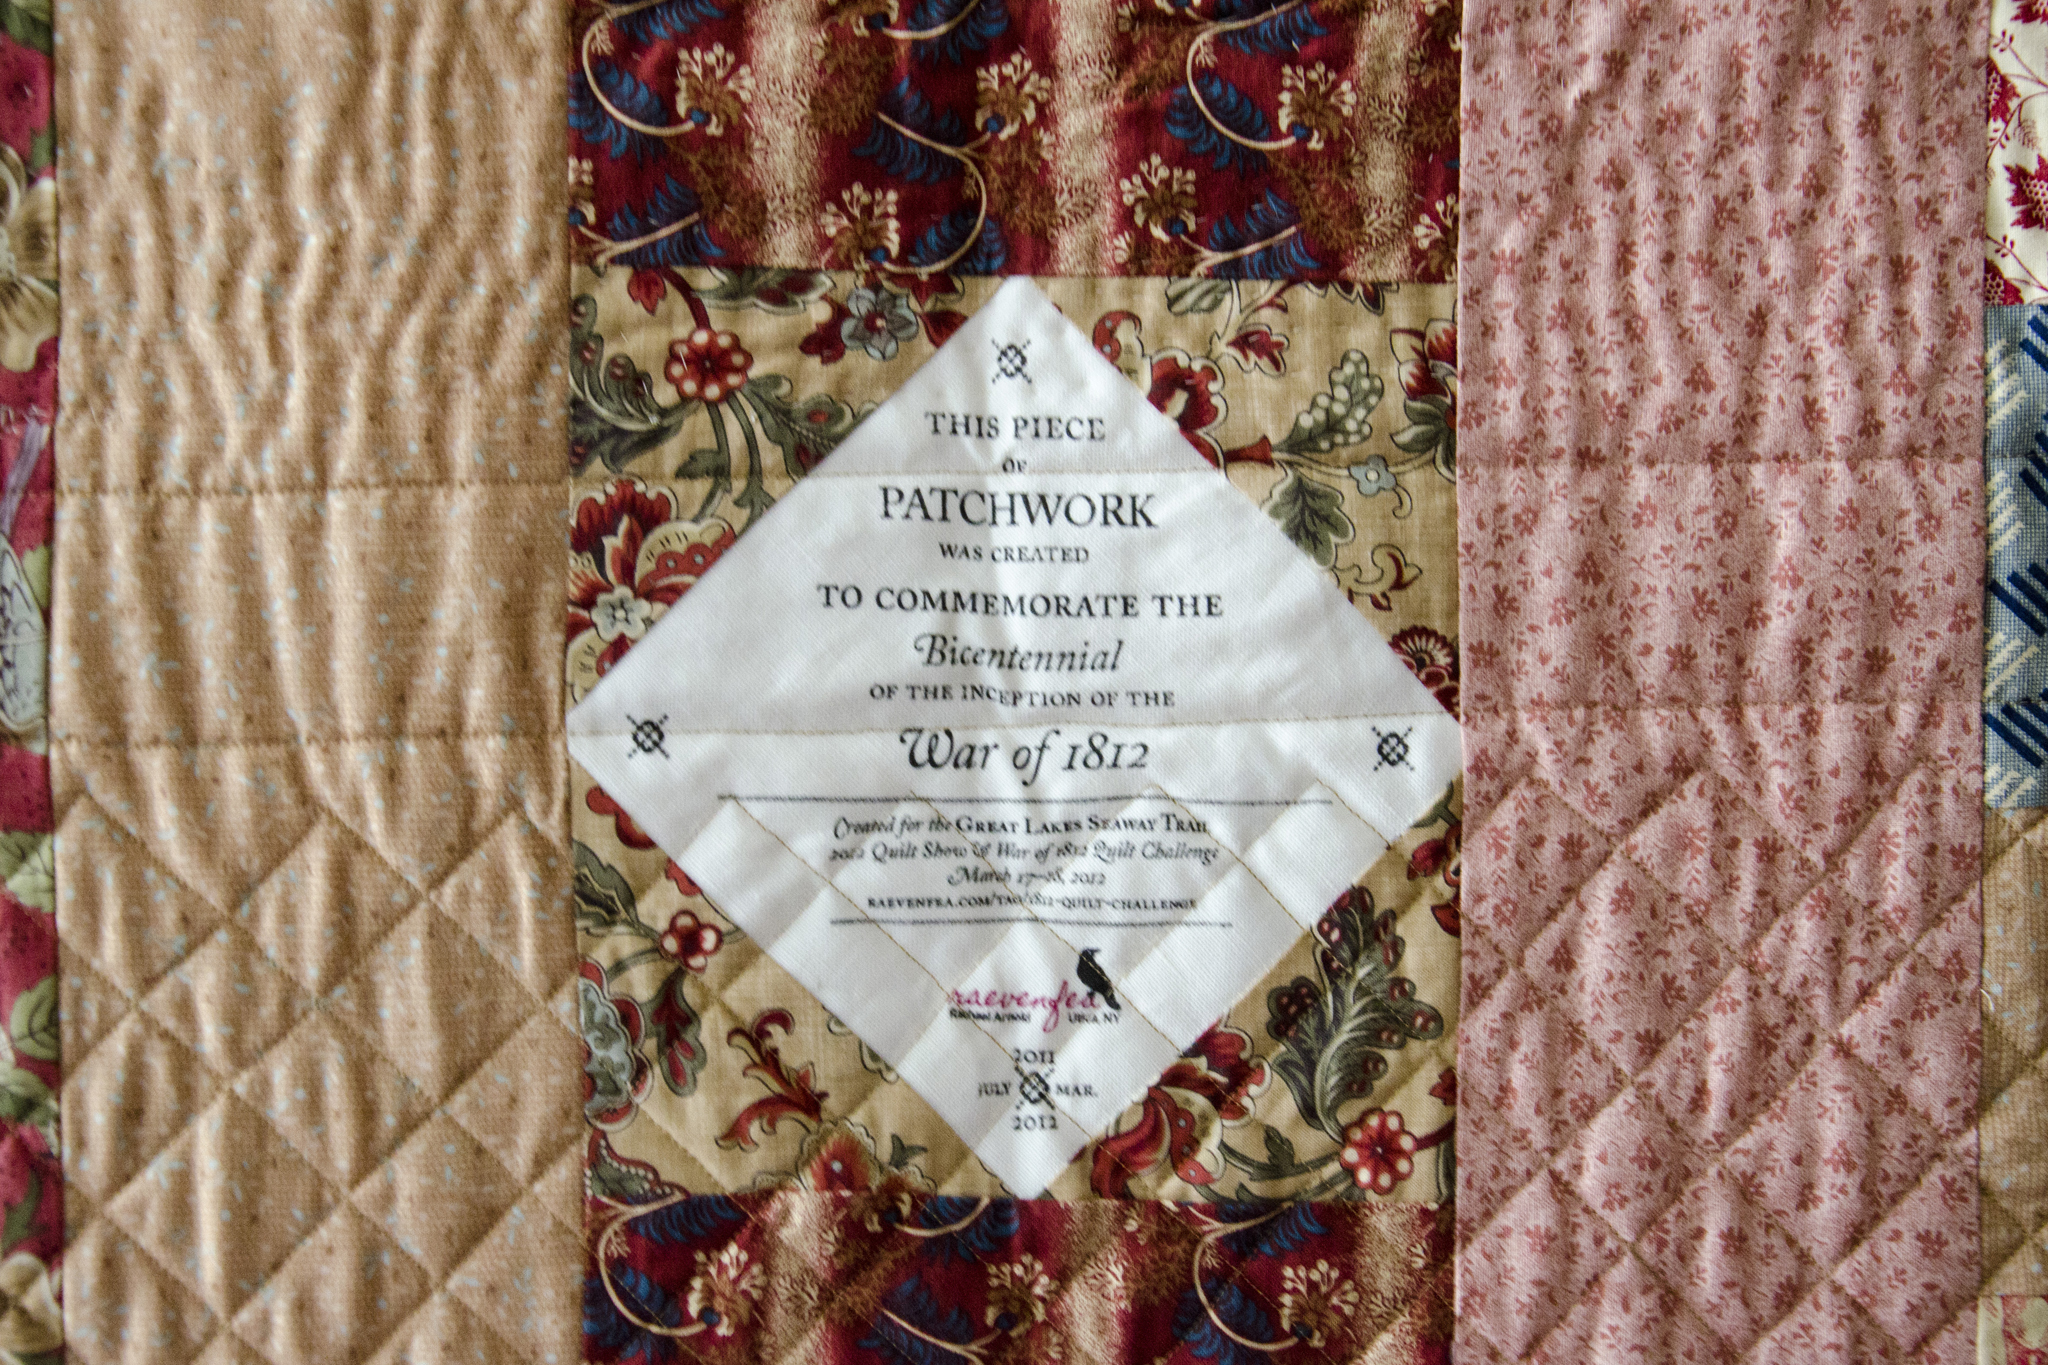
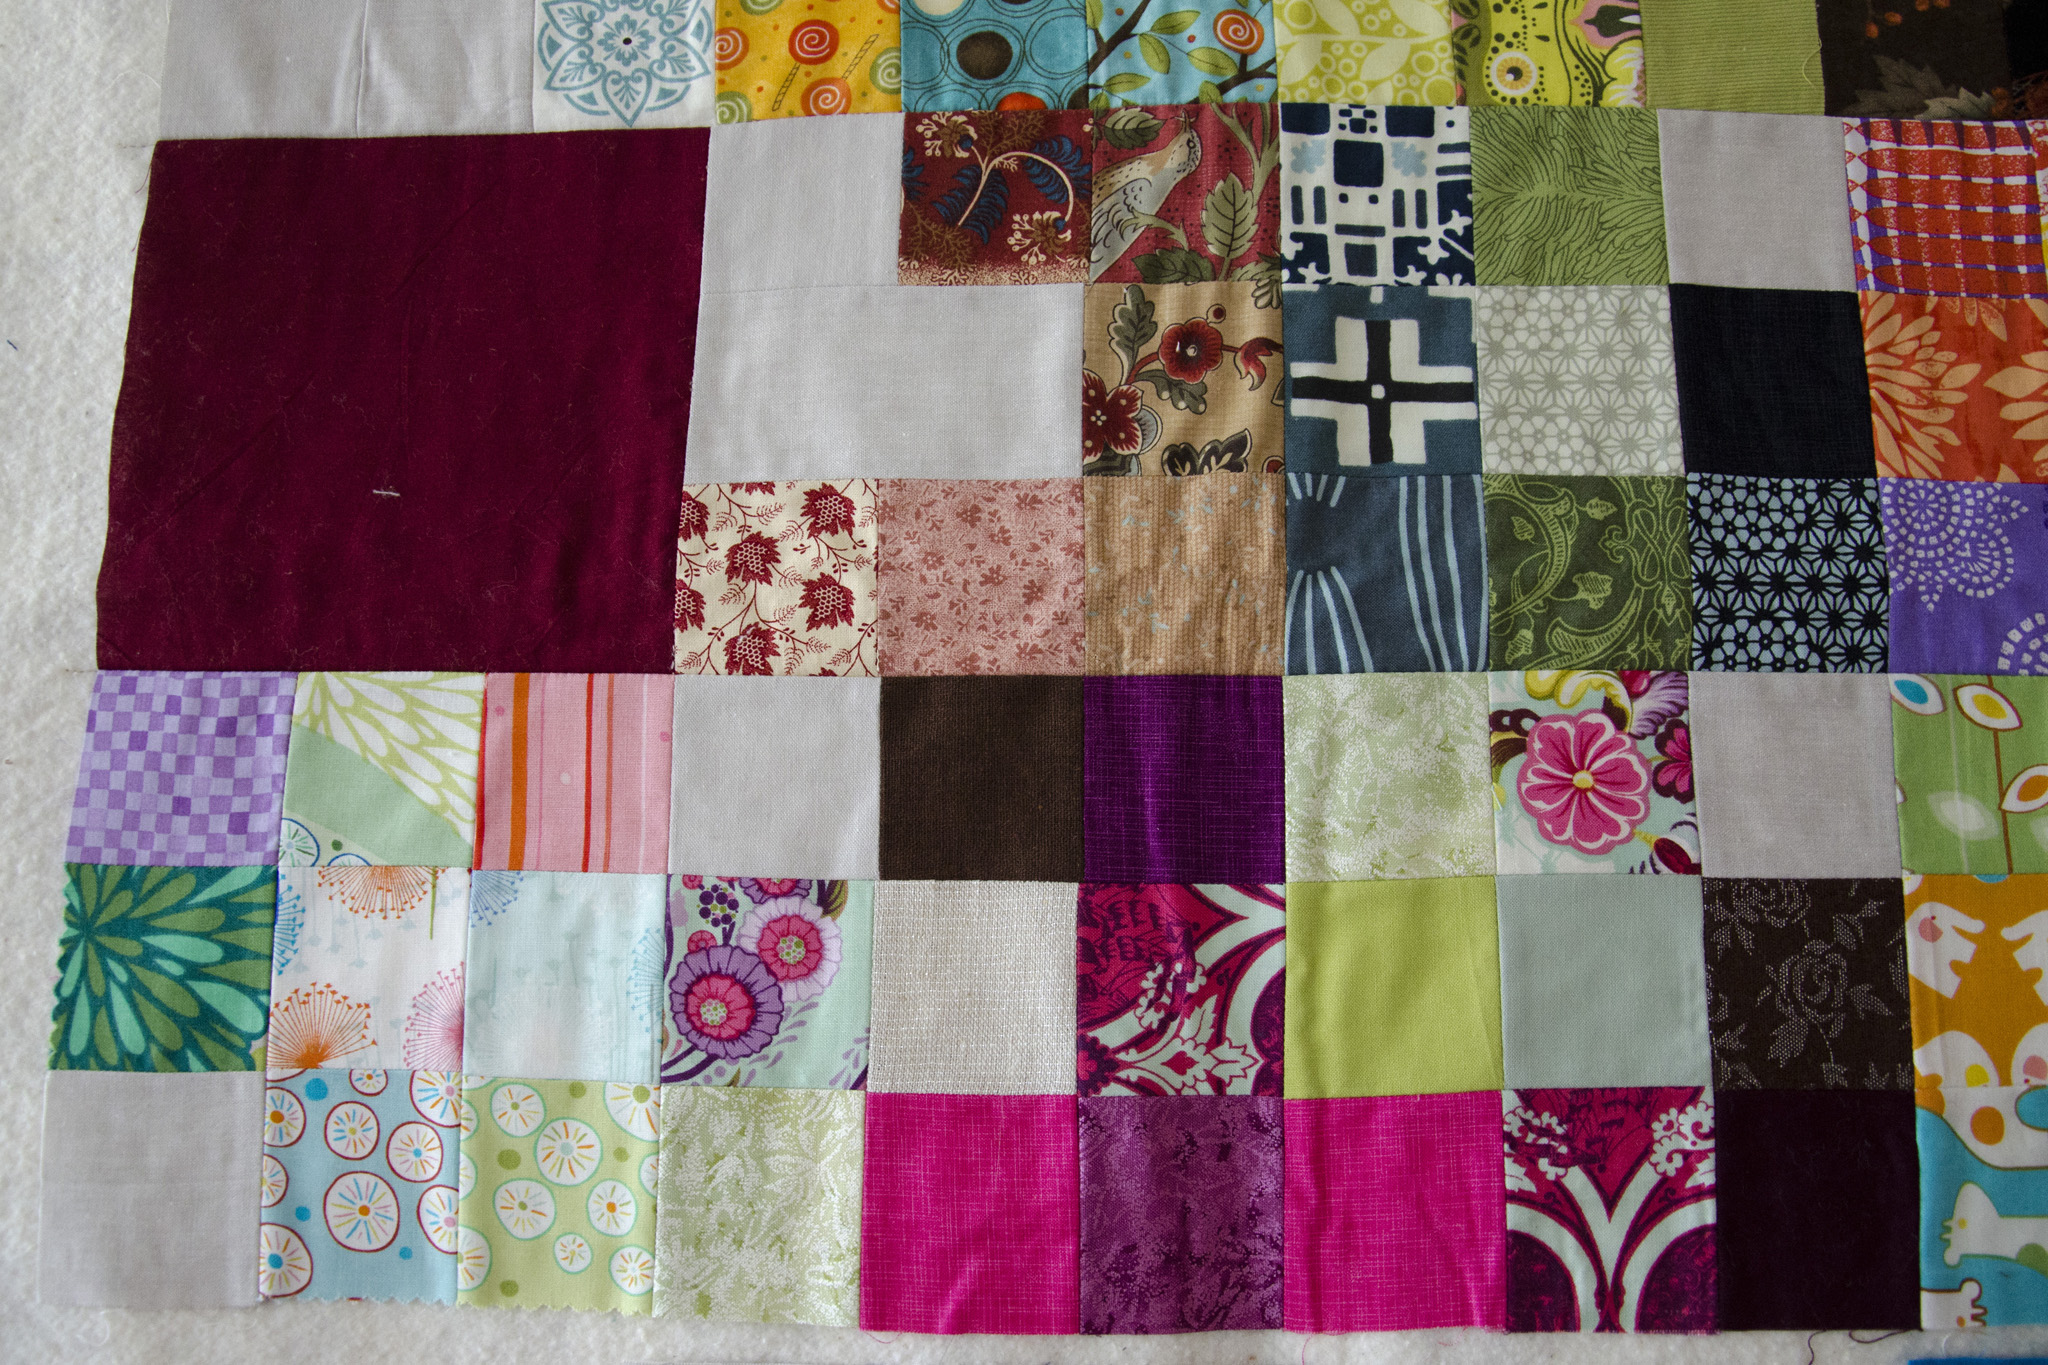
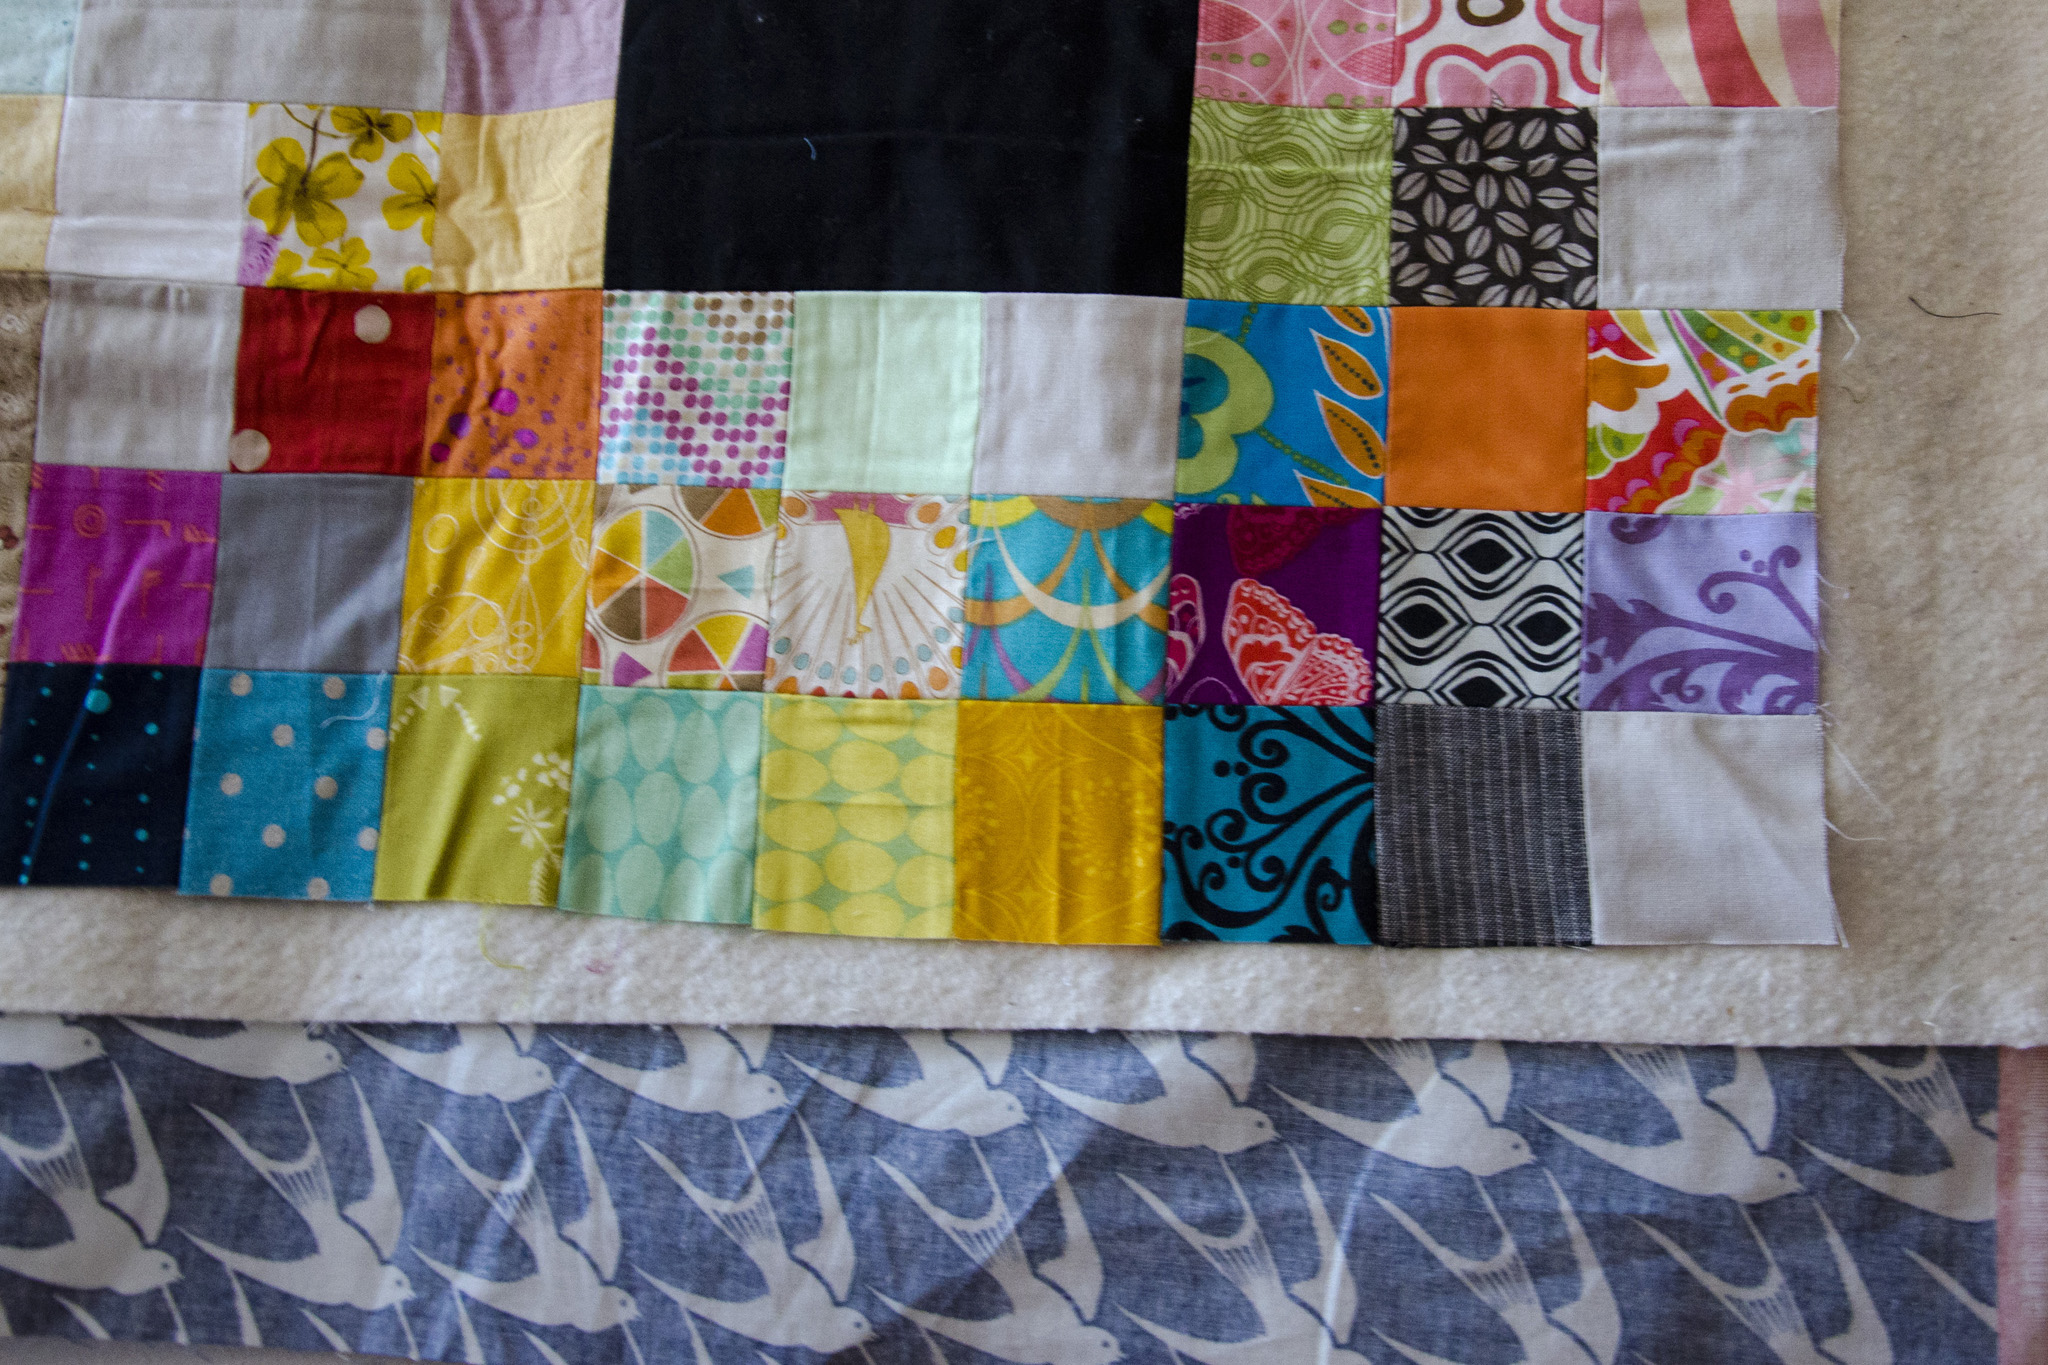
I dragged my entire tub of scrap fabric to the retreat with one goal: to sort it out and find the scraps for those other blocks (oh, and sort all the scraps by color [done], and maybe make scrap bins [haha, no]). I spent most of a day on the project before deciding I needed a break, and made a lot of progress. There are only nine blocks left, and I have most of those scraps set aside ready for piecing. The solid blocks signify a few unique non-cotton-patchwork quilts—t-shirt quilts and a chenille whole-cloth one. A few 2.5” squares had to be pieced together from even smaller pieces.

history-quilt3

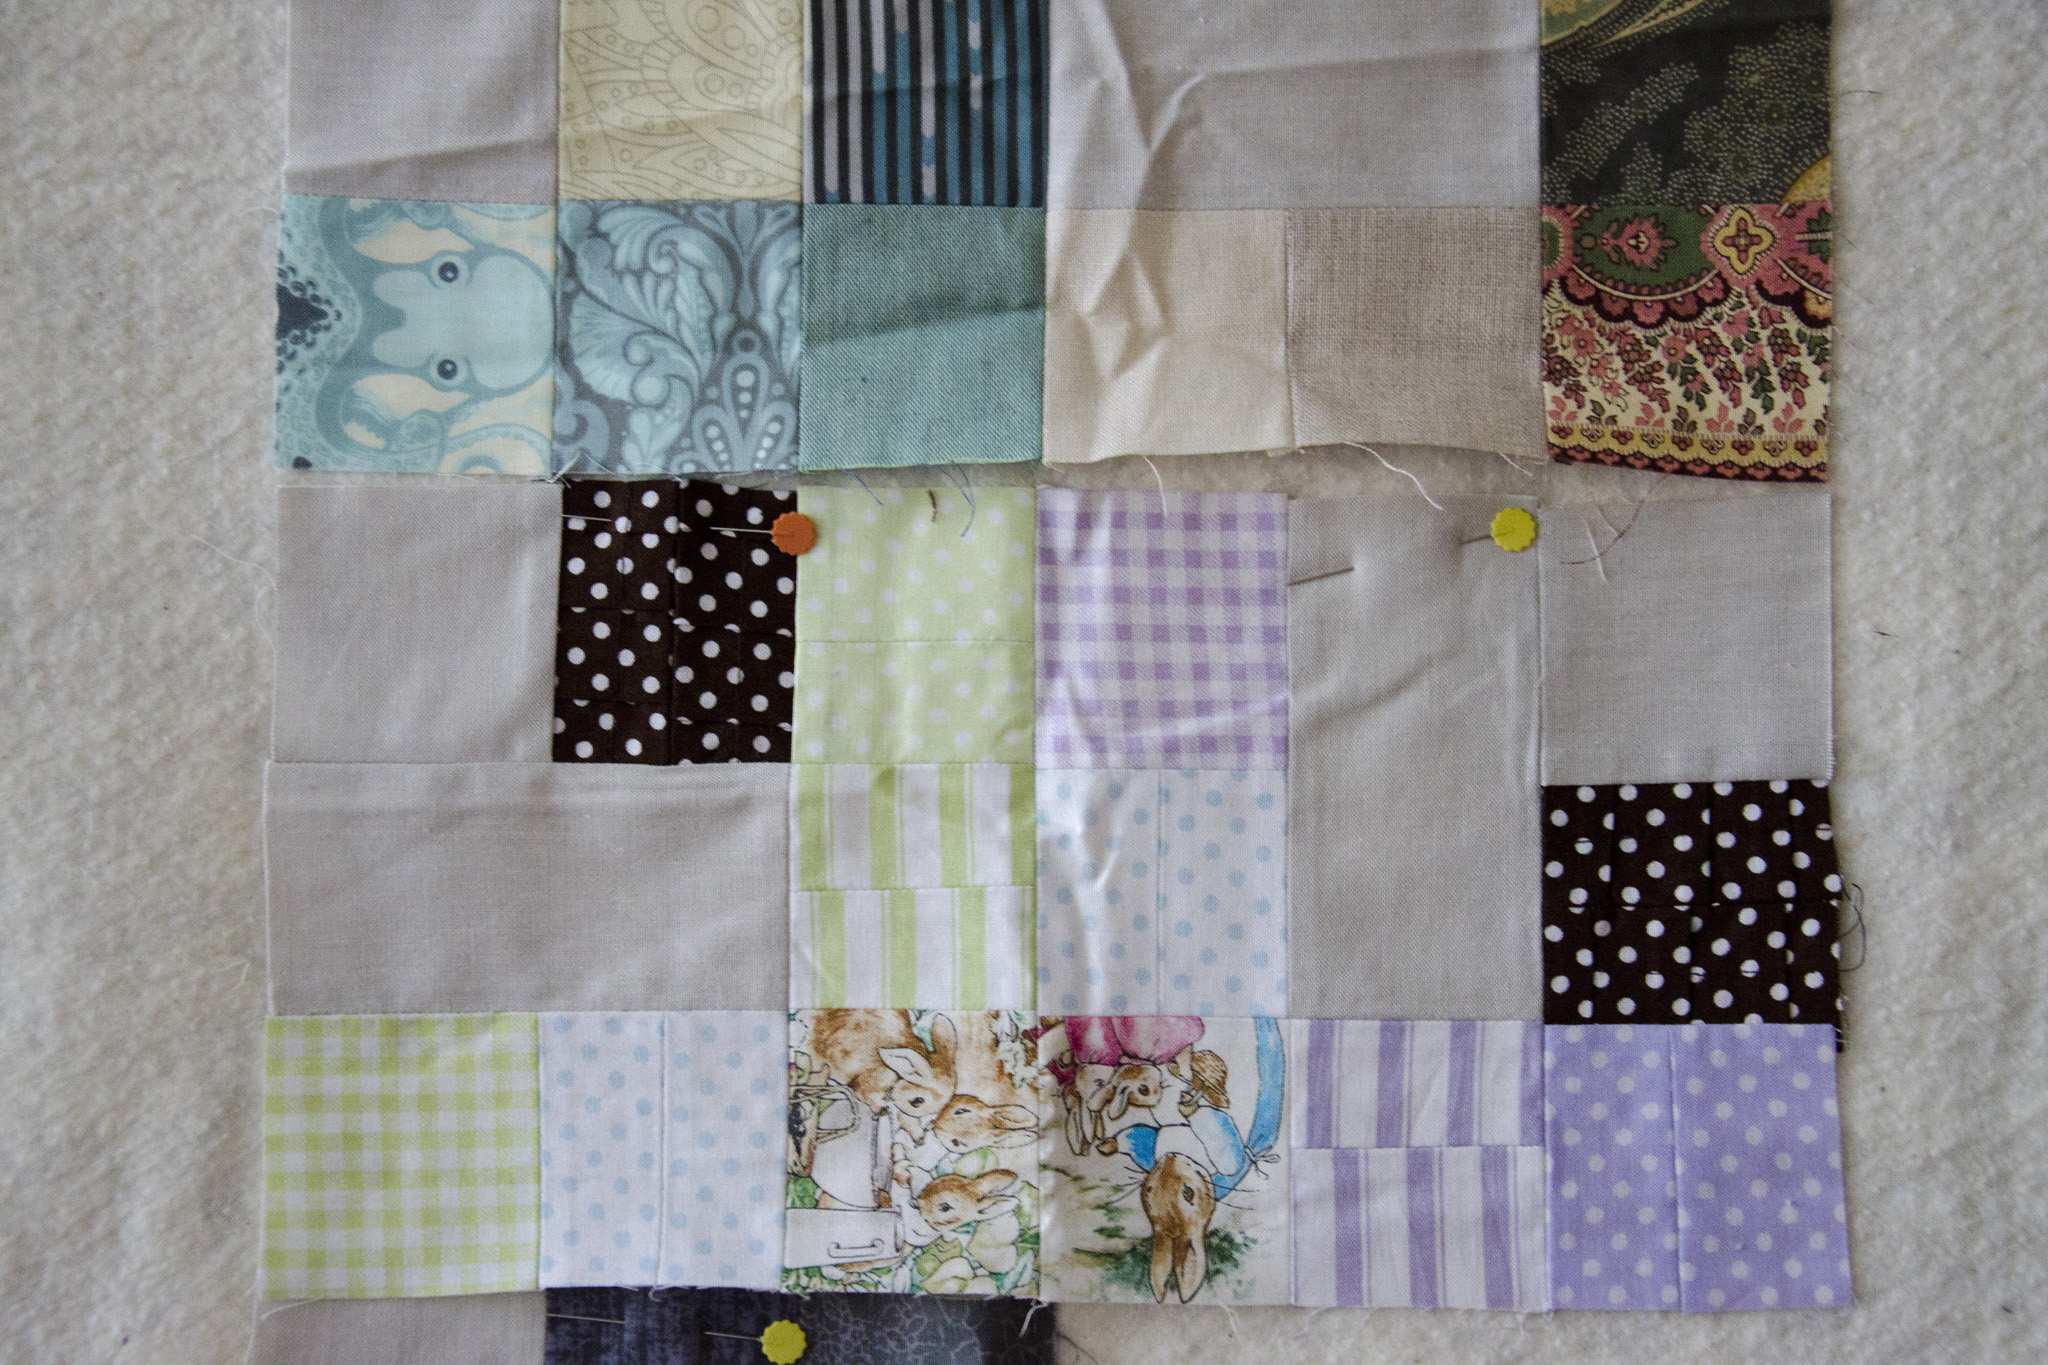
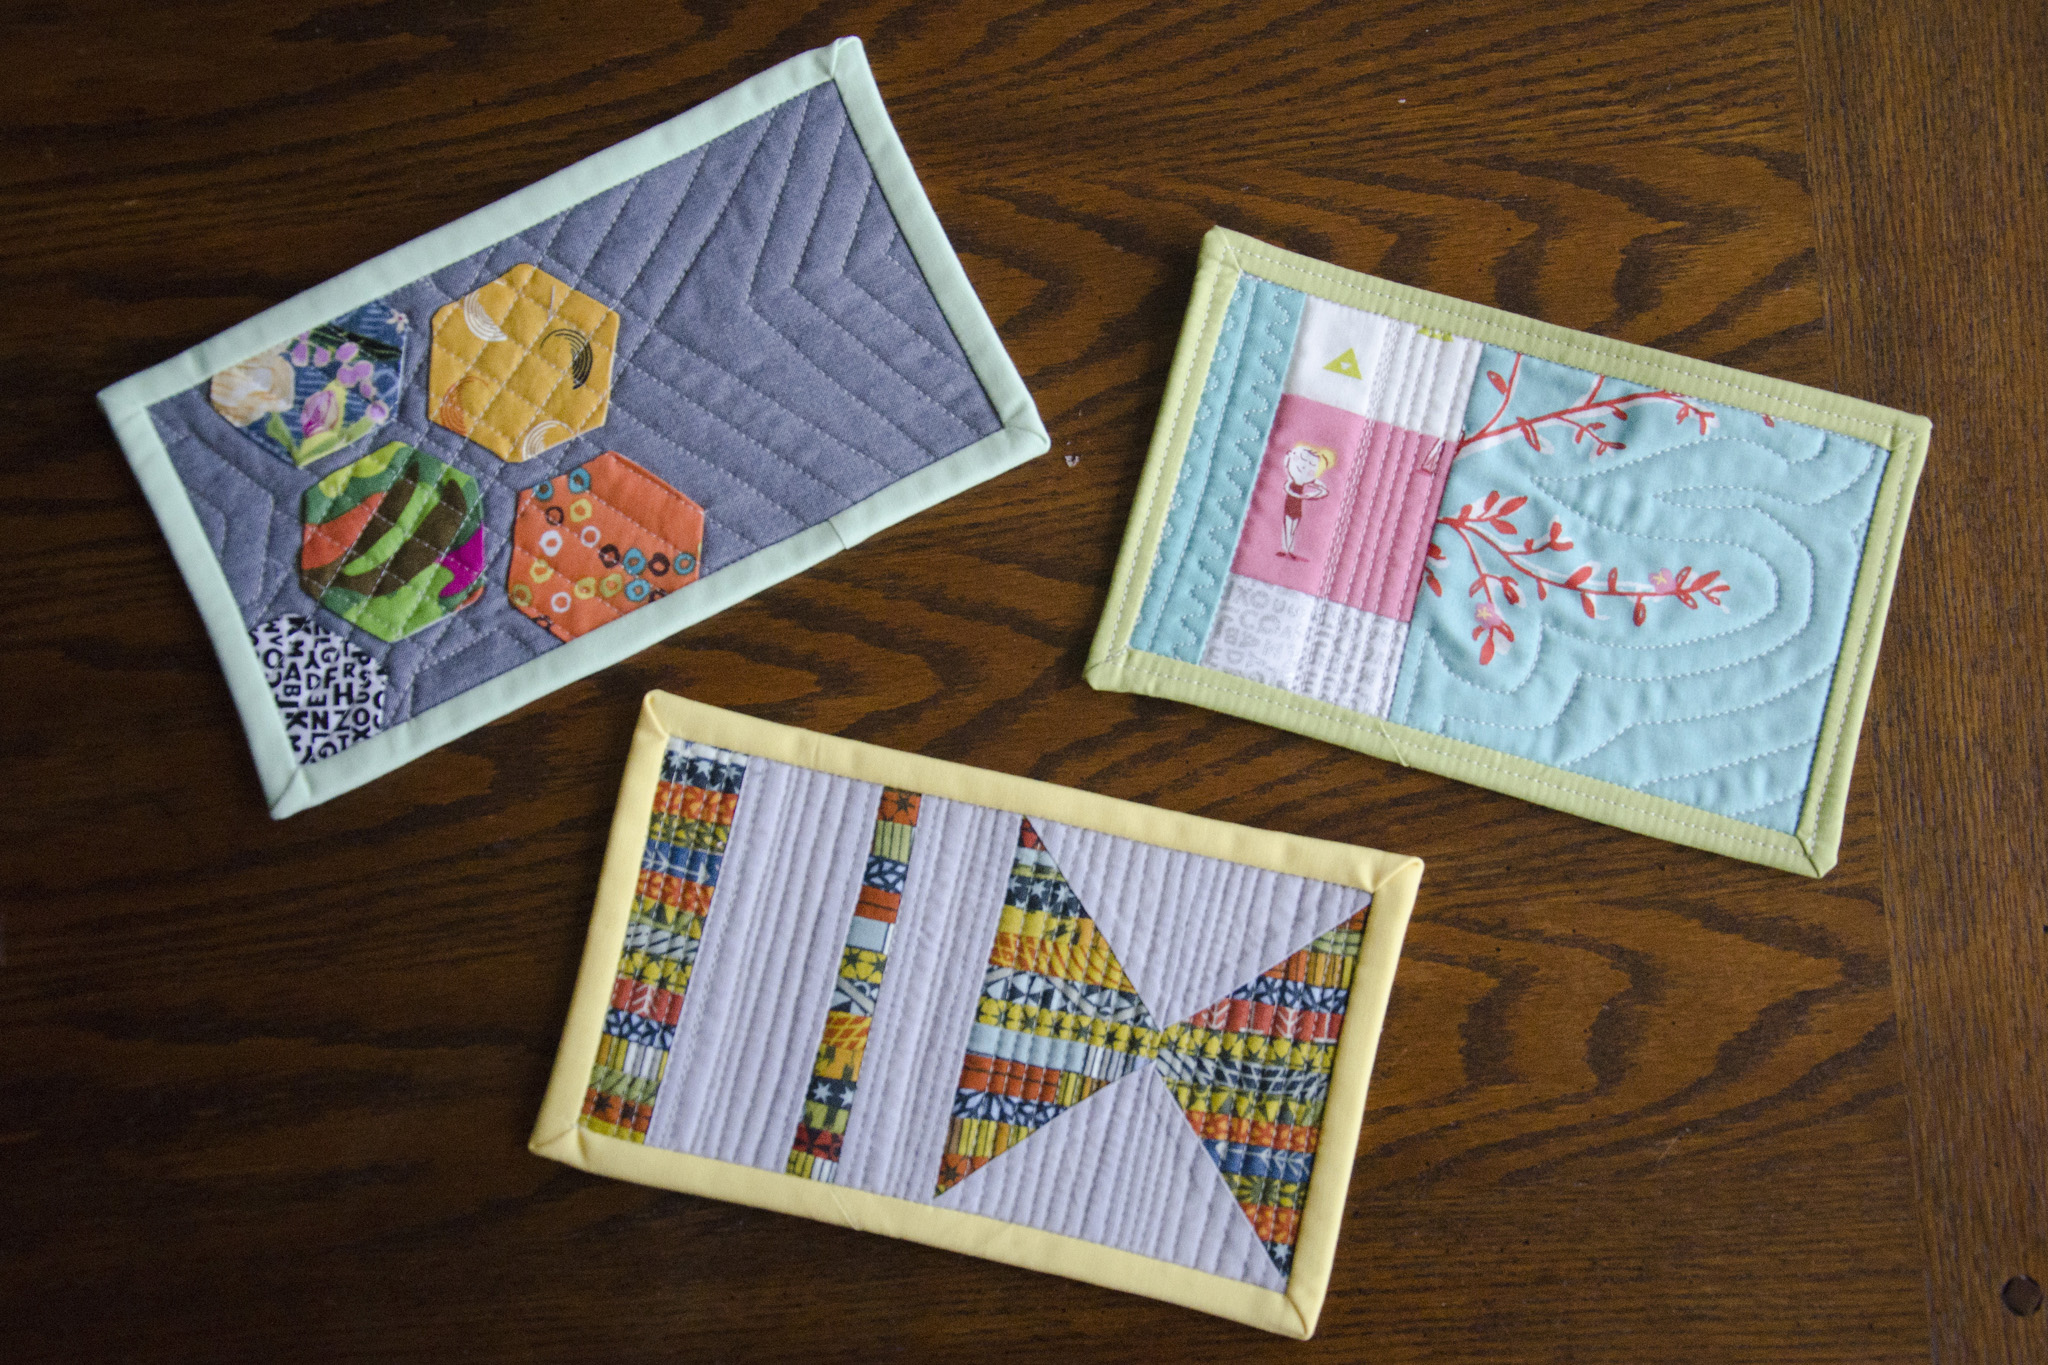
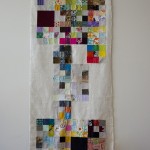
I thought I’d share the progress now. After piecing the different blocks together, I decided to put the rows together in a quilt-as-you-go method, so I basted my batting and backing together and started sewing the rows available when I could. The rest of the blocks are just pinned on for show and tell.

history-quilt2

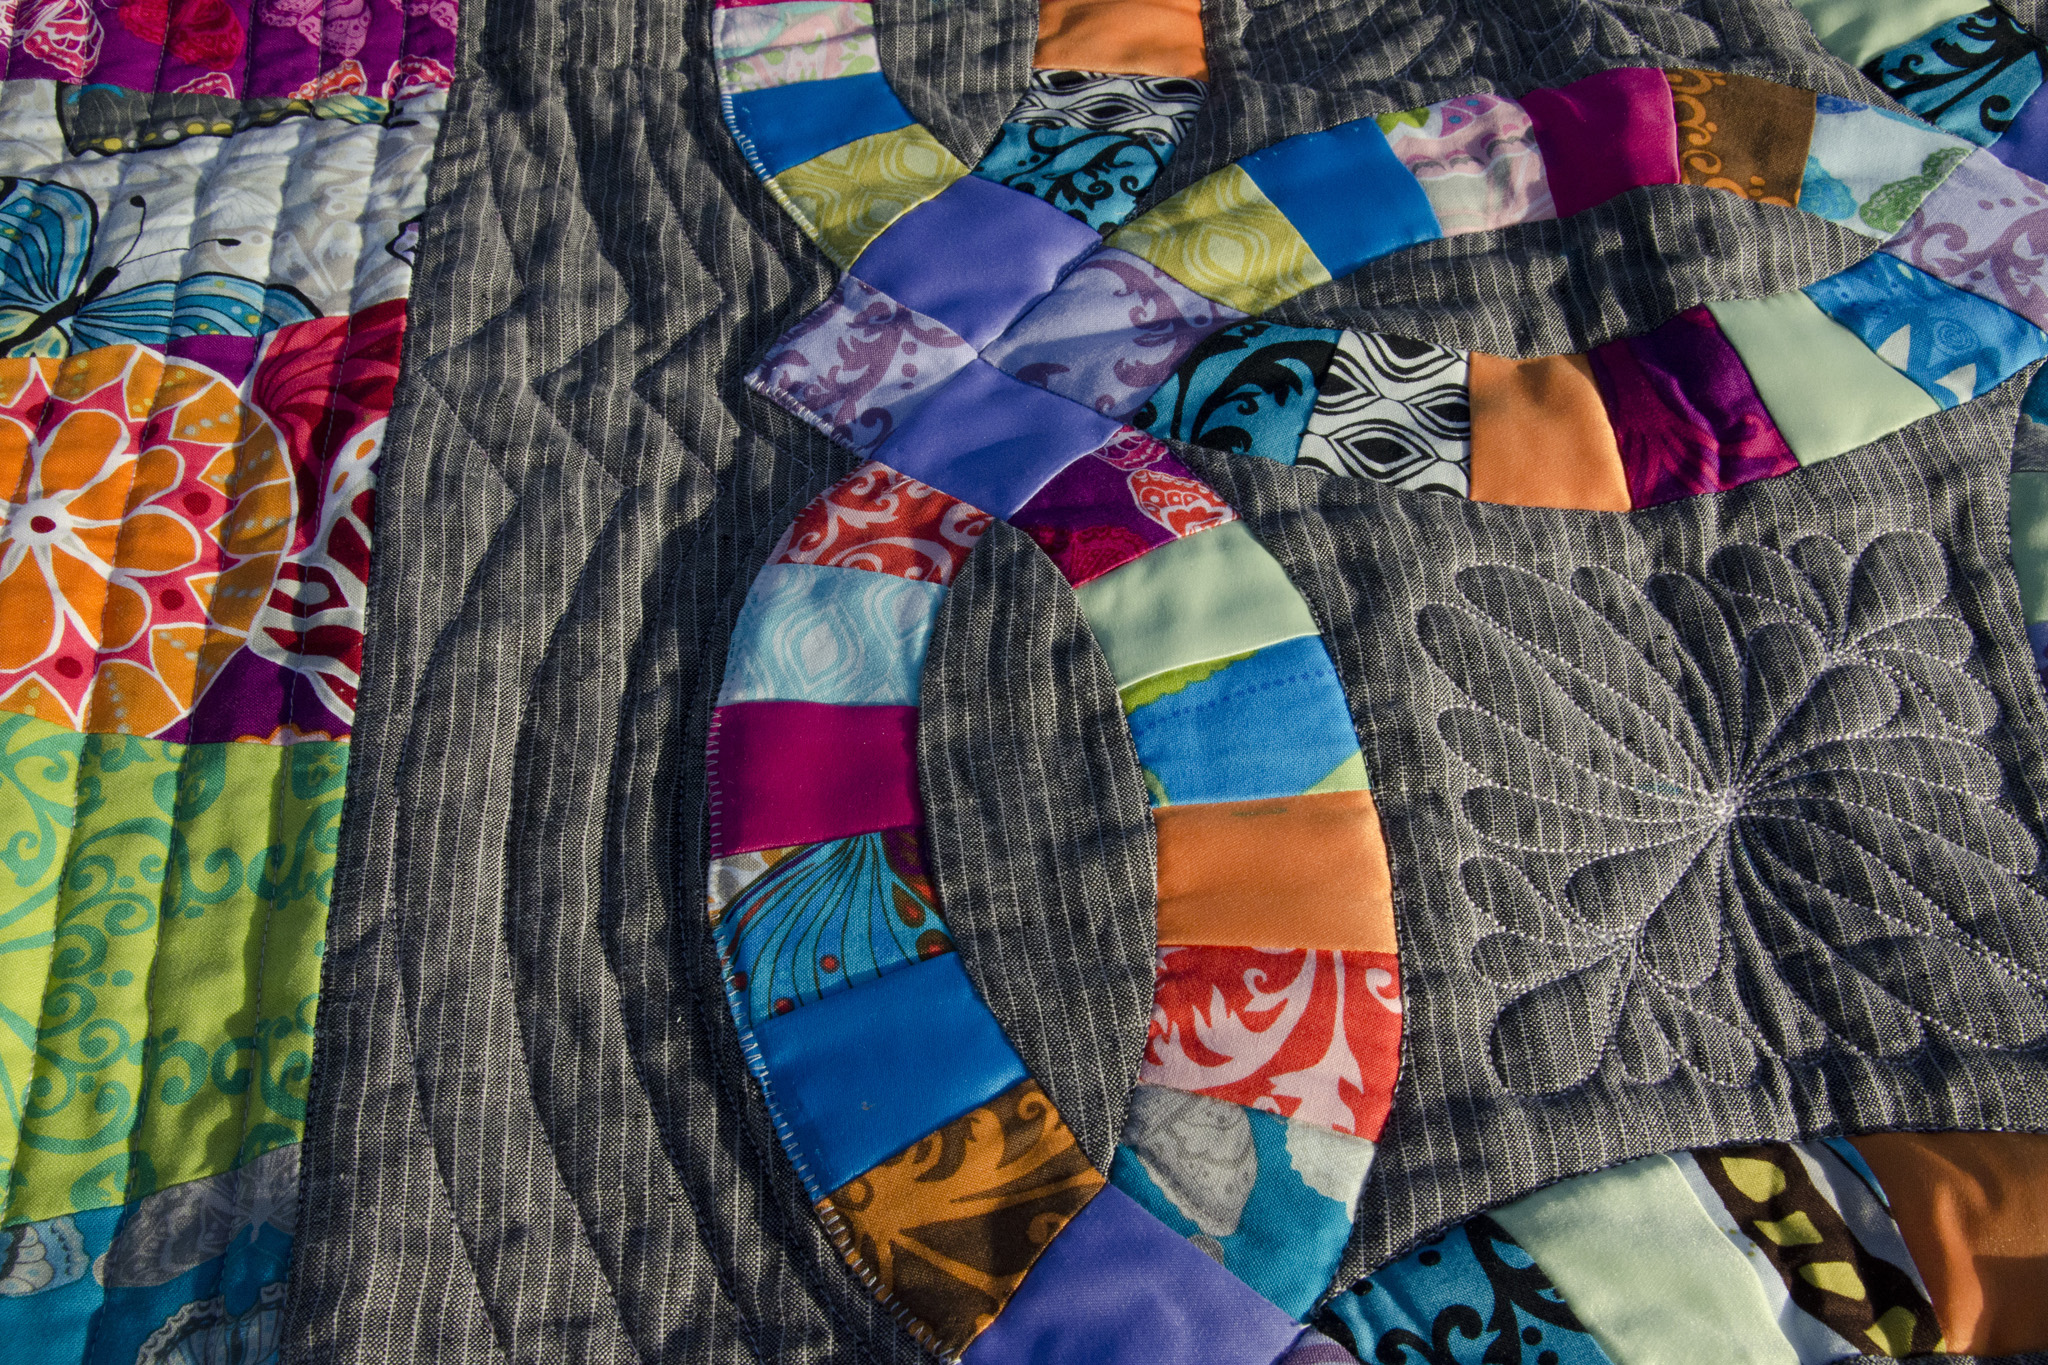
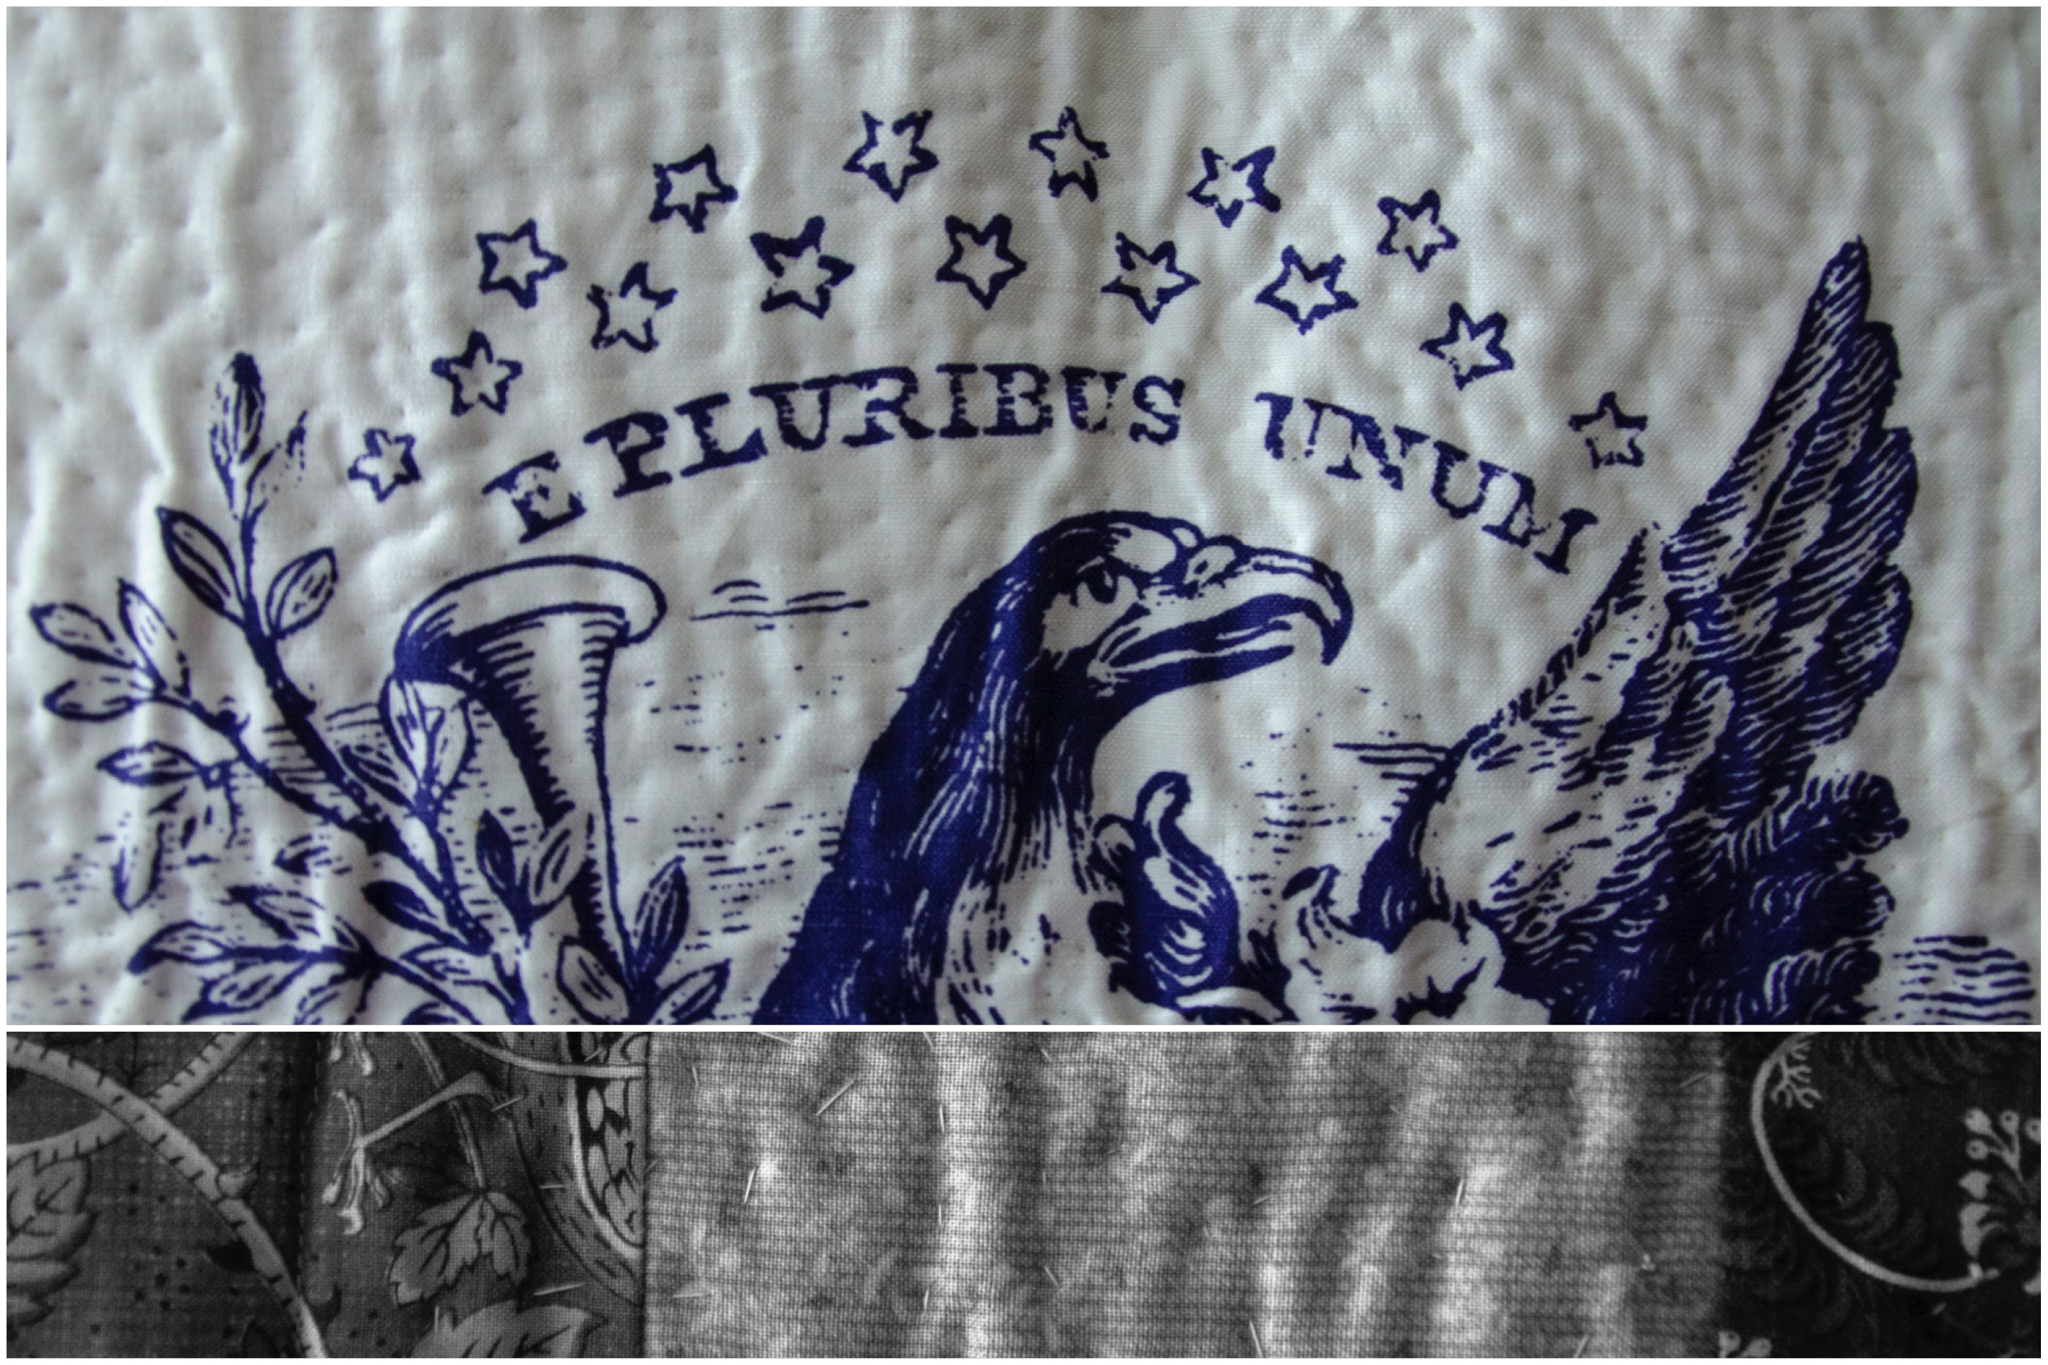
I’m not sure how I’m going to quilt this. Some days, I think I should quilt each square similar to how I quilted that quilt, since quilting can make such a difference in the final product. Other days, I think I’d like the fabric and project to stand on its own, and say stitching in the ditch is the right choice. Maybe I’ll add something via quilting or embroidery to mark the different years.

history-quilt4

I think I can squeeze in one more row before quilting and binding (once I piece the rest of the rows together), then I’ll start a second panel. If I eventually finish that (another 48 quilts!), I’ll sew the two finished panels together side-by-side and start another. It’ll truly be a life-long project, but I love looking back and remembering each quilt.

October 19th, 2016

Post-retreat, Pre-retreat

Posted in Quilting

  • Gifts
  • Mug rug
  • Quick project
  • Scrap projects

Things have been quiet here. Everything in non-sewing life caused me to retreat from sewing for a solid two months, somehow. So, with my guild’s first ever retreat quickly approaching (this past weekend), I needed to get my sewing mojo back. The guild provided the perfect opportunity: a few mug rugs to give to women from the larger traditional guild in the area who provided space and support during their semi-annual retreat for us to do our own thing. I managed to pull three together in the week before the retreat.

retreat-mug-rugs-4

#1: A scattering of hexies

I had a mini charm pack promo pack (~10 2.5″ squares?) from Windham sitting on my shelf, and was inspired by some of the hexie mini quilts that have been going around. I used plain gray fabric to turn out hexies, stuck them on to a background with spray baste, then used the quilting to secure them. The binding was leftover from a previous project. It’s a strange color scheme, but I thought it worked out well. I wish I’d ripped and fixed the top right corner, though.

retreat-mug-rugs-2

#2: Masochist Shaman

Last winter, I used a bunch of 1/2″ off-cuts of Shaman by Parson Gray as leaders and enders and ended up with a strip of fabric. I’m not sure what possessed me to do something that fiddly, and had no plans for the finished piece. I cut into that, pieced it into some gray, and ended up with an interesting mug rug. I still have a few more cut strips from it, so there may be a matching one in the future. It didn’t take long to matchstick quilt something this small. I bound it with mostly matching leftovers from another project.

retreat-mug-rugs-1

#3: The running out of time

I needed one more to meet my pledge and was lacking inspiration. I challenged myself to just pick some scraps within 2 minutes and start sewing. So, I grabbed three more of the Windham charms, leafed through a stack of orphaned full-sized ones for one that matched, and happened upon a scrap of solid that was the perfect compliment. It worked out surprisingly well. Quilting it was another matter, so again, I just started sewing and it worked out okay. I had a 2.5″ strip of green that made a great frame as binding.

retreat-mug-rugs-3

For some reason, while machine binding the other two went very well, this one missed three of the corners. So, time being limited, I decided to topstitch all the way around in the binding to secure the corners on the back. Shh—that’s what we call a design decision, not an accident. 😉

retreat-mug-rugs-6

So, those were my mug rugs. I didn’t actually complete anything at the retreat, but I made a dent in a couple of projects, so I should be posting about those soon. First, I have to go back to real life, which includes another retreat (or leadership summit, if you prefer) this week and a extra few vacation days where Carl will join me down in Austin, TX. Life never stops!

retreat-mug-rugs-5

October 7th, 2016

Jewelry Box

Posted in Quilting

  • Baby quilts
  • Double Wedding Ring
  • Fabric: Minky
  • Finished projects
  • Gifts
  • Q016DE

I started a double wedding ring quilt in the summer of 2012 as part of a local quilting group in Utica. At the time, I was still enamored with using all types of fabric for quilting, so I paired some Valorie Wells Cocoon with poly satin and a linen blend. After finishing three rings from a Double Wedding Ring pattern published by Free Spirit, I decided that was enough of that plan, and packed it all away. When I needed a baby quilt for another little girl this summer, I had the perfect excuse to pull it back out and cobble a new design together.

"Jewelry Box”, Rachael Arnold, July 2016, 43”x41”.
“Jewelry Box”, Rachael Arnold, July 2016, 43”x41”.

In addition to the three finished rings, the storage box contained a yard of a purple print, a yard of the butterflies print, two 6″ charm packs, a fair number of other charm squares cut into fourths, a quarter yard each of the five poly satins, and a ton of the linen blend. If I recall correctly, once I’d given up on doing an all-over double wedding ring quilt, I decided to do a somewhat complicated (and large) medallion quilt with the leftovers, but then put that off as well. This time around, I wanted something simple and baby-sized. Her sisters were recipients of the Impressions Baby Quilt (coincidentally started around the same time as this DWR) and Noble Blooms, both of which were around 40-45″ to a side, so that’s what I aimed for here as well. The length was easy—the rings were 40″ long—so I just had to worry about width.

"Jewelry Box” (detail), Rachael Arnold, July 2016, 43”x41”.
“Jewelry Box” (detail), Rachael Arnold, July 2016, 43”x41”.

After thinking about it for a couple of days, I decided columns of charms on either side of the centered ring applique strip would work well to finish this off. To tie it in to the shapes in the rings, I sliced off the edges of the charms at an angle for a trapezoid shape, which still stacks well if you flip them around back and forth. I meant to have the strips on the edges be reversed (long edge of trapezoid to long edge), but pieced them incorrectly. I decided to leave them as is. I could have paid better attention to pattern placement within the strips as well, but in this case done is better than perfect.

"Jewelry Box” (back), Rachael Arnold, July 2016, 43”x41”.
“Jewelry Box” (back), Rachael Arnold, July 2016, 43”x41”.

It’s backed with a dimpled cuddle fabric—I wanted to be consistent with her sisters’ quilts rather than use the cotton yardage I had leftover. In between is Soft ‘n Crafty 80/20. The rings are a bit loftier because they’d already been quilted to a layer of batting back in 2012.

"Jewelry Box” (detail), Rachael Arnold, July 2016, 43”x41”.
“Jewelry Box” (detail), Rachael Arnold, July 2016, 43”x41”.

Most of the quilting is straight line (and echoes of the rings). In the center of each ring, I used a machine embroidery quilting design for feathers. It looks okay on the front, but I’m a bit unhappy with the back of those sections due to the heaviness in the center. I considered much more intricate quilting, but didn’t want to squish the cuddle background too much. I used a pale pink Aurifil for all the quilting—it’s a nice contrast in the grey areas, and blends well into the colorful parts. (Also in the box of supplies—color matched rayon embroidery threads I’d intended to quilt with—those definitely wouldn’t have held up to use!) It’s machine bound in the purple yardage I had from the line.

Elephant stuffed animal

As I did for her sisters, I made a stuffed animal and doll quilt to go with the baby quilt. The stuffie is made from backing leftovers using my trusty copy of Simplicity 2613. The 16″x18.5″ doll quilt used up the quartered charm square scraps (trimmed down to 2.5″ squares) and 2.5″ strips from the butterfly print. It’s backed with the pinstriped linen blend and bound with the same purple as the quilt.

Jewelry Box doll quilt
“Jewelry Box Doll Quilt”, Rachael Arnold, July 2016, 43”x41”.

It’s nice to cross another project off the “in progress but more or less abandoned” list and lighten my stash a bit! Plus, I’m glad that the new baby has a quilt just like her sisters do, even if it was a few months late this time around. Now to wash it and send it on its way! (Speaking of washing, please forgive the fact that you can see blue markings in some of the photos from where I marked to center the embroideries.)

"Jewelry Box” and friends, Rachael Arnold, July 2016, 43”x41”.
“Jewelry Box” (collection), Rachael Arnold, July 2016, 43”x41”.

July 27th, 2016

My Favorite Dinosaur

Posted in Crafting

  • For the kitchen
  • Gifts
  • Machine embroidery
  • Quick project

The curriculum for one of the coding classes I teach used to have a meet and greet question that everyone would answer: “what’s your favorite dinosaur”? Without fail, I’d forget to plan for it, and have to wrack my brain for one from Land Before Time or Jurassic Park (those movies being the extent of my familiarity with dinos). I’ve found my new favorite (a bit too late, c’est la vie): the inimitable Winosaur!

Winosaur towel

I picked this embroidery up from Urban Threads a while ago, when it was featured as a freebie. It was perfect for a set of tea towels (wine towels?) to give as a hostess/housewarming gift to friends who recently moved and threw a BBQ.

Winosaur towels

Rwaar. Glug glug.

Learn from my mistakes

I’m glad that I bought a full yard of the waffle weave fabric I used to make these towels out of, as my first attempt and a half at stitching out the embroidery went awry. Most of this is Machine Embroidery 101-level stuff, but I thought I’d share everything I learned. I tried to cut corners and it bit me, of course.

Winosaur towel stitchout issues
  • Use a fresh needle. An embroidery one. In the right size. No, that one you just finished using to quilt something is not okay.
  • Buy the right-sized stabilizer. Yes, you may have the right type stashed, but if it’s sized for a smaller hoop, just go buy the right size.
  • Double (or triple) up your water-soluble stabilizer according to their directions, particularly with an unstable fabric and heavy line stitching.
  • Use spray baste to attach the stabilizer to your fabric.
  • Have your machine baste the design outline before stitching.
  • The Large Metal Hoop, while awesome, doesn’t ship with enough magnets to secure unstable weaves. Steal more from your fridge (TMNT to the rescue! Cowabunga, dudes!).
Winosaur towel stitchout back

The towels

The towels themselves are simple. They’re a fat quarter of waffle weave fabric, hemmed with mitered corners on one short edge, and the fringed selvage left bare for that towel-like look on the other. I used a contrast thread with a zigzag for aesthetics. I couldn’t help making a spare set for myself in the name of ‘testing’ the final product! And by that, I mean I kept the awkward learning curve versions for myself.

Winosaur towel

July 16th, 2016

Books, Brains, and Pillows

Posted in Quilting

  • Free-motion quilting
  • mightylucky
  • Pillow
  • Quick project

Having free motioned text as quilting in the past, Angela Walters’ Mighty Lucky challenge did not strike me as the most inspiring—not that it’s a bad challenge, but it was nothing new to my skill set. I was all set to not make a project for it (just like the last few months… shhh…), until I remembered that I signed up at the beginning of the year to talk about the challenge at my guild meeting this month.

books-brain-pillow

A pillow cover seemed the perfect project to showcase both cursive and block lettering in the form of my favorite Louisa May Alcott quote.

“She is too fond of books, and it has turned her brain.”
Work: A Story of Experience (1873), Louisa May Alcott

books-brain-quote

Because my handwriting is horrendous, I arranged the text in Illustrator, then printed it out to trace. While not feasible for a sandwiched quilt, I was able to use my window as a lightbox to trace the lettering onto the top fabric of my pillow cover.

books-brain-trace

It’s quilted on linen, with wool batting and no backing, using a rayon embroidery thread. I considered doing additional quilting with a whitish thread, but my time was limited and I was happy with how the quote looked alone.

books-brain-details

I finished the case with an envelope backing that matches the thread color and stuffed it with a purchased 12×16″ pillow form. It’s perfect as a bolster pillow for a reading nook!

July 10th, 2016

Tea in the Park

Posted in Crafting

  • Bags
  • Fabric Designer: Elizabeth Olwen
  • Fabric: Essex Linen
  • Fabric: Kaffe Fasset Collective Shot Cotton
  • Fabric: Park Life
  • Gifts
  • Home decor
  • Machine embroidery

I bought far more fabric than I needed to make the bridal shower tea party bunting (half yard cuts of six prints, a yard of another), so the obvious thing to do was to use some as part of a shower gift for the bride and groom. I ended up with a suite of gifts perfect for a picnic at the park.

Tea in the Park Gift Set

Napkins

I made a pair of basic mitered-corner napkins using a half yard of fabric. They finished at 17″ square. There are many good mitered corner napkin tutorials online if you need one. I used this one from Purl Soho as a refresher for the corners because I can never recall how to do it properly. Here’s another one from Craftsy if you don’t want to be sold hard on buying more fabric.

Tea in the Park Gift Set

Roll-up Placemats

When I cut out bunting pieces, I ended up with extra triangles and end pieces since I simply sliced up a 9″ strip of each fabric. I wanted to use up those pieces in any piecing, so started putting together the placemat design with improvisational piecing taking cues from the triangles. I paired the Park Life prints with Kaffe Fasset Shot Cotton in Latte from my stash—slightly different than the solid gray I used in the bunting, but a better match for the colors in Park Life—it’s a slightly taupe-ish gray.

Tea in the Park Gift Set

The back is pieced from more triangles and a strip of the gray. After piecing, I inserted a strip between one piecing seam and the binding that acts as a napkin ring on the front. I quilted them in 1/4″ lines with a gray-taupe Aurifil, then bound them in the gray with one small scrap of print to give a bit of visual weight to the right side.

Tea in the Park Gift Set

Because the intent was that these are portable for a picnic, I tried to figure out a way to secure them while rolled up for easy transportation. Going back to the pile of leftover triangles, I made a pennant, slid it into the binding, and used a bit of Velcro to allow it to fasten flat to the back, or to itself if you roll up the placemat. It turned out to be my favorite feature.

Tea in the Park Bag

Tote Bag

What good are traveling placemats and napkins if you’ve nothing to carry them in? Using the Art Student Tote as a general design guide, I pulled together a bag made of dark gray Essex Linen, straps in a Park Life print, and a machine embroidered pocket using a coordinating solid from my stash and one of the tea embroideries from the bunting.

Tea in the Park Bag detail

The bag is 13″x18″x4″—a hybrid of the two Art Student Tote sizes. I only added one pocket to the front, no closures, and no interior dividers/pockets. Since I lined it in the exterior linen, I modified the construction a little bit and added a flange for a pop of color around the top of the interior. Having learned from using my own Art Student Tote, I made sure to use a woven interfacing for the straps—mine are starting to stretch out and warp due to the medium-weight non-woven—and cut an extra strip to get the full suggested 128″ instead of the approximate three widths of fabric—mine are a smidgen short when the bag is loaded up. I also modified the strap construction to use two different fabrics (one on each side), as I didn’t have enough of any one fabric.

The Whole Package

To round out the picnic theme, I added a few store-bought gifts as well.

Tea in the Park Gift Set

It was a dreary, rainy day when I tried to take photos before shipping it off. I hope the couple has many sunny days in their future.

Even with this whole package, I still have a quarter yard of five of the prints—and a few more triangles—but for now I’ll retire that to the depths of my stash and move on to some other things!

June 30th, 2016

Home Safe From the War

Posted in Quilting

  • 1812 Quilt Challenge
  • Finished projects

An old friend is finally home safe from the War… of 1812 Traveling Quilt Exhibit, that is.

When I started working on this quilt in 2011, it was a chance to dip my toes into making a quilt for show and a way to embrace my love of history and research. The possibility that it would be accepted as one of 26 to travel after the initial show was never in my thoughts. The idea that the show would continue traveling across the country and internationally for four years was beyond my imagining.

”Grown and Off to War”, Rachael Arnold, February 2012, ~30”x70”.

Now that it’s home, I finally had the chance to take photos of the finished quilt!

Here’s the statement that I submitted with it, which gives you a better idea of why there are three distinct sections.

One fact about the War of 1812 that sticks with me is that the last living survivor of the War was only fourteen years old when he enlisted. Surely, he was not the only man to enlist that young—though we now call a fourteen-year-old a boy, not a man. Fourteen—even eighteen—years is not so many years at all to a mother. So my inspiration of cradle–to–cot–to–coffin was born.

My premise is that the center section originated as a cradle or crib quilt, sewn sometime post-1795 (when the 15th state was admitted, represented by 15 stars in the medallion) for the birth of a son. Sixteen or so years later, a mother extended the quilt to its final dimensions, and sent it off to war with that same son—now a soldier—to warm him once again.

”Grown and Off to War” (detail), Rachael Arnold, February 2012, ~30”x70”.

I constructed the quilt in three separate parts, almost finishing them completely before putting everything together as one quilt. Although it is machine pieced and mostly machine-quilted, I did a lot of handwork: the medallion is hand-quilted, the edges were all done by hand, and actually connecting the three pieces was also by hand. If I recall correctly, I liked the wool batting I used in this quilt far better than the type I used more recently. It came from a bolt at Joann Fabrics, but I haven’t seen it since.

”Grown and Off to War” (detail), Rachael Arnold, February 2012, ~30”x70”.

The edges are knife-edge finished. To connect the sections together, I pressed the edges of the center section edges in like I would if I were finishing them with a knife-edge, slid the other section into that resulting pocket, and stitched the center to the other section on the front and back.

”Grown and Off to War” (detail), Rachael Arnold, February 2012, ~30”x70”.

The center medallion was a stock photo woodcut engraving that I printed via Spoonflower. Although the majority of the quilting is machine quilting, I hand quilted the center. I had no idea what I was doing or how to hand quilt, as evidenced by the back.

”Grown and Off to War” (back), Rachael Arnold, February 2012, ~30”x70”.

The back looks very make-do, as I tried to use up as much of the leftover fabric as possible rather than let it fill up my scrap bin. Don’t mind the selvages showing at that very top—that is the hanging sleeve. There’s a custom label pieced directly into the back, inspired by one memorializing Princess Charlotte of Britain c. 1817.

”Grown and Off to War” (back detail), Rachael Arnold, February 2012, ~30”x70”.
”Grown and Off to War” (detail), Rachael Arnold, February 2012, ~30”x70”.

The day after this came home, I dropped off The F-word at the Vermont Quilt Festival. How’s that for diametric opposites in quilting?

June 23rd, 2016

Traditional as Modern

Posted in Quilting

  • Exhibits
  • Inspiration
  • Modern quilting
  • Traditional quilting

Those of you who have been following me for a while know that I’m not a big fan of the tension between traditional and modern quilting. I’ve made traditional. I’ve made modern. I’ve made modern with traditional. I’ve made a lot of things that are just quilts. I spend more time with a modern guild and modern quilters, but it’s not at the expense of respecting and learning from traditional sources. I think that we as quilters and people are better for acknowledging that both sides (and everything in between) have much to bring to our craft and art.

In my Web wanderings recently, I came across a digitized collection of early 20th century quilt design paintings. The 419 watercolor paintings were done by Virginia Beauchamp around 1919-1923, but many depict quilts from the previous century. What drew me into the collection was how her framing and cropping of the quilt down to the desired design motif is incredibly similar to how we often make modern traditional quilts.

Sometimes it’s as simple as taking a traditional quilt design and making it in solids.

Quilt Pattern 186: Shell / cumulus from color continuum — no. 01 monochromatic by Emily Cier
Quilt Pattern 186: Shell /
cumulus from color continuum — no. 01 monochromatic by Emily Cier
Quilt Pattern 026: Streak of Lightning / Stacked Zigzags by Rebecca @alreadyinmypjs
Quilt Pattern 026: Streak of Lightning /
Stacked Zigzags by Rebecca @alreadyinmypjs

Other times, we take a single block and make it very large.

Quilt Pattern 221: Sunflower / Giant Starburst by Megan Pitz
Quilt Pattern 221: Sunflower /
Giant Starburst by Megan Pitz
Quilt Pattern 256 / Fly Away by Heather Jones Studio
Quilt Pattern 256 /
Fly Away by Heather Jones Studio
Quilt Pattern 175 / Tribute Star by Becca Bryan
Quilt Pattern 175 /
Tribute Star by Becca Bryan

Some of the paintings go beyond depicting what we call modern traditional and straight into modern.

We break the grid.

Quilt Pattern 28 / F*ck The Quilt Police by Nancy Purvis
Quilt Pattern 28 /
F*ck The Quilt Police by Nancy Purvis
Quilt Pattern 273 / Flight Quilt by Alexis Deise
Quilt Pattern 273 /
Flight Quilt by Alexis Deise
Quilt Pattern 320: Blazing Star / Luxe in Bloom Lone Star by Amy Friend
Quilt Pattern 320: Blazing Star /
Luxe in Bloom Lone Star by Amy Friend

We decompose the design in places.

Quilt Pattern 12 / State of Being by Cheryl Brickey
Quilt Pattern 12 /
State of Being by Cheryl Brickey
Quilt Pattern 38 / Quilt from Strip Your Stash by Gudrun Erla
Quilt Pattern 38 /
Quilt from Strip Your Stash by Gudrun Erla
Quilt Pattern 67 / Contrast by Linda Miller
Quilt Pattern 67 /
Contrast by Linda Miller

We use negative space to great effect.

Quilt Pattern 111 / Echoes by Leanne Chahley
Quilt Pattern 111 /
Echoes by Leanne Chahley
Quilt Pattern 96: Jacob’s Ladder / Migration by Season Evans
Quilt Pattern 96: Jacob’s Ladder /
Migration by Season Evans

This collection has left me inspired with ideas of quilts to make for years to come. I hope you find similar inspiration.

Quilt Pattern 224
Quilt Pattern 224

Further reading:

More about the collection at the Onondaga County Public Library

The digitized collection from New York Heritiage Digital Collections

Thanks to Barbara Brackman for posting about this originally

June 18th, 2016

Bunting Tips and Tricks

Posted in Crafting

  • Fabric Designer: Elizabeth Olwen
  • Fabric: Park Life
  • Home decor
  • Machine embroidery
  • Quick project
  • Tips and tricks

My sister’s bridal shower is fast approaching, and we’re planning it with a tea party theme. (The whole concept of what one does at a bridal shower is a bit of a mystery to me, having not been given one when I married, nor having attended any for others.) Seeing as I’m 1,300 miles away, my ‘hosting’ status is mostly honorary, but I am able to lend a hand with the decorations. Armed with a few embroidery files from Urban Threads and some half-yard cuts of Park Life by Elizabeth Olwen for Cloud9 Fabrics, I whipped up bunting for the party. Where by whipped, I mean I spent a lot of time at my machine over the course of a week or so, considering the 40 minute stitch out time of each of the embroideries.

I dare say the final result is pretty sweet. I made two of these strands, each 9’ long.

Tea Party Bunting

Here are a few tricks I found helped with creating it. When making your own, you can actually get a lot more bunting out of just a quarter yard of each fabric than I ended up making—my cut triangles had 7” bases and were 9” tall. I have so much fabric left over—stay tuned for future projects with it.

Tea Party Bunting

Tip 1

Cut strips of fabric, then rotate your template (or cutting marks) for easy cutting. If your fabric is directional, you can use the upside-down cuts on the back of your pennants.

Tea Party Bunting

Tip 2

Trim the seam allowances and use a chopstick to turn the point. I’m not great at sharp points, regardless of how I trim the seam allowances, but the chopstick is awesome.

Tea Party Bunting

Tip 3

Cut a template out of card stock to help with pressing. If you cut the template to the finished size, then slide it in with the seam allowances behind it, you get a nice sharp edge to your pressed pennants.

Tea Party Bunting

Tip 4

Use packaged double fold bias tape for a quick and easy finish, and a glue stick to hold everything in place while you sew the flags down.

Tea Party Bunting

Best of luck in your bunting endeavors!

May 21st, 2016

Brilliant Frippery

Posted in Quilting

  • Charity
  • Fabric Designer: Thomas Knauer
  • Fabric: Frippery
  • Finished projects
  • Q016DD

This year, my quilt guild is supporting a local chapter of an organization that provides bags packed with a quilt, necessities, and toys to children who have been removed from their homes. After finishing Human, I pulled out my stack of Thomas Knauer’s Frippery and a couple of stashed blue solids, then sliced everything up into 10″ blocks for a quilt inspired by Amy Smart’s Star Baby Quilt. This straight-forward design with large blocks was perfect to quickly piece.

“Brilliant Frippery”, Rachael Arnold, May 2016, 52″x52″. Photo by Carl Pfranger.

Instead of a single 2″ border like the original quilt, I added three borders to make the quilt 52″ square—a nicely-sized lap quilt for an older child. When I was cutting, it seemed like a brilliant idea to construct the opposite corners with a series of partial-seams so that I could reduce seams in the long strips. It turned out great, but would have been far easier to just construct the corner as a 8″ block instead of a continuation of the strips on either side.

“Brilliant Frippery” (detail), Rachael Arnold, May 2016, 52″x52″.

The design of the borders had a lot to do with using up the fabric as I’d cut it rather than with aesthetics (although there was a lot of waste since I started by slicing 4 10″ squares out of my half yards, and mostly needed 9.5″ ones except for the central star half-square triangles). I like the surprise of half-square triangles in two corners instead of the expected border all the way around. We’ve started talking about what makes our quilts modern by the MQG definition when we share at guild meetings. To a lot of people’s eyes, the asymmetrical borders take this from plain modern traditionalism to slightly-more-modern, but it isn’t uncommon to see something like that in extant antique quilts.

“Brilliant Frippery” (detail), Rachael Arnold, May 2016, 52″x52″. Photo by Carl Pfranger.

The back is a solid piece of fabric from my stash (Erin McMorris Summersault, 54″ wide), used for convenience. In between is cotton batting (I think—it’s pieced from stash).

“Brilliant Frippery” (detail), Rachael Arnold, May 2016, 52″x52″. Photo by Carl Pfranger.

I couldn’t decide on how to quilt this, but knew I wanted to keep it simple (especially after just finishing something that was matchstick quilted!). Echoing seams with straight lines seemed too bland, so I selected a long serpentine stitch (E4 for other Husqvarna Viking Ruby owners), and stitched over the seams, then eyeballed a line down the center of each block. I used a variegated yellow-orange thread for all of it. After such little time to sew lately, it was comforting to me to whip up an entire quilt over the course of a few days.

“Brilliant Frippery” (detail), Rachael Arnold, May 2016, 52″x52″. Photo by Carl Pfranger.

The light is all over the place on these photos, since yesterday wasn’t the best day for photographs. The detail shots with wood showing are probably the best representation of the color. I was on a compressed timeframe due to donating it at today’s meeting. The finishing touch was a cute little label we’ve ordered for guild charity quilts.

“Brilliant Frippery” (detail), Rachael Arnold, May 2016, 52″x52″.

I hope it provides a child a bit of comfort as they settle into unfamiliar surroundings.

May 8th, 2016

 Previous Posts
Newer Posts  

© 2008–2025 Raevenfea