Half-vinyl Flex-frame Pouches
Posted in Crafting
At each of the VTMQG’s retreats, we have optional “Sip and Stitch” projects in the evenings. They’re meant to be quick-ish projects that people can do as a break from what they brought to the retreat, preferably while chatting and sipping on their beverage of choice. They often involve learning how to use a new notion or component that many haven’t seen before. Last spring, one of the projects was making vinyl flex-frame pouches, an experience new to most of us.
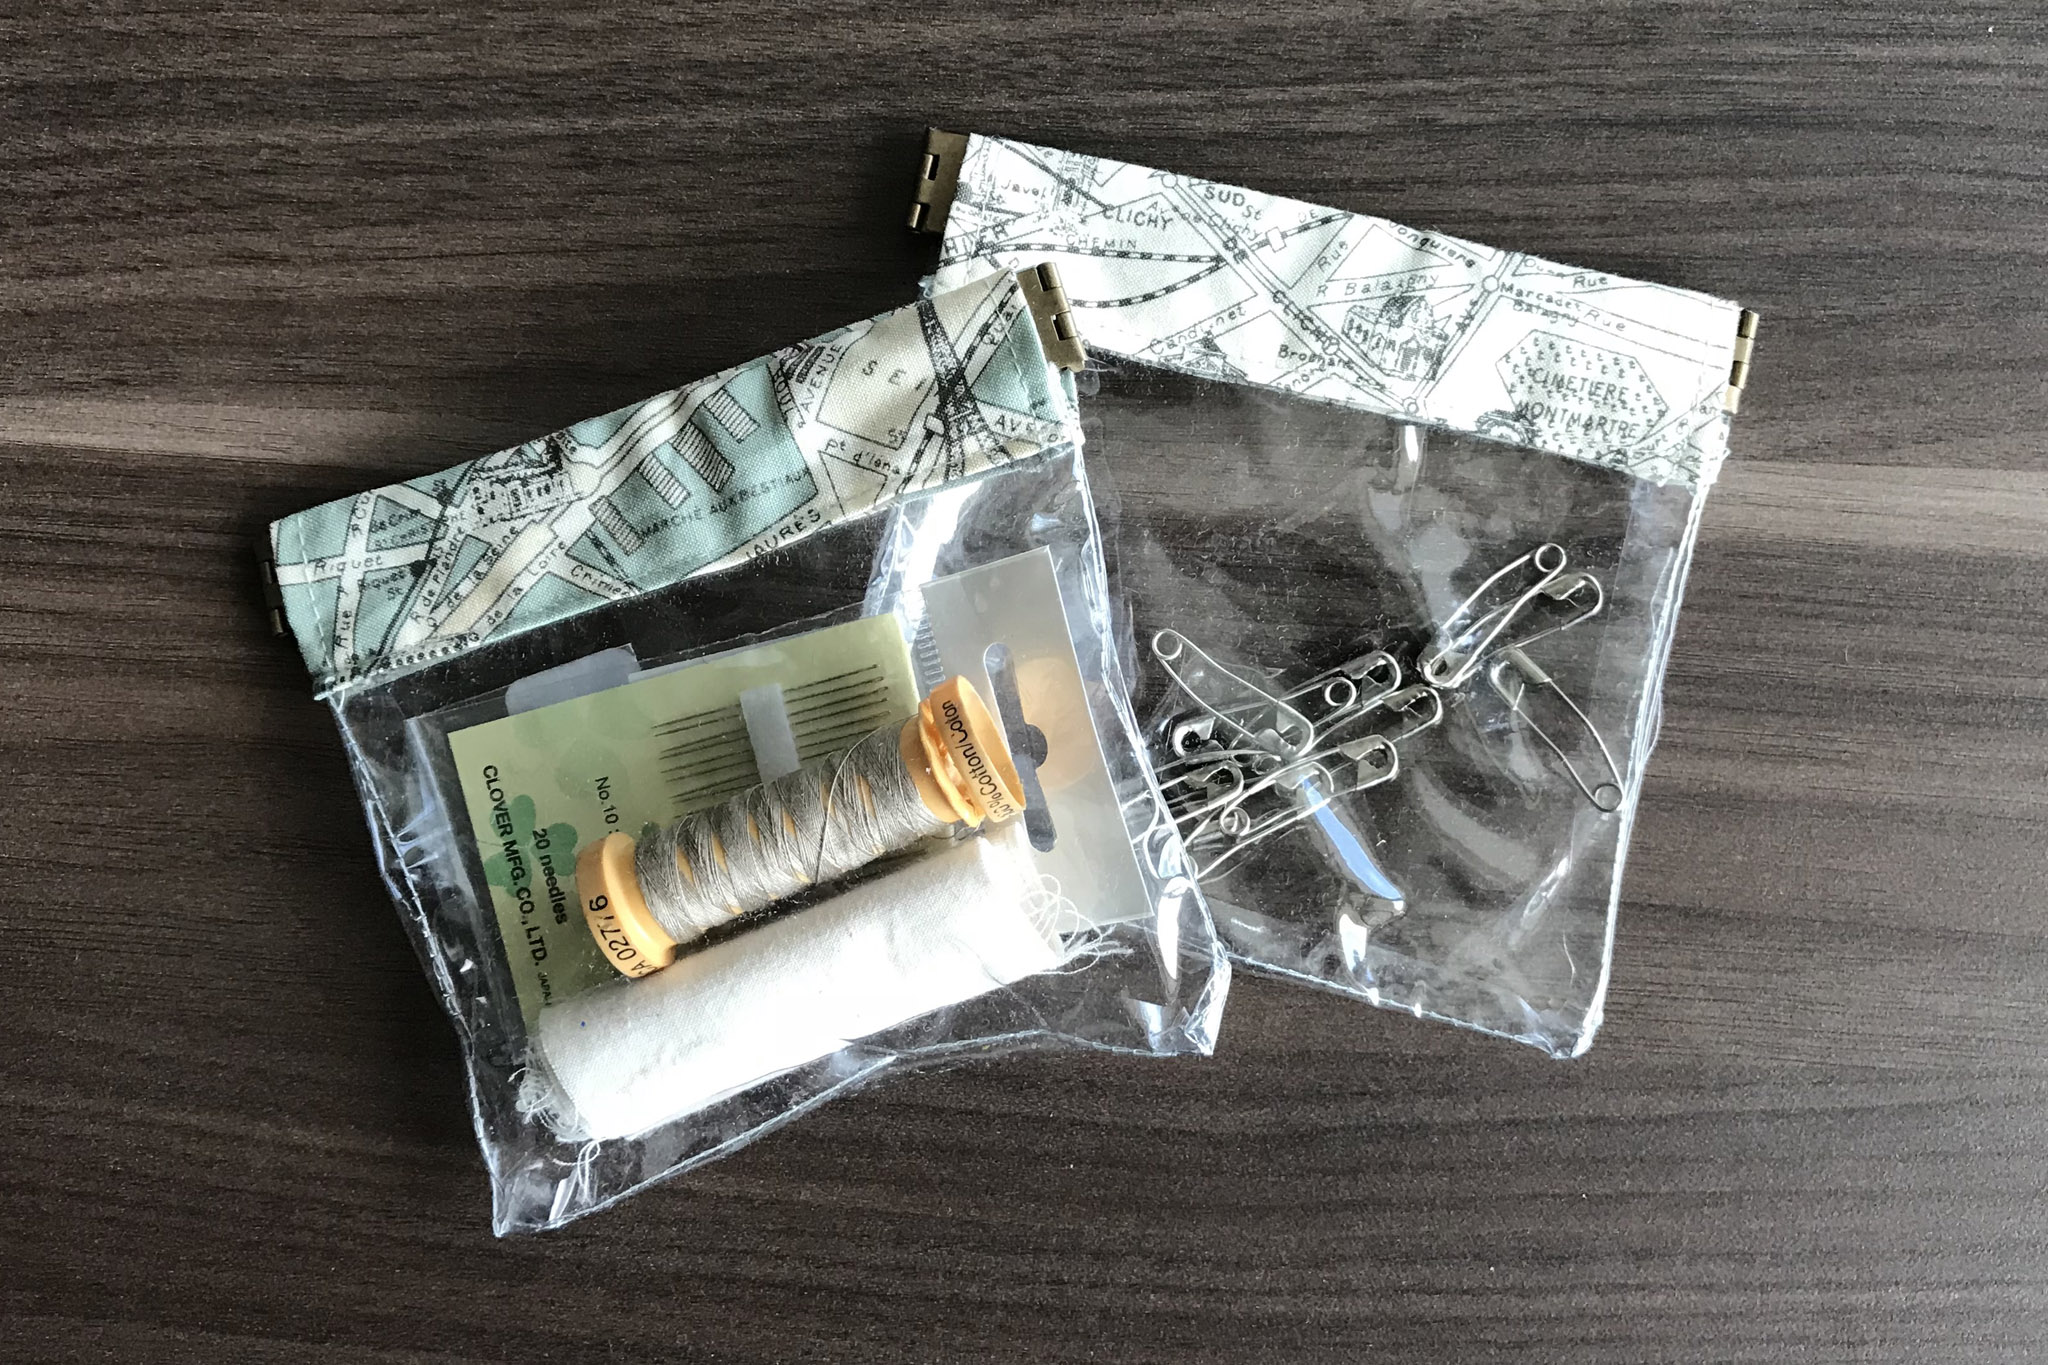
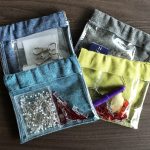
I purchased a few extra flex frames at the retreat, so after finishing a Bionic Gear Bag, I decided to make more pouches that match the bag, as they’re the perfect size to slip into the bag for even more organized storage. Due to having a limited amount of vinyl on hand, I decided to construct these new ones with only one vinyl side. While I could have used the same instructions as before, I thought I’d try something new and cut the back flex frame channel as one with the back fabric piece. In case you’re interested in the same, here’s how I modified Bonjour Quilt’s tutorial.
Supplies
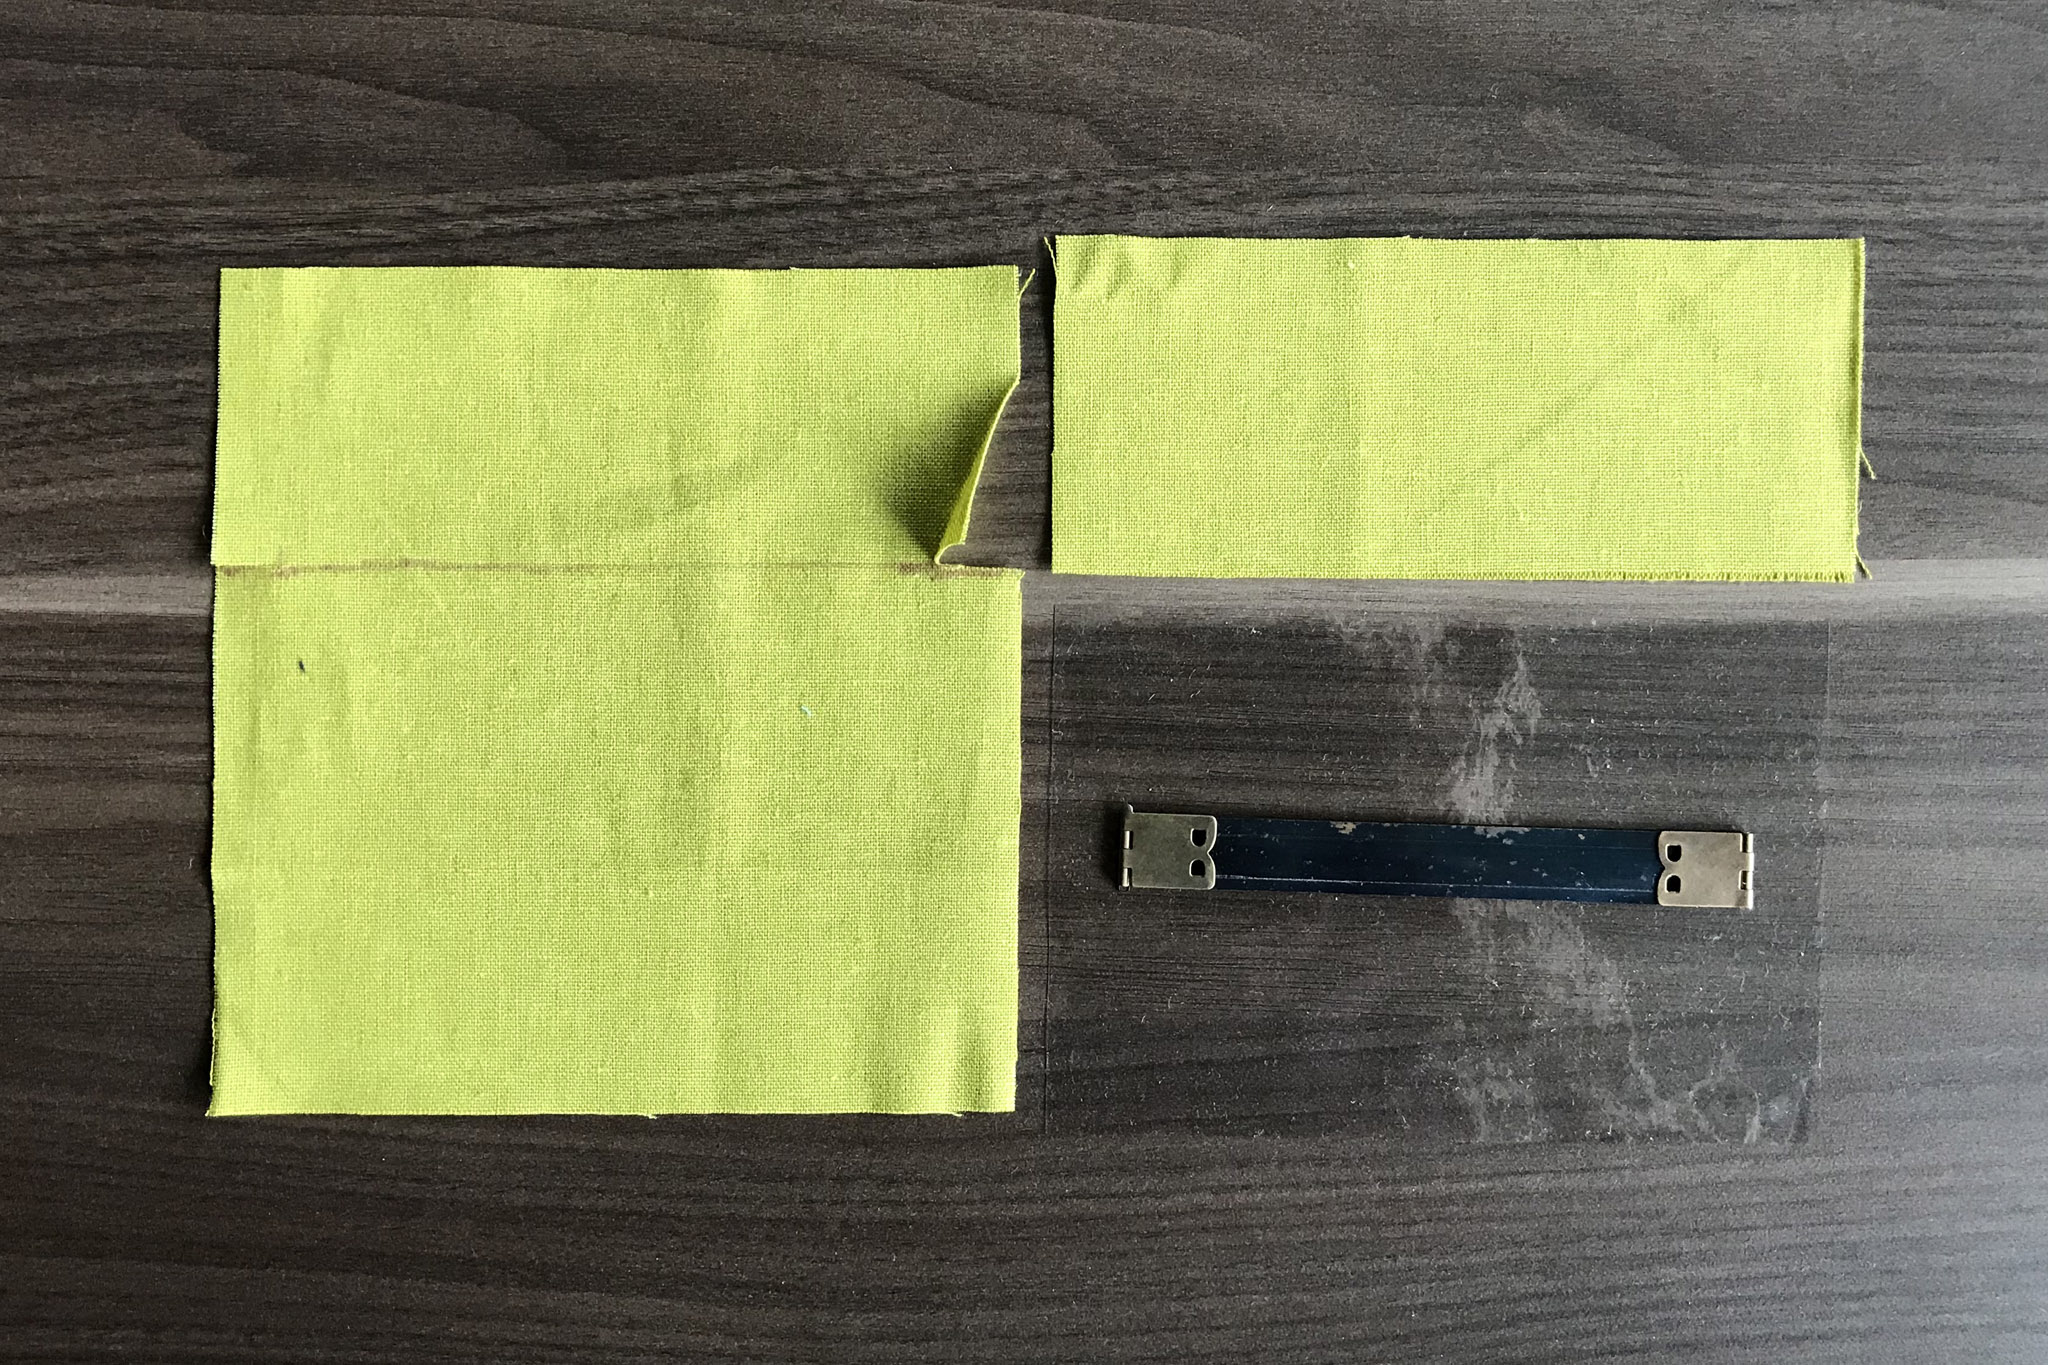
- 1 4.75” (12 cm) flex frame (source)
- 1 5.75×4″* piece vinyl
- 1 5.75×6″* piece fabric
- 1 5.75×2.5″ piece fabric
* if you want to make your pouches deeper, cut your vinyl longer than 4″ and add the same amount of extra length to the 5.75×6″ fabric piece.
Steps
Tip for sewing with vinyl: sew with the vinyl side facing up (have the fabric touching your machine); use a teflon foot if you have one, or a walking foot. If things are getting sticky, use foundation paper or copy paper over the vinyl to keep your foot from sticking. You may also want to increase your stitch length slightly to keep from perforating the vinyl too much.
First, you’ll need to make two cuts in your back piece in order to prep it for a flex frame channel. Measure 2.25″ down from the top and mark a line all the way across on the wrong side of the fabric. Then, measure in 1/2″ from each side and place a dot on the line. Cut from the edge in to each dot—this will give you two little flaps to fold in on either side.
Fold each short flap in by 1/4″ and press. Fold down the top of your piece by 1/4″ and press. Then, fold the flap sides in another 1/4″ and topstitch on each side to hold, backstitching on either end for security.
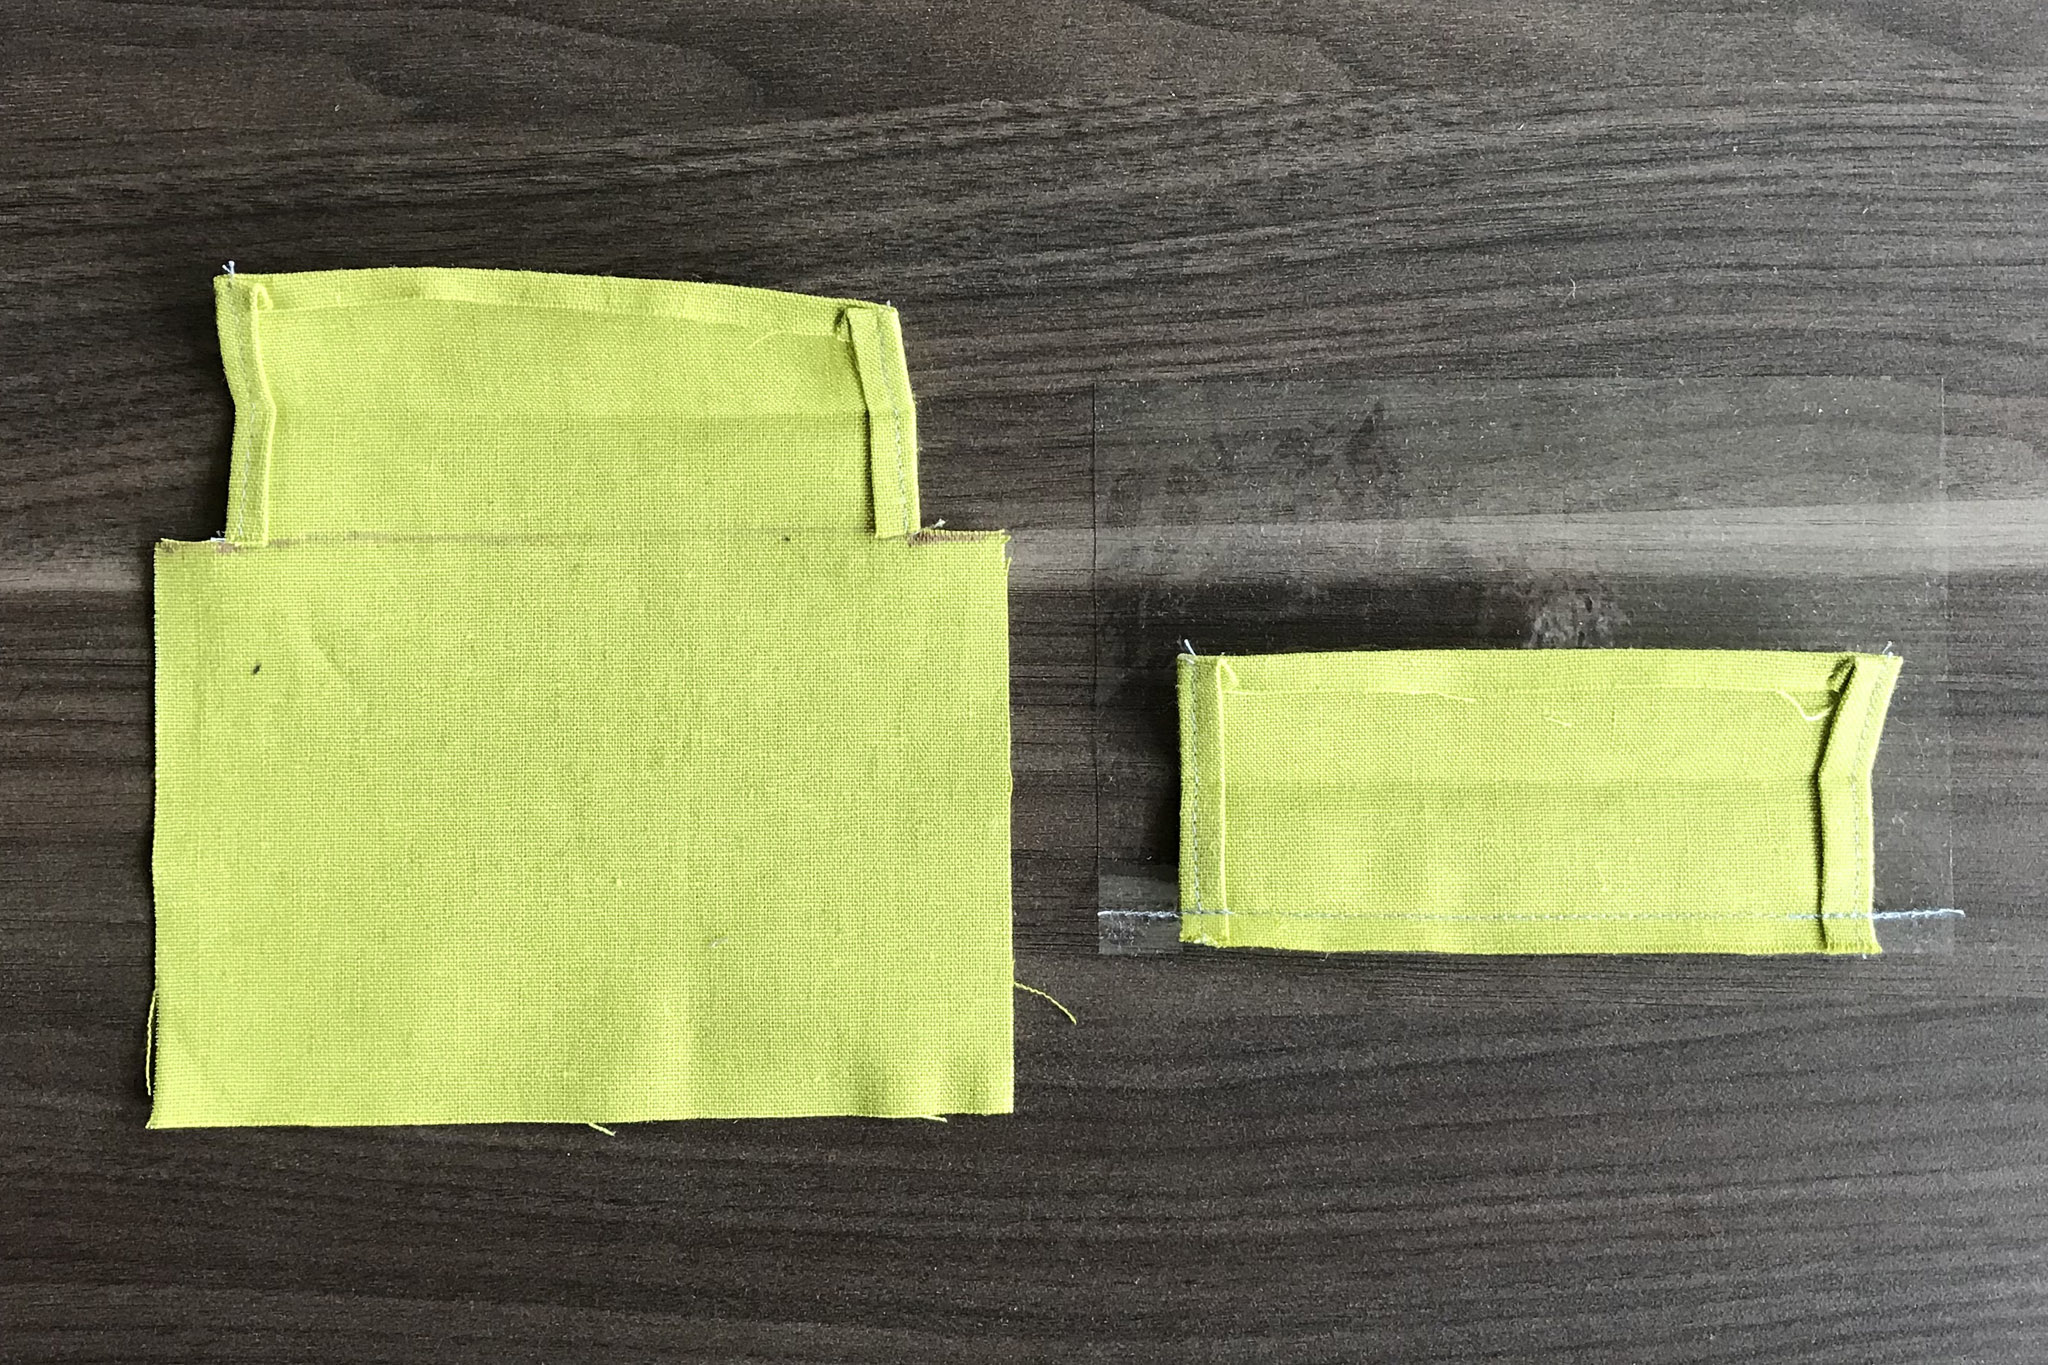
Prep your front channel piece by folding and pressing the short ends in by 1/4″, doing the same for one long end, then folding and pressing the short ends in one more time. Topstitch the short ends. Sew the unfolded long edge to your vinyl with a 1/4” seam allowance, then fold over to the right side and topstitch the other long end down just below the seam. The Bonjour Quilt tutorial shows a different method that is arguably stronger due to sewing only a single line of stitching through the vinyl, but I’m not too worried about mine, and I prefer the finish.

Using a hera maker, mark a stitching line down each side of the pouch where the channel pieces end. Sew down the sides and across the bottom (1/4″ seam allowance), backstitching to secure your stitches at the top side of the pouch.

Trim the seam allowance down to 1/4″ on all sides of the pouch body, then finish the edges by sewing an overcast stitch or zigzag within the seam allowance to keep your fabric from raveling. You could also use pinking shears instead (alas, mine are in VT).
Turn your pouch right-side out, and finger press the edges.
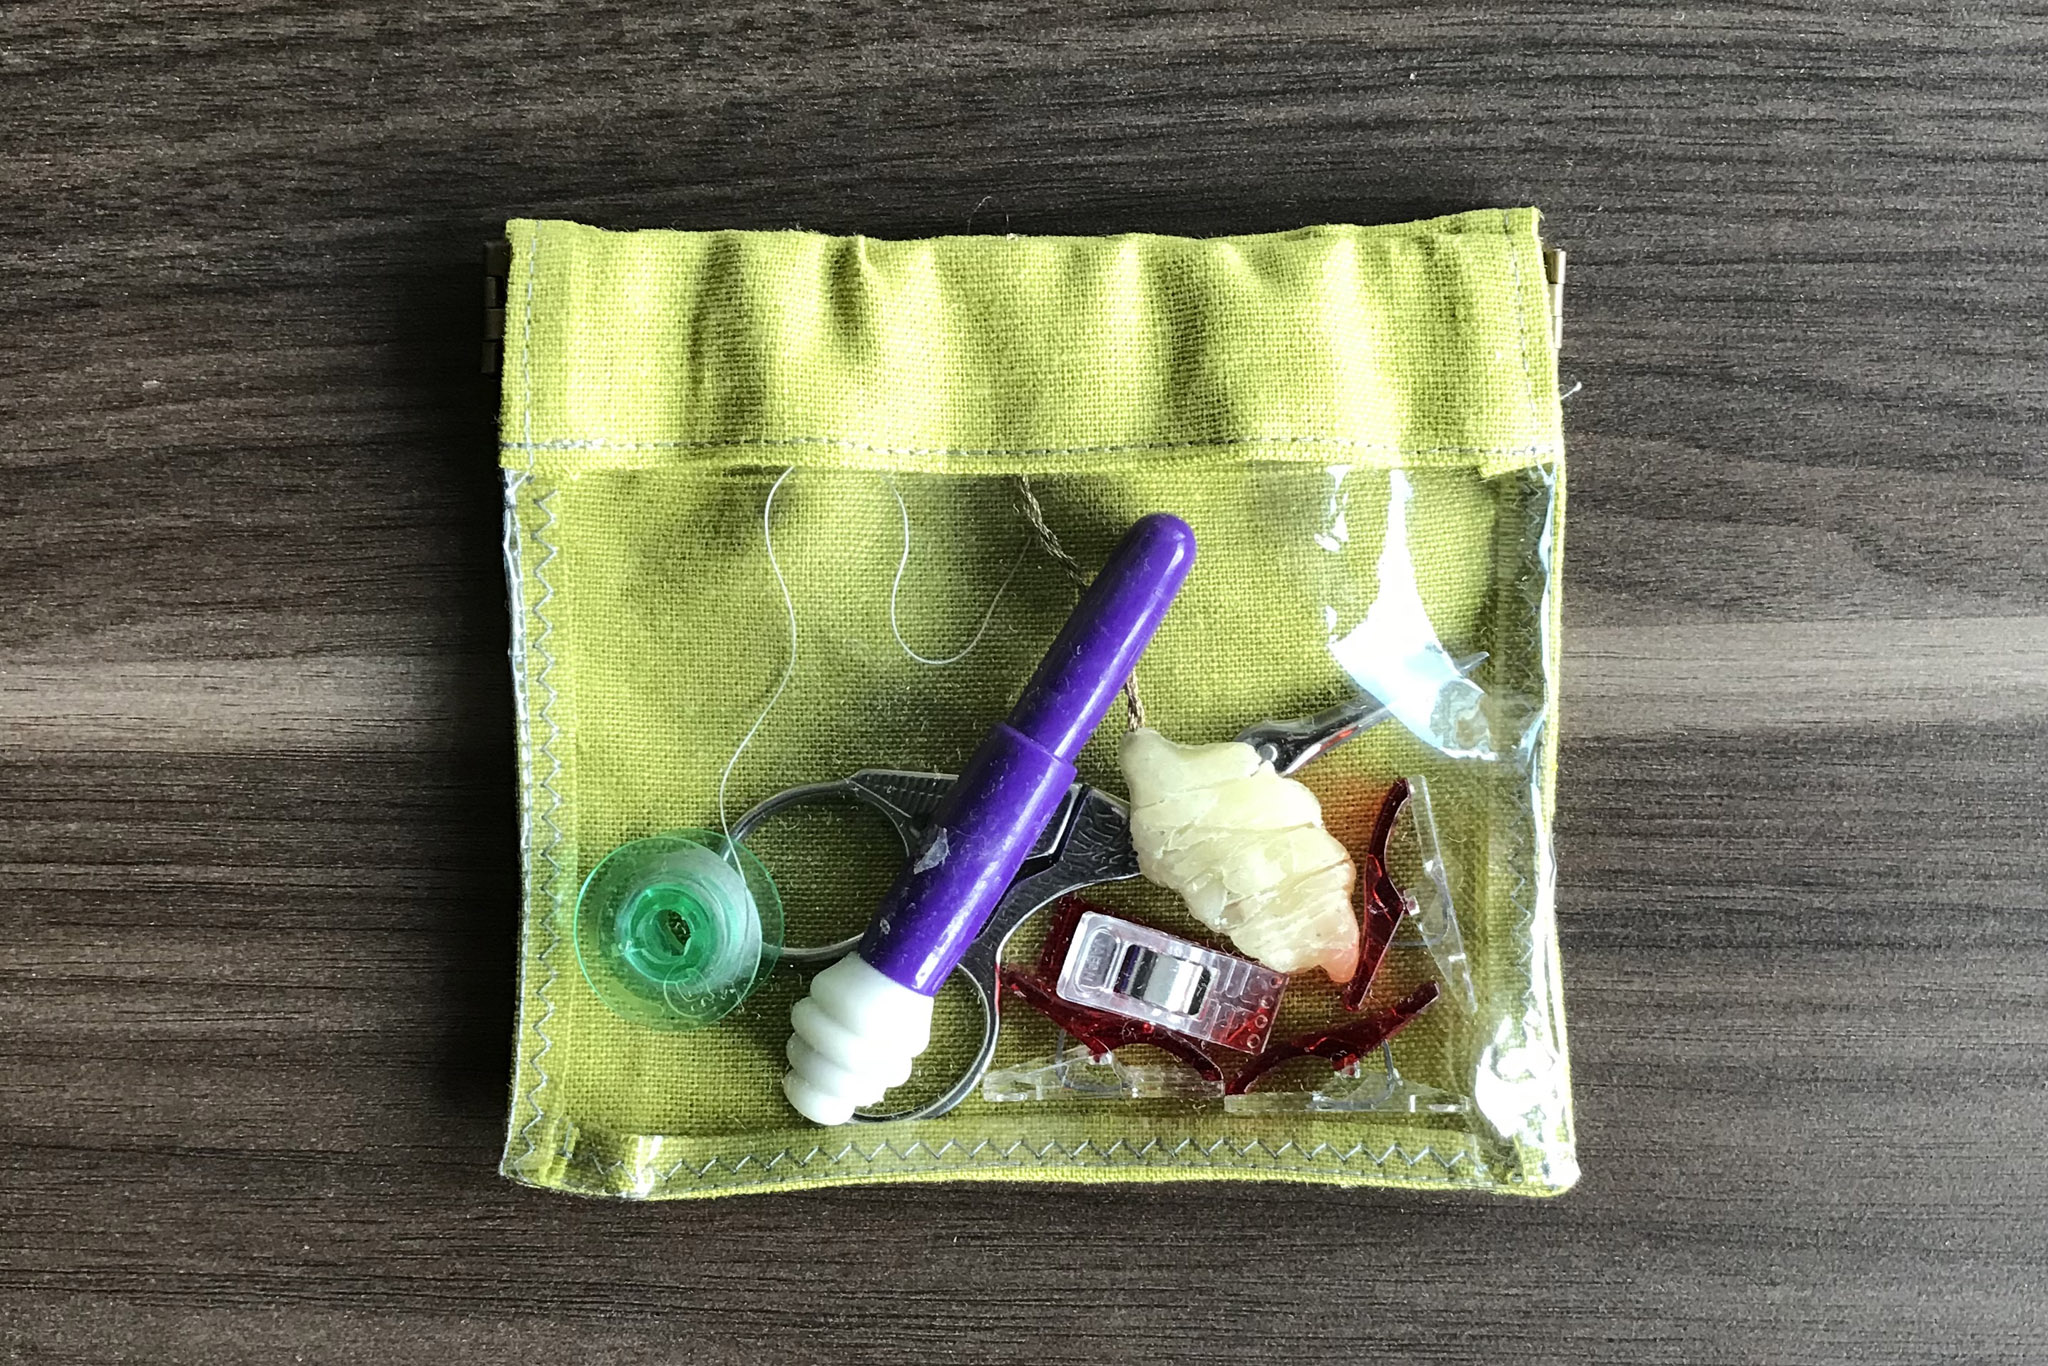
Insert your flex-frame hardware into the channels, add the closing pin, and admire your work!
For more detailed instructions with photos for the later steps, check out the tutorial from Bonjour Quilts.
Good luck with your organizing!